Installation
As with most AIOs, the installation of the NZXT Kraken Z73 is quite easy, provided you follow the installation steps as directed. As DIY PC building seems to be getting more popular each and every day, the option of AIO liquid coolers is sure to entice those wanting to have a more advanced build, and easy installation will go a long way towards not scaring off first-time builders. As we mentioned when we covered the included accessories, NZXT has included all of the necessary mounting hardware for a large list of both Intel and AMD processors, though AMD’s TR4 and xTRX4 mounting hardware is not included. NZXT has also included a physical installation manual, which we really appreciate, as we still prefer a physical copy of installation instructions, and were happy to have them for this kit.
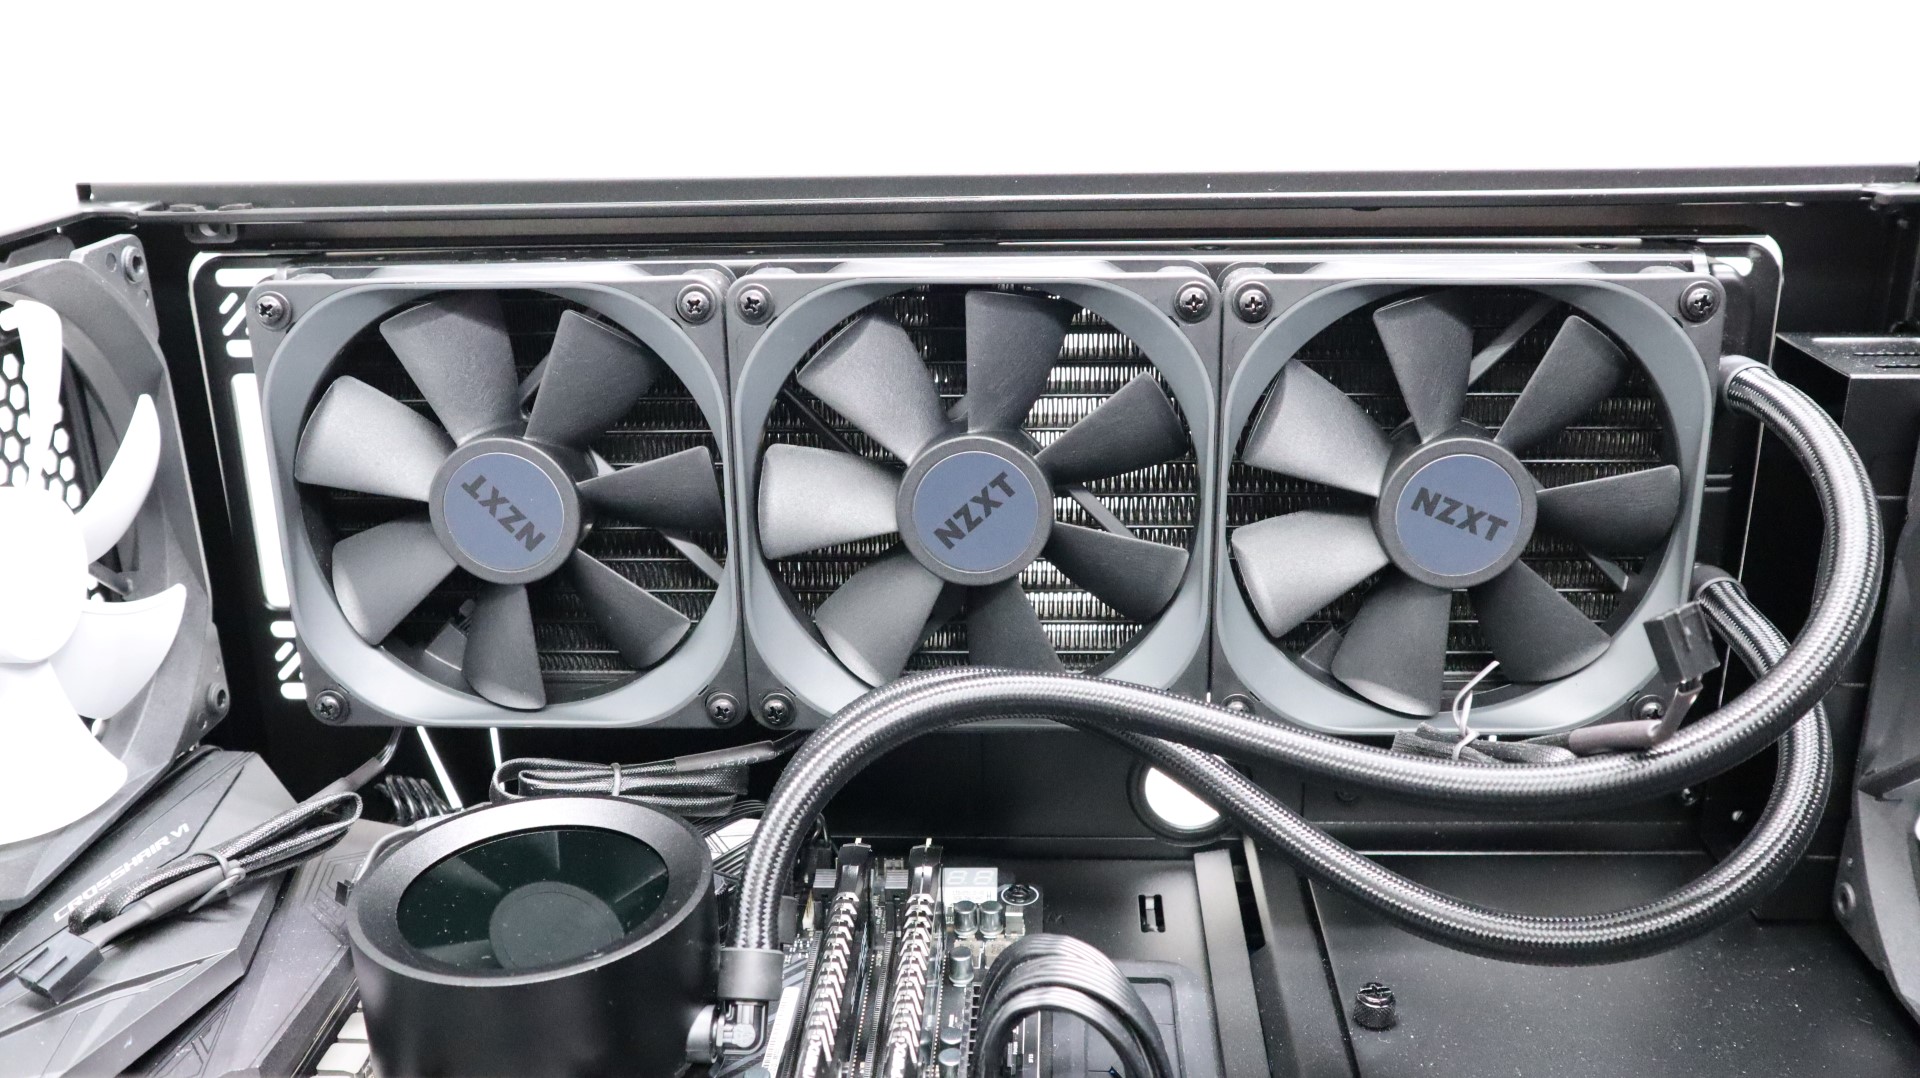
Our testing is performed with fans in a push configuration, so to get things started, we first needed to secure the three 120mm Aer P fans to the radiator using the supplied screws and washers. This is a very simple process, and as long as you line up the screws with the screw holes, and know how to use a screwdriver, there isn’t much else to it.
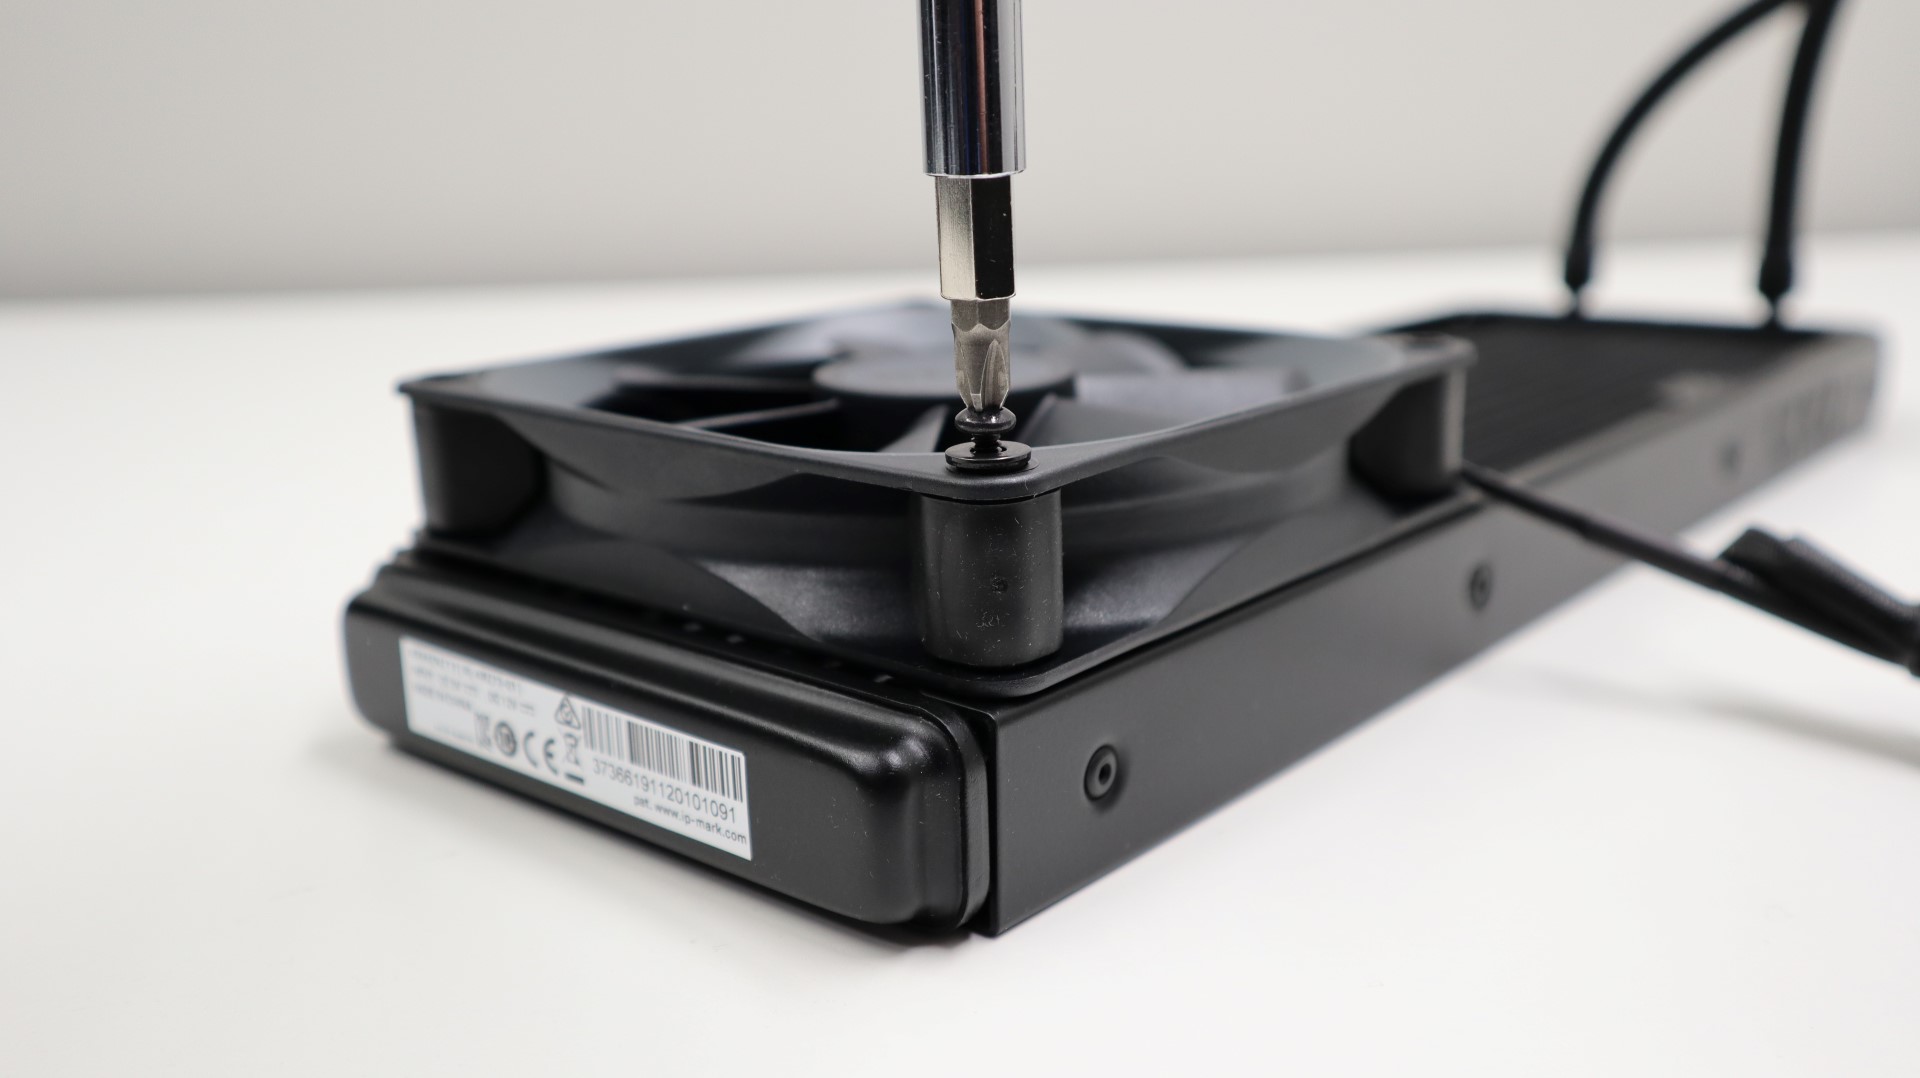
We did make sure to orient the fans in a way that the cabling was towards the motherboard tray in our case, as this will greatly help with cable routing.

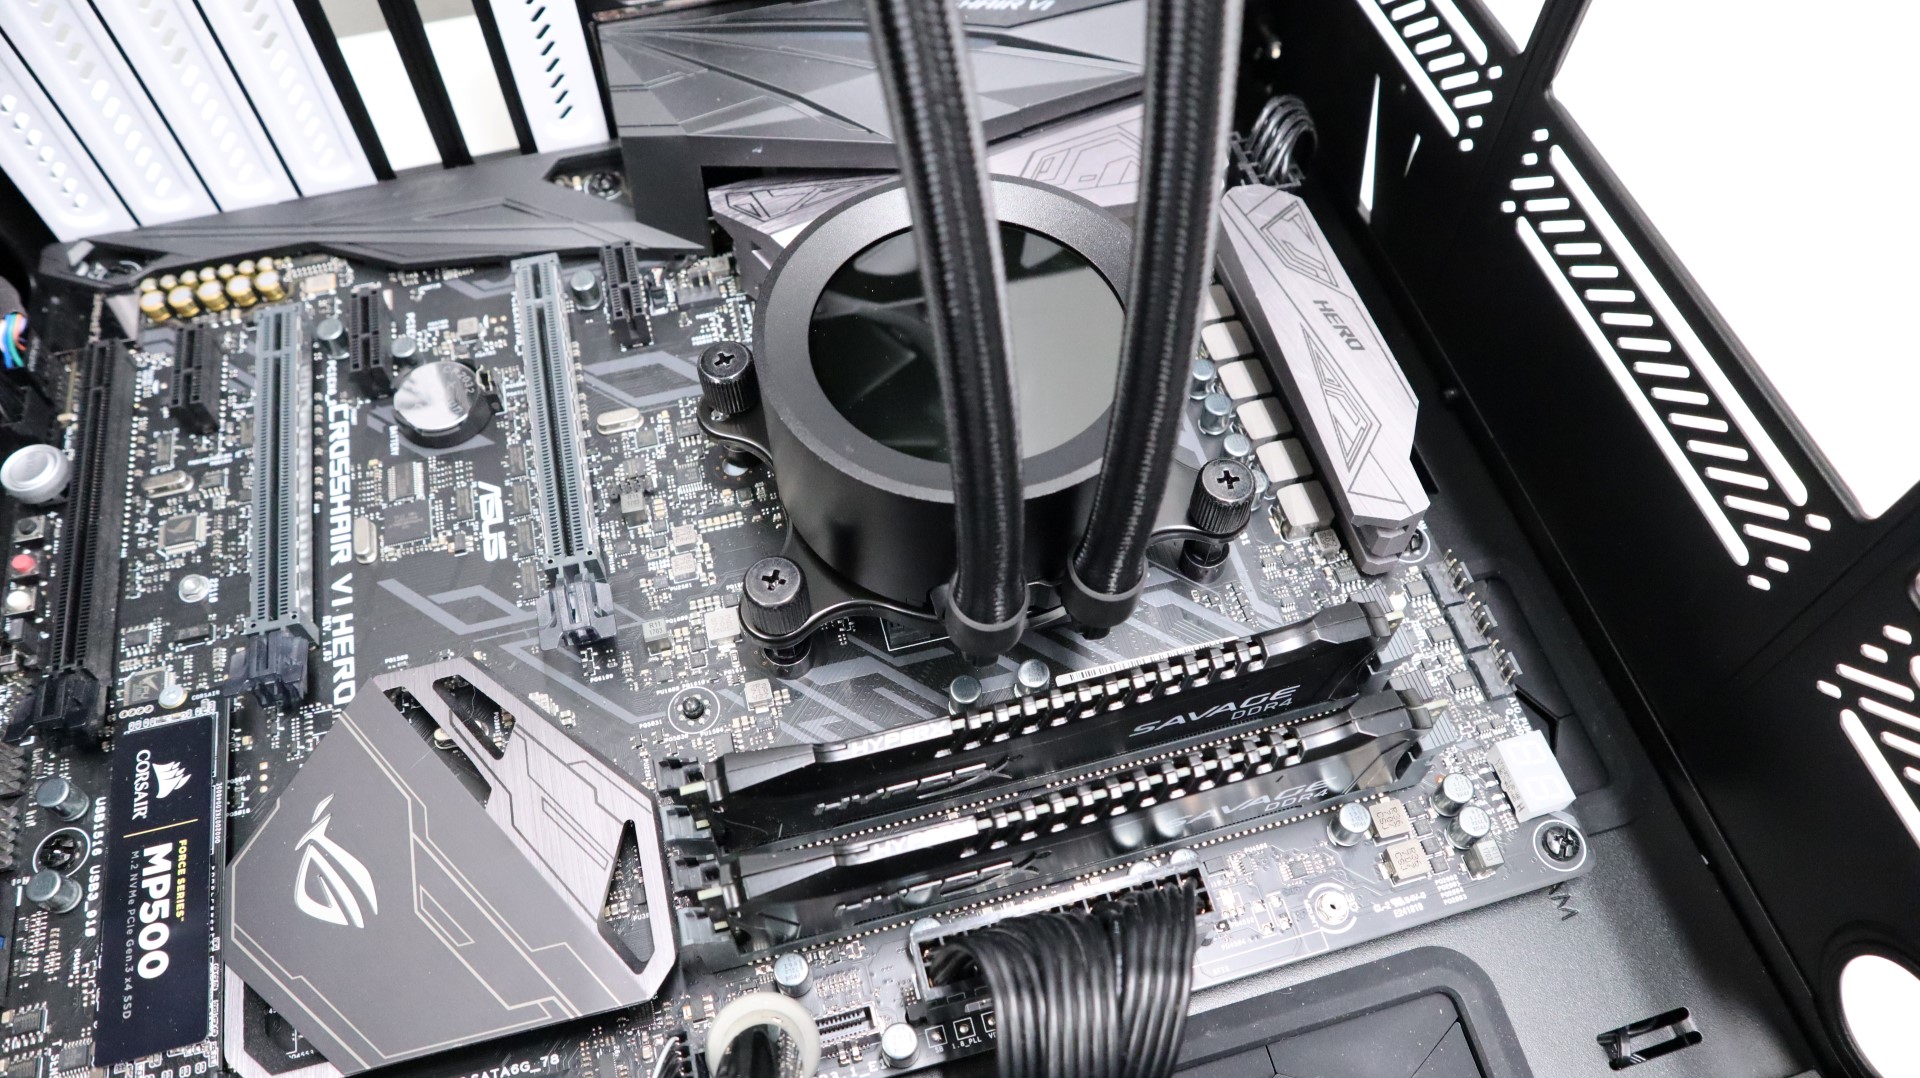
As we will be testing this AIO on our AMD 1800X-based test system, we first had to install the AM4 mounting hardware to the pump housing. Thankfully, NZXT has made this a very easy process, and no tools are required to attach the brackets to the pump housing. Bracket installation is as simple as rotating the Intel bracket off of the pump housing, and rotating the AMD bracket on. Our installation orientation kept things simple, with the cooling tubes exiting facing our memory slots, and the connectivity connections at the top of the pump housing.
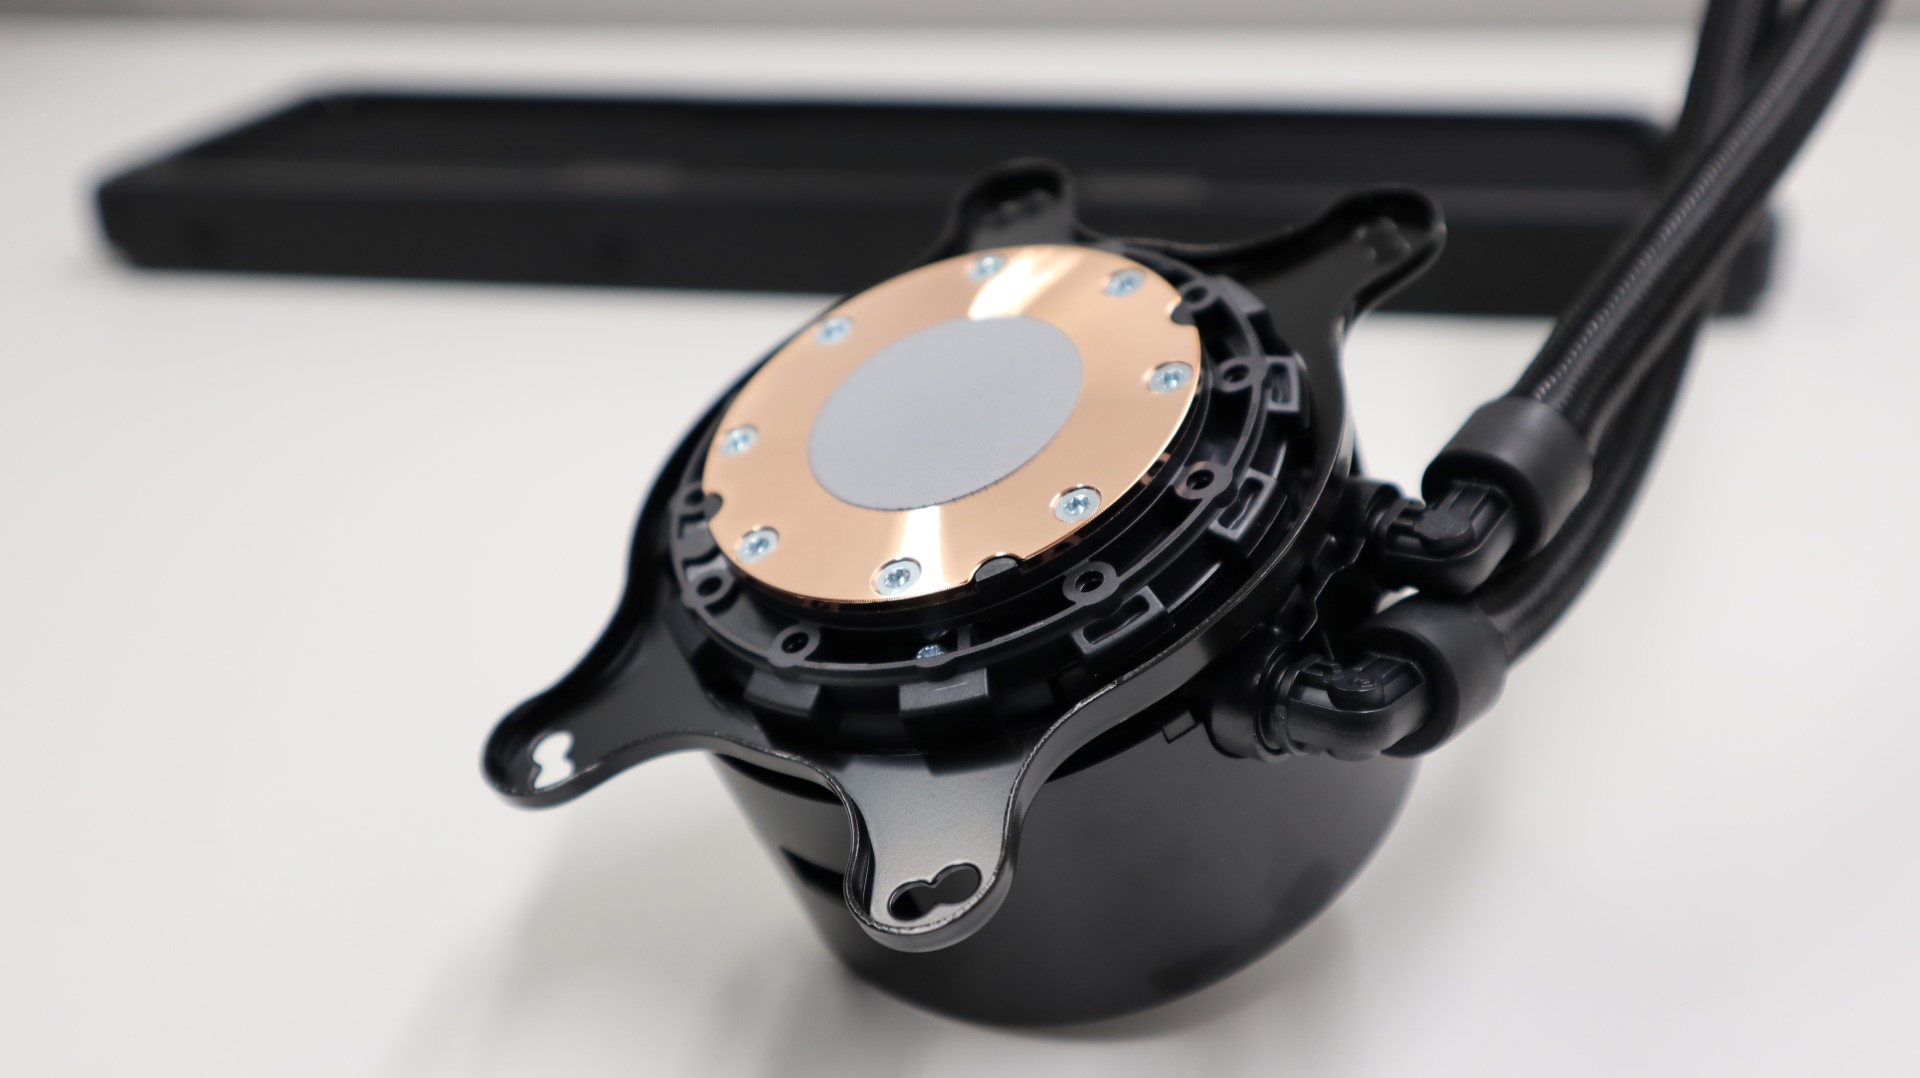

The Kraken Z73 does require you to remove the plastic mounting hardware for AMD systems, so with a few turns of our screwdriver, we were presented with four threaded standoffs to which we attached the included mounting hardware. With the four mounting screws installed, it was time for us to line up the pump housing’s brackets for installation. Thanks to NZXT providing pre-applied thermal interface material, we don’t have to worry about applying the proper amount of paste in the optimal pattern, something that is still being debated to this day.
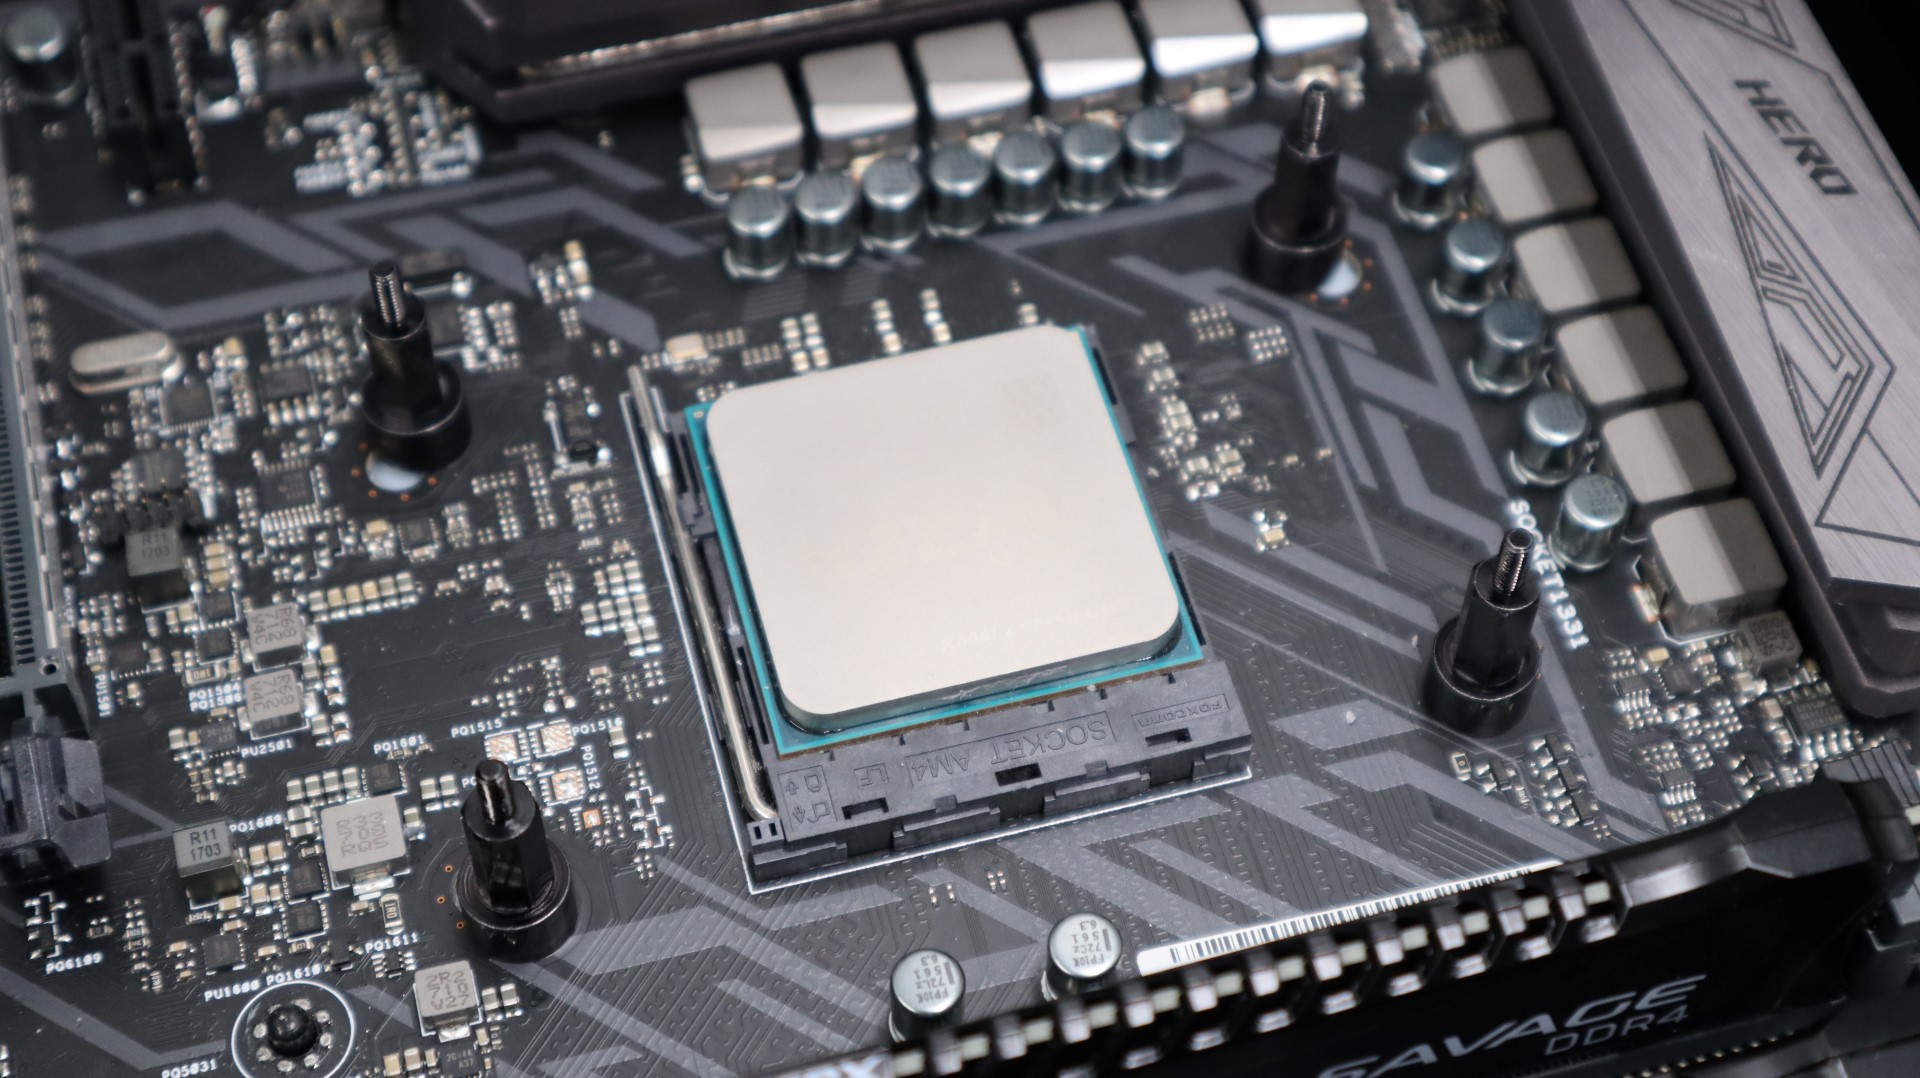
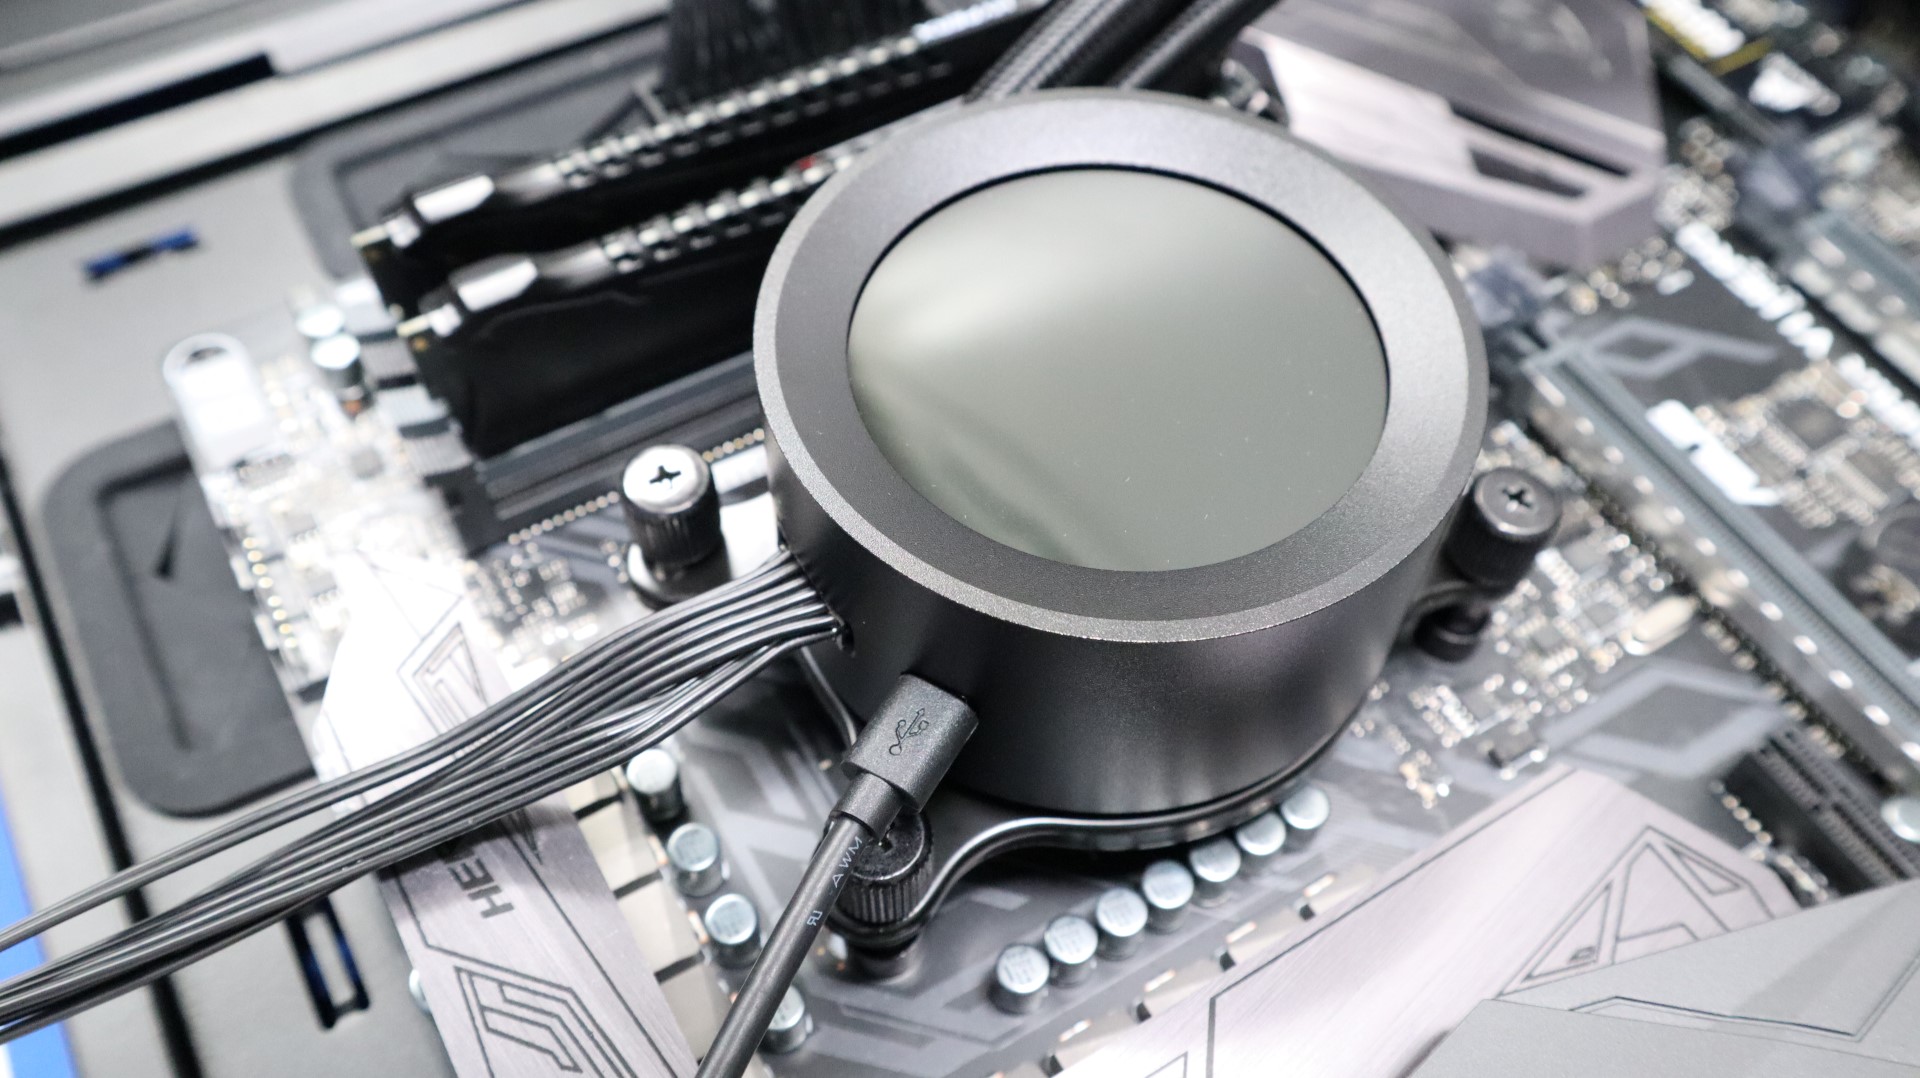
Placing the pump housing down over the mounting screws, we were then able to simply thread on each thumbscrew, using just our fingers to secure the cooler in its place. Attaching the breakout and USB cables to the pump housing is as simple as lining them up and plugging them in.
Routing each part of the breakout and USB cables to their associated power and motherboard connections is a simple task, and we found that each cable was of an adequate length to do so.
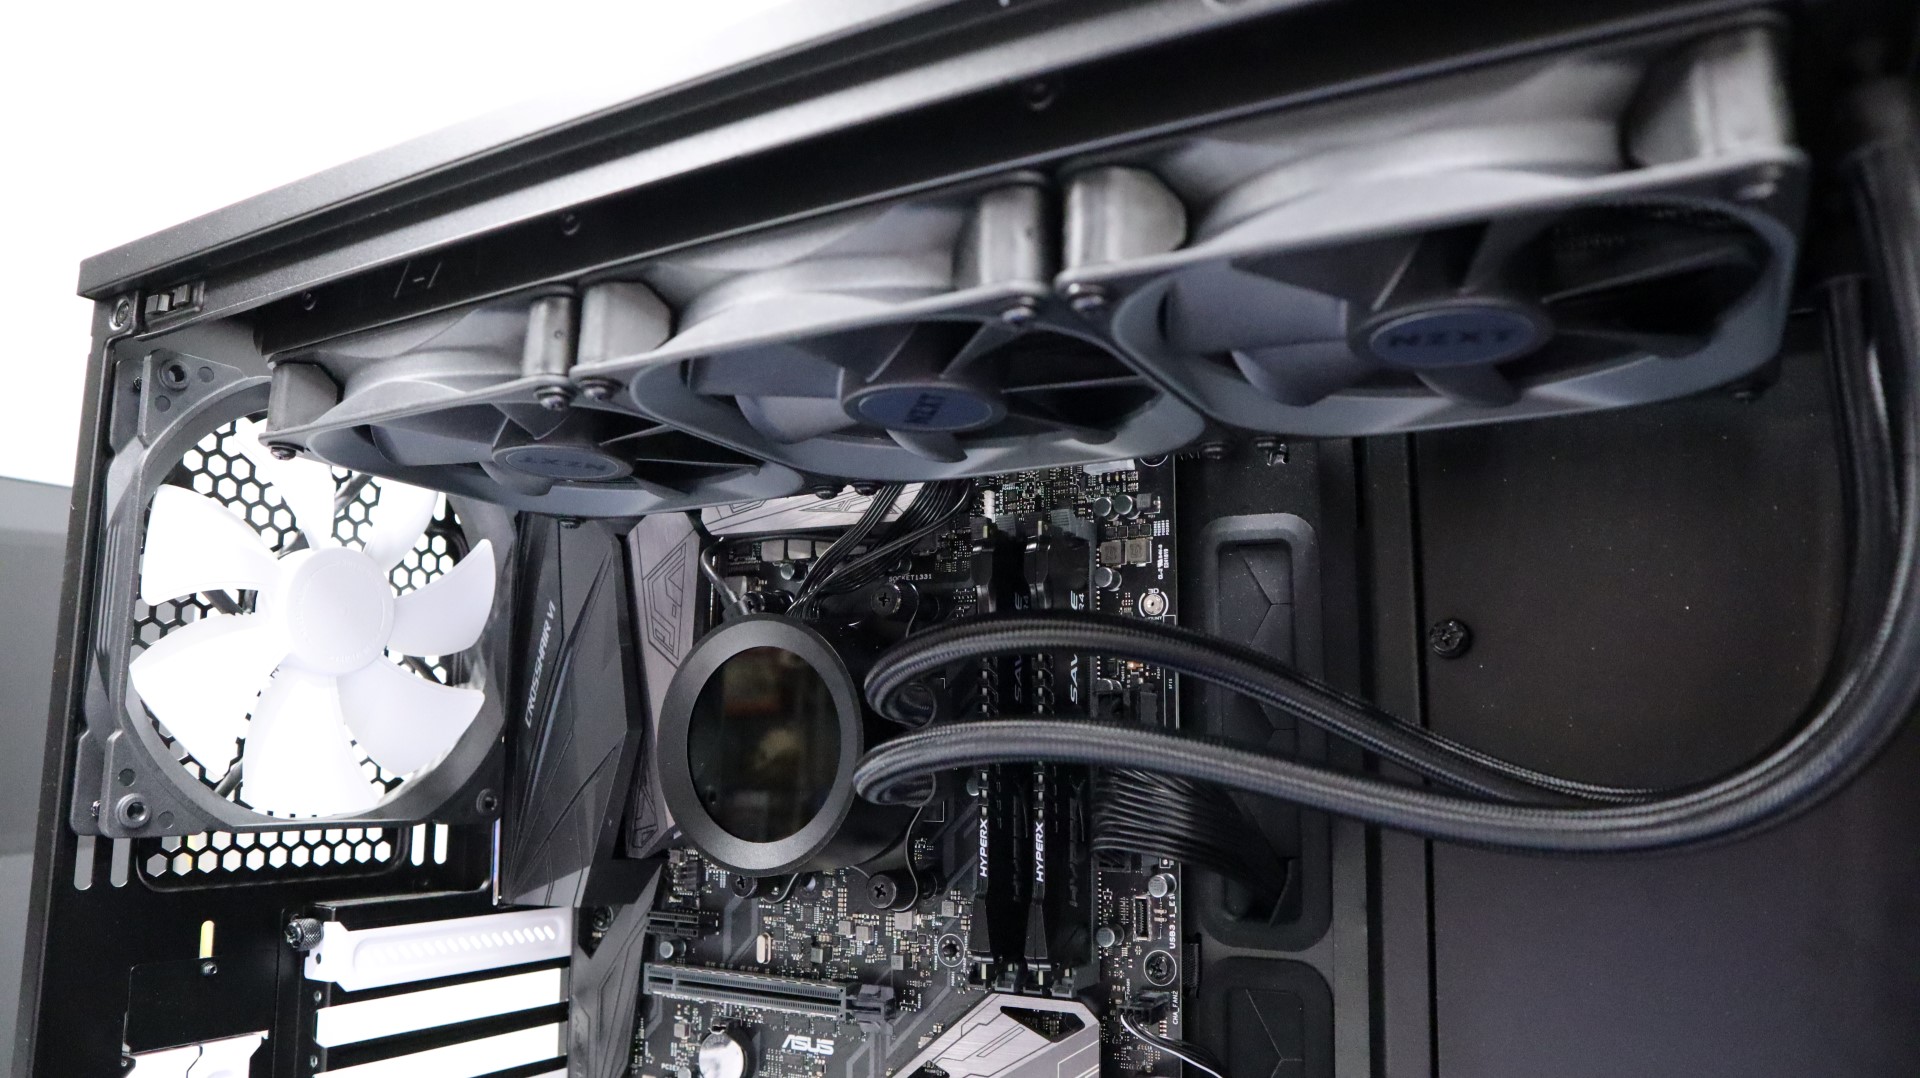
With the pump housing attached to our motherboard, it was time to secure the radiator and fans to the top of our case. Using the twelve included radiator screws and washers, we mounted the Kraken Z73’s 360mm to the top of our case with ease, routing the attached coolant tubing down and over to the side of the pump housing. Again, we want to mention how nice it is to have swiveling fittings on the pump housing for easy installation.
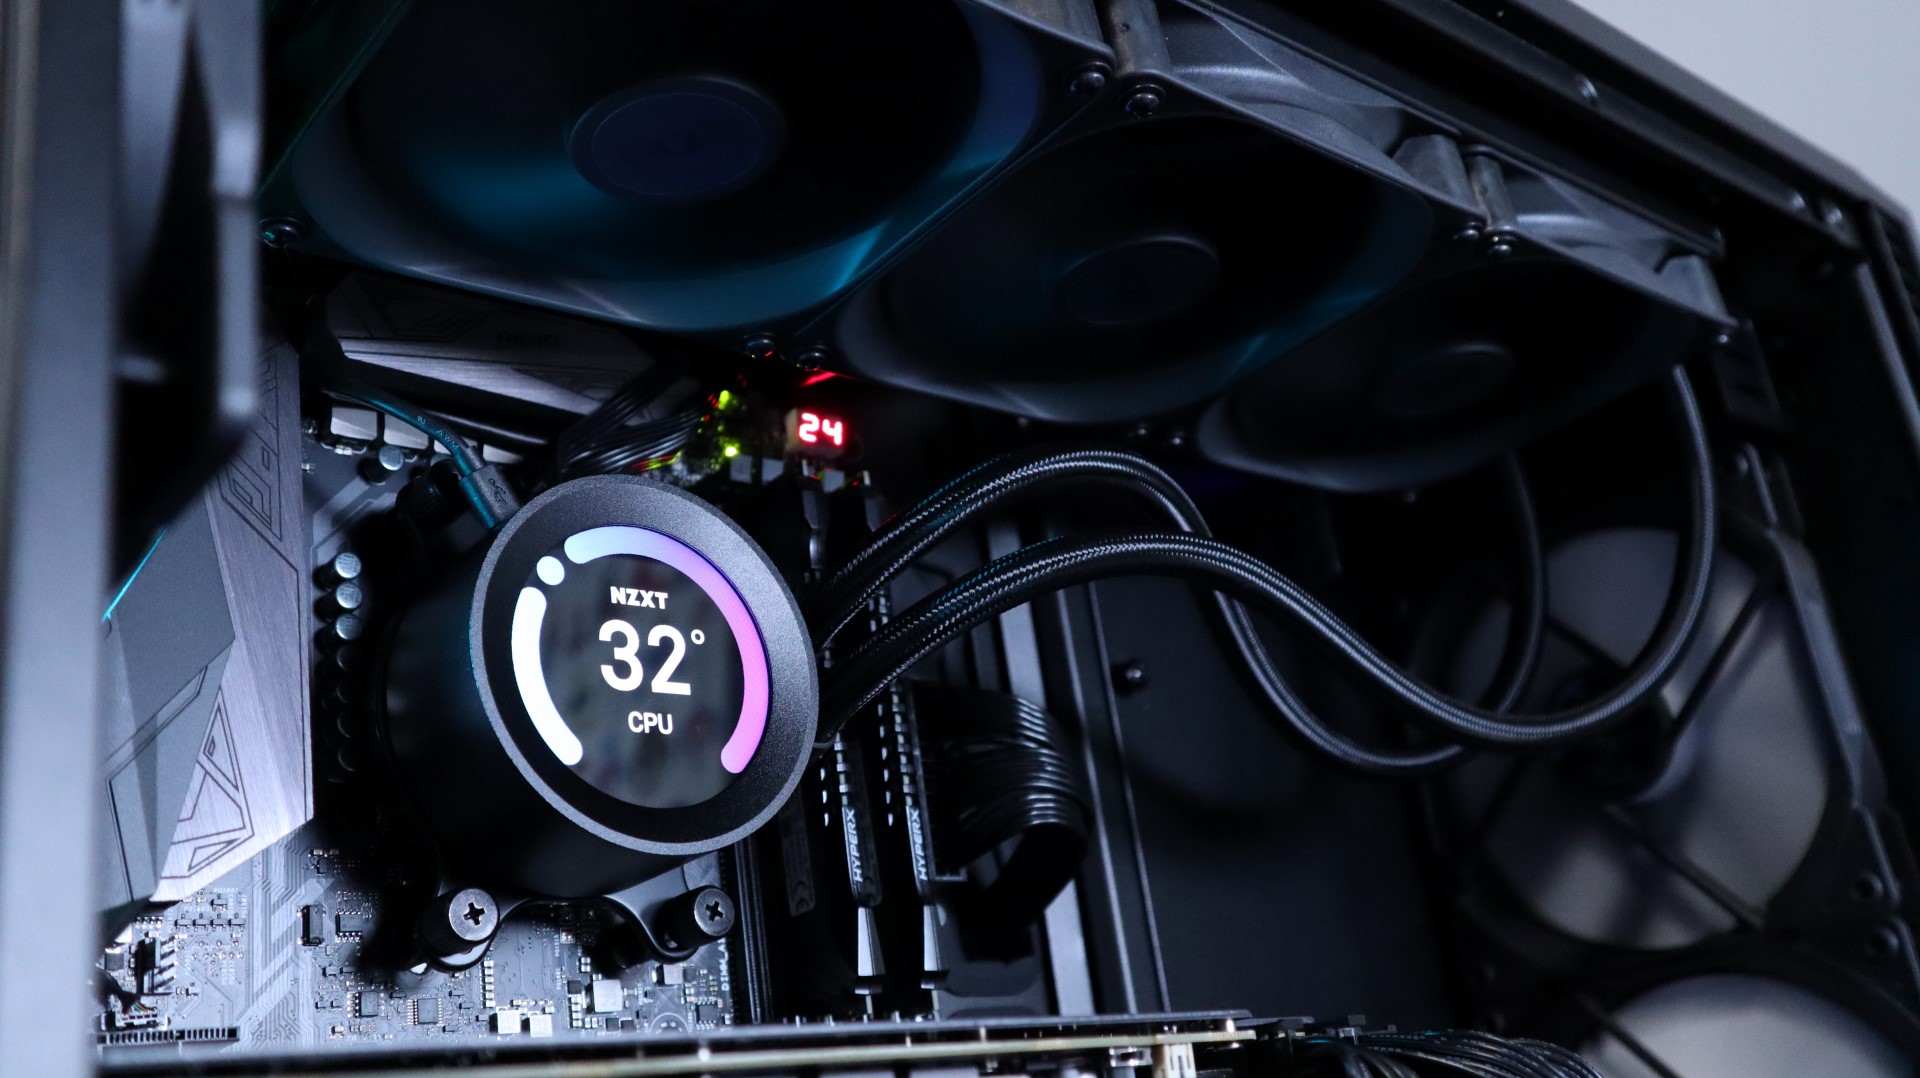
With the cooler fully installed and wired up, we were ready to fire up our system to not only see how it performs, but to see just how that LCD screen looks in action.