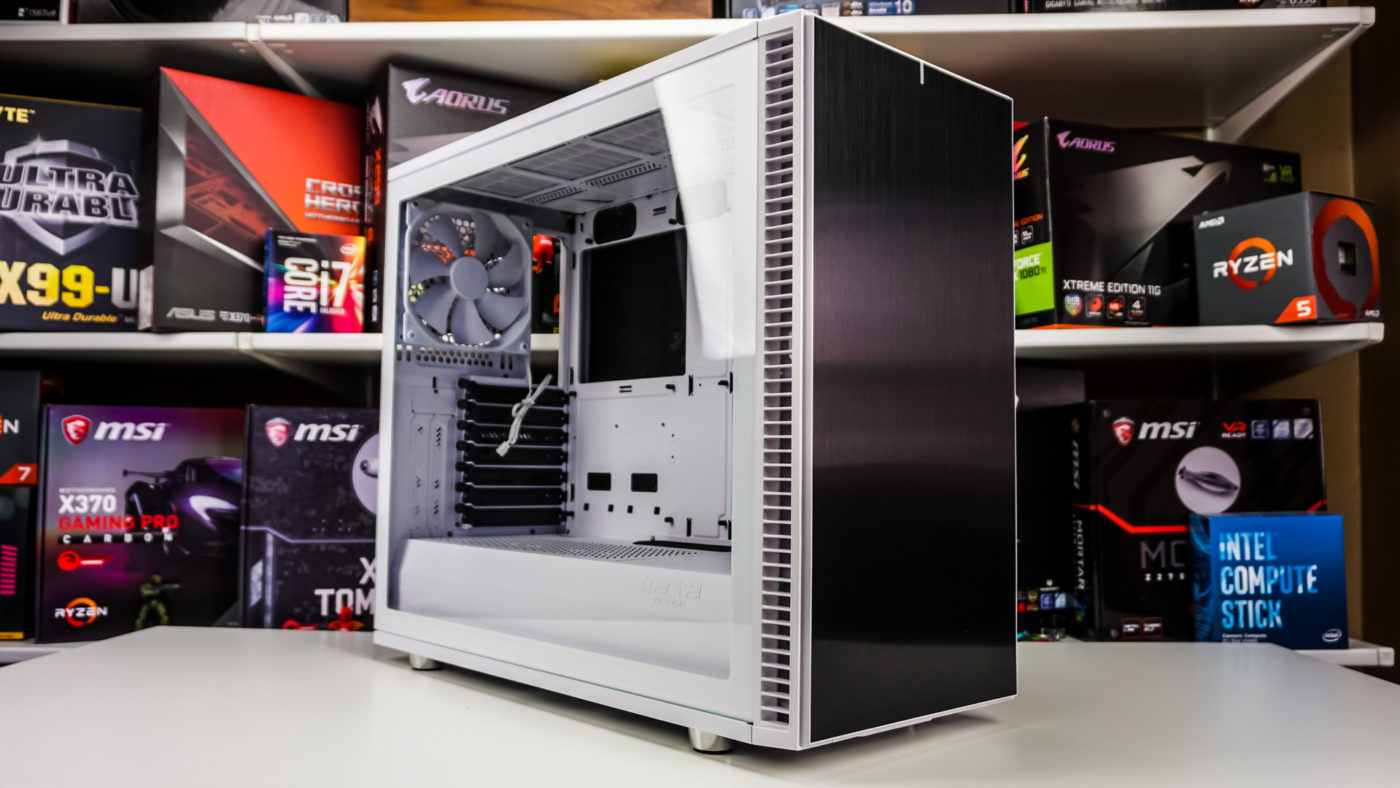
Installation
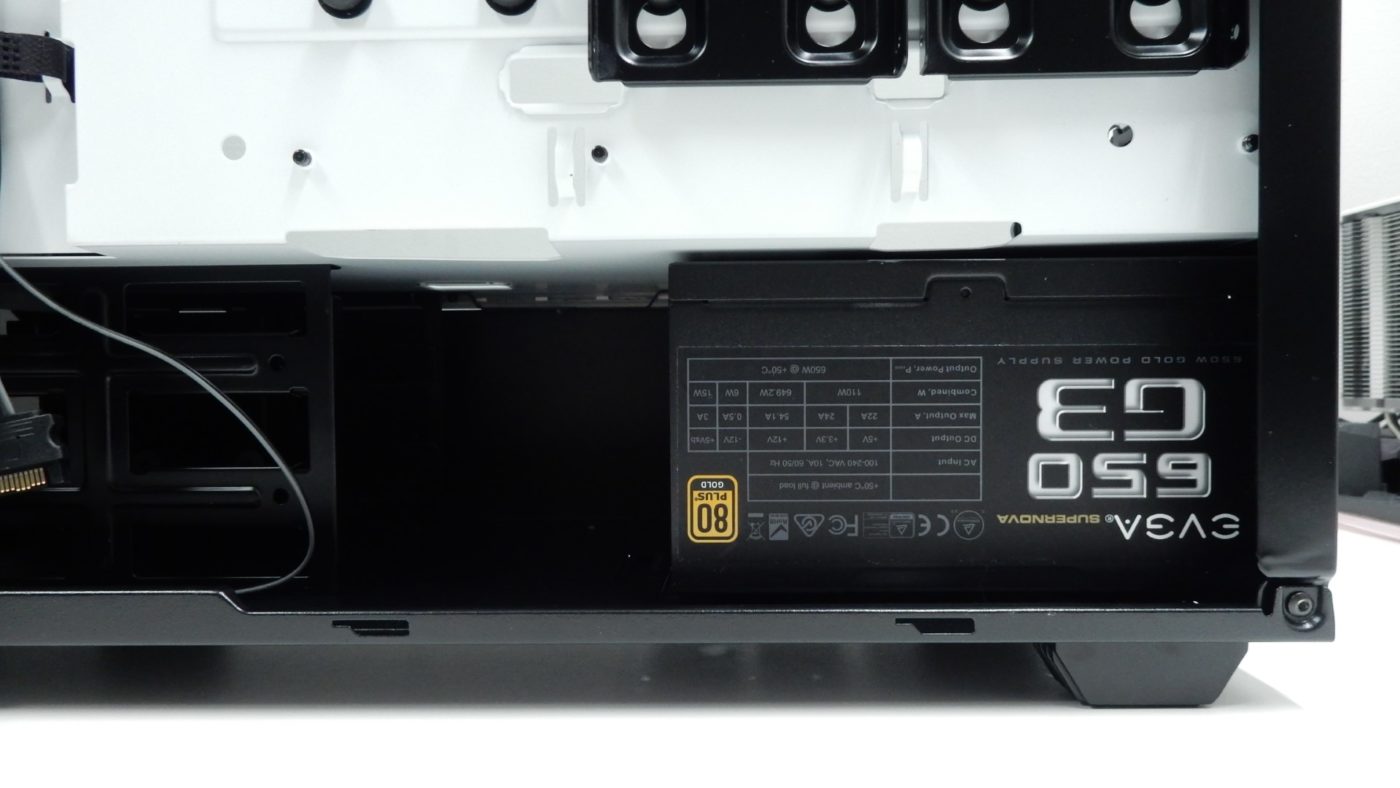
When starting a build, the first component we typically install is our modular power supply. This didn’t used to be the case when power supplies were non-modular, as all of the cabling was a pain to work with, but with modular units it is easier to get components into place and then install the necessary power cables. Installation of the power supply is quite trivial, as the unit can simply slide in from the right side of the case and be secured with four screws. There is quite a bit of room between our power supply and the 3.5″ drive cage, but if things get a bit tight, the drive cage can be removed with a few screws to allow for a ton of extra space for extra cabling.
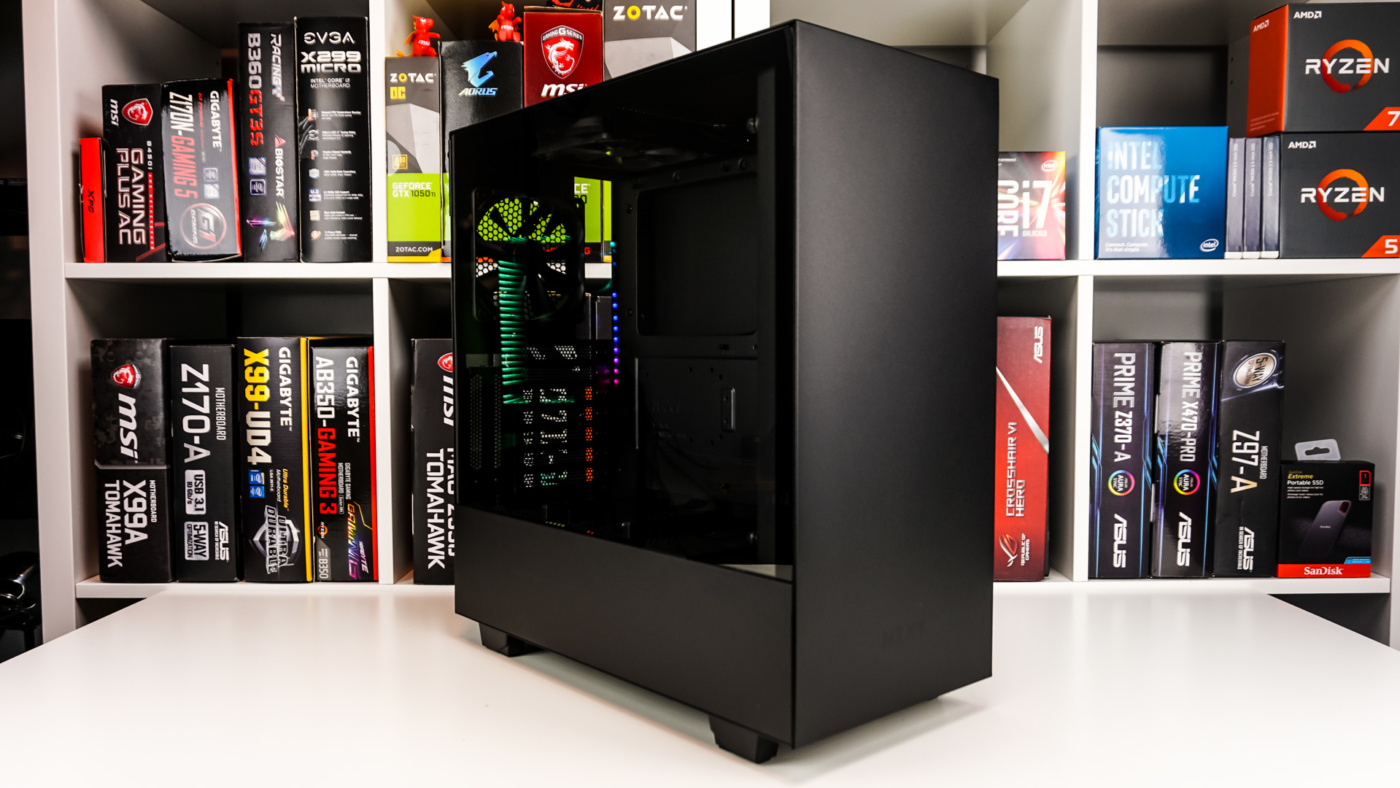
Next up was our motherboard installation, and while we didn’t have any issues with this portion of our build, we did want to point out one of the areas where the small stature of the case should be taken into consideration. The first is at the top of the case, where as we previously mentioned, 140mm fans may not fit, and 120mm will be a better option.
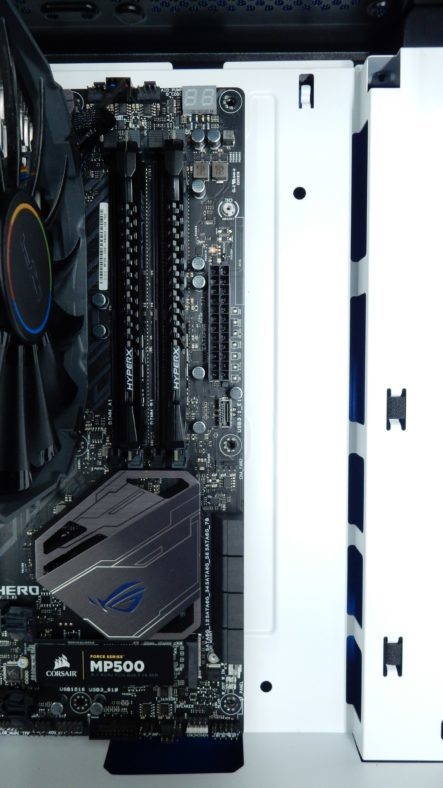
To the right of the motherboard we have plenty of room for our 24-pin ATX power cable and SATA cables thanks to the numerous cable management openings.
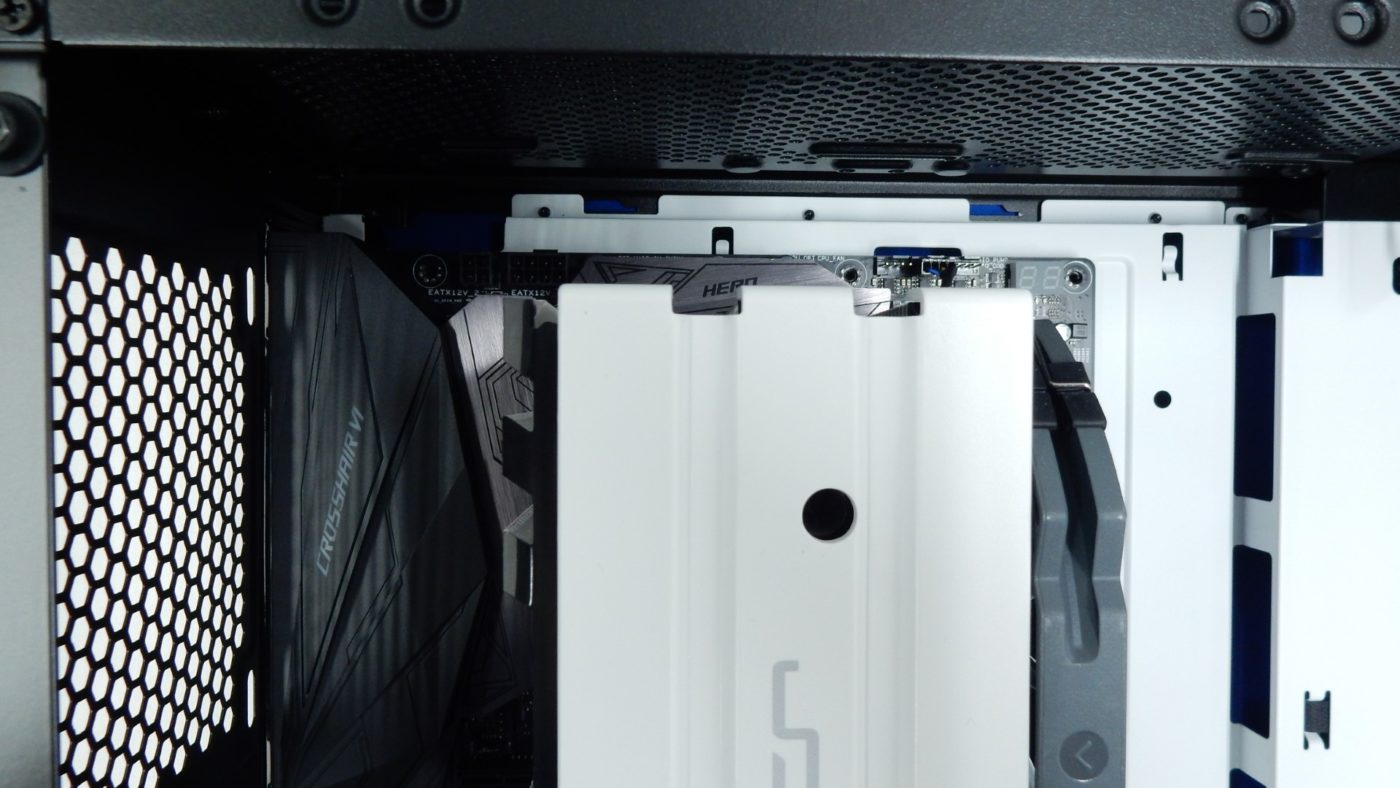
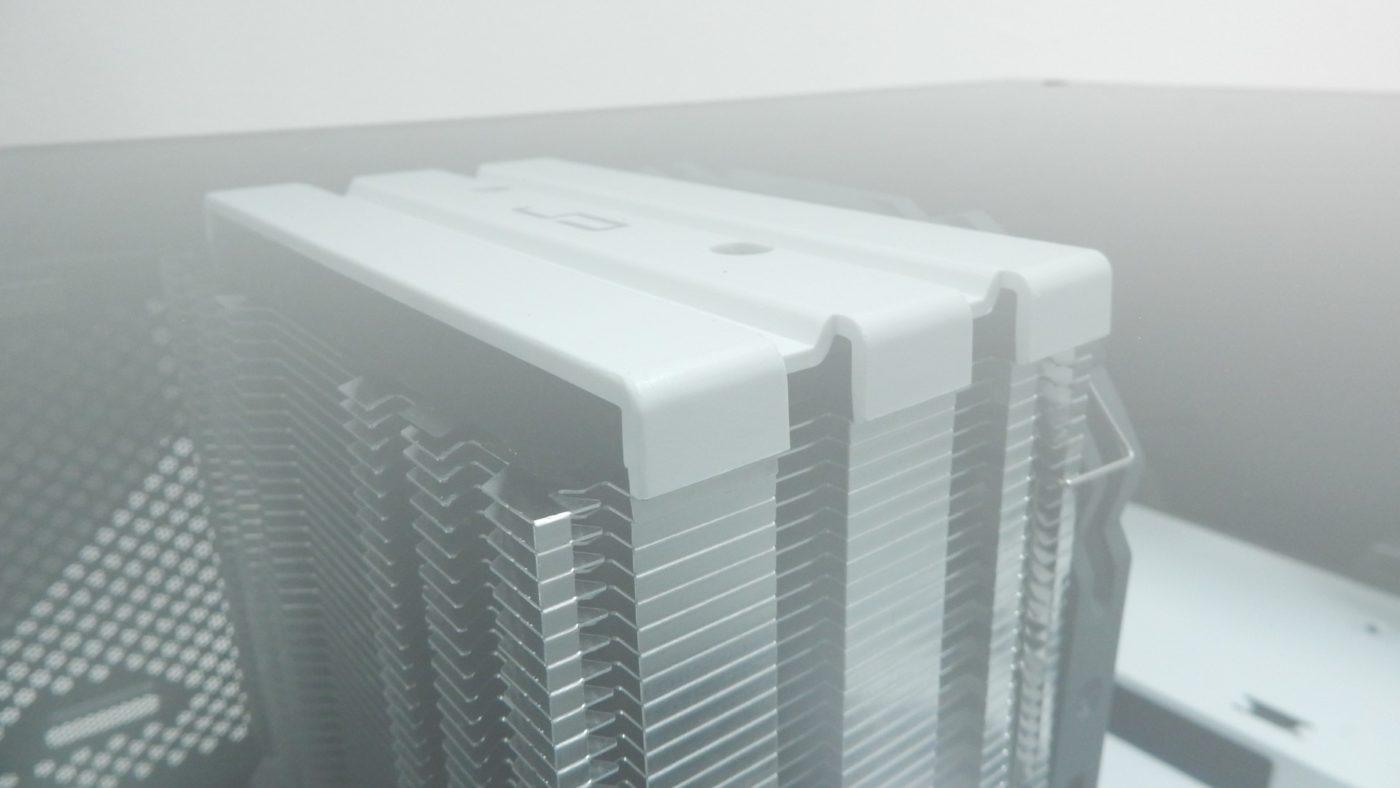
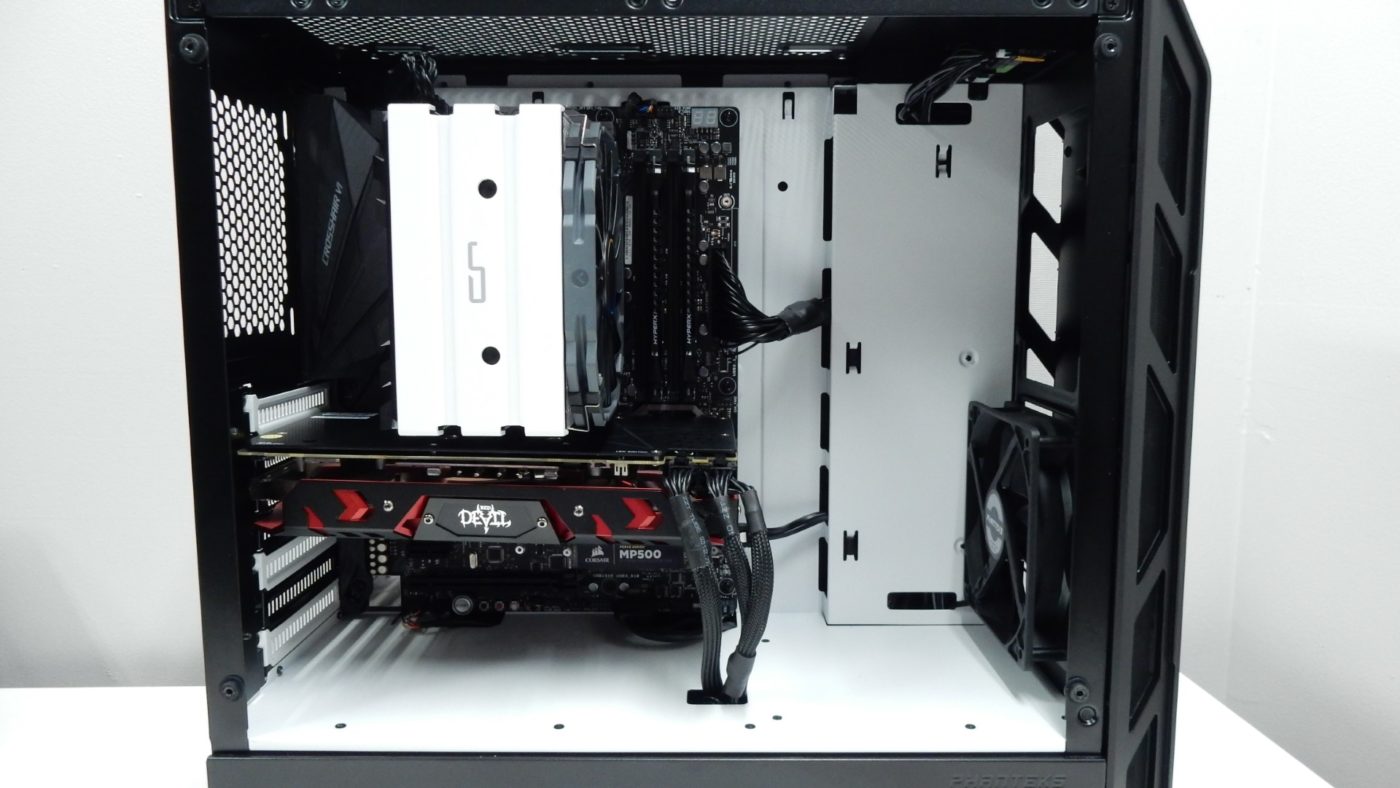
Another area where things get a bit tight is with regards to CPU cooler height and the tempered glass panel. The Eclipse P350X supports coolers up to 160mm, so be sure you have enough clearance. Our build utilizes the Cryorig H5 Universal, which just happens to be a 160mm cooler.
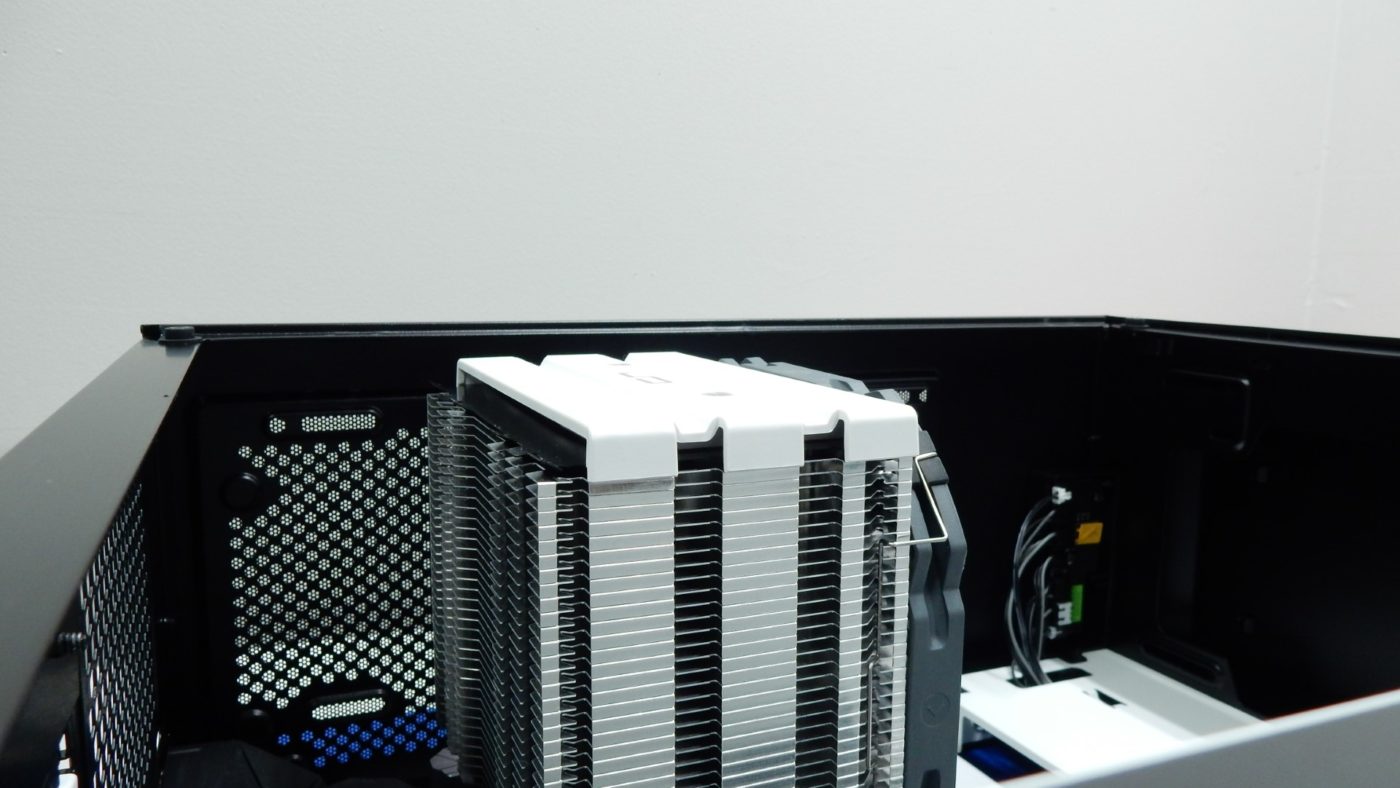
We were a bit worried about clearances at first, but with the side panel installed, there is still enough of a gap that the cooler and panel don’t touch.
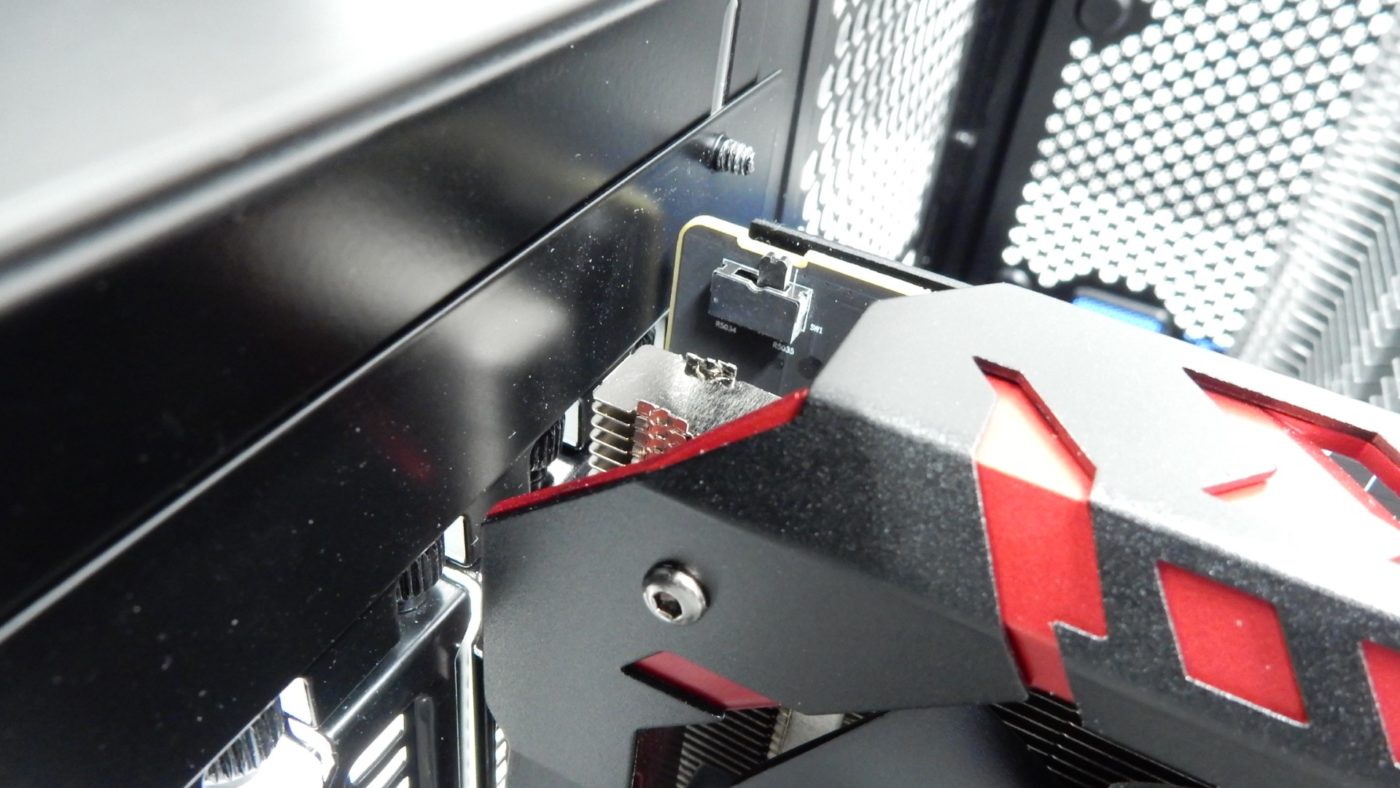
Next up was our videocard, and its installation went fine, but again we ran into an spot where clearances could be an issue depending on your components.
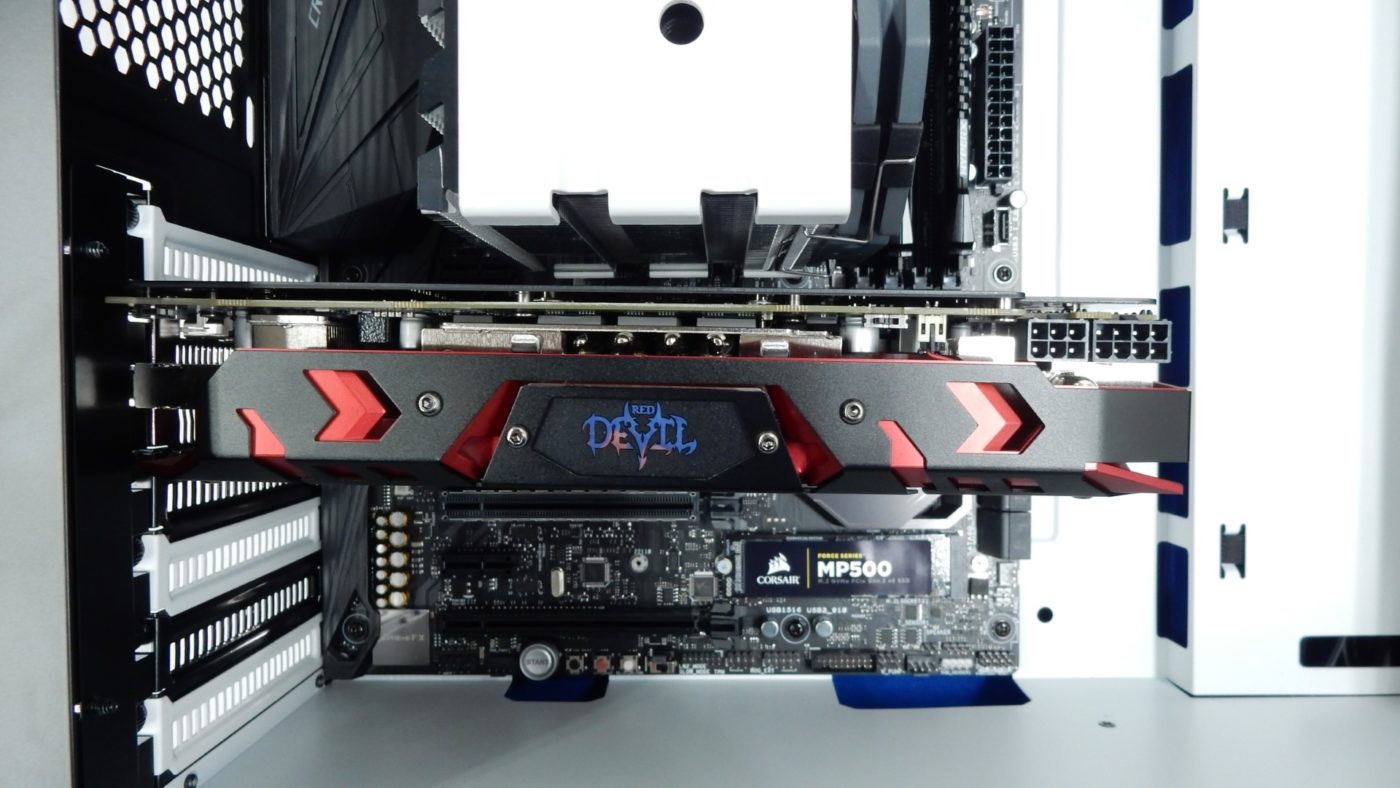
The PCB of our PowerColor RX 580 was just short enough to clear the back panel of the case, and we think most other cards will be fine here as well.
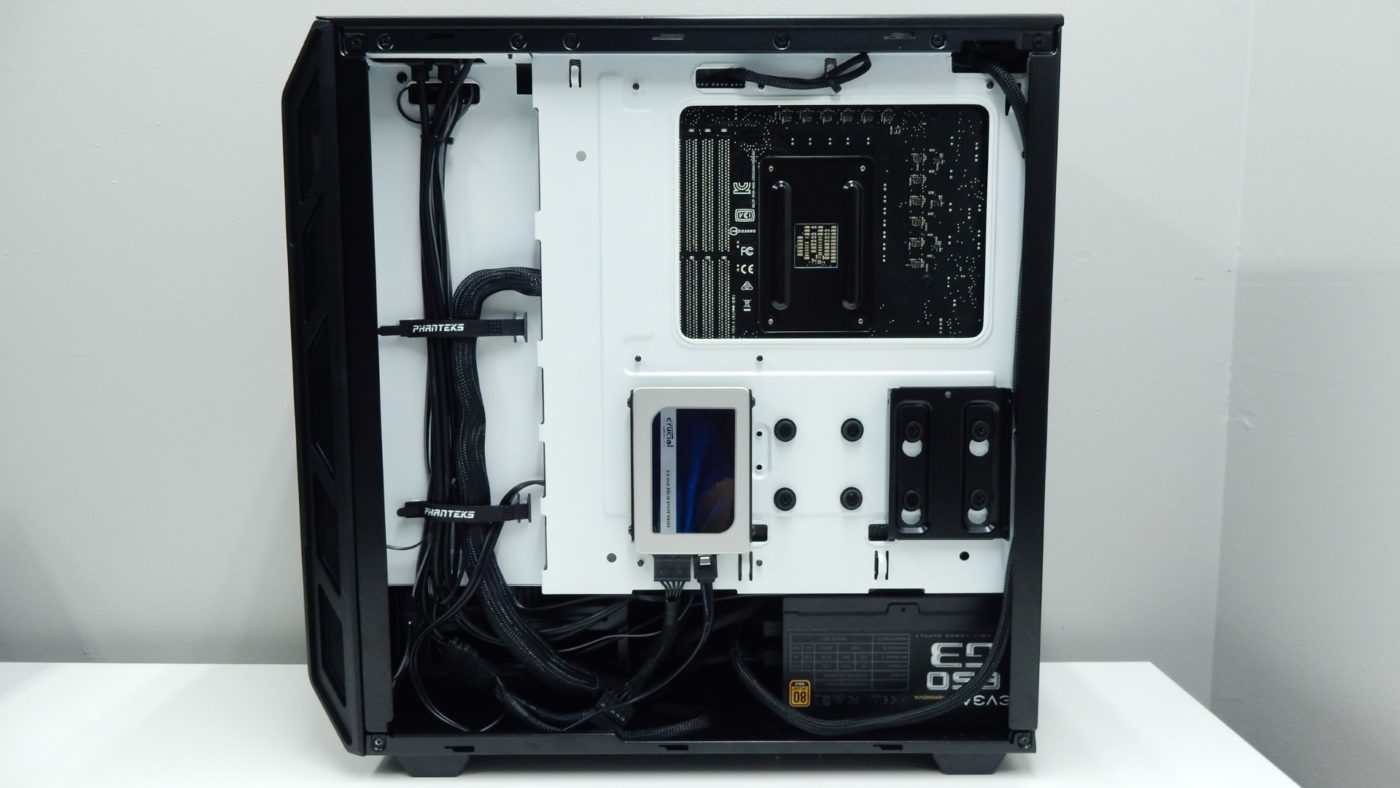
Moving around behind the motherboard, we installed our single 2.5″ SSD on the left-most location. We really like Phanteks’ drive brackets, as they offer a secure, yet adjustable mounting method.
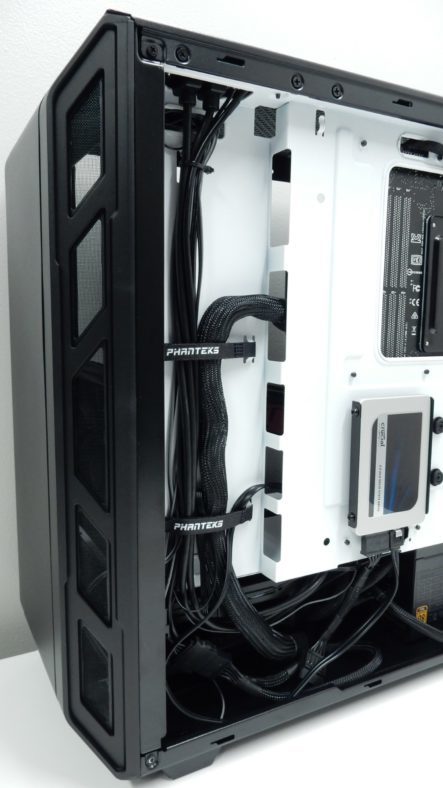
With the drive installed, we went to town running all of our power and data cables, utilizing the included cable management options along the way. This led to a pretty clean cabling setup in the back of the case, as well as in the main chamber.
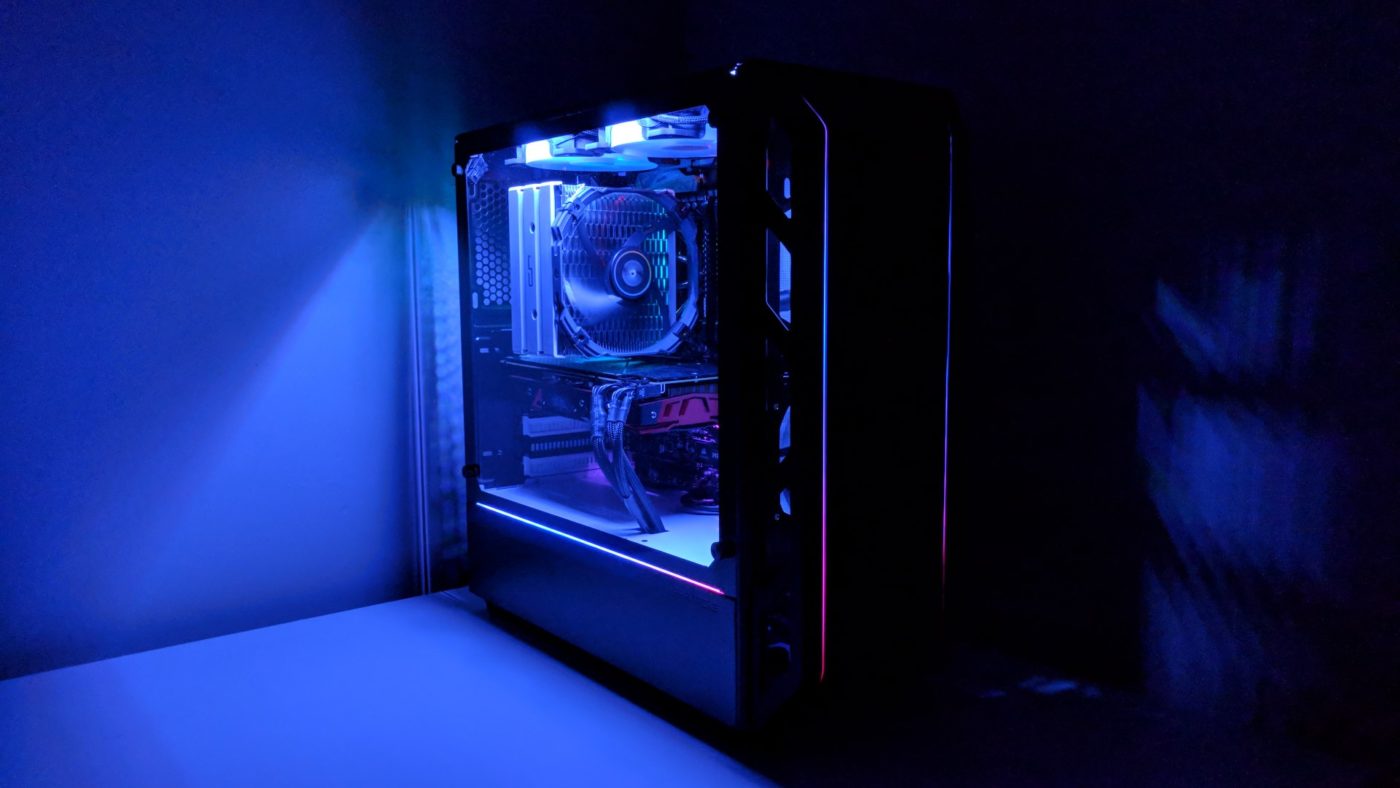
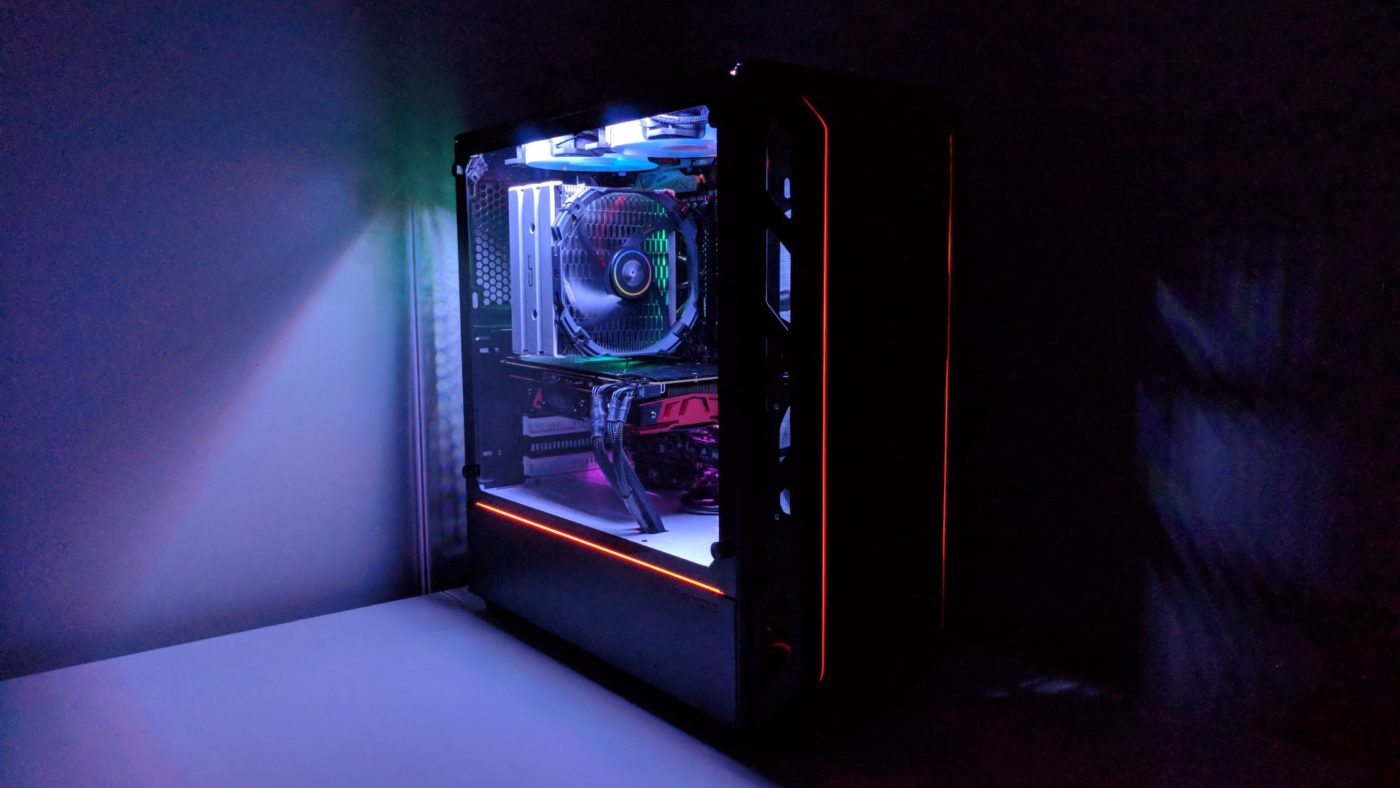
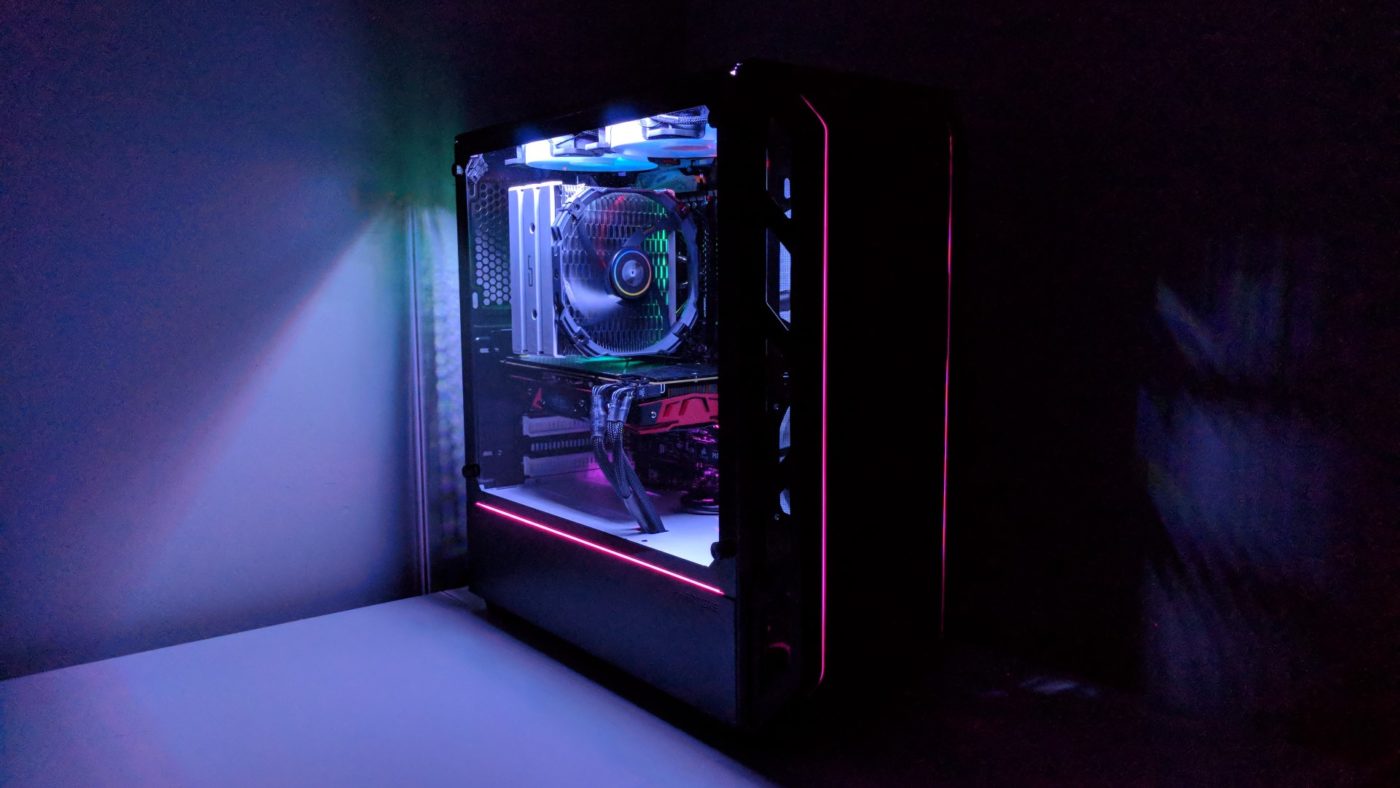
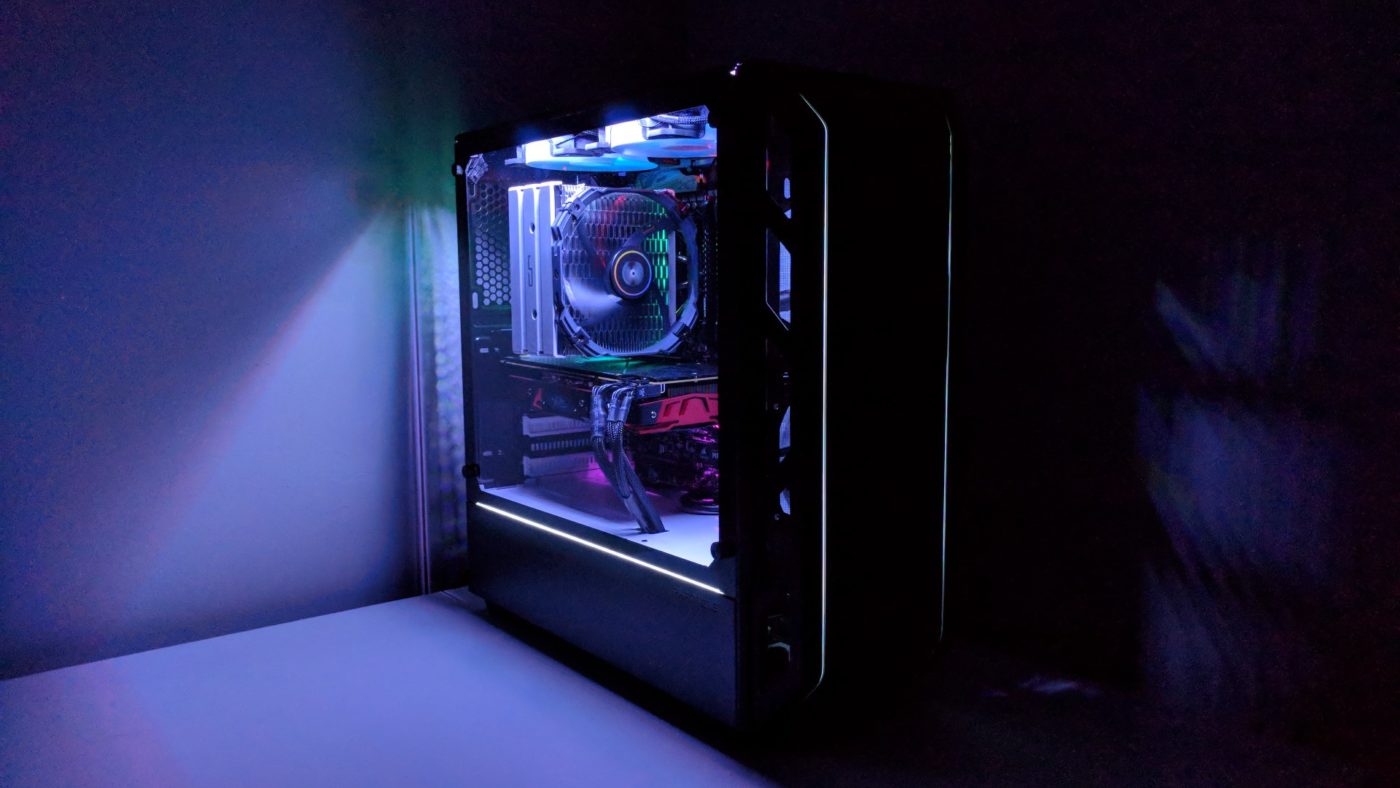
Lighting
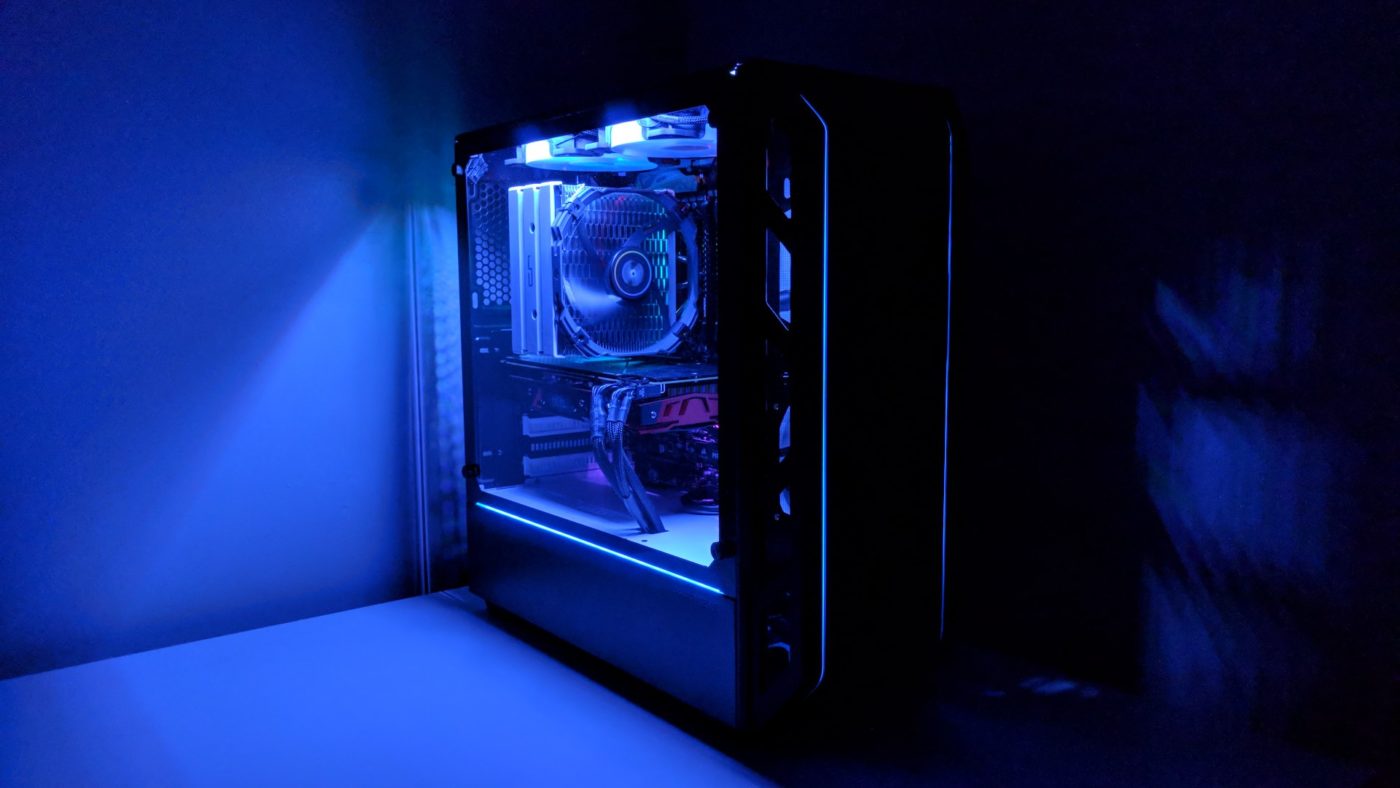
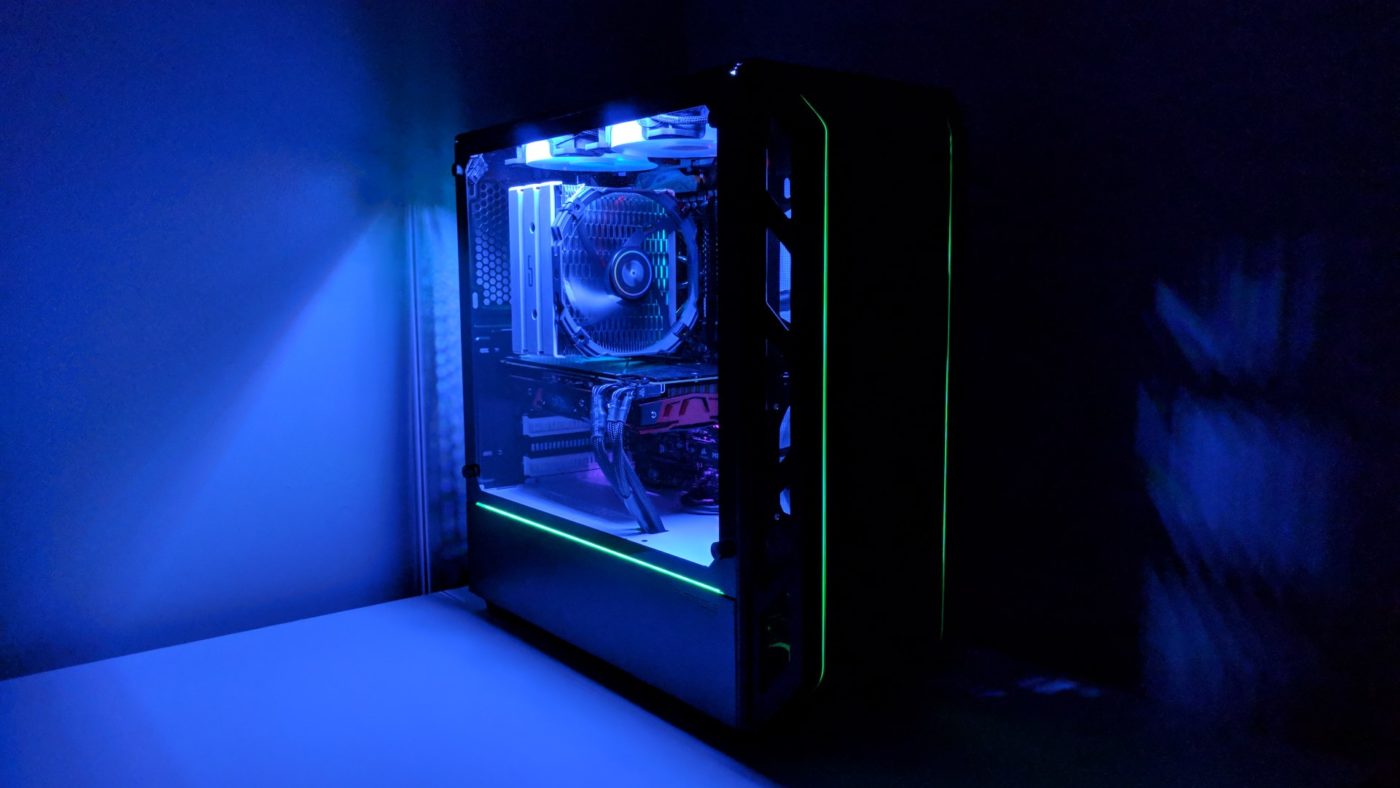
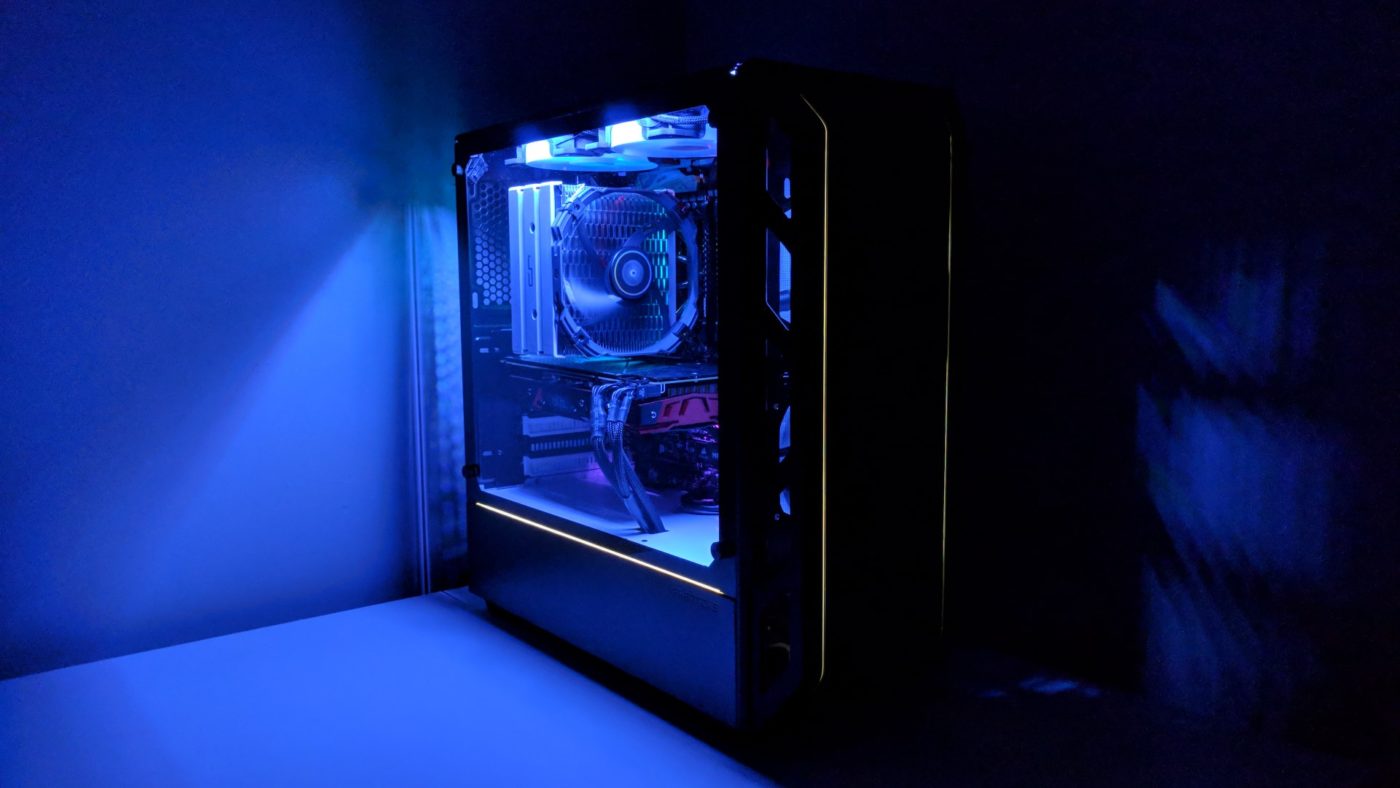
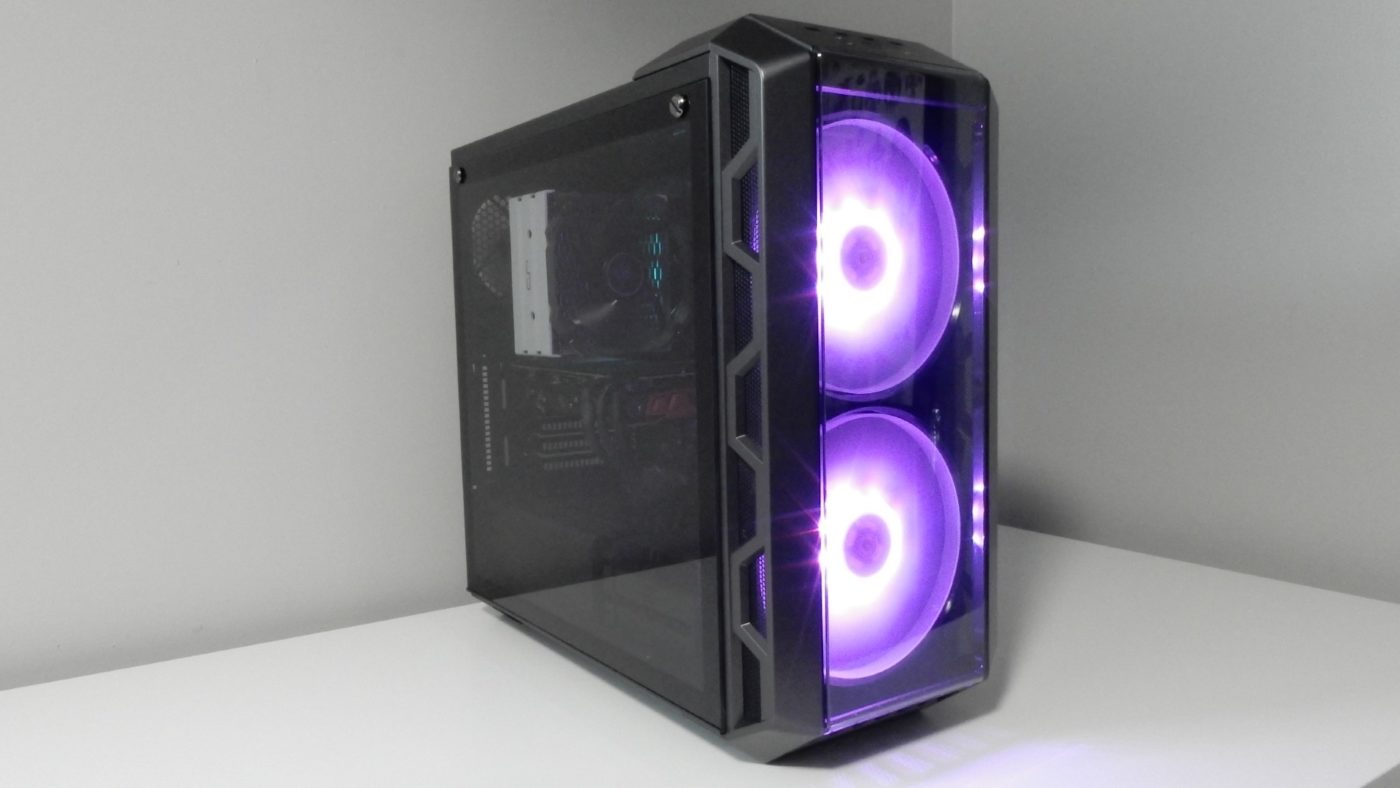
One of the great features of the Phanteks Eclipse P350X is the integrated D-RGB LED lighting. When we saw this case at CES, we were amazed that Phanteks was planning to offer this case with the included lighting at such a low price. As we mentioned earlier, the P350X has three D-RGB LED light bars that, by default, are controlled by two buttons on the top of the case. The lighting can also be controlled by a compatible ASUS Aura Sync or MSI Mystic Light Sync motherboard. The D-RGB controller on the P350X can cycle between five modes; Solid, Breathing, Radar, Sparkle, and Rainbow. The first four modes can then be set to one of 10 colors, while the Rainbow mode can cycle between seven multi-color effects.
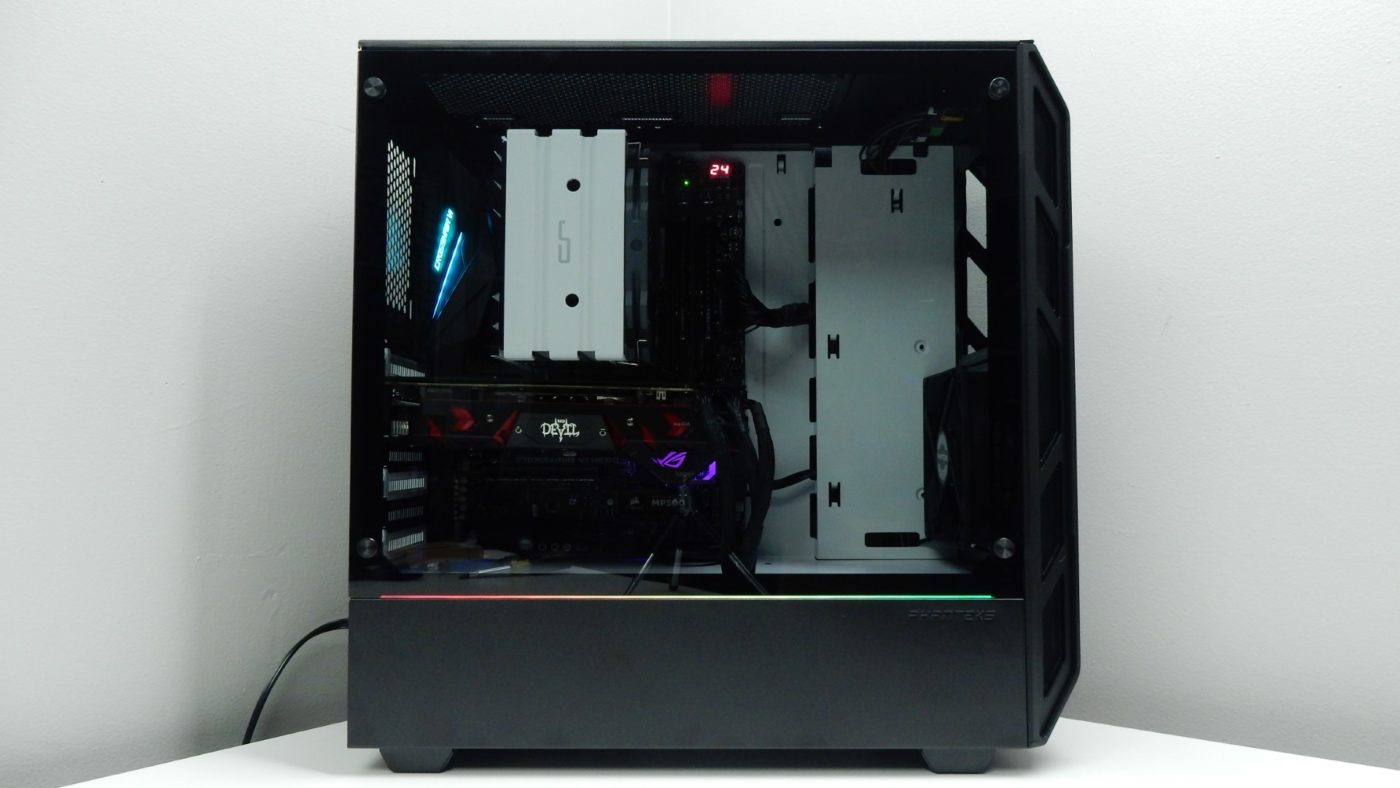
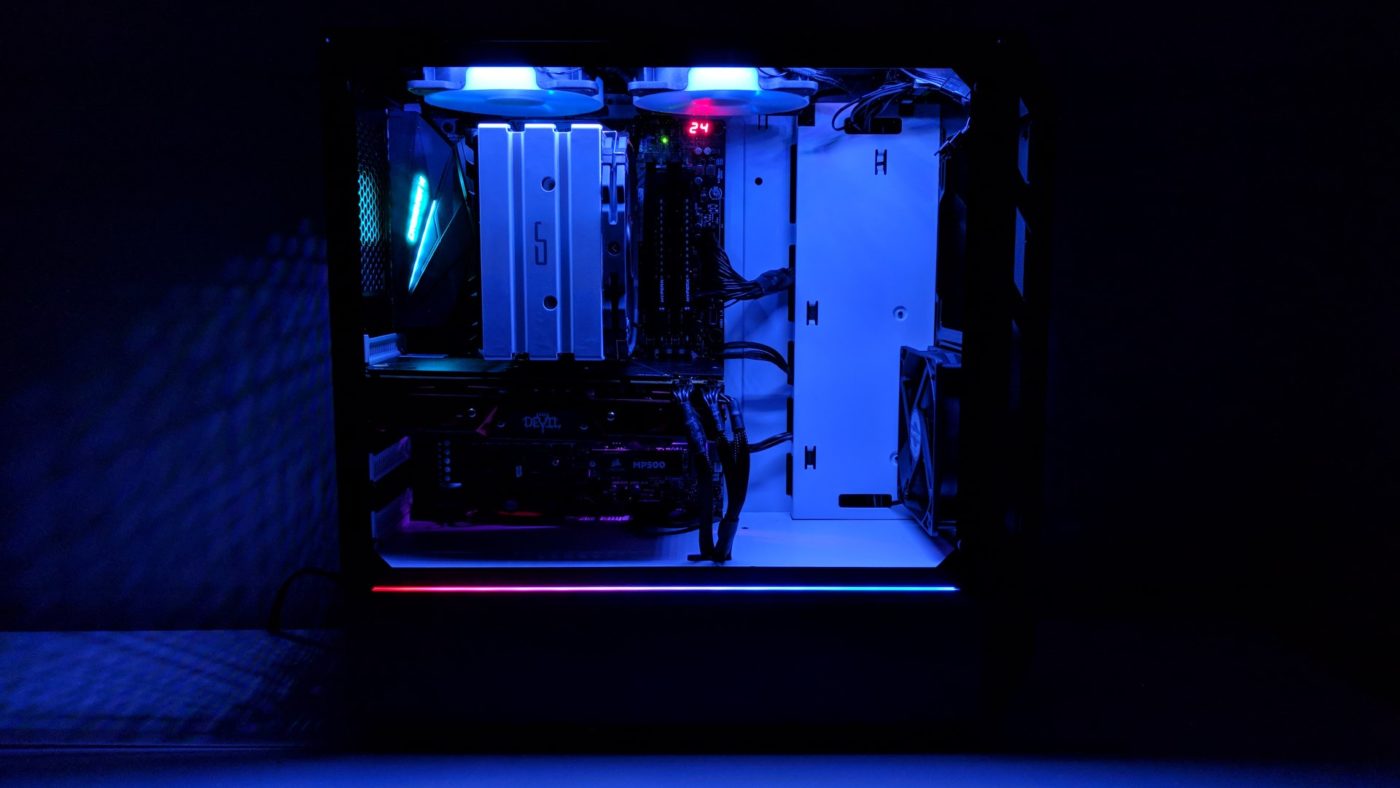
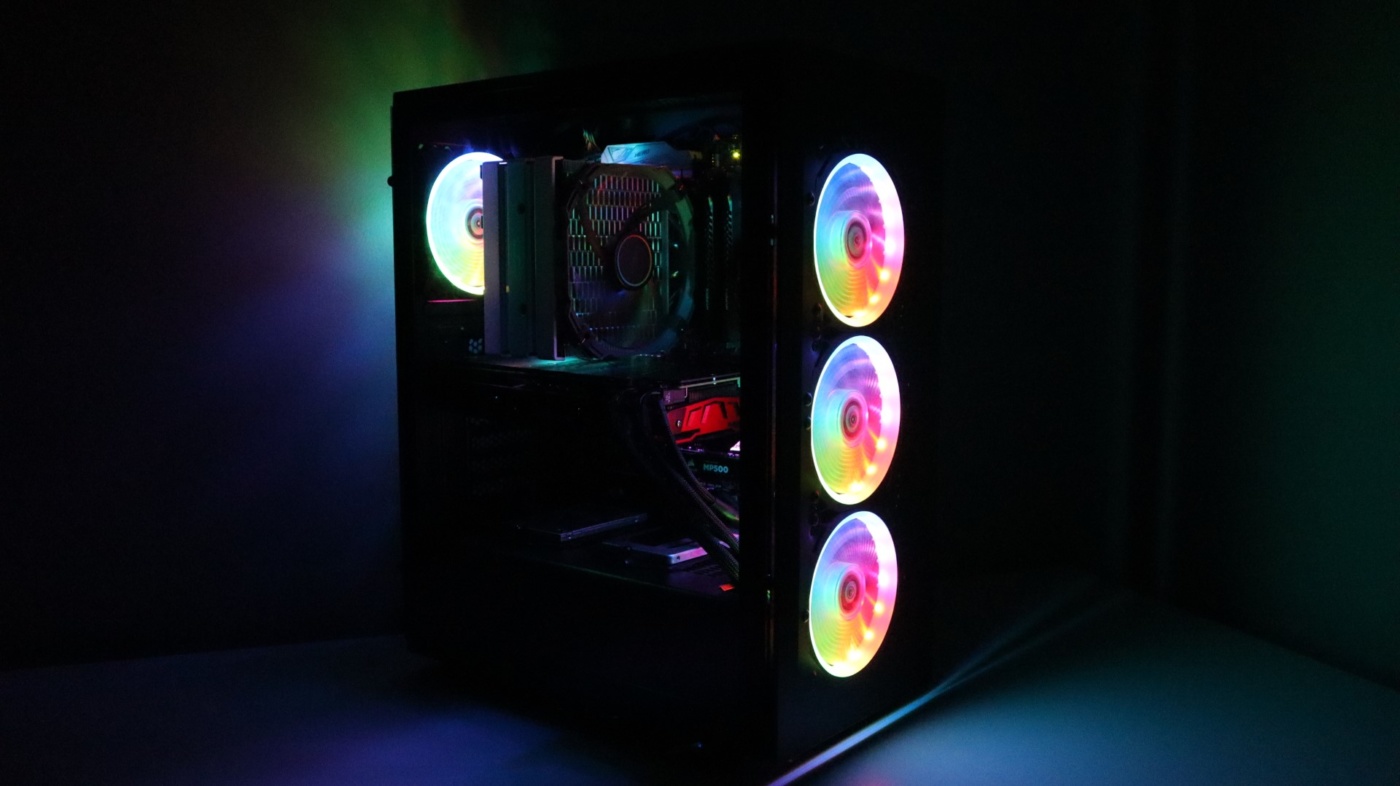
We did end up adding a few 120mm fans to the top of the case to aide in exhausting heat from the case, so we got a little more light from their LEDs. We also went ahead and connected a Phanteks LED light strip that we already had to our motherboard for some additional lighting. Check out the extra images below!