Installation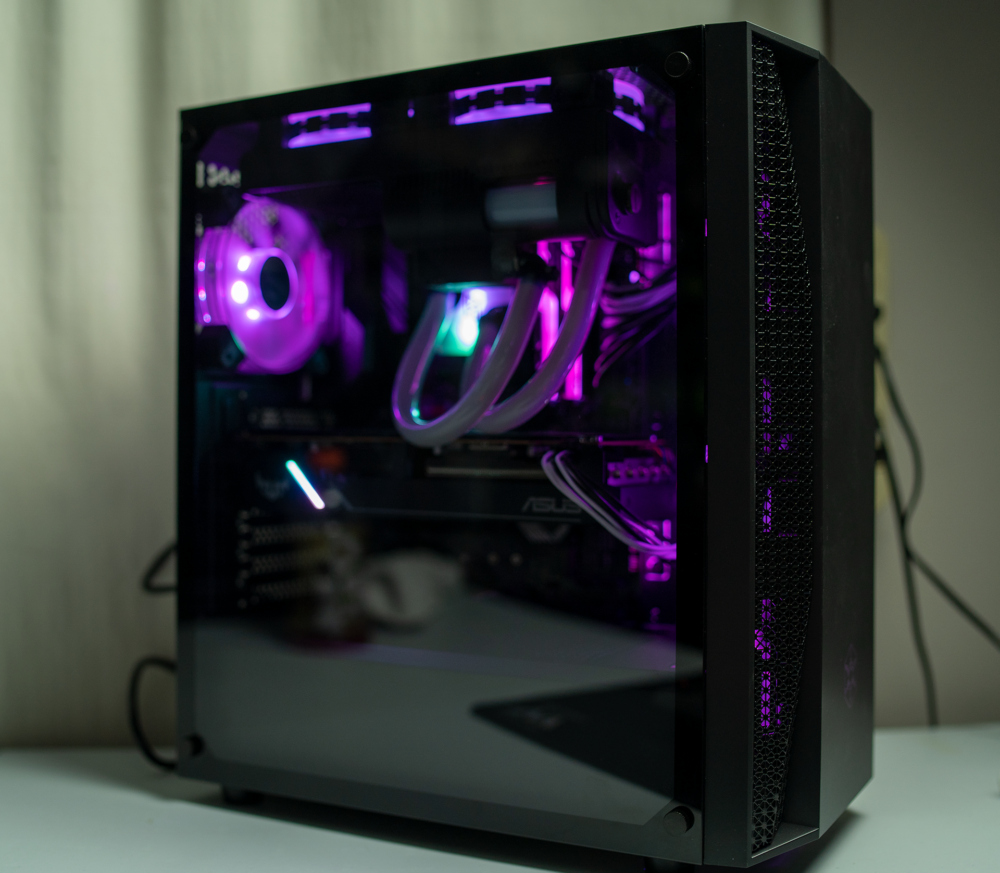

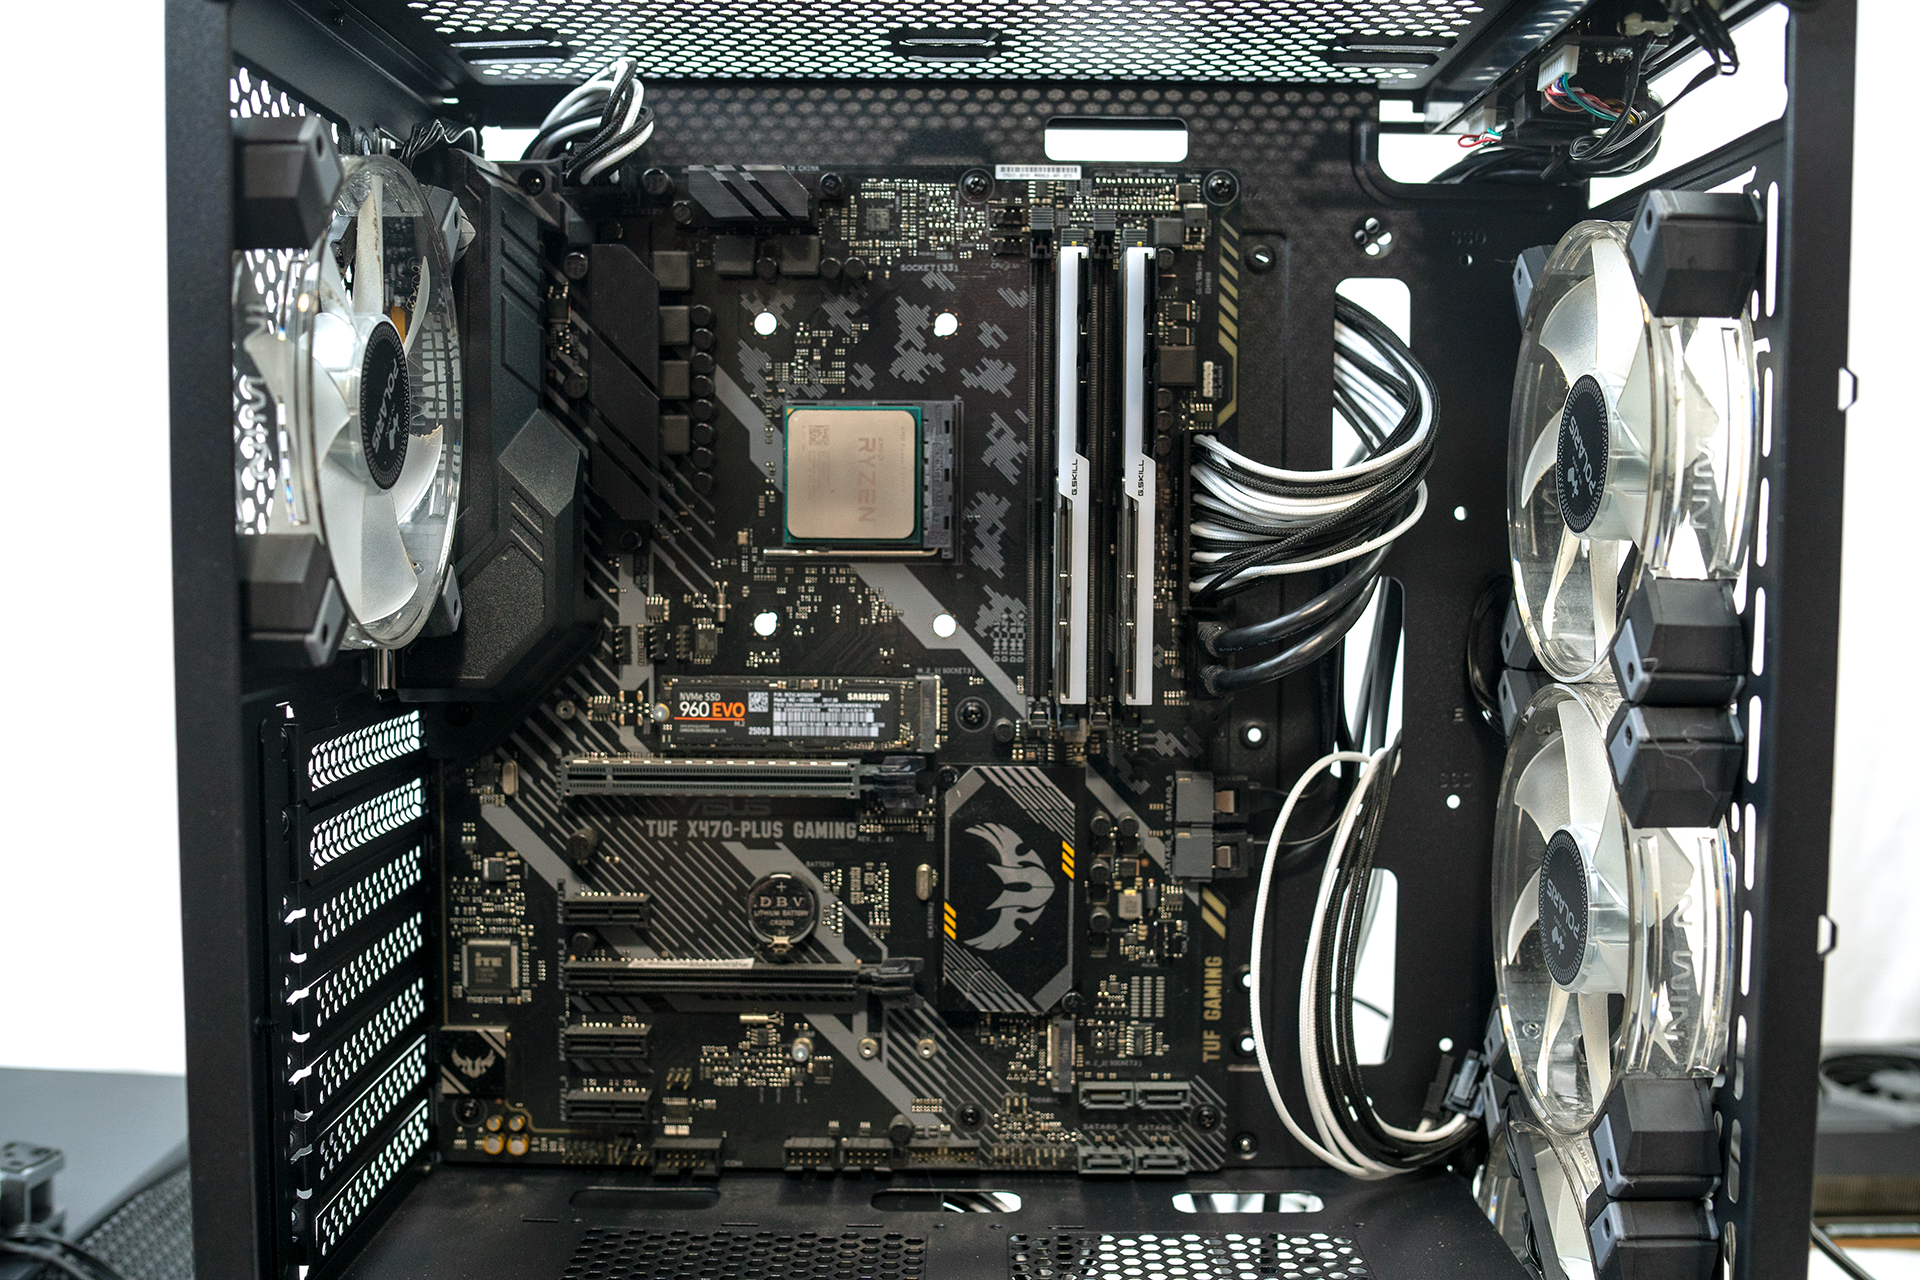
Once we had the Fara B1 disassembled, it was time to start the build. The first step was to install the motherboard. Like always, I forgot the IO shield so I had to install the motherboard twice.

The next step in the installation process is the power supply. To get the power supply in the Fara B1, we had to remove the hard drive cage which is held in by two thumbscrews. 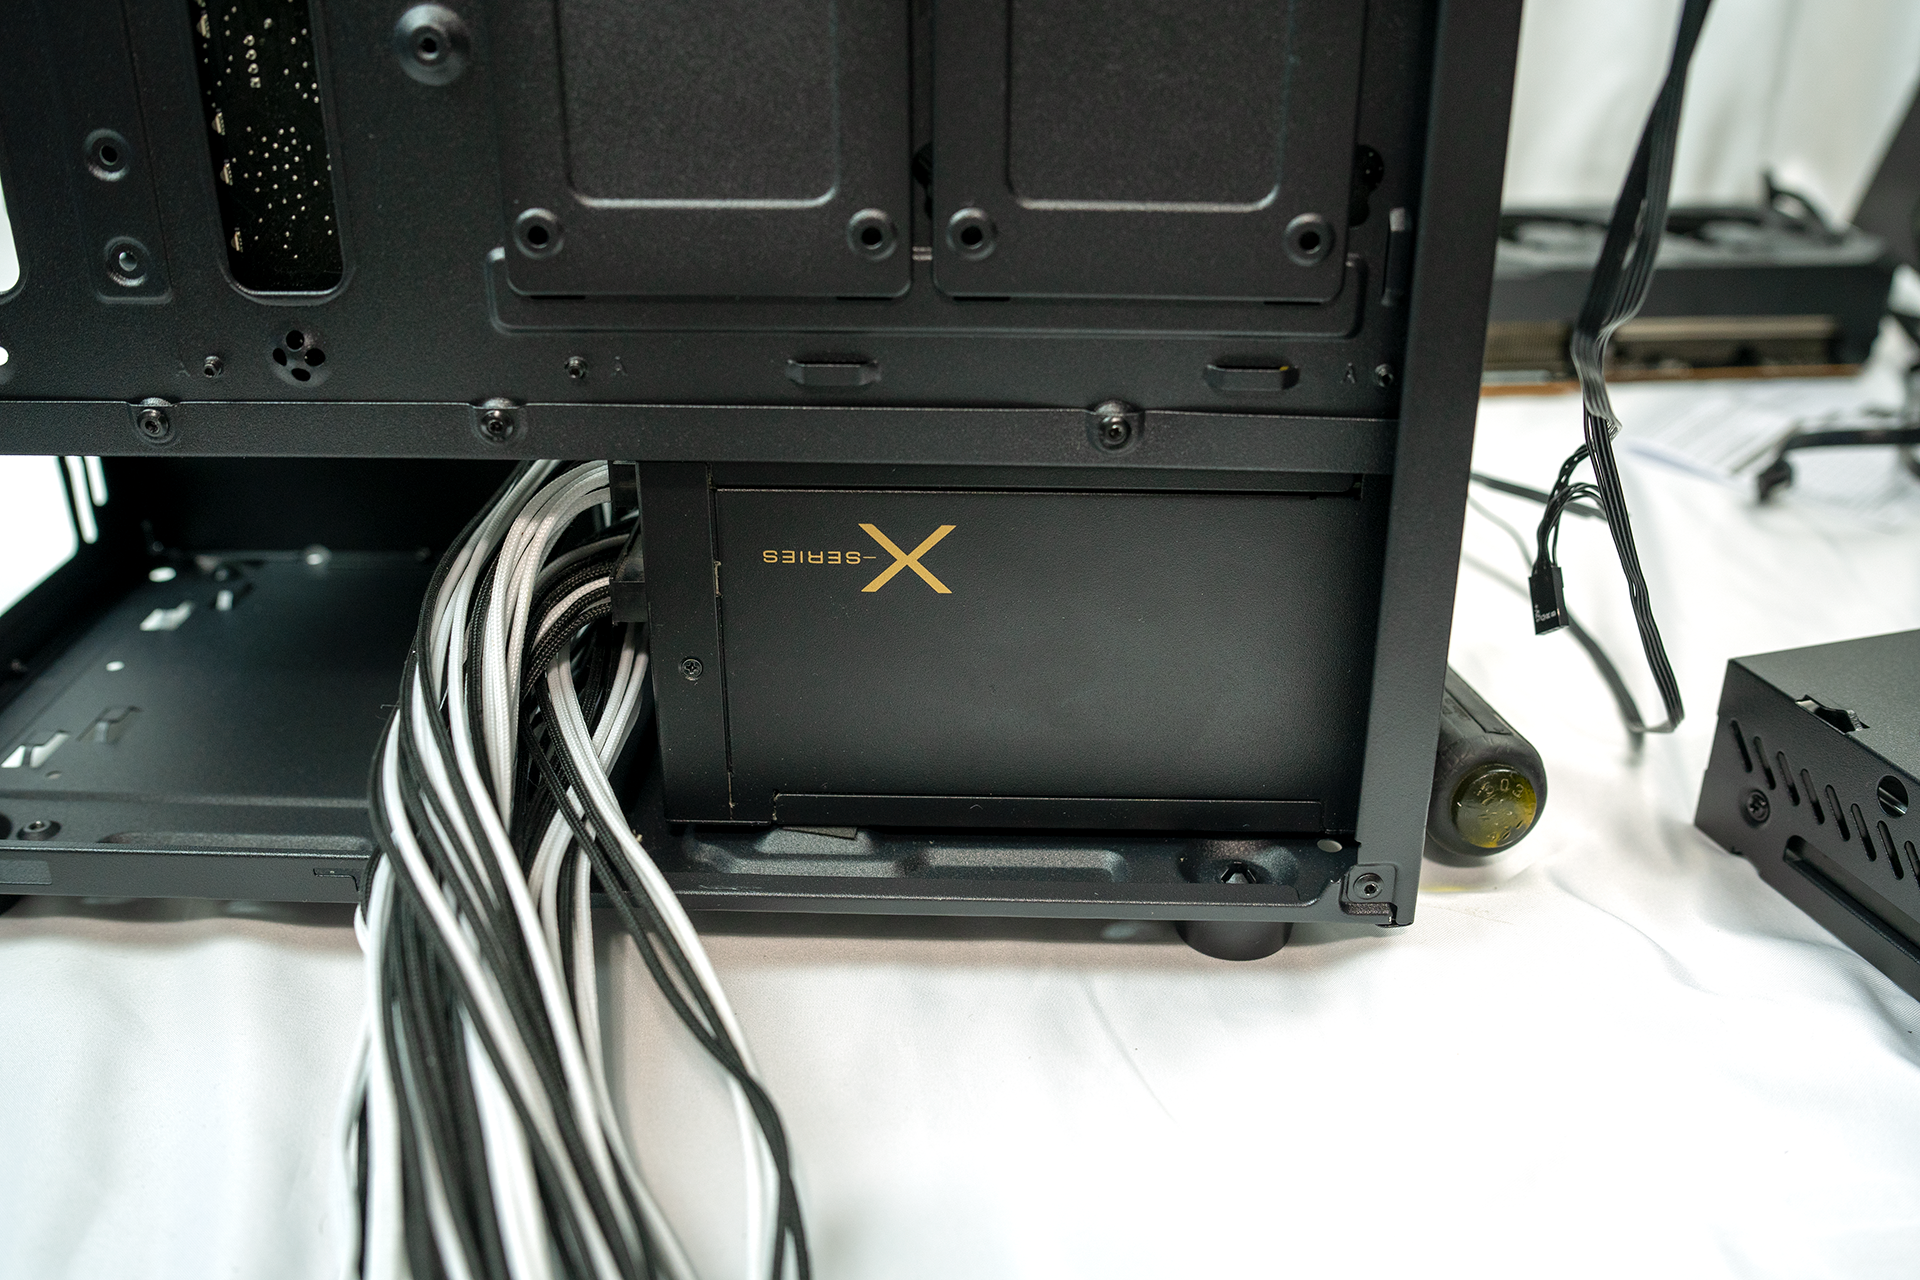
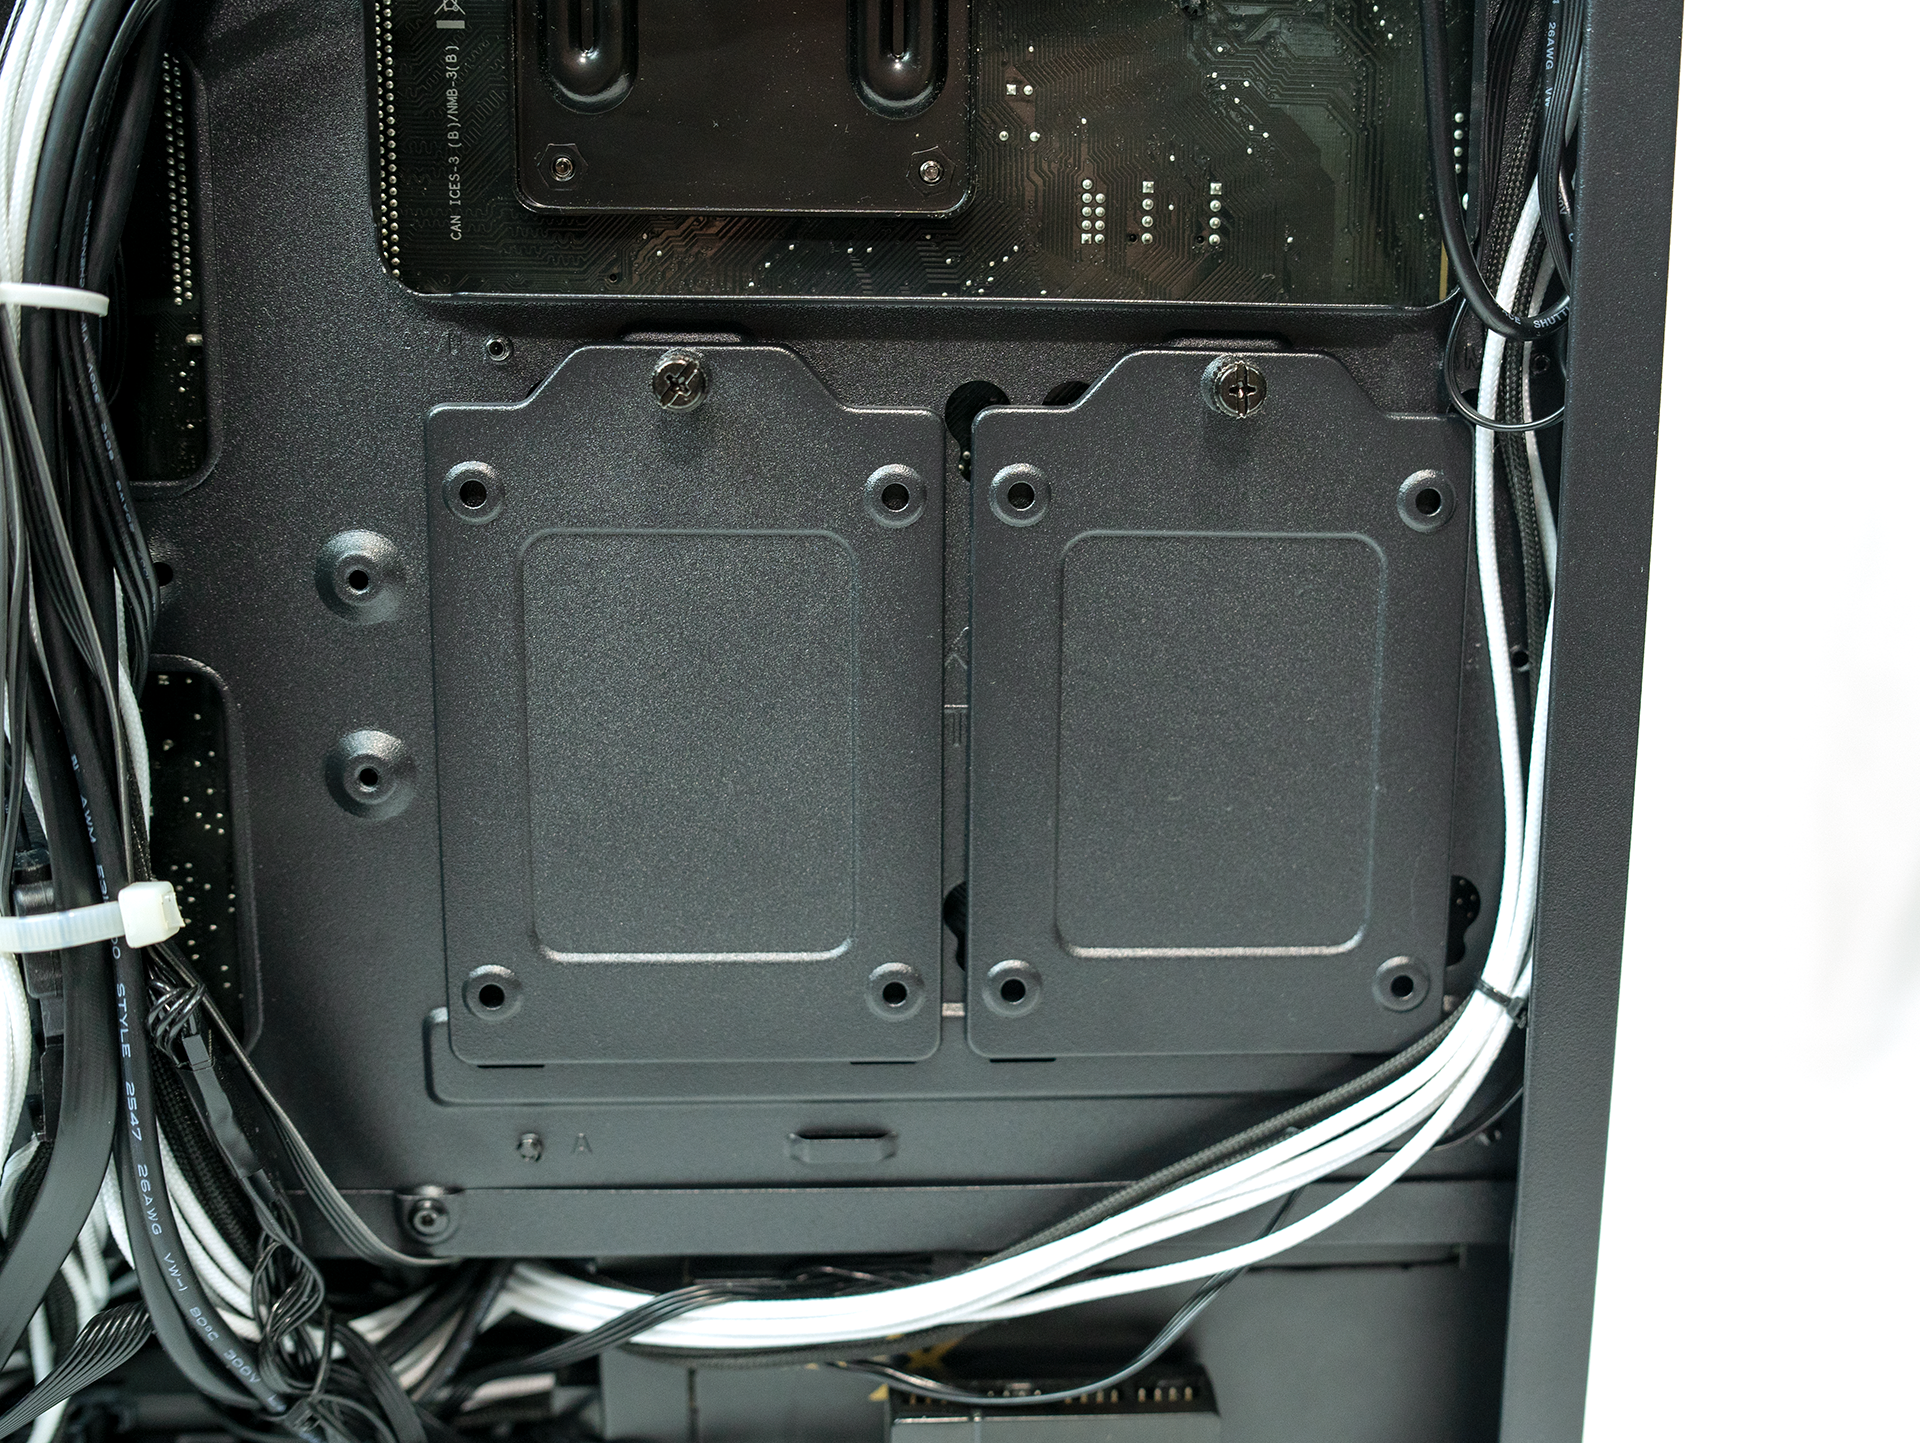
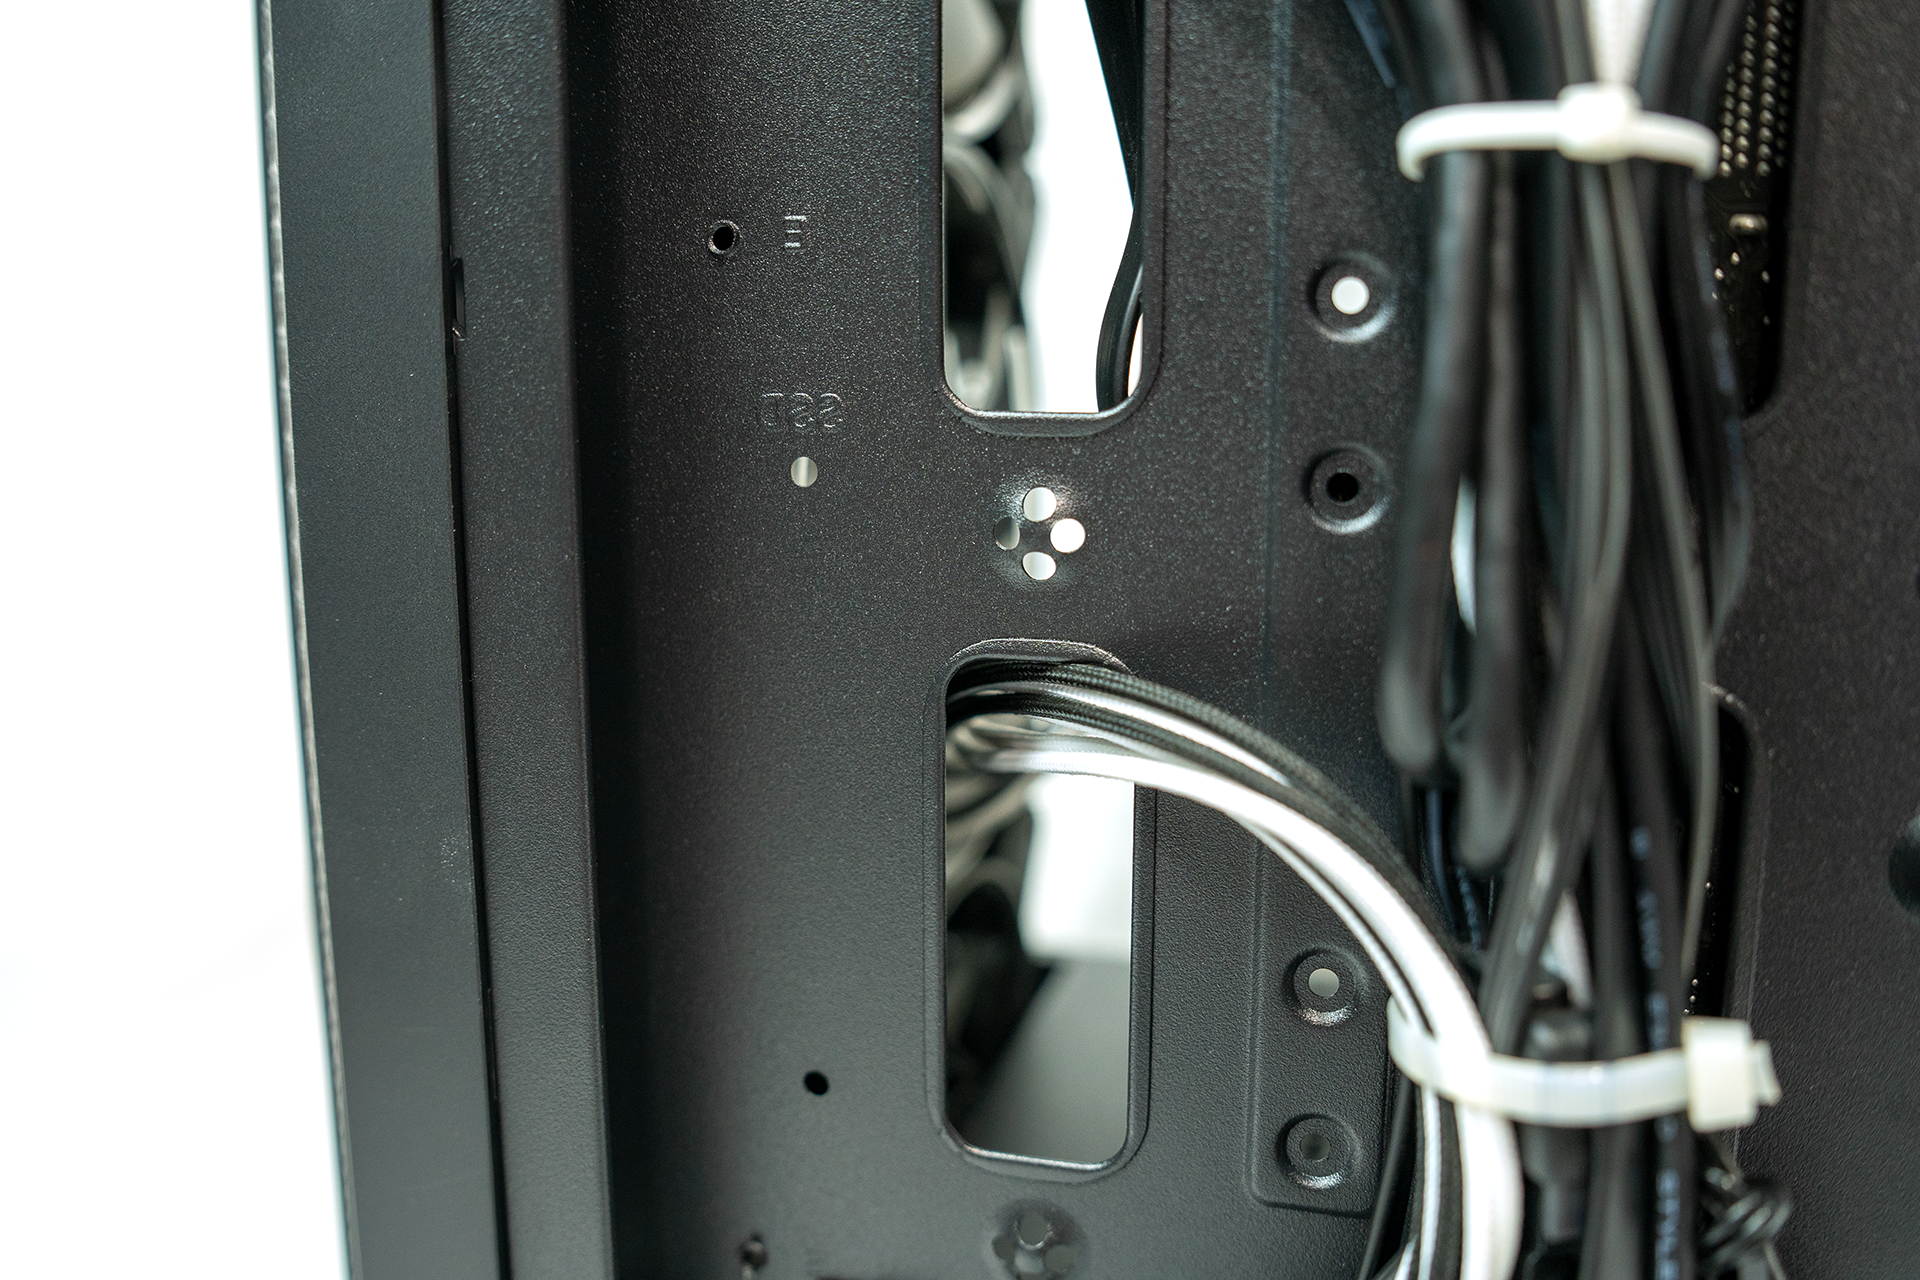
With the power supply installed in our Fara B1, it’s now time to route the cables. Although the Fara B1 is a smaller mid-tower case, there is ample room for cable management behind the motherboard tray. There are several cable management holes on the back of the motherboard tray. I like the design of the cable management holes as well. Generally, you see the traditional cable management loops. However, the FARA B1 uses a unique design for zip tie holes. It is essentially a small bump with a series of four holes on it. This allows you to cross the zip ties which holds the cables in place better.
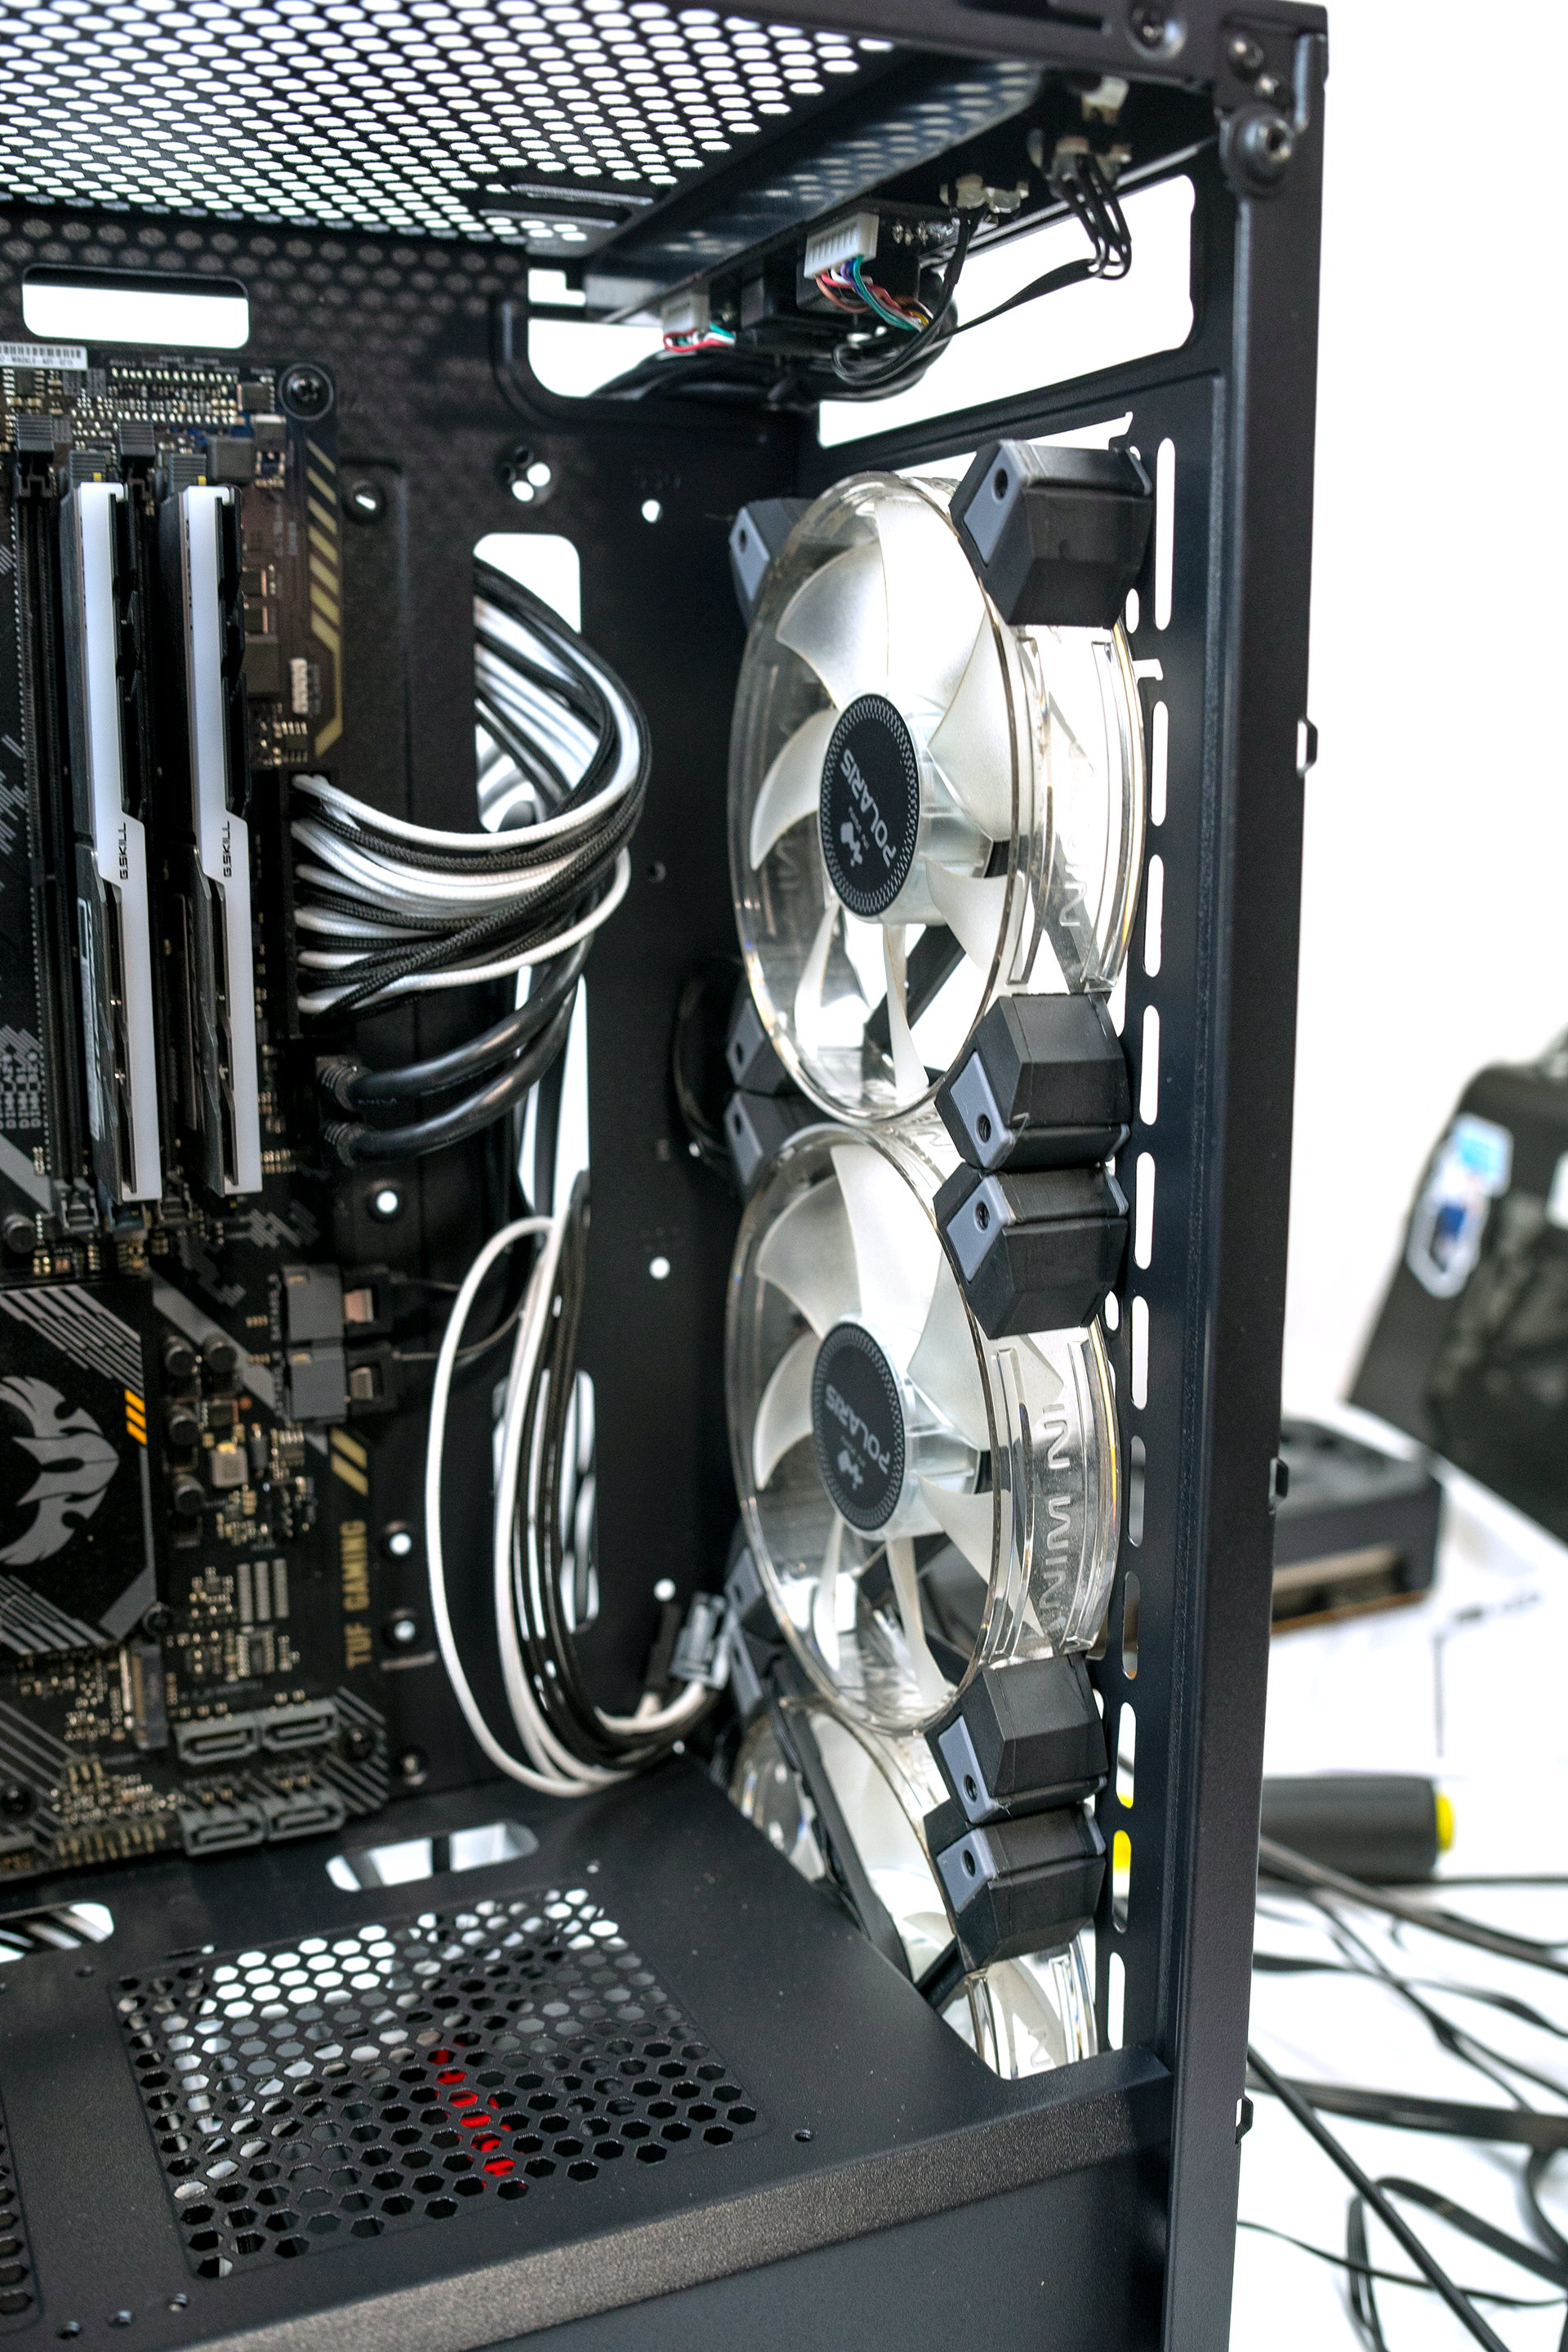
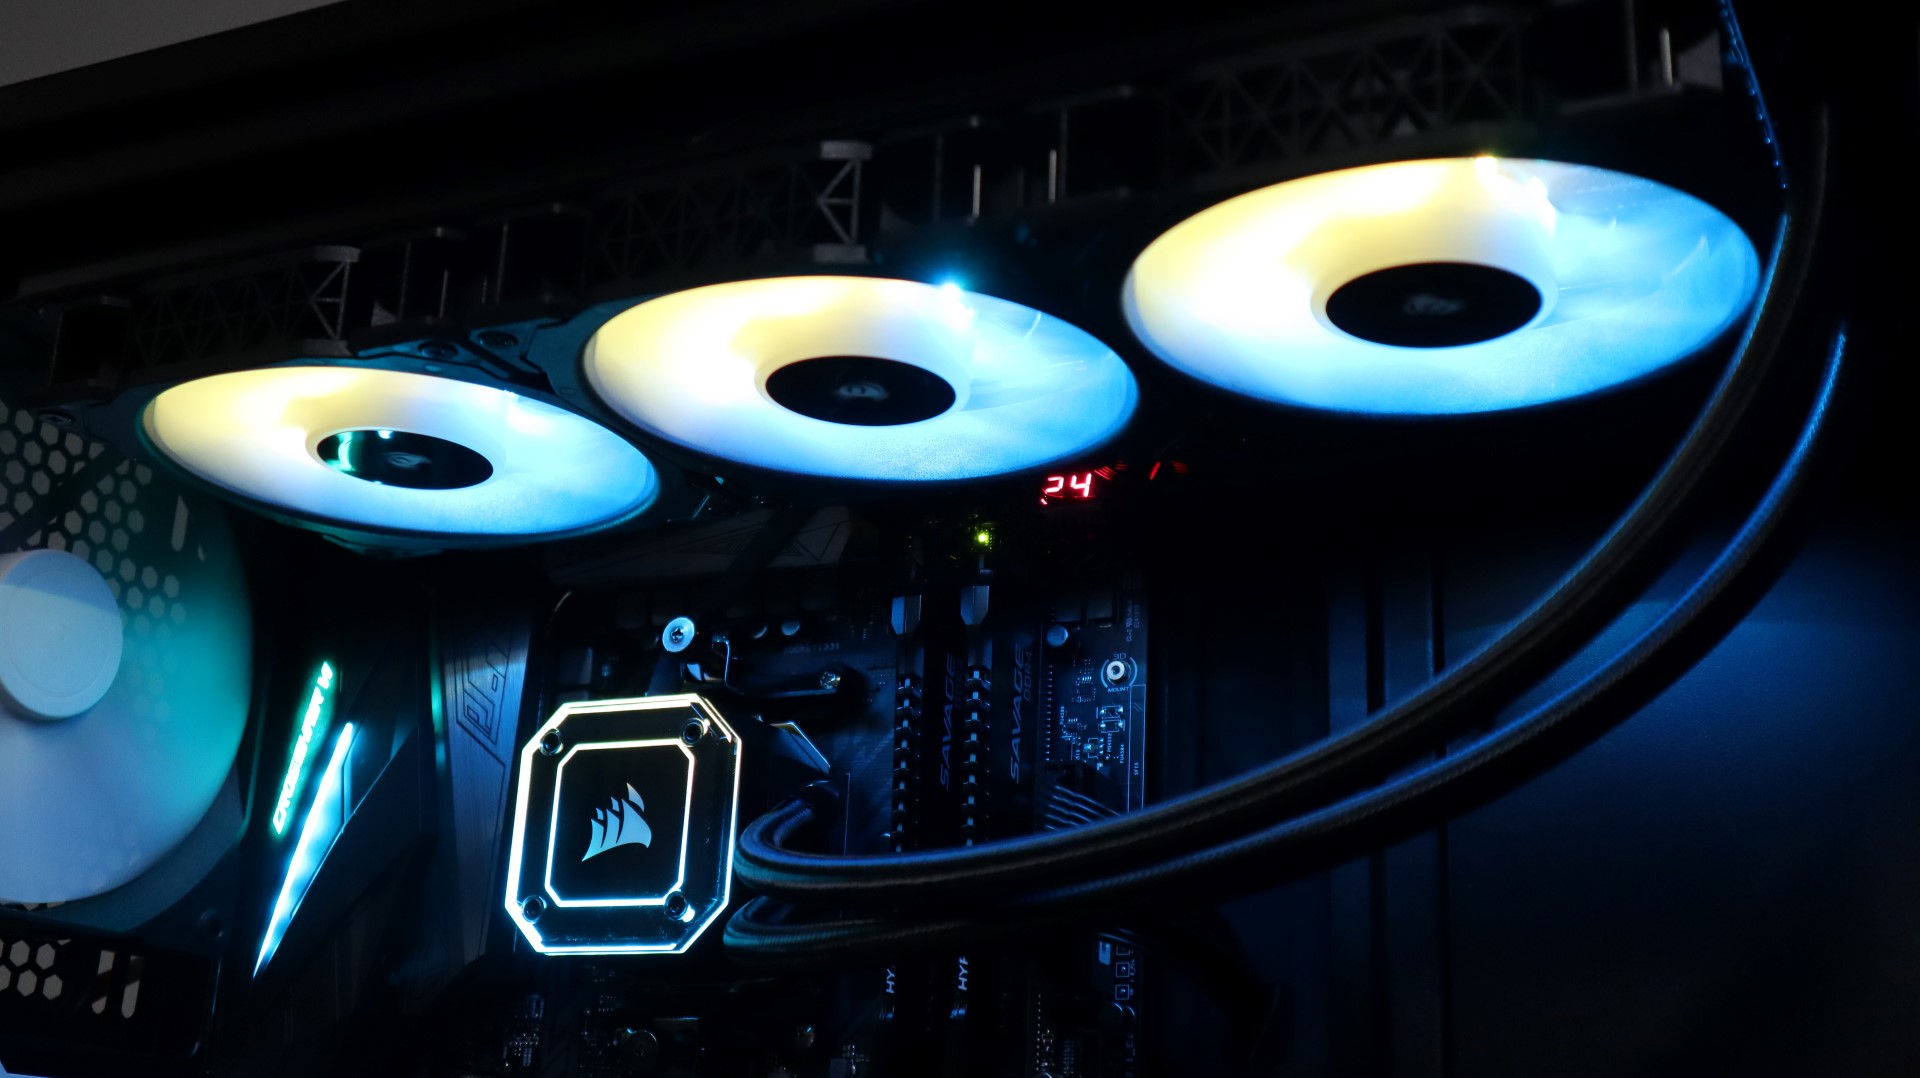
The next step was to install the fans in the front and the exhaust of the Fara B1. In order to have matching fans, we use six In Win Polaris RGB fans. Now, for optimal airflow, Silverstone recommends that the front is used as intakes and the top and back are used for exhaust.
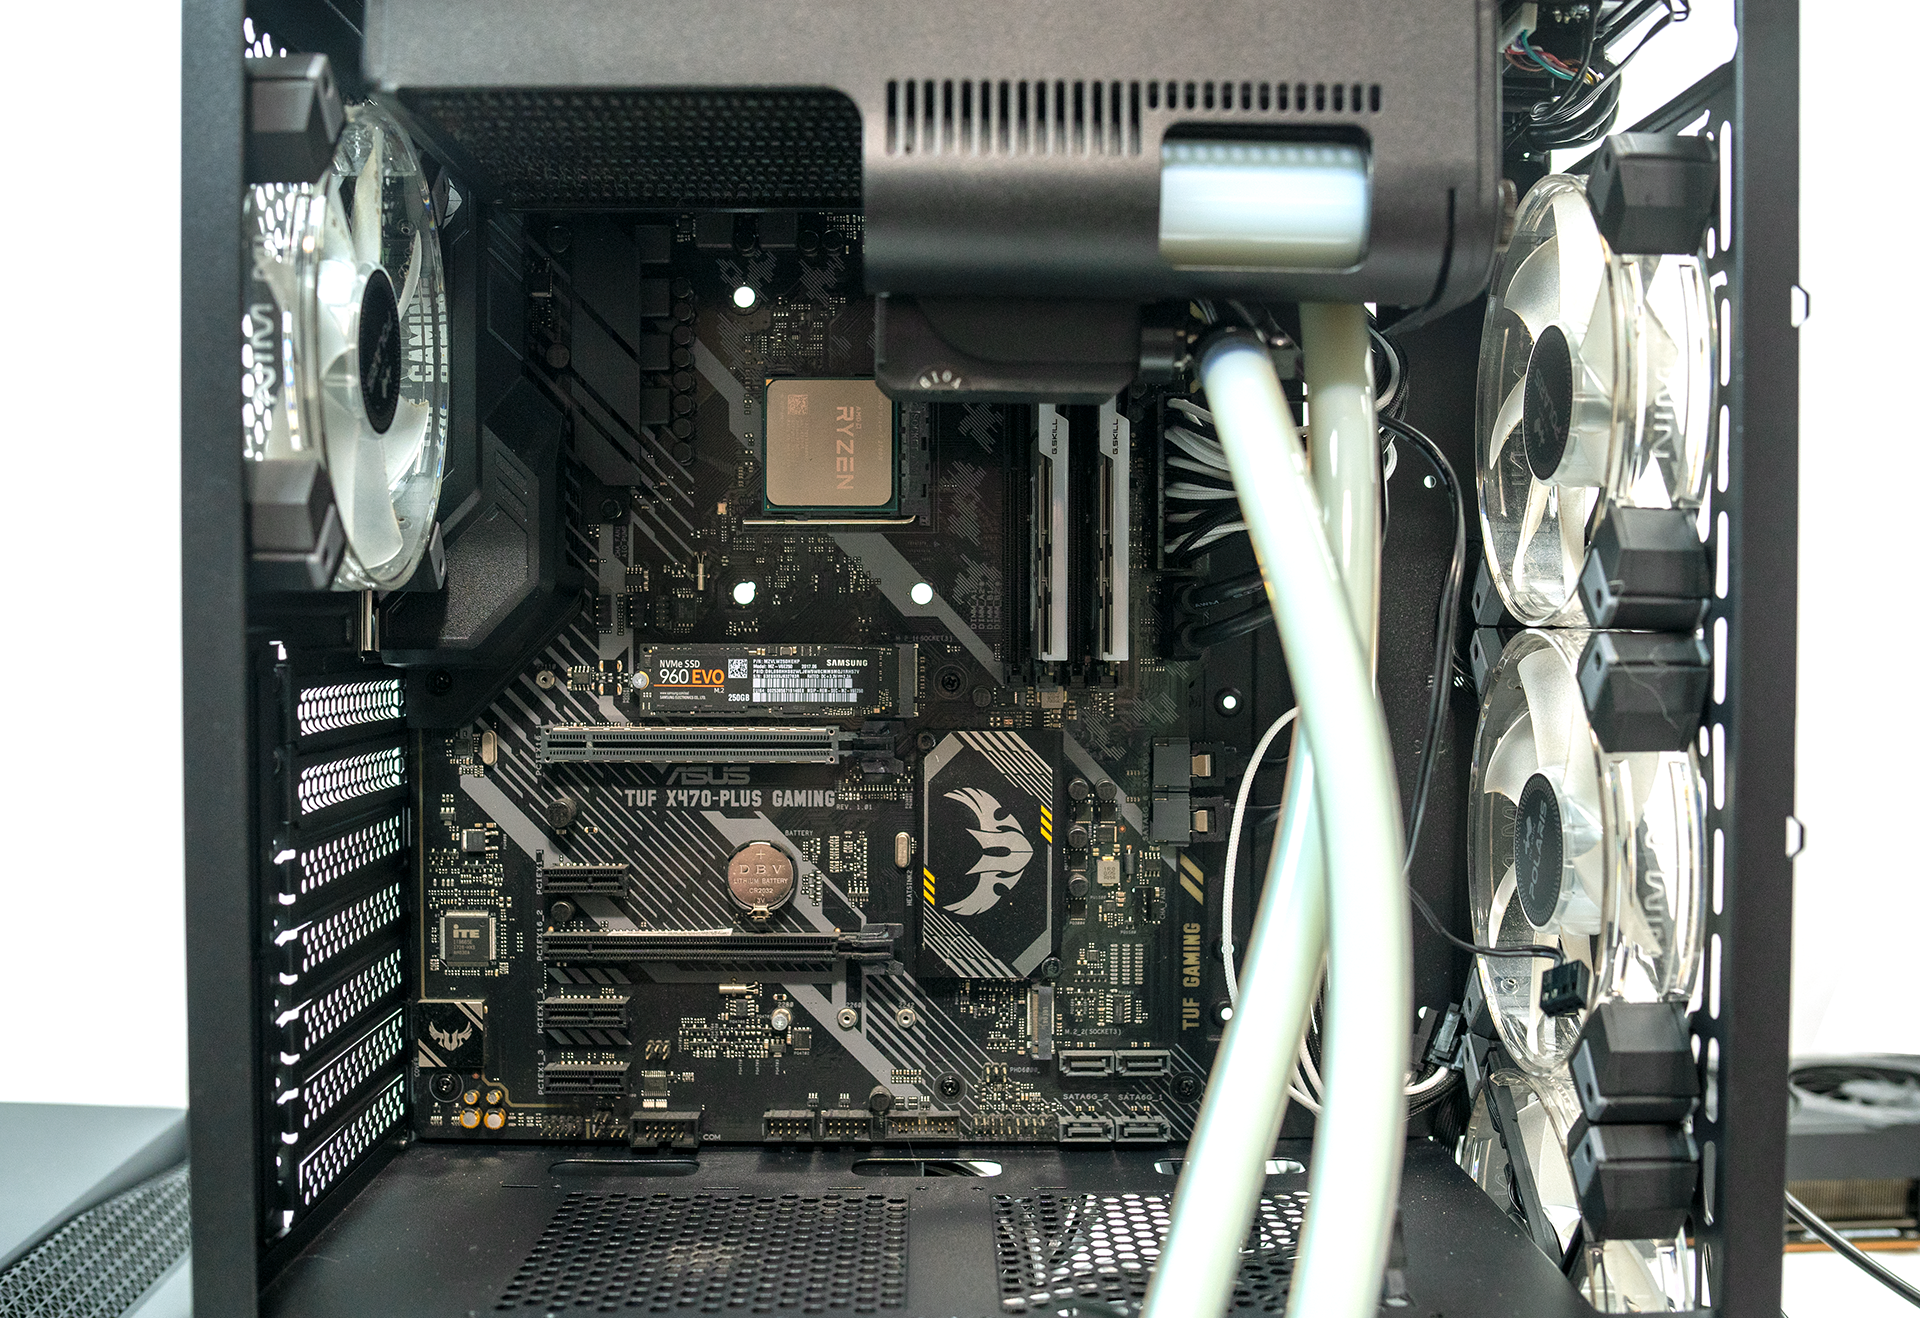
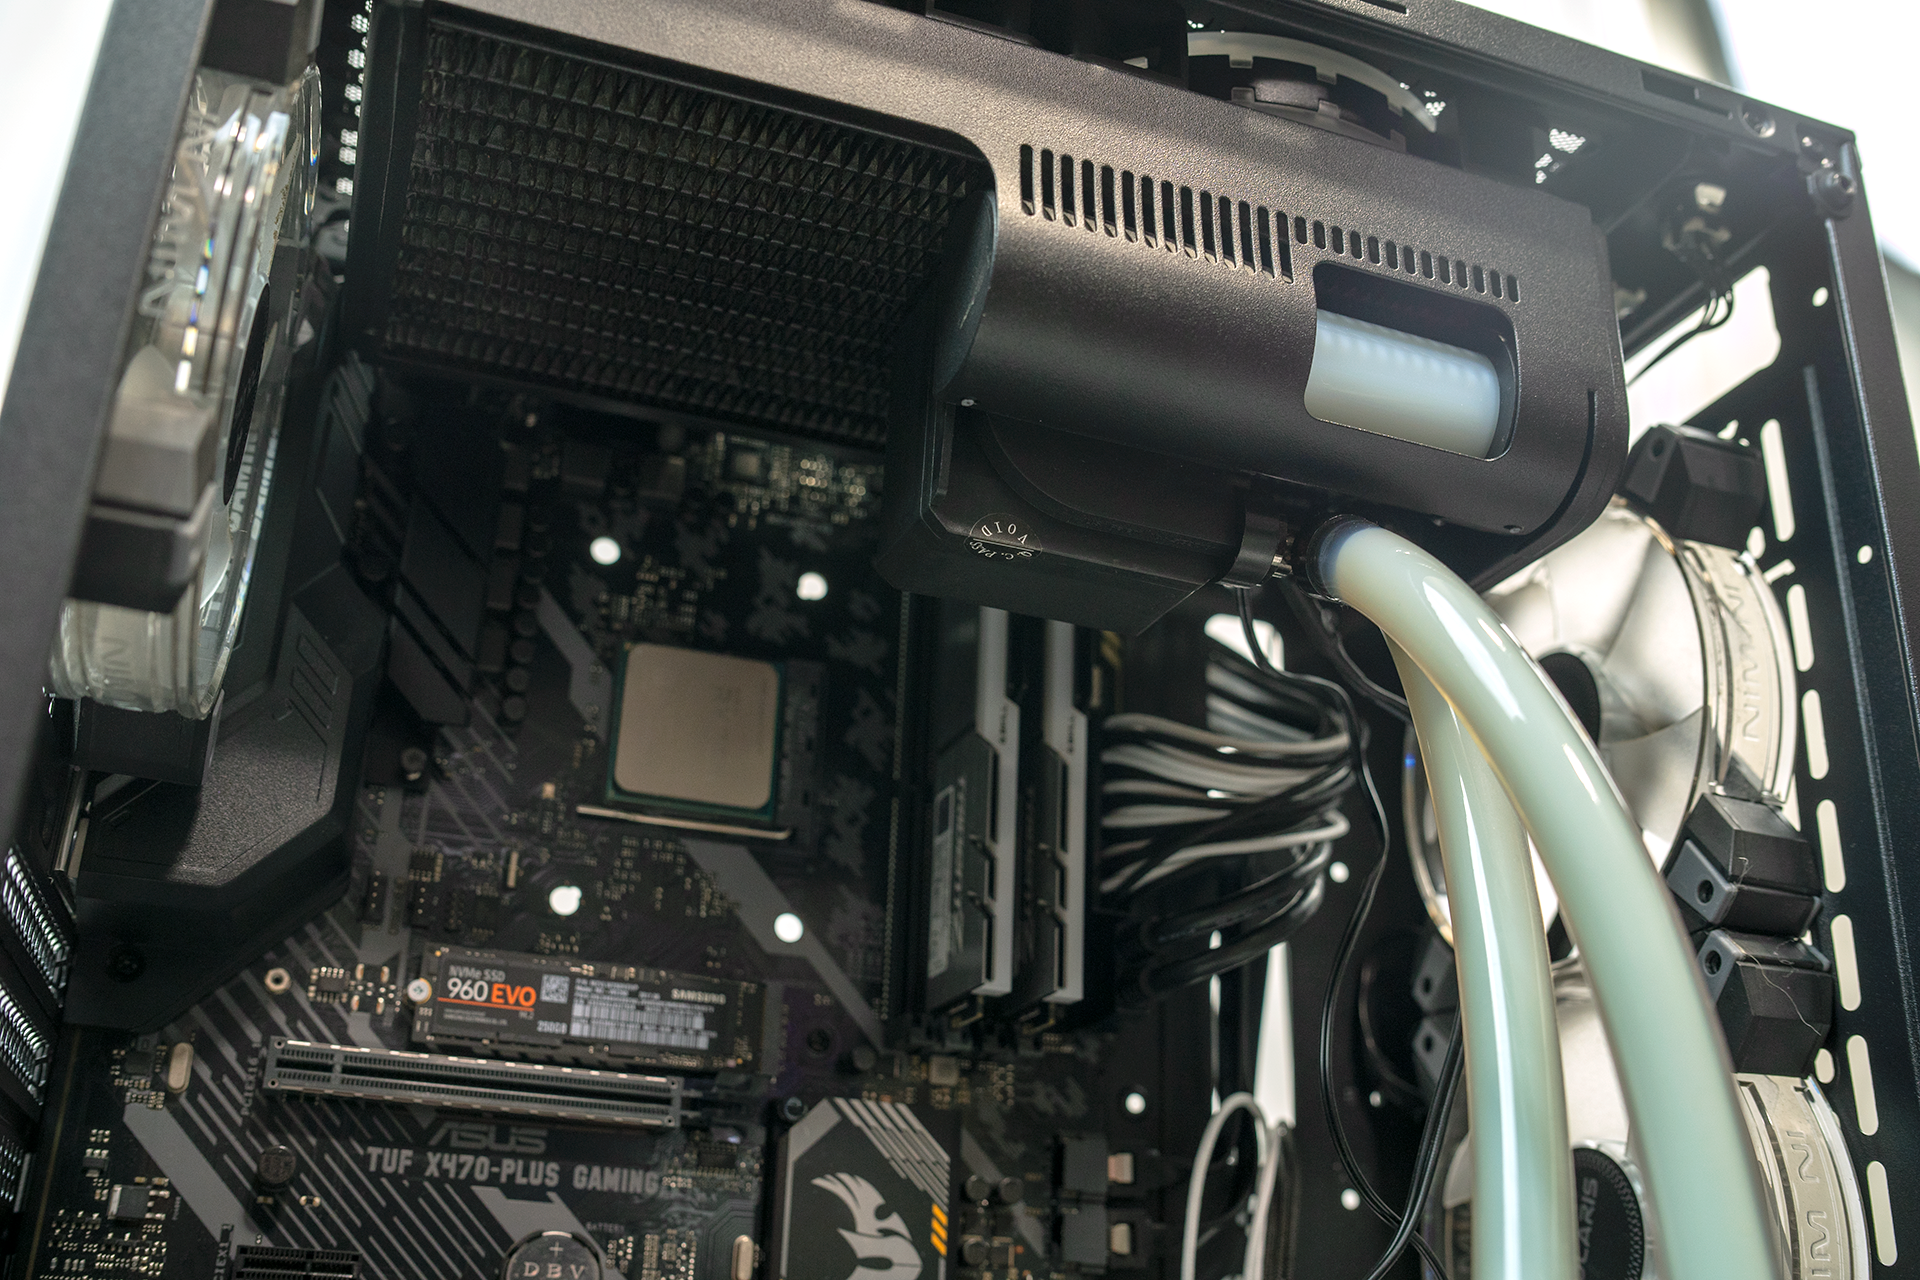
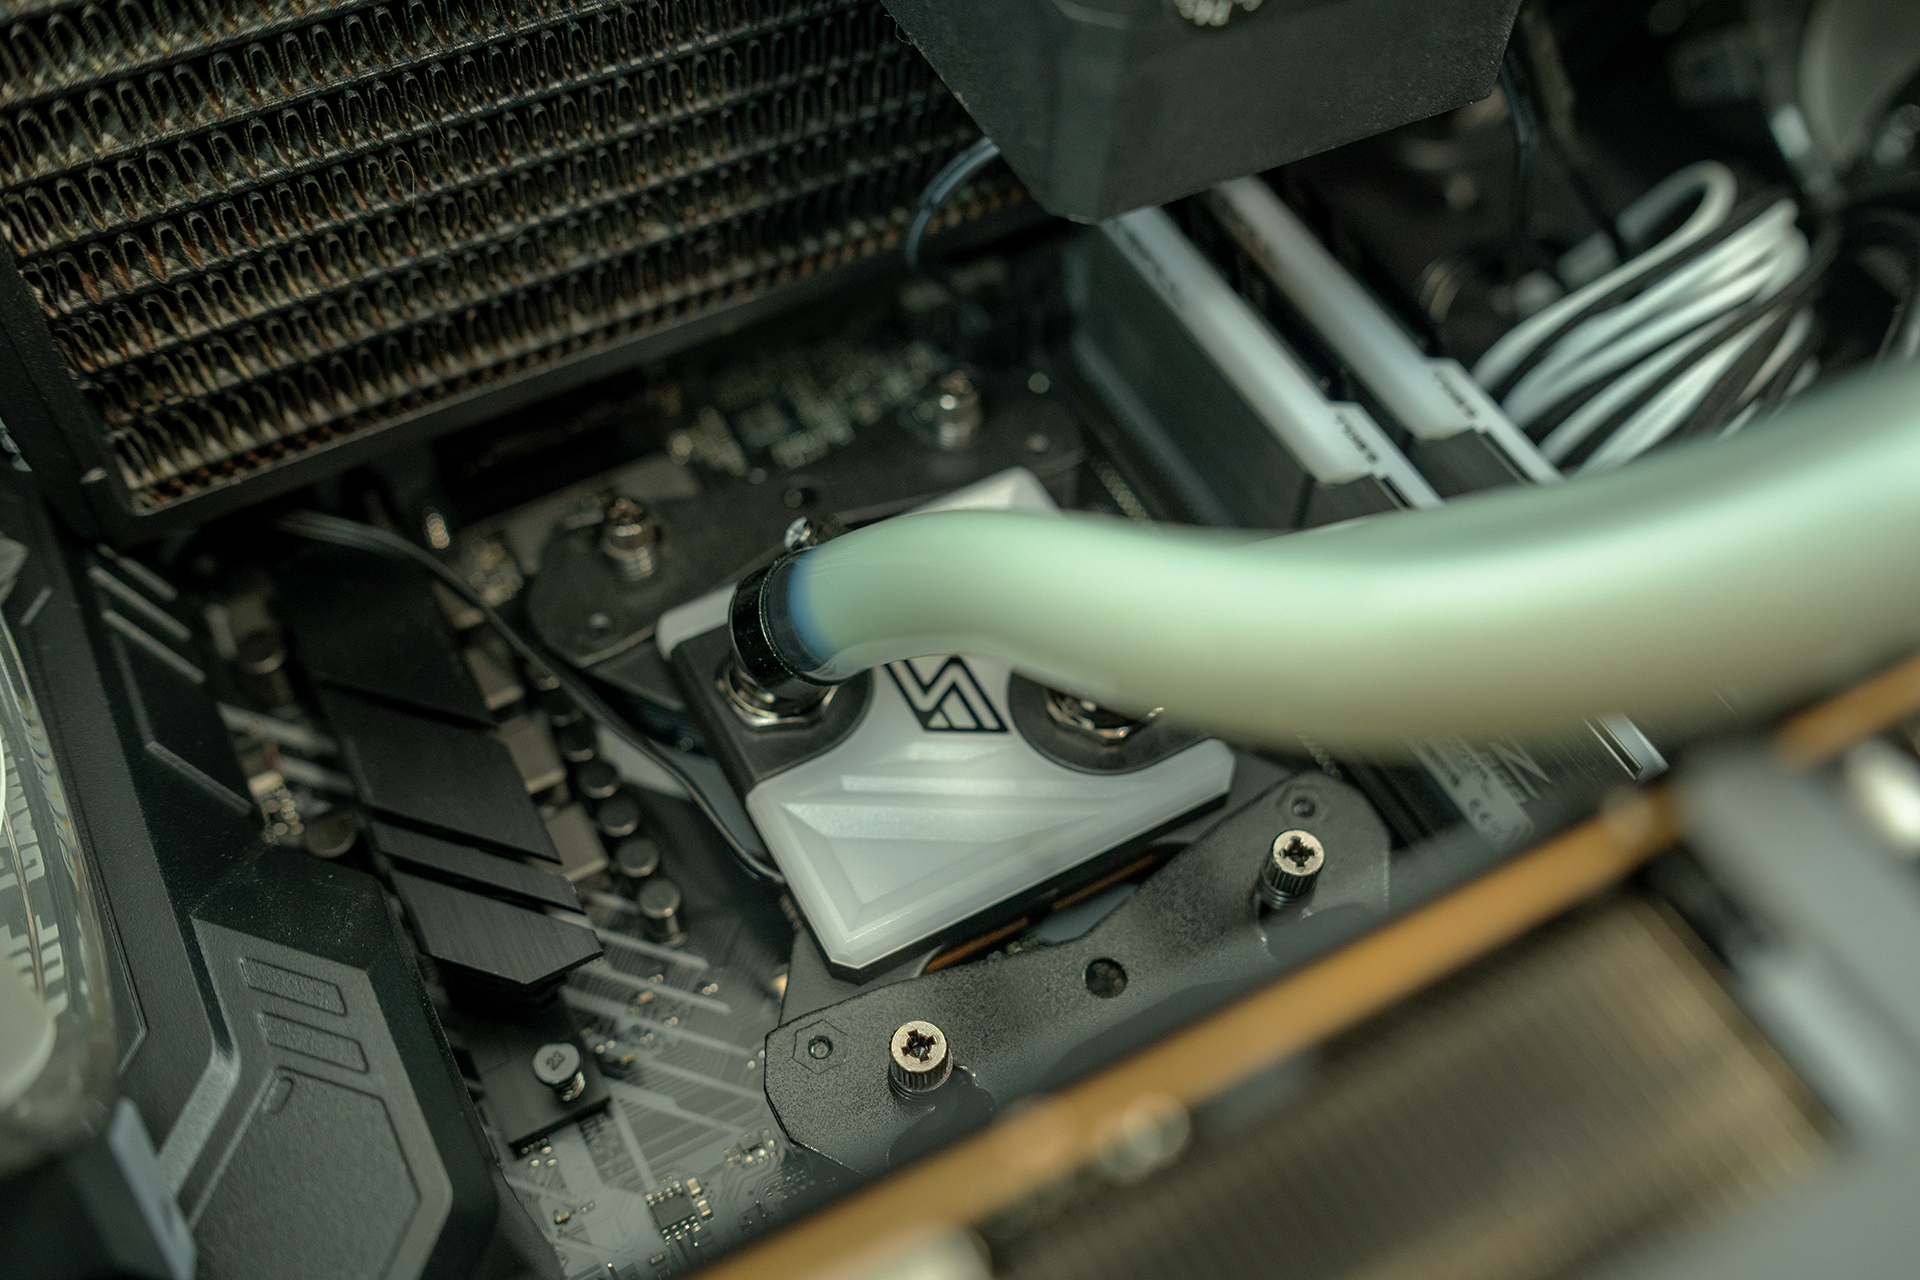
Installing the AIO in the Fara B1 was when the build started to get a little tight. I feel if I used the Z490 Velocita from Asrock, this specific cooler wouldn’t fit due to the larger heatsinks on the VRM. We could have used an air cooler. The Fara B1 supports CPU coolers up to 165 mm in height. The few air coolers I had could hardly fit and both touched the glass. So, we used the Swiftech H240 X3 AIO cooler instead.
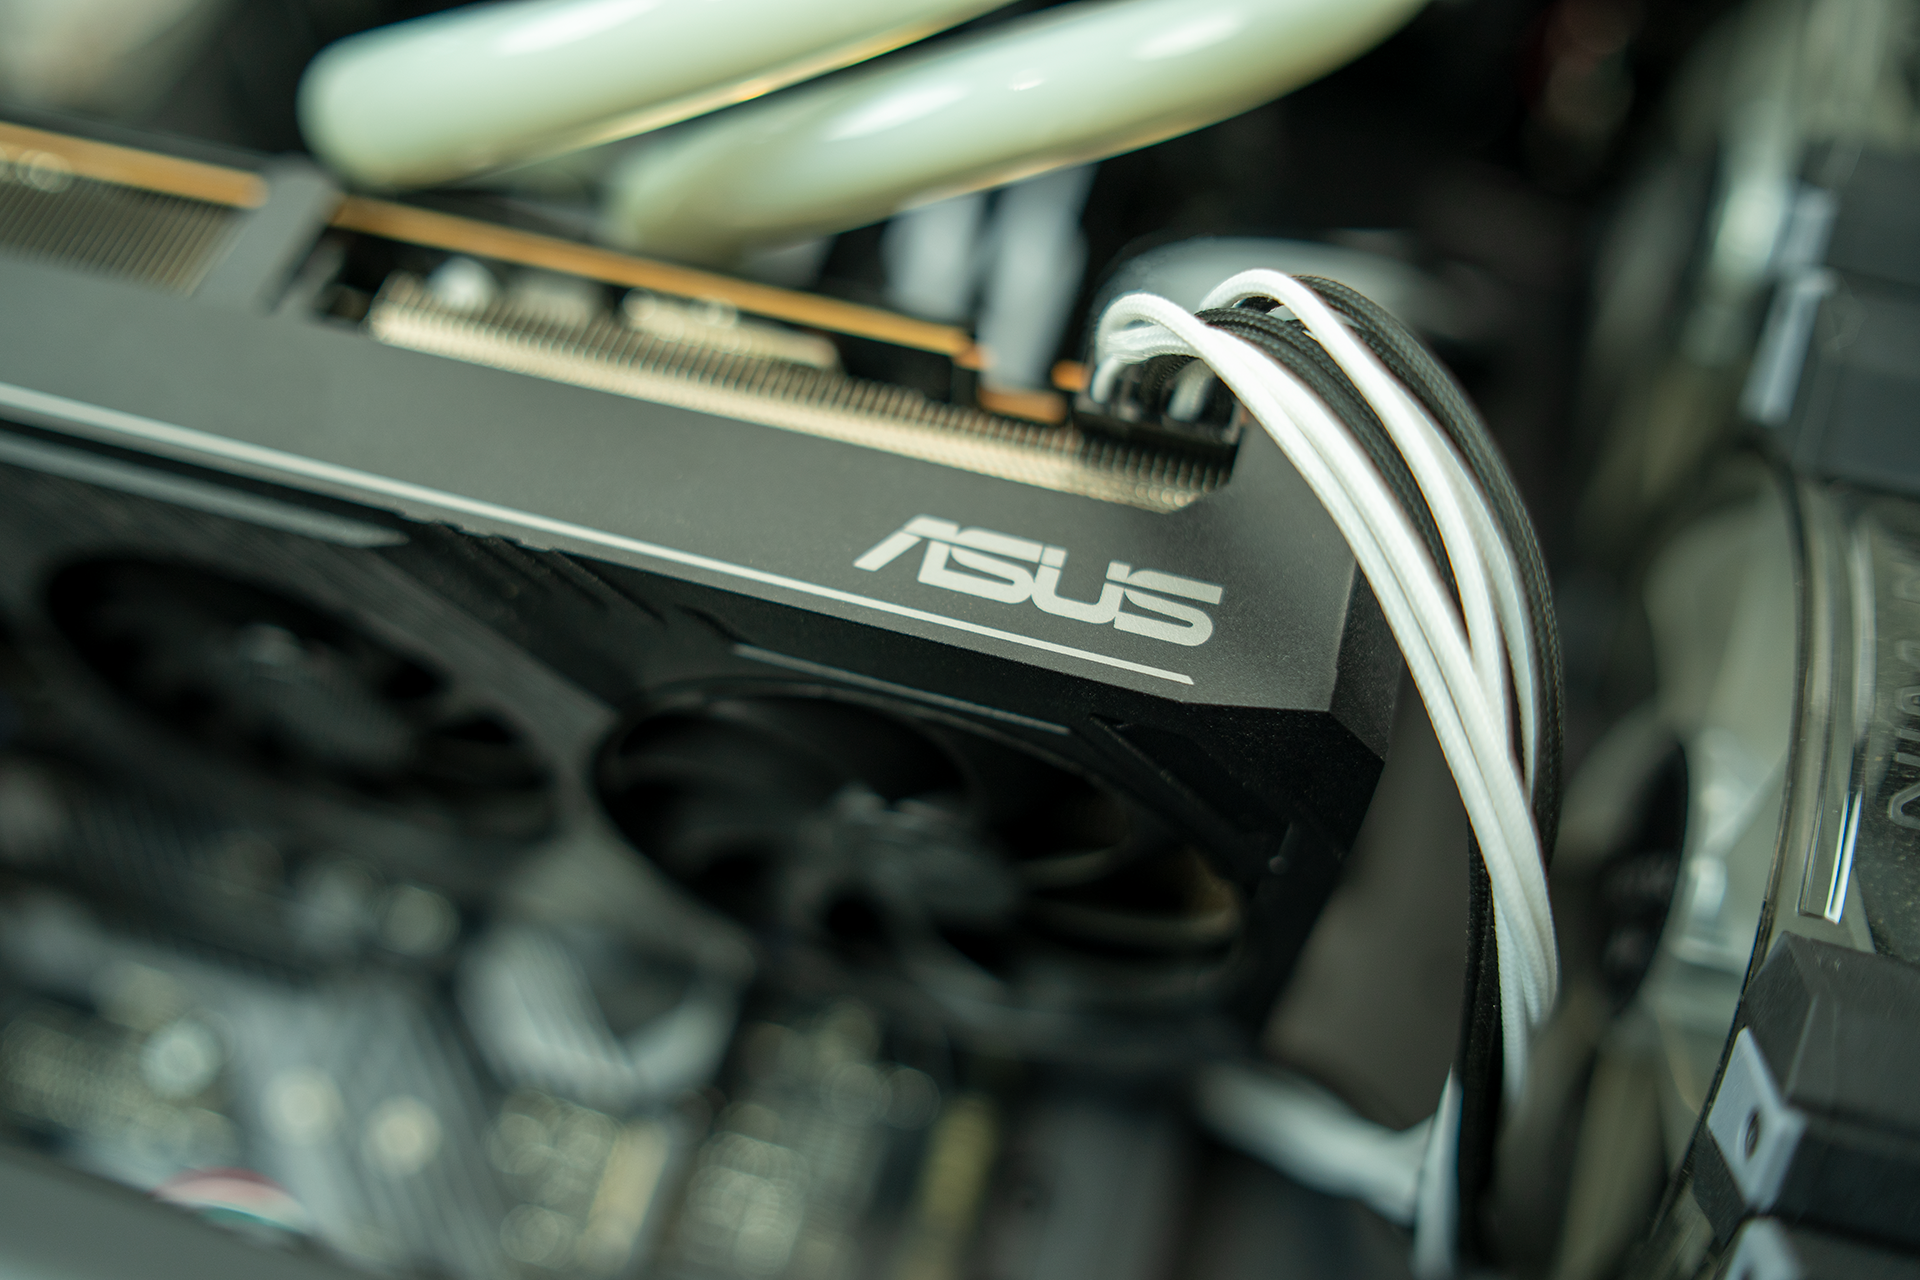

Now that the block is connected to the socket, we install our graphics card. The card we used in this build is the ASUS Tuf RX 5600XT. As the Fara B1 is on the smaller card, the 5600 XT was the only card I had that fit in the Fara B1 that wasn’t several generations old at this point. The Fara B1 can support graphics cards up to 322 mm in length, with fans installed in the front We could have removed the middle fan in the front of the case, but I personally didn’t like how it looked. Now that the hardware is in and the cables are run, we need to clean up the cables a bit. That being said, even the Strix RTX 2080 ti would have fit in this case. The Strix 2080 TI is 12″ or 304.80mm long. It would have been tight, but it would have fit.

The Fara B1 has a surprising amount of space for cables behind the motherboard tray. But the one downside to using six RGB fans in a build is the number of additional cables it adds. I’m rather bad at cable management. However, the multiple cable management holes help to flatten out the cables a bit and the large cutouts give you more than one or two spots to run cables. Once the cables were cleaned up the best I could, the back panel went on easily and required little force.