Inside the Fara B1
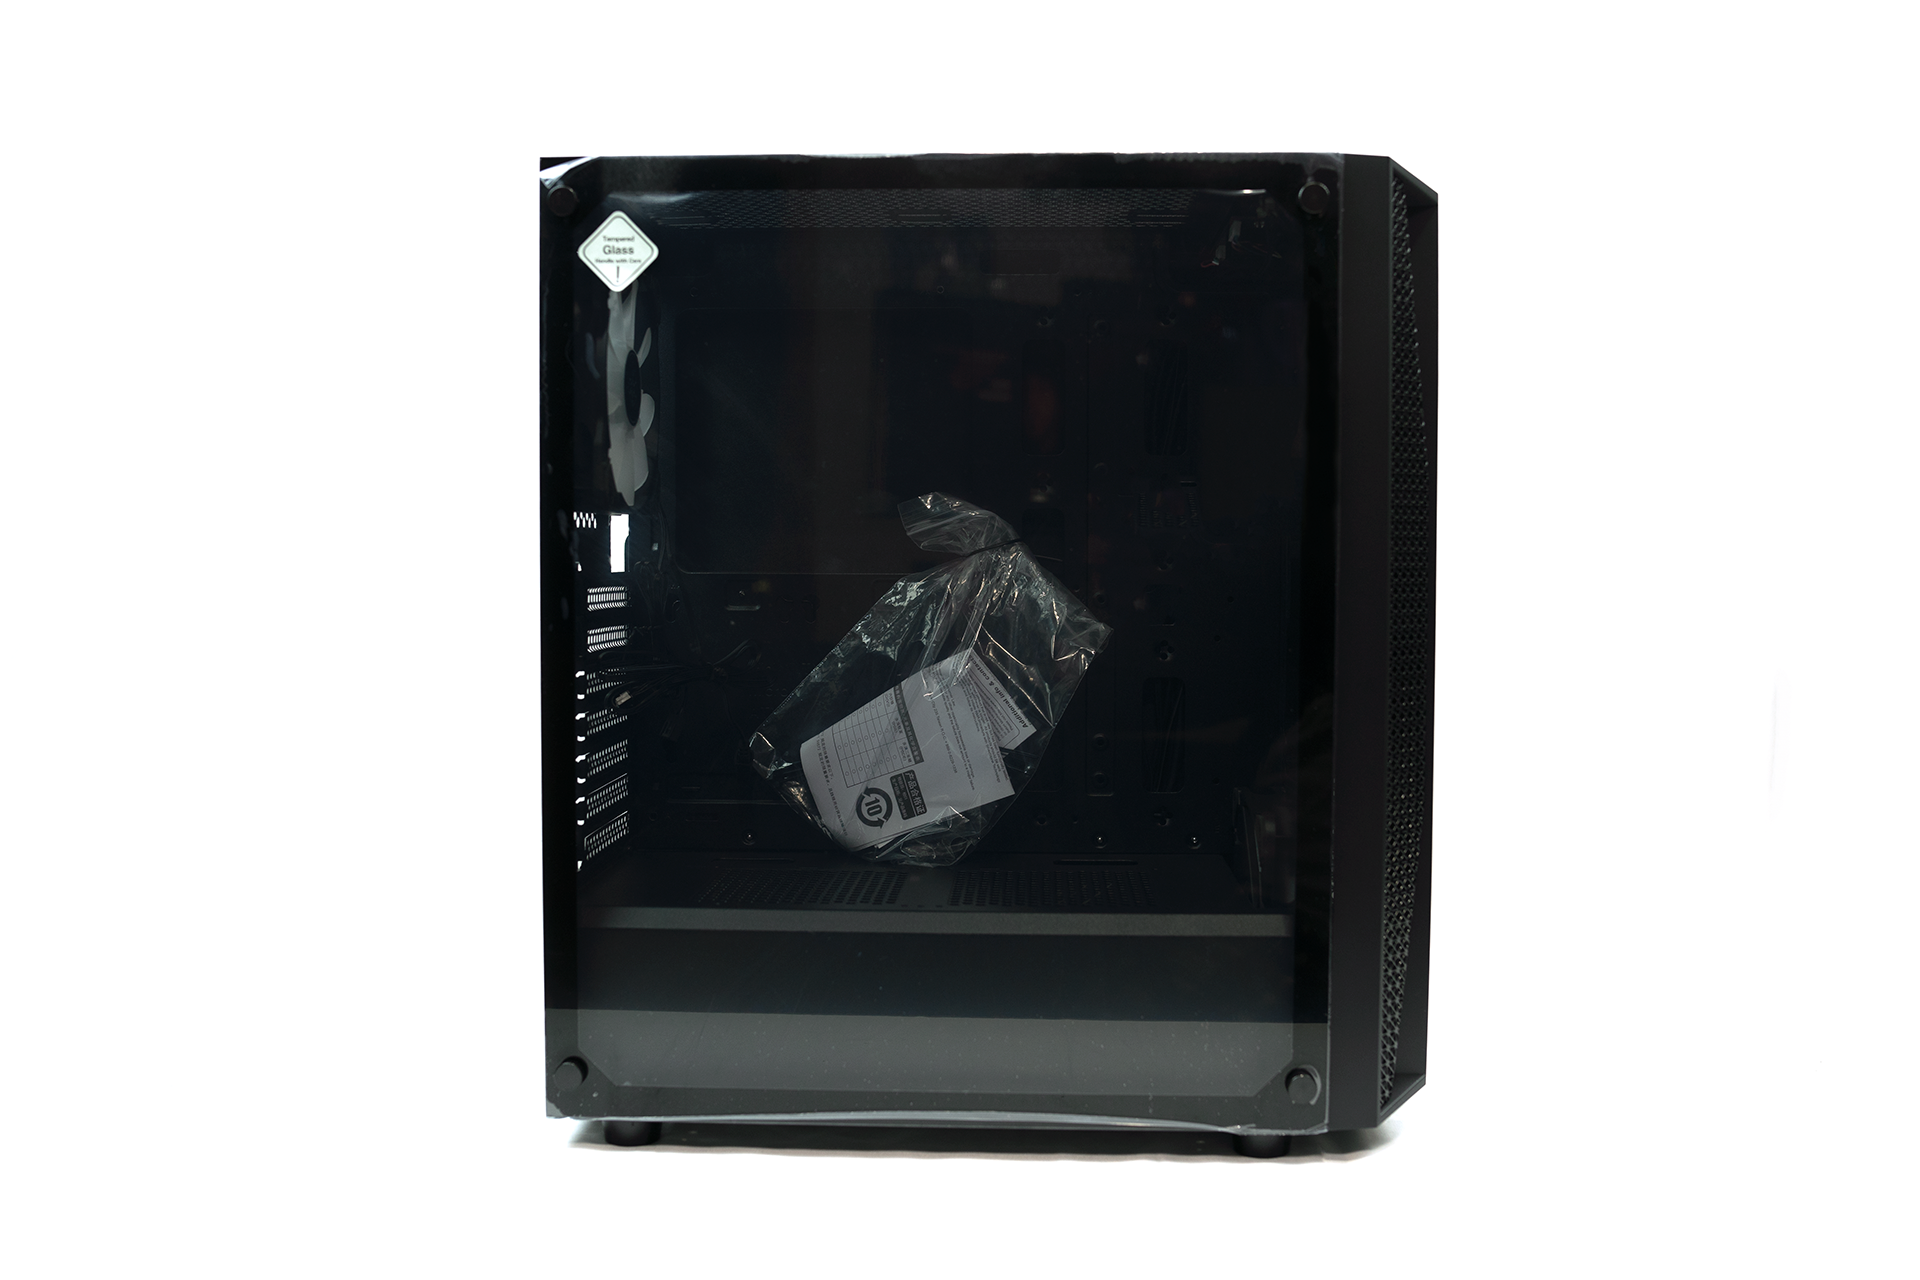
To remove the tempered glass side panel of the Fara B1, there are four nuts that hold the panel in place. Remove these nuts to remove the tempered glass side panel.
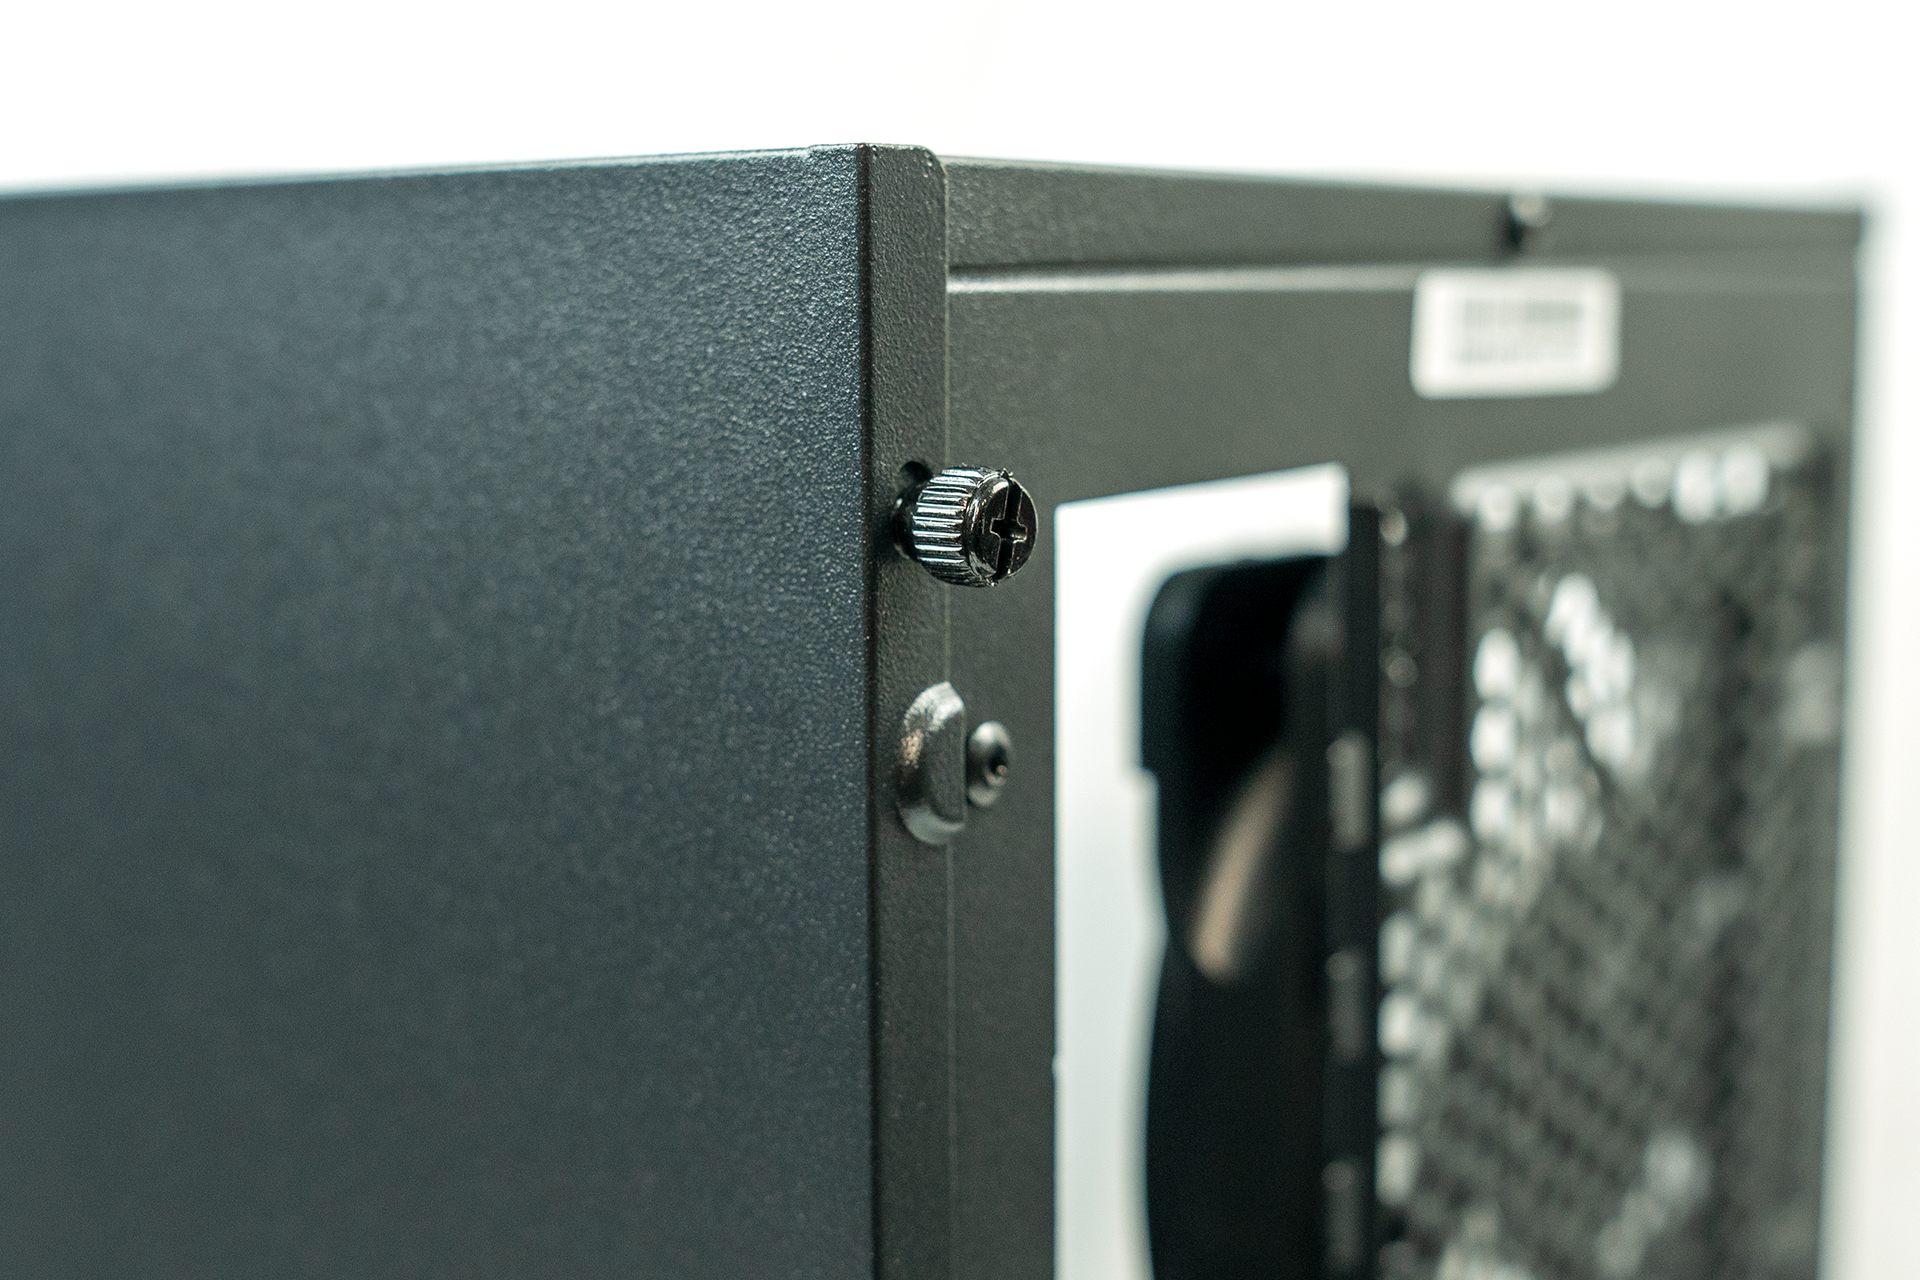
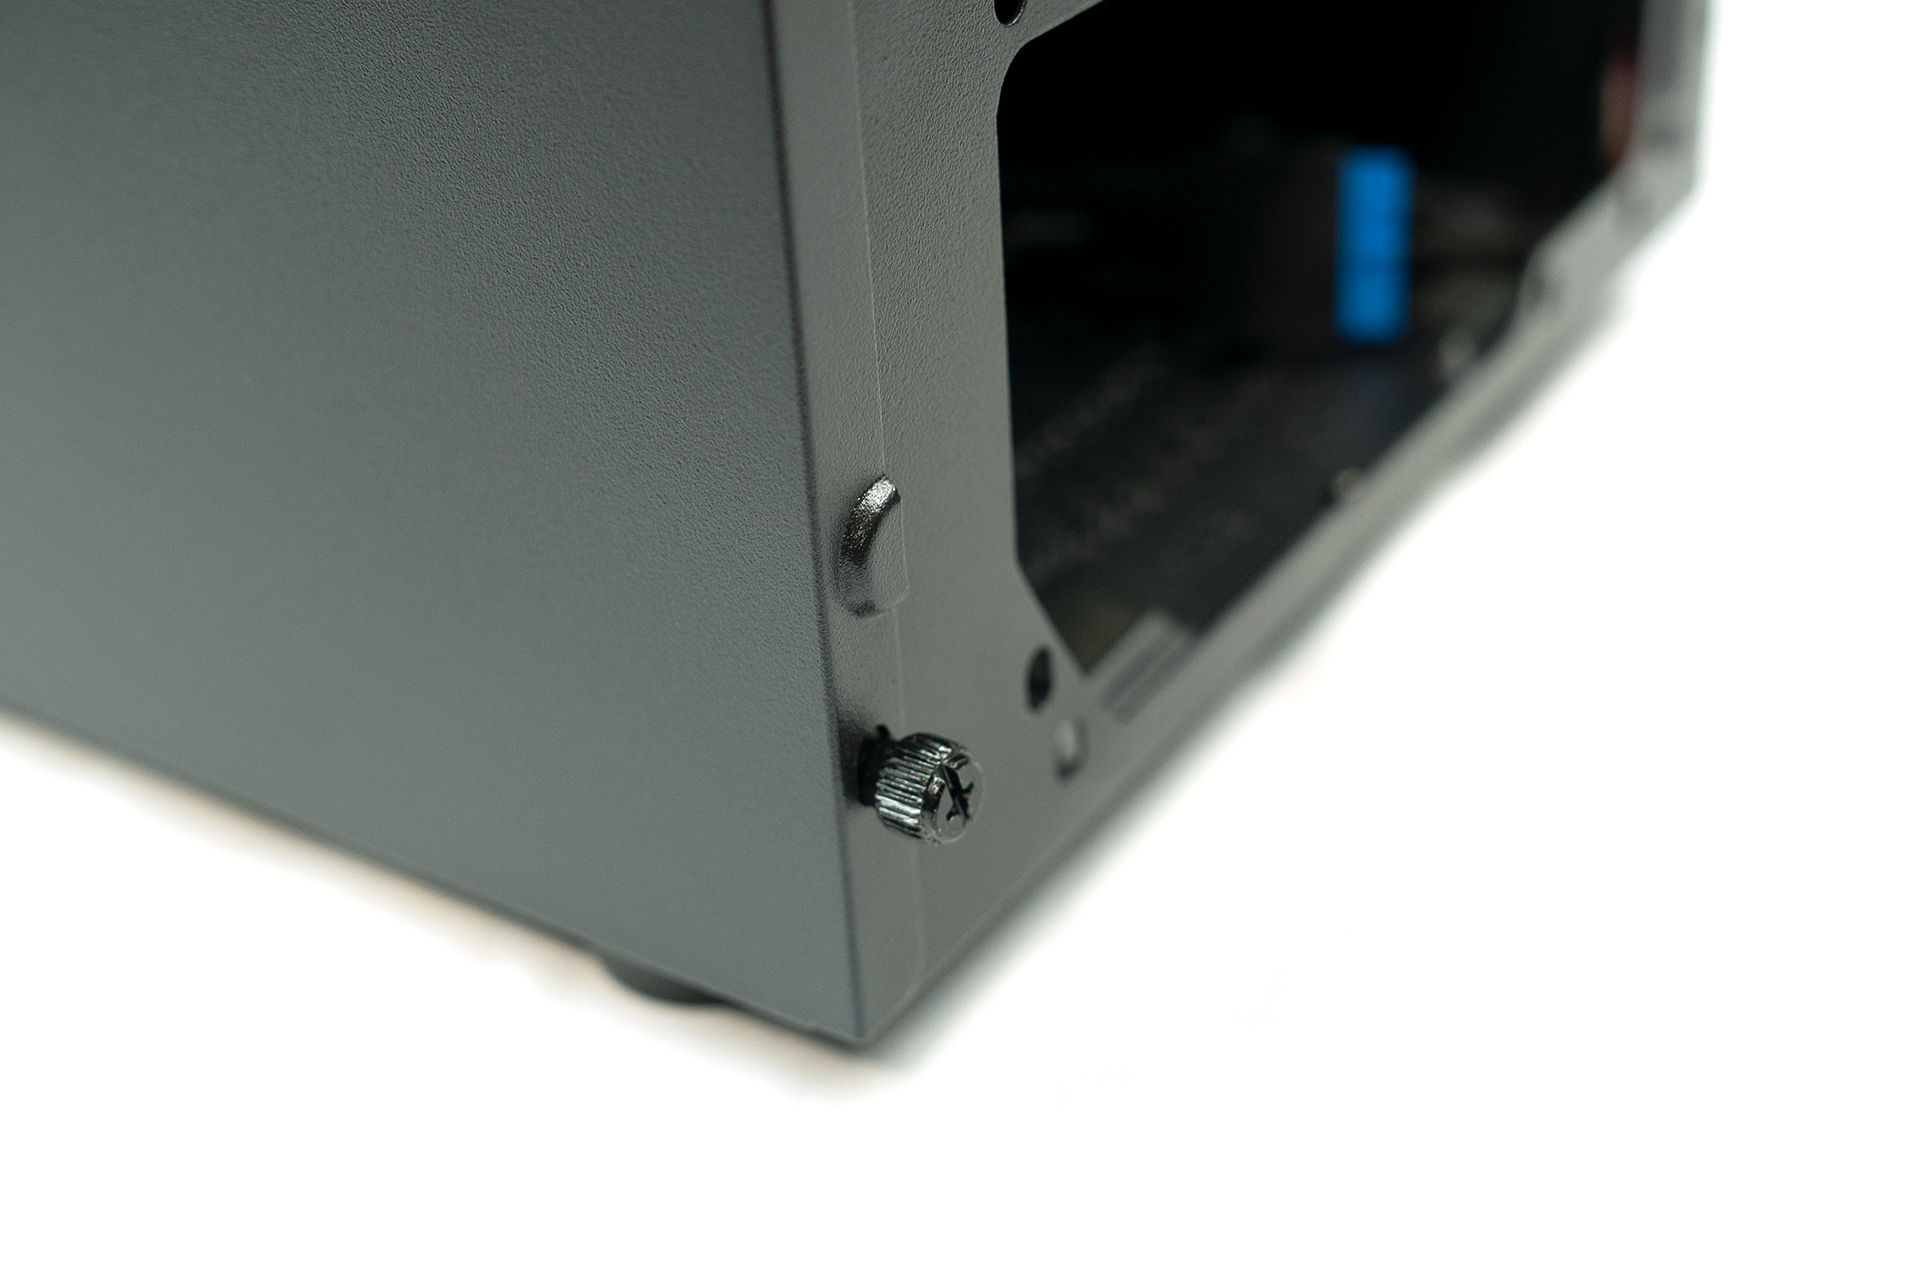
Next, the Fara B1 has two thumbscrews on the rear side panel. To remove this panel, loosen the screws and slide the panel towards the back of the case.
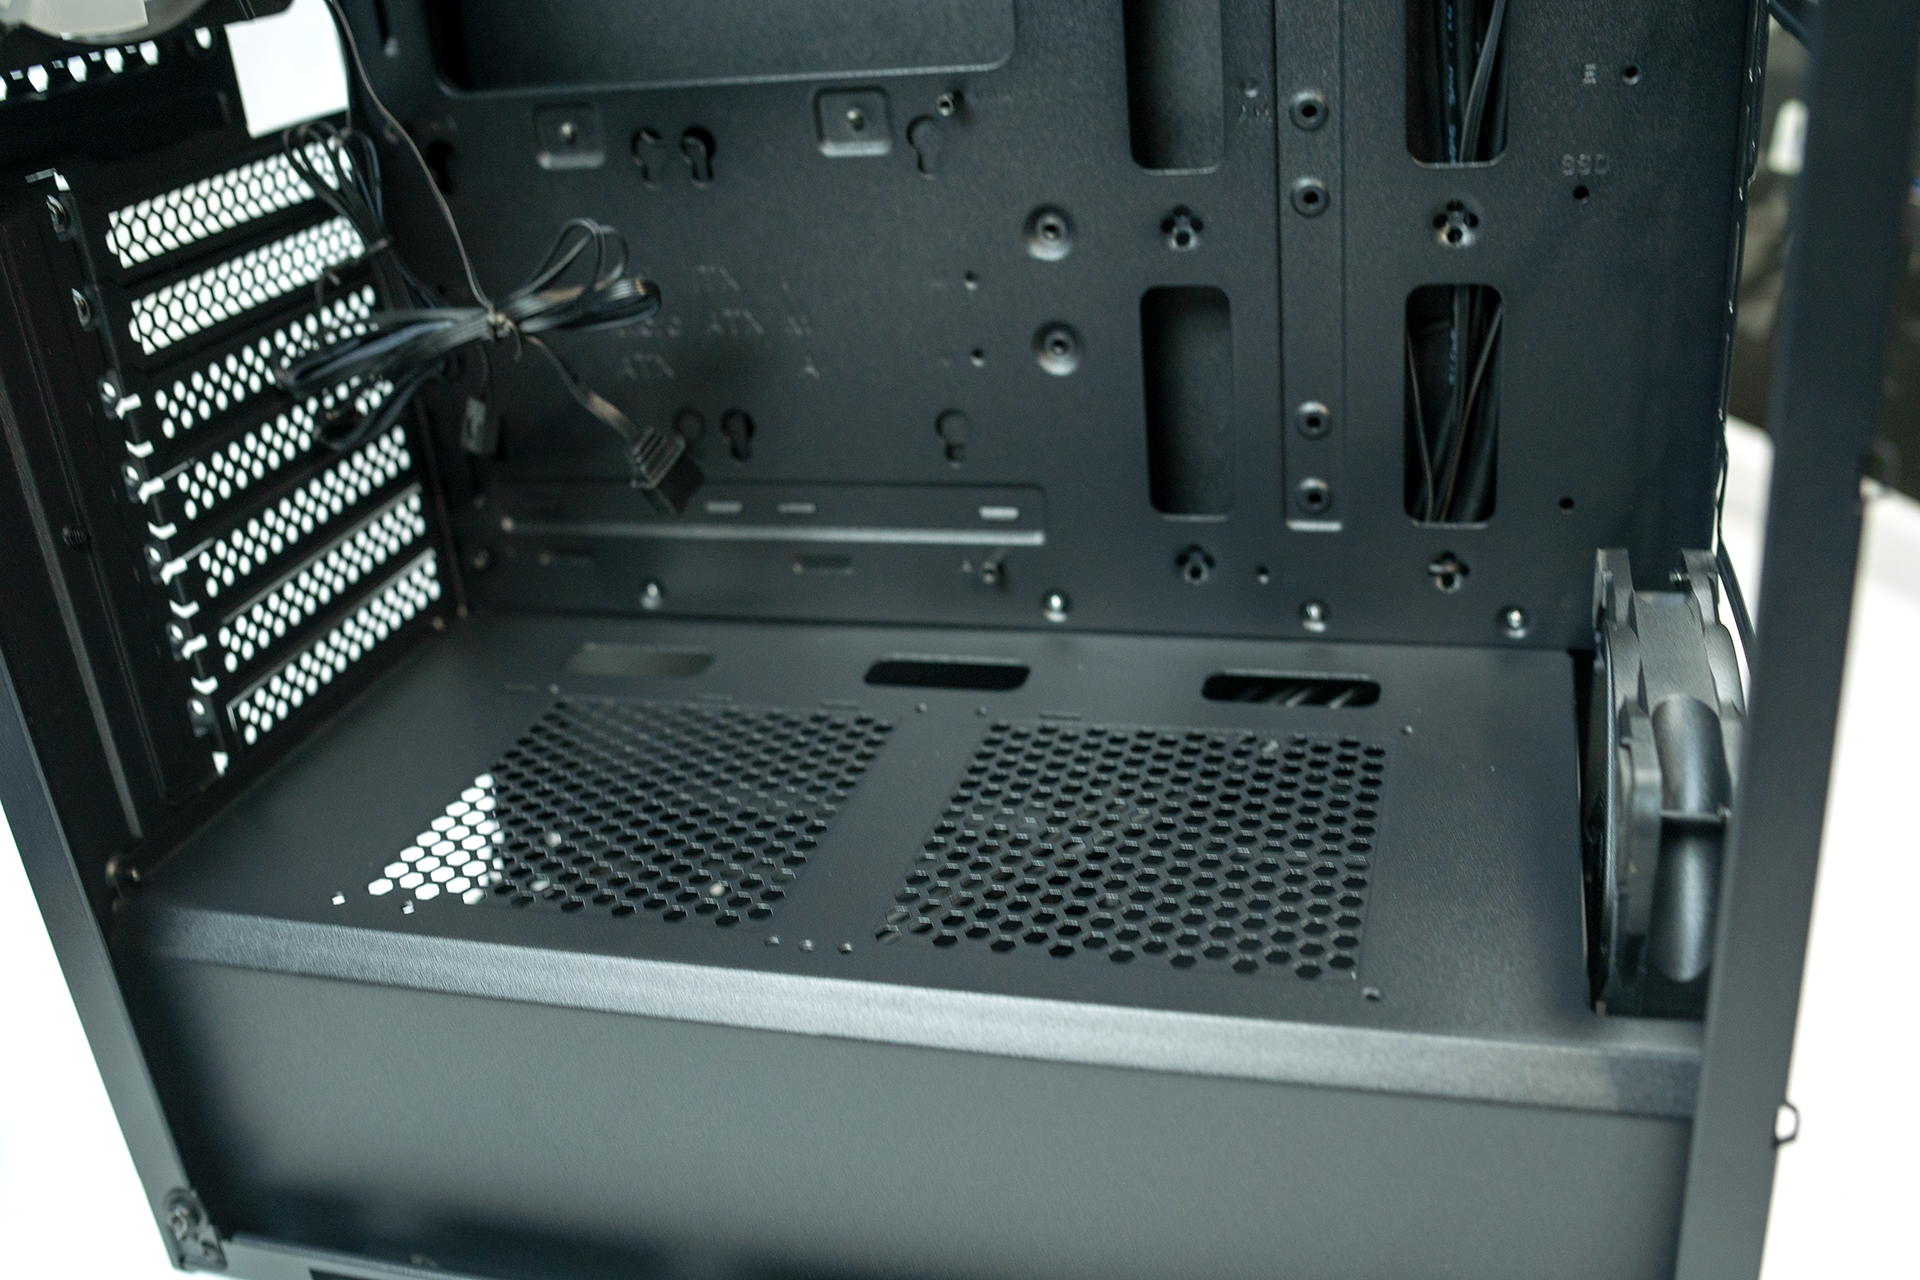
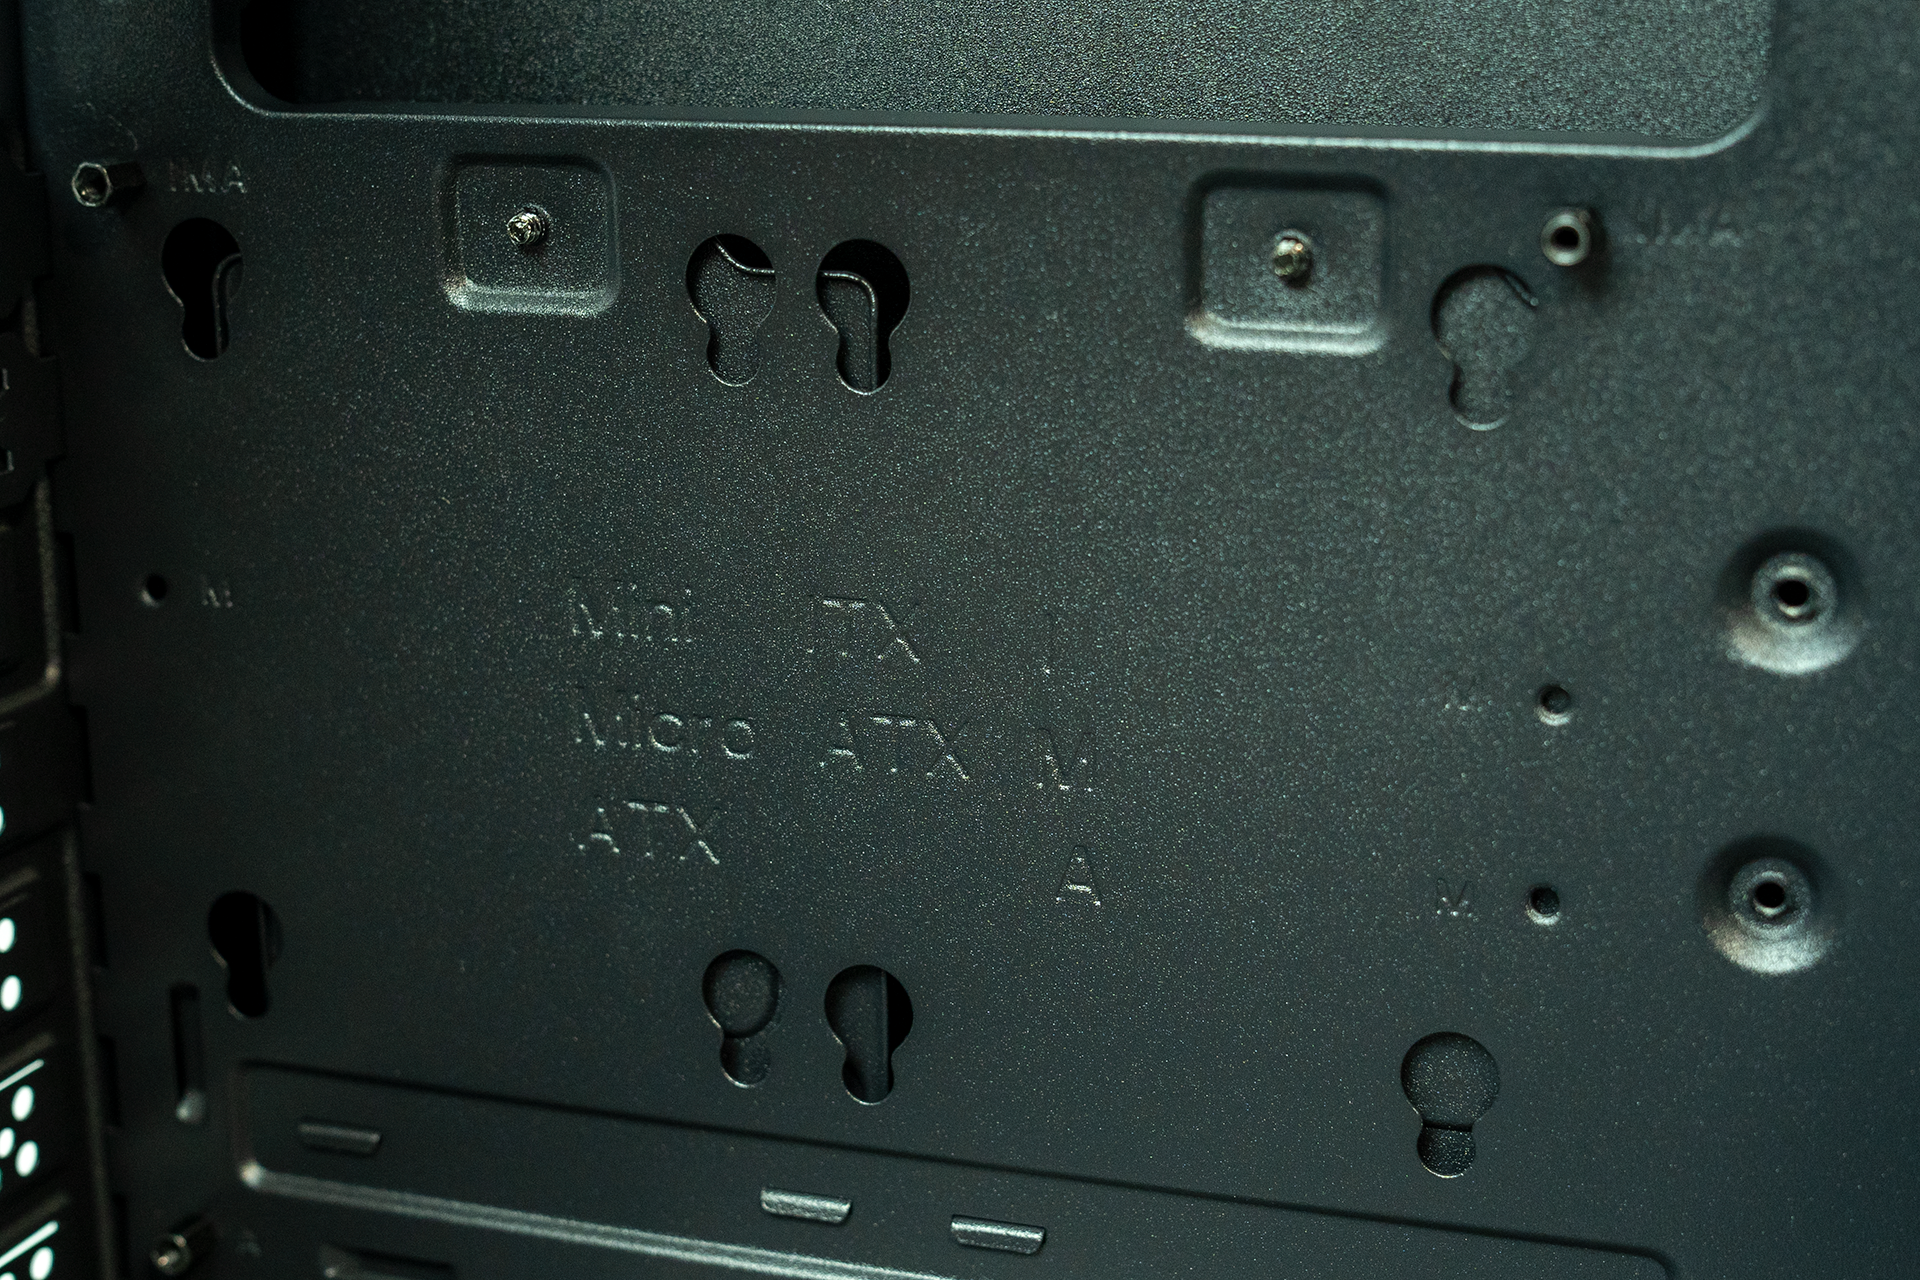
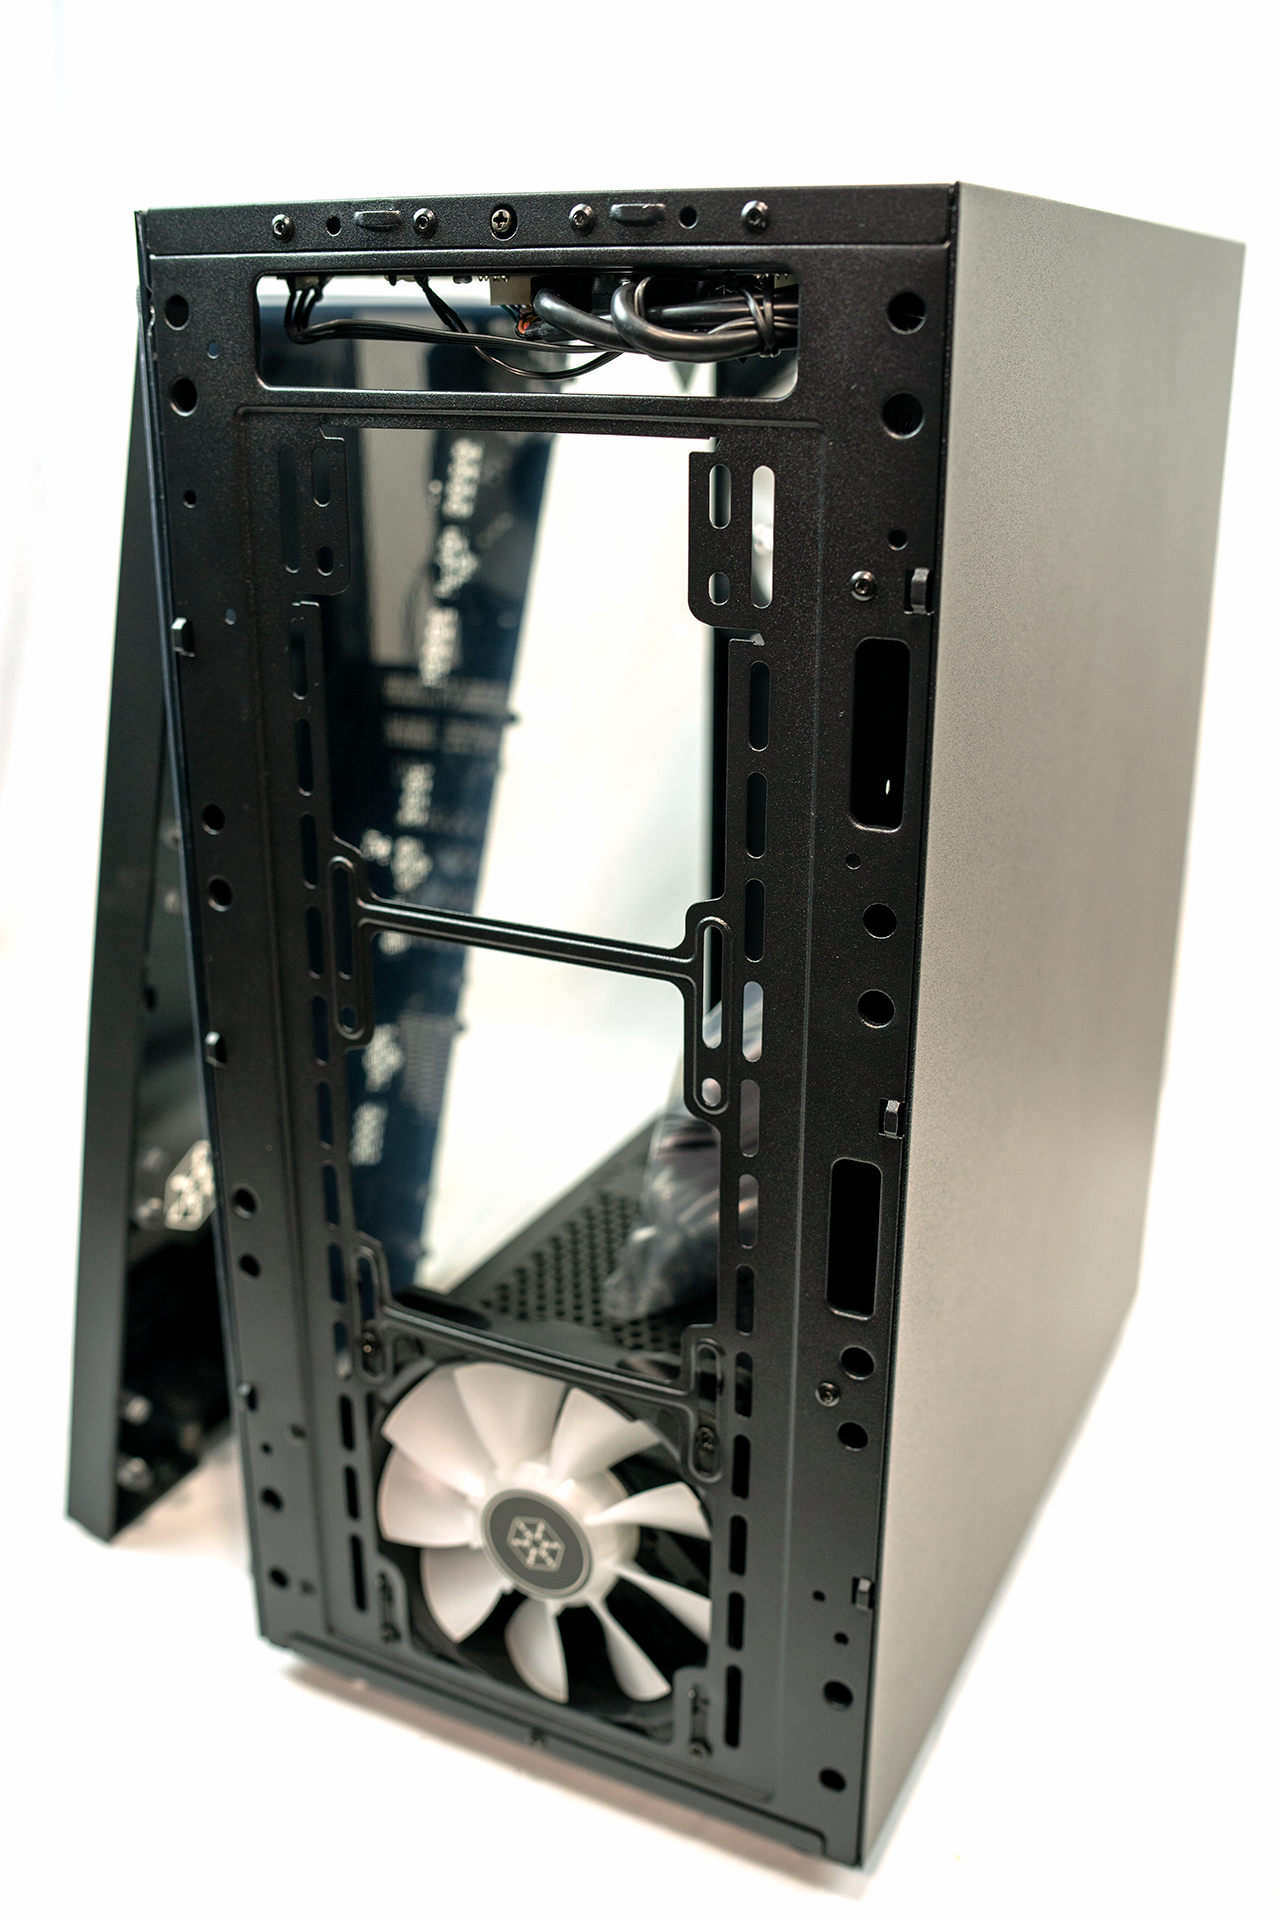
Looking inside the Fara B1, there is a non-removable power supply shroud that has spots to mount two 120 mm fans, as well as holes like you would find on a radiator for mounting the fans. The Fara B1 supports ITX (6.7″ x 6.7″), MATX (9.6″ x 9.6″), and Full ATX (12″ x 9.6″) motherboards. This is printed on the motherboard tray. Also, next to each standoff hole, there are corresponding letters to let you know what standoffs are needed for each different form factor.


The Fara B1 comes with two Silverstone RGB fans already installed. Unfortunately, these fans required an RGB controller with a proprietary connector that I did not have. I’m not sure if the Fara B1 was supposed to come with an RGB controller for the fan. But I did not find one in the case or the box. One fan is installed in the cases exhaust and the other on the front of the case at the bottom. In the exhaust, the Fara B1 can support wither a 120 mm fan or a 120 mm radiator. The various different mounting holes in the exhaust allows you to mount your fans or radiator at different heights.
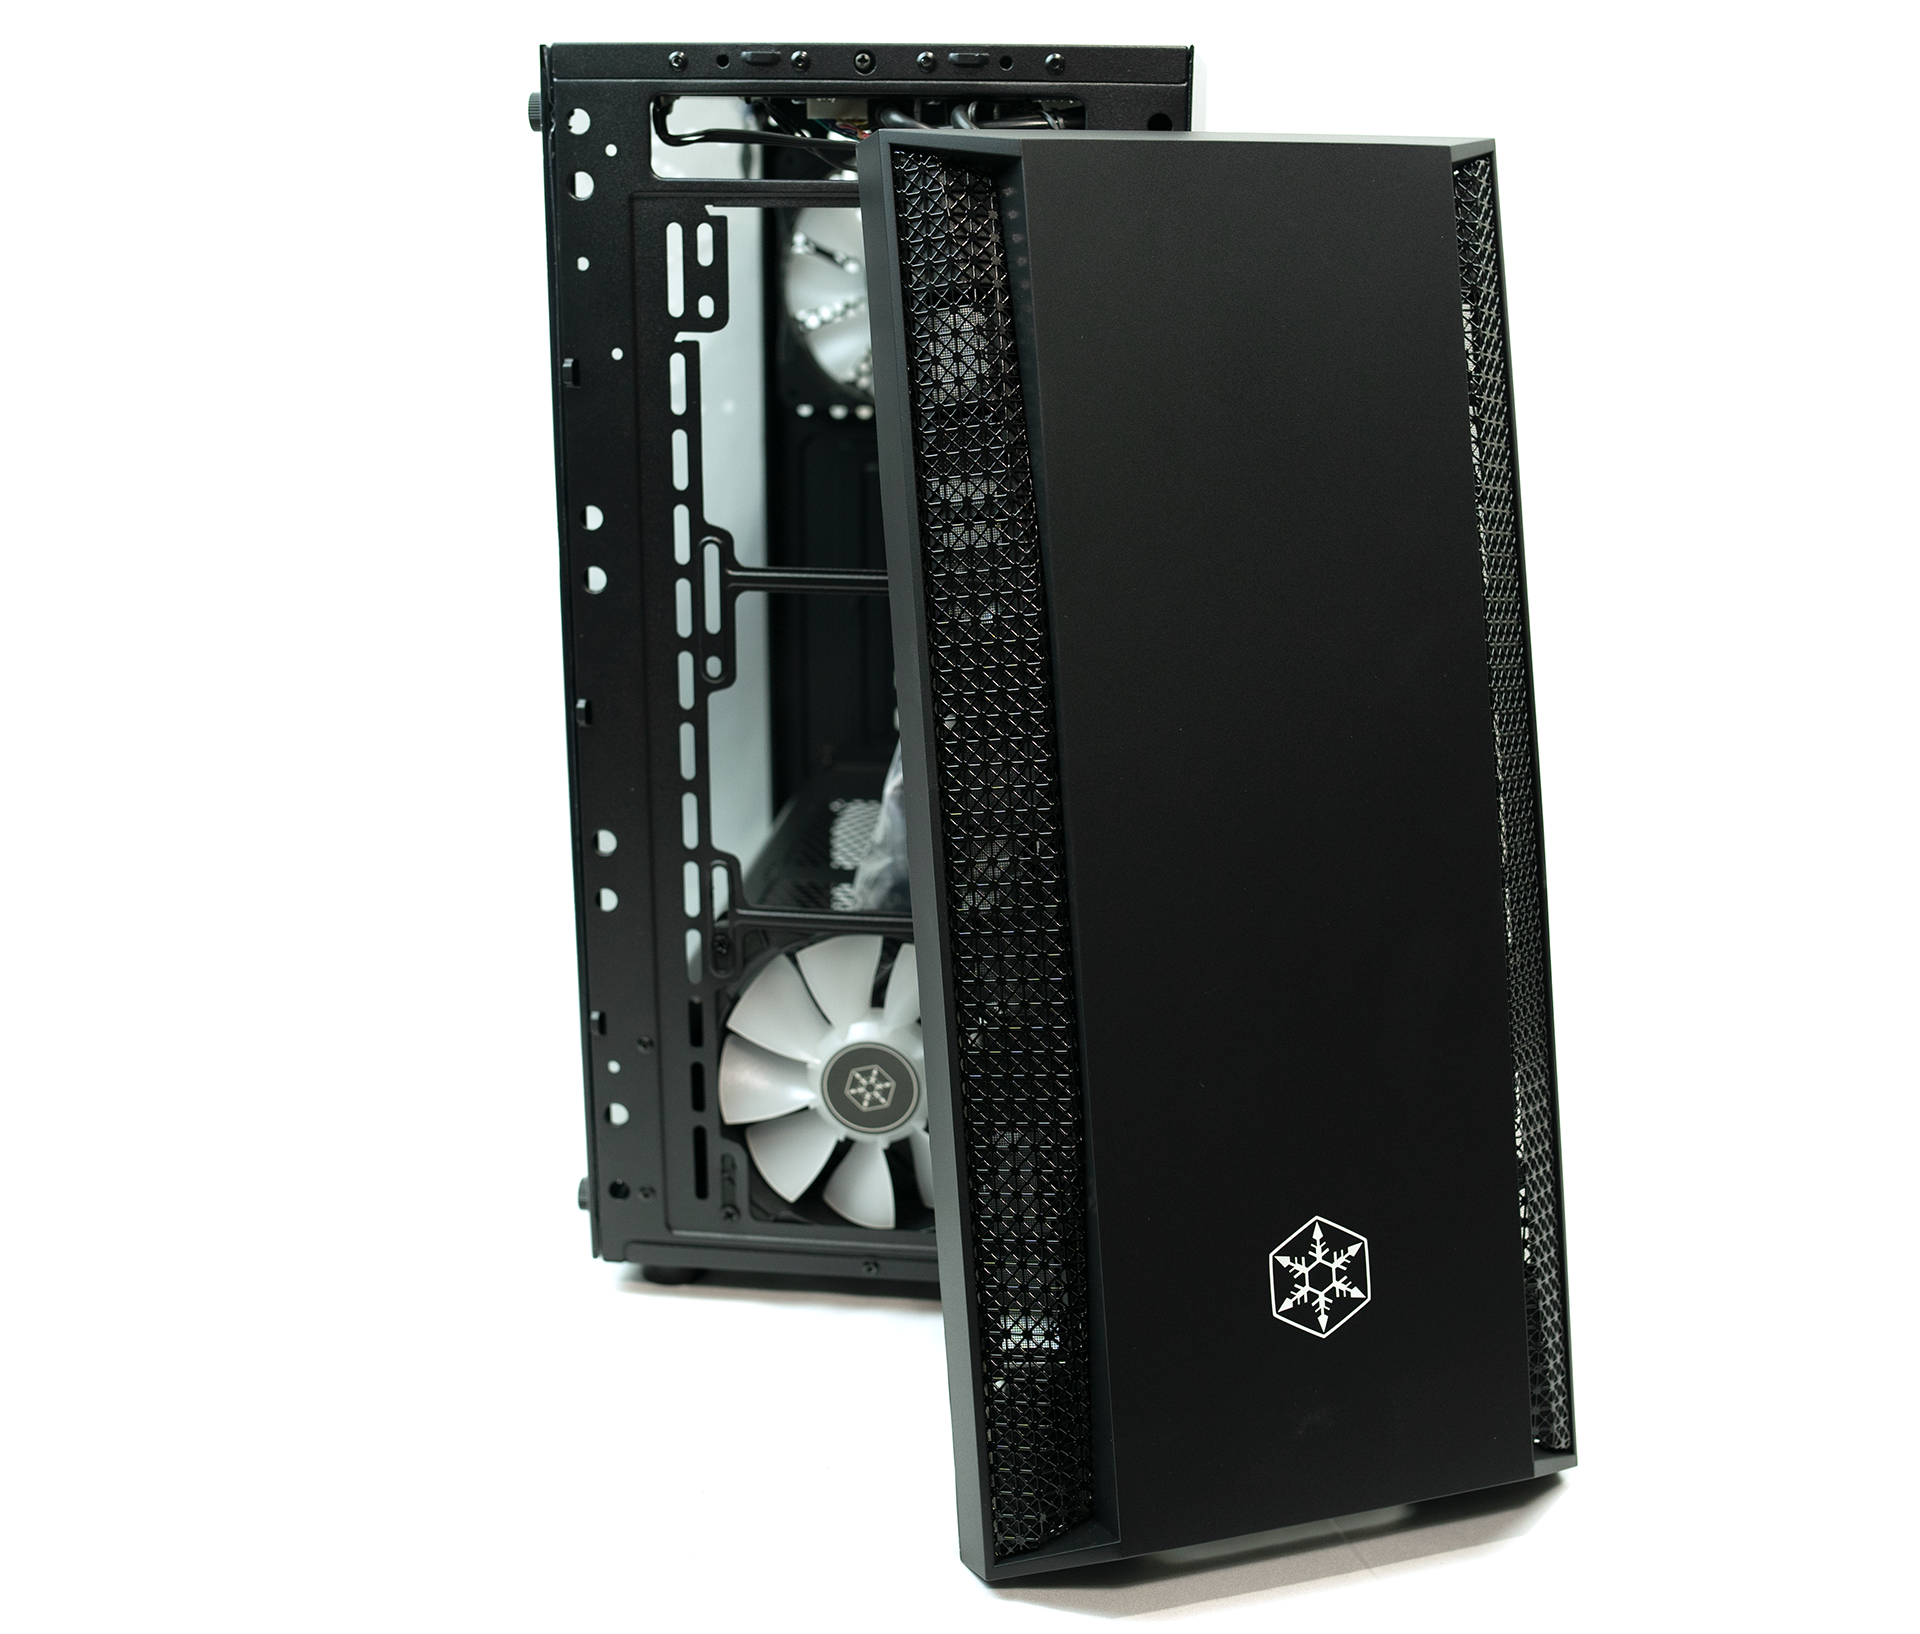
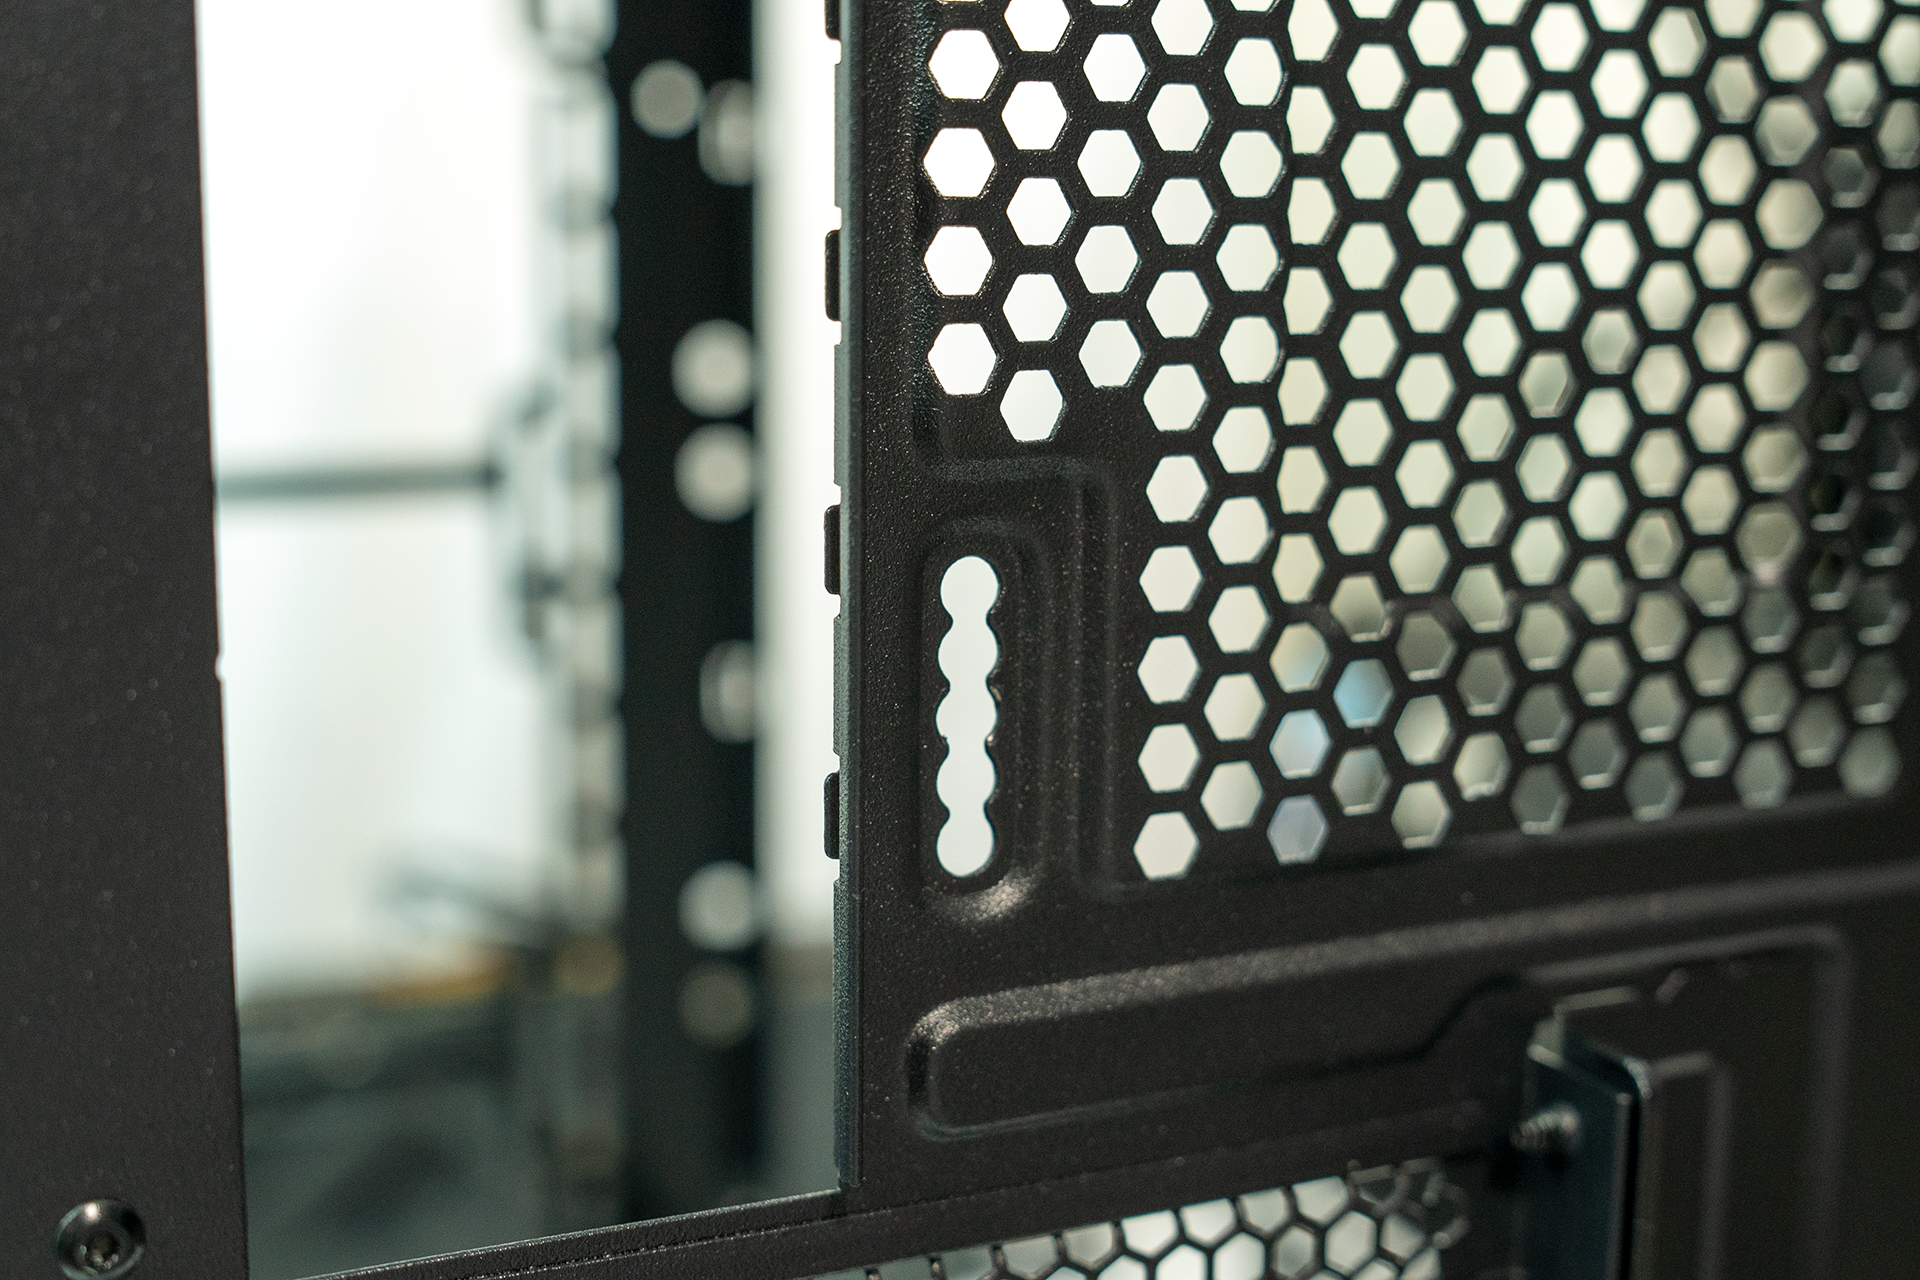
To remove the front panel on the Fara B1, you simply grab the bottom and pop off the panel. When you do, you can see there are multiple different options for fans or radiators. For fans, The Fara B1 can hold up to three 120 mm fans or two 140 mm fans. As for radiators, the Fara B1 can handle a 120 mm, 140 mm, 240 mm, or a 280 mm radiator. I’m sure with some patients and a Dremel, you can get a 360 mm radiator in there as well.

For top mounting options, the Fara B1 can support two 120 or 140 mm fans. For water cooling, you can fit either a single 120 mm or a 240 mm radiator.
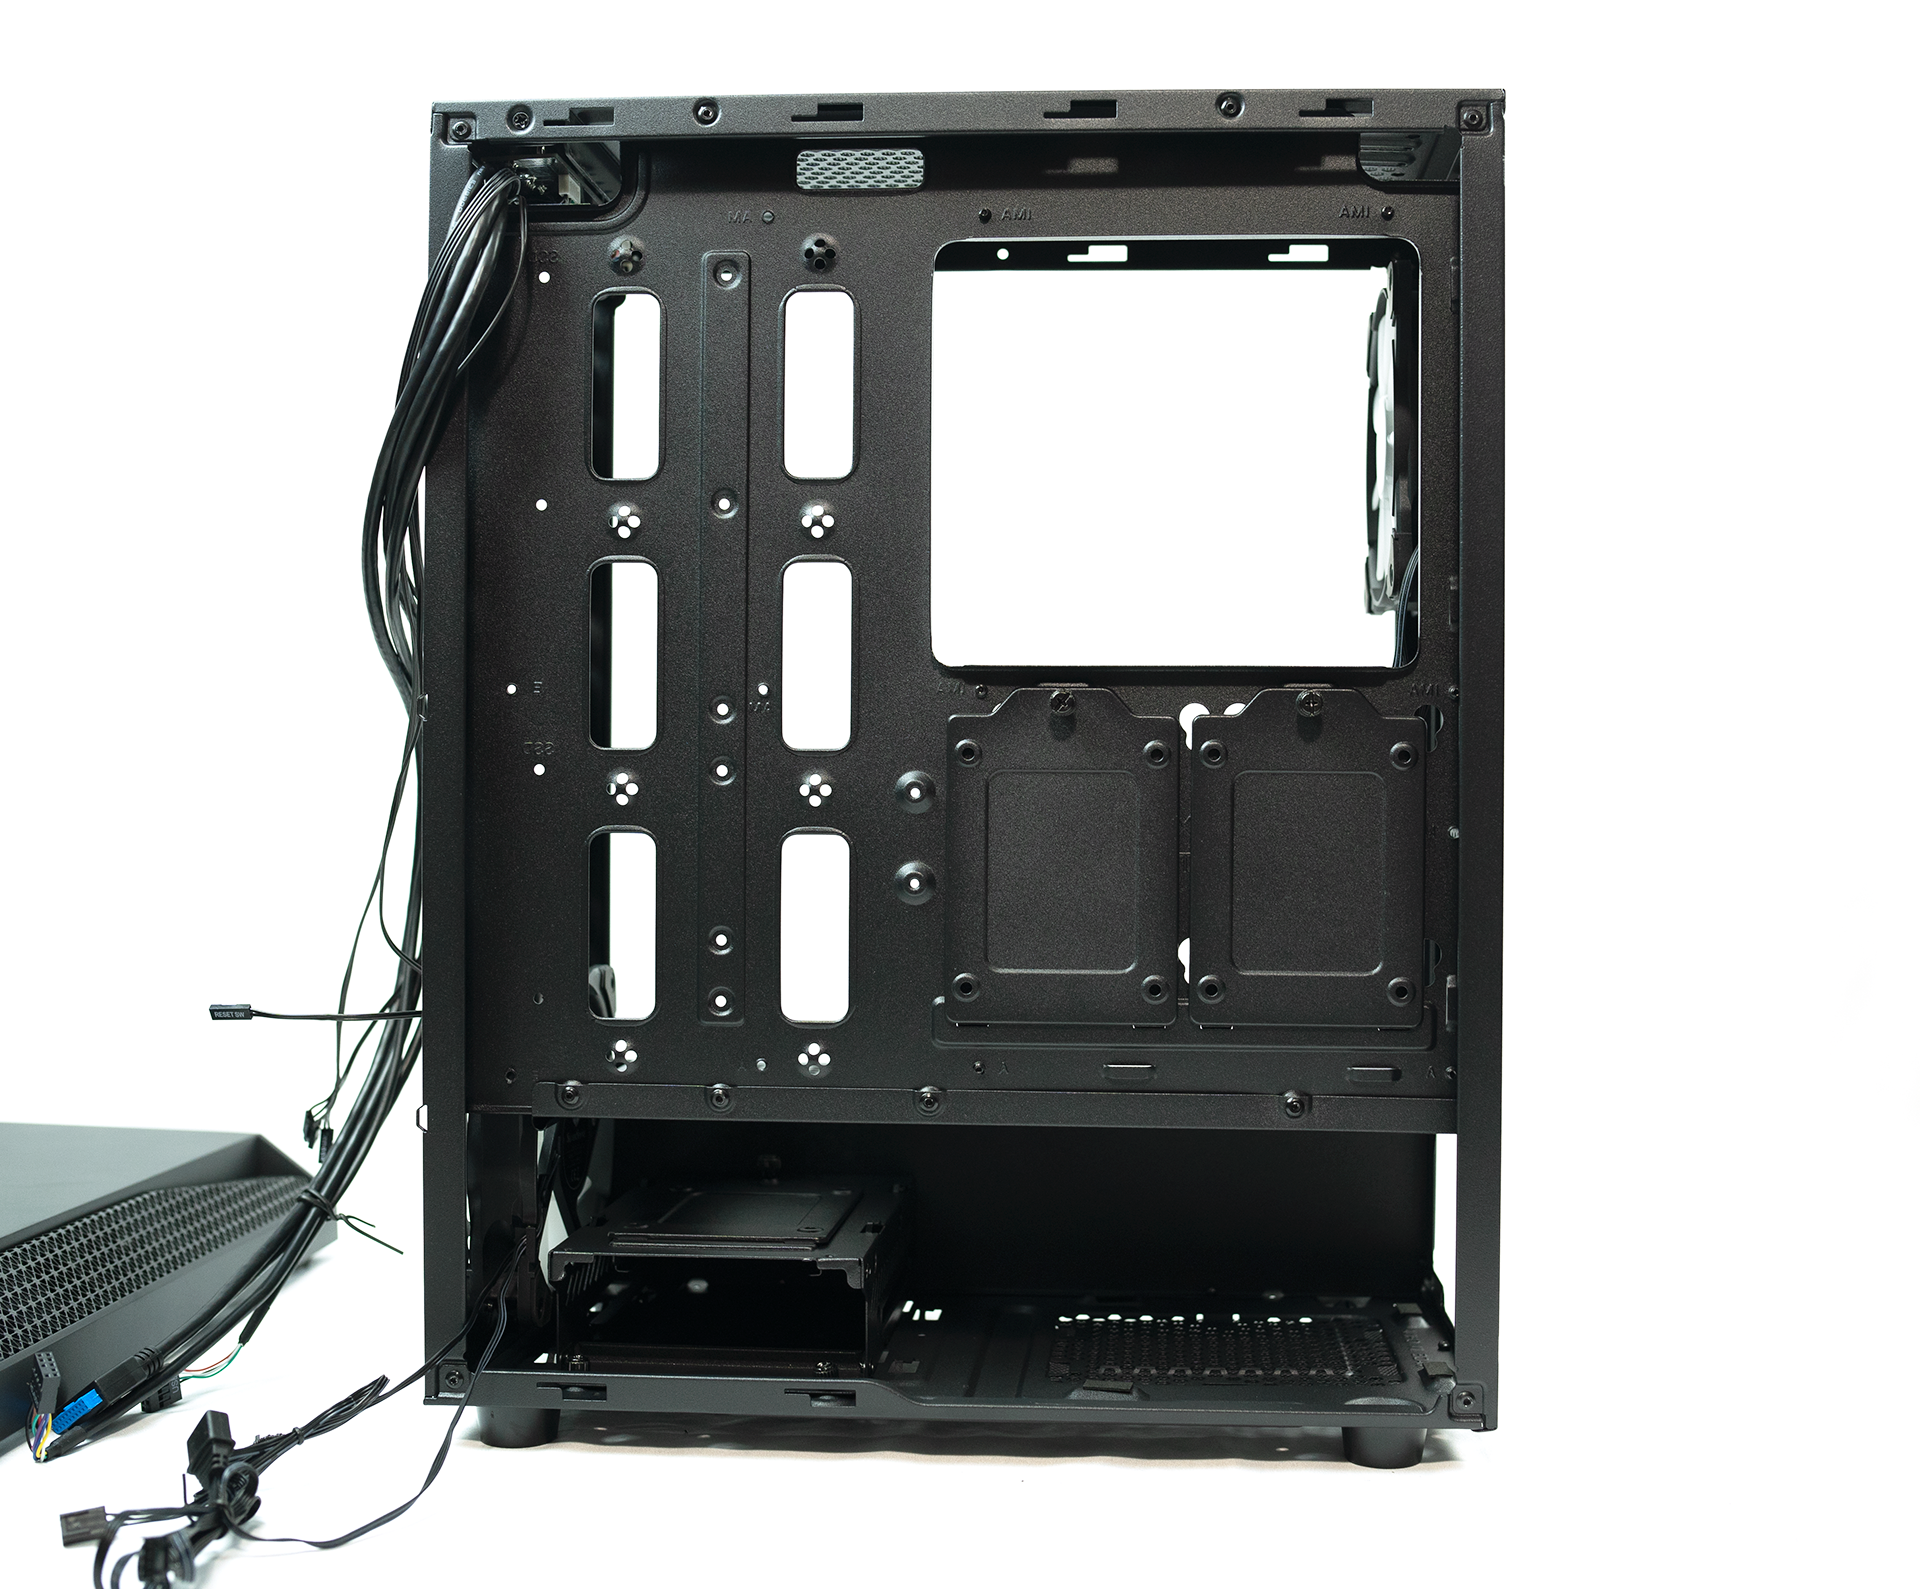
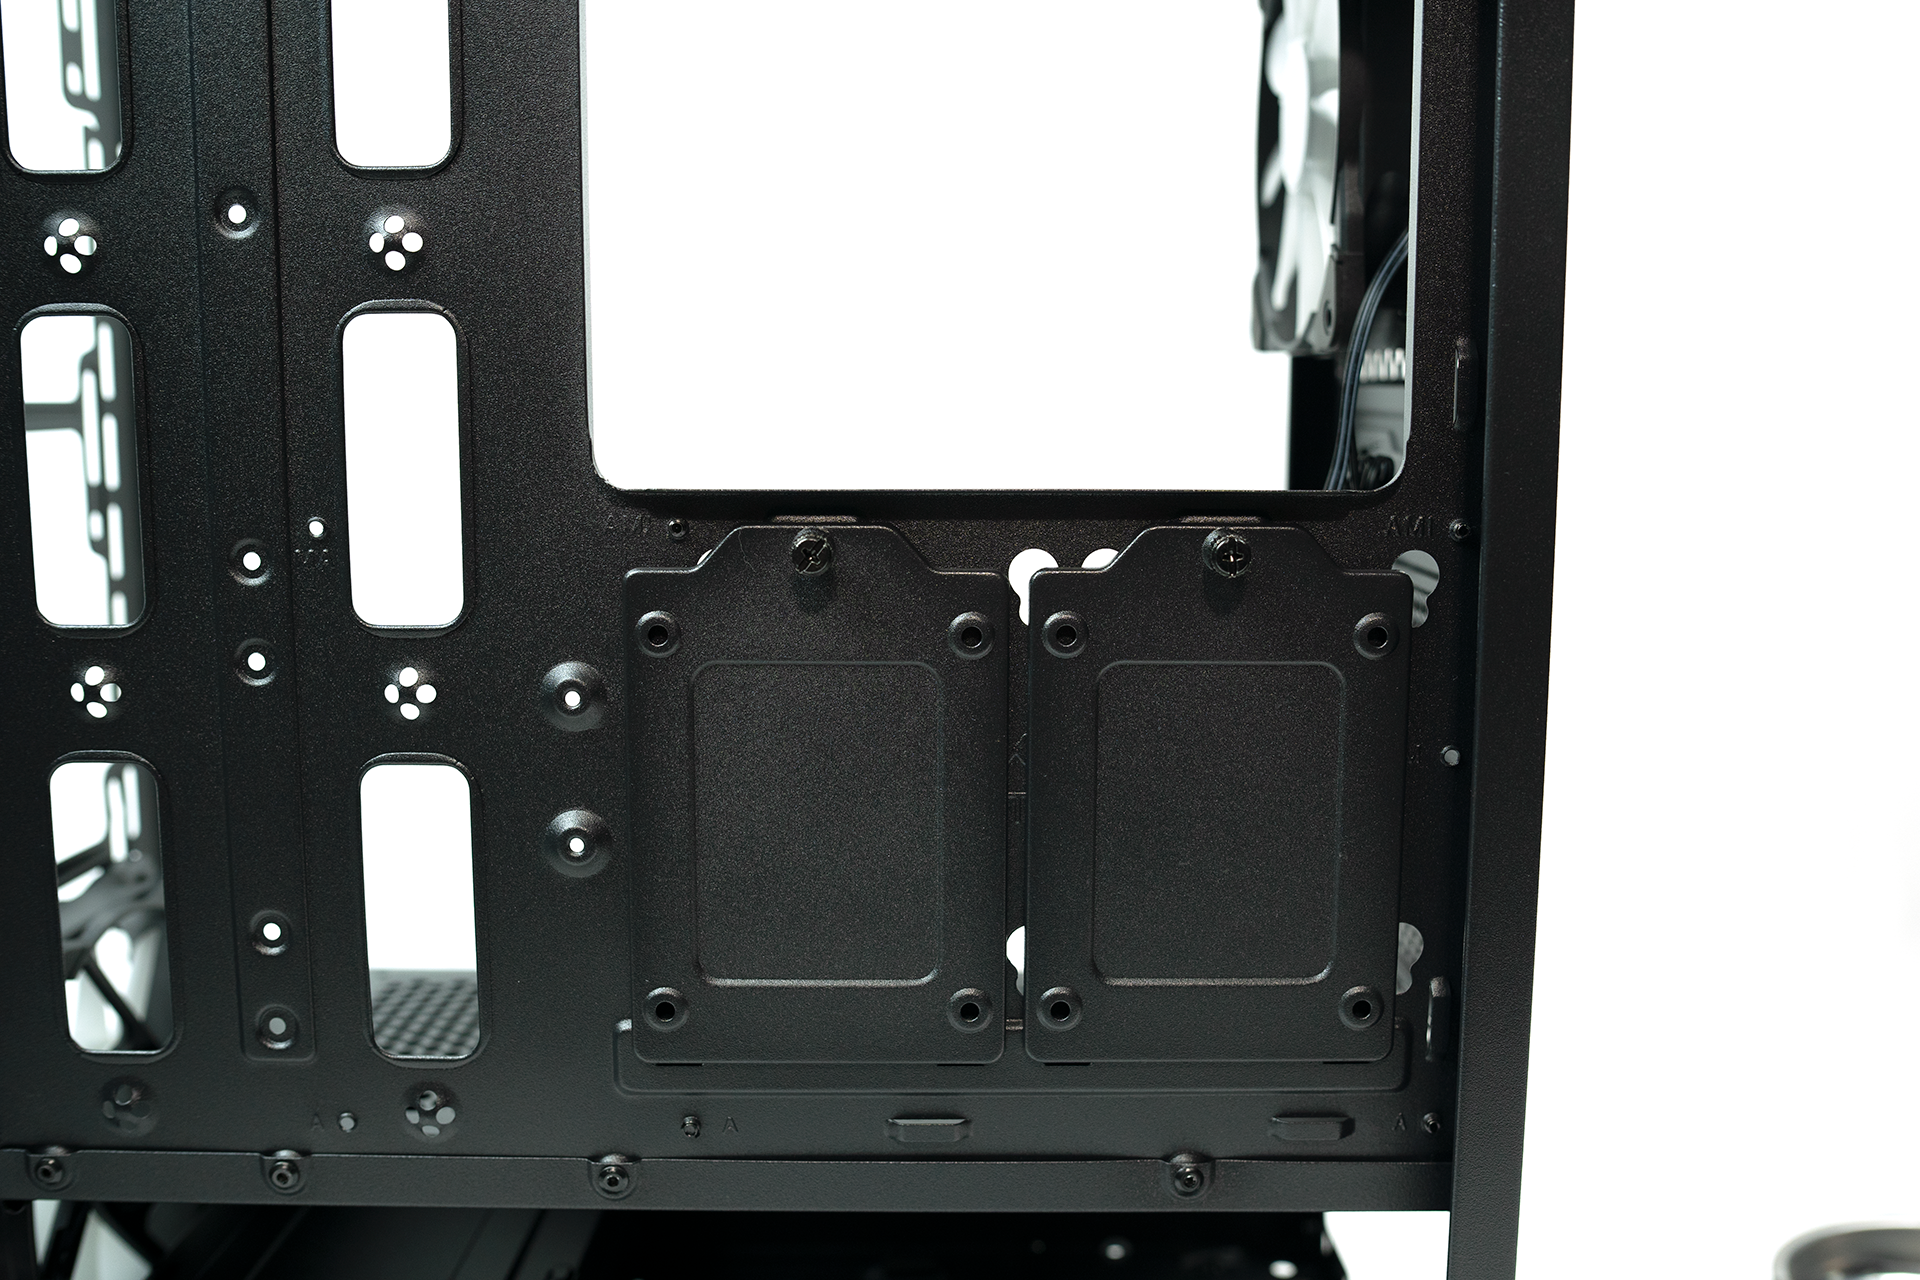
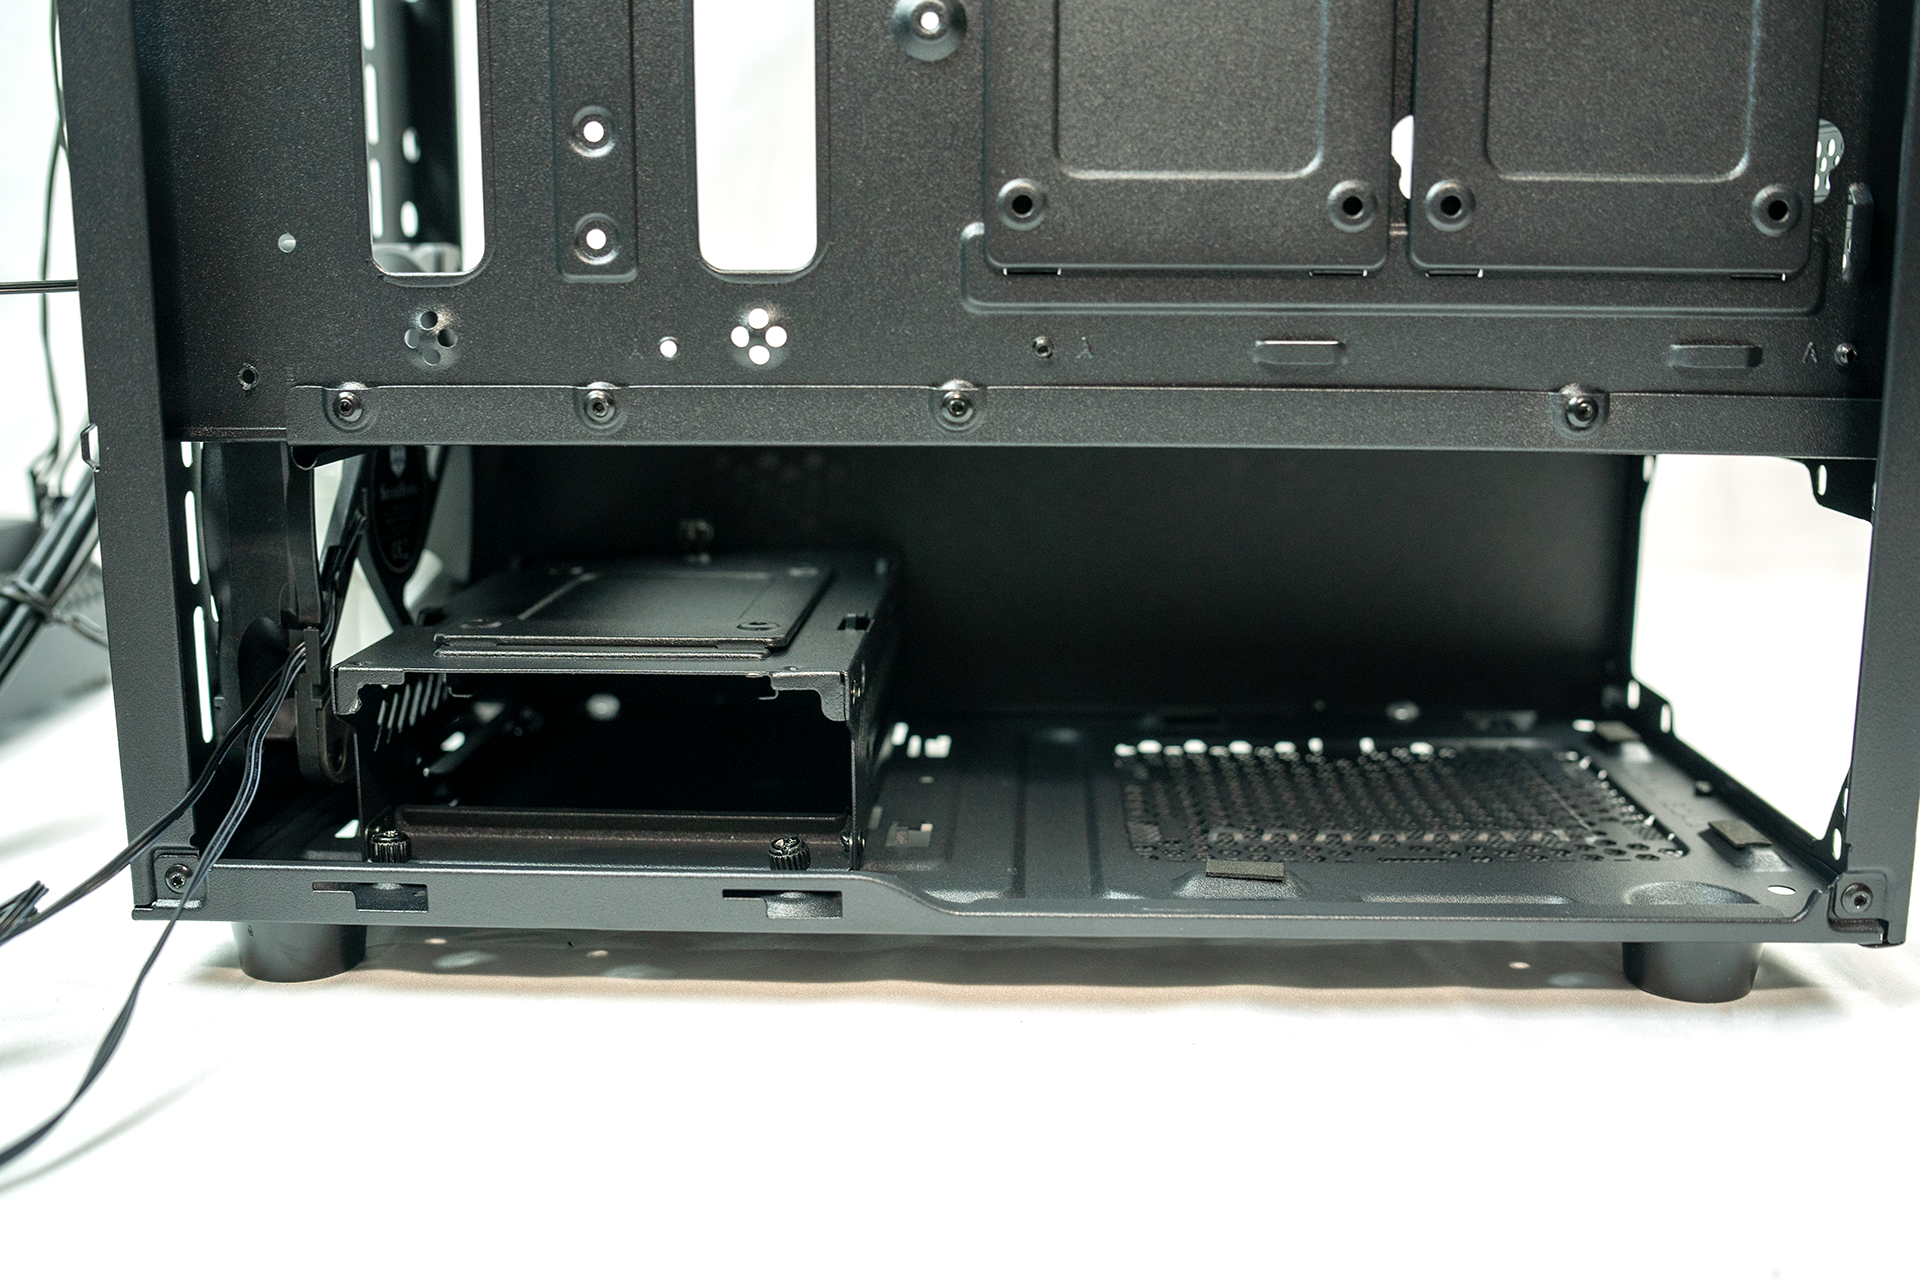
Looking at the back of the Fara B1, we see mounting for either tree 2.5″ drives and one 3.5″ hard drive, or just four 2.5″ drives. There is also a fair amount of room in the basement to tuck away cables once the power supply is installed.
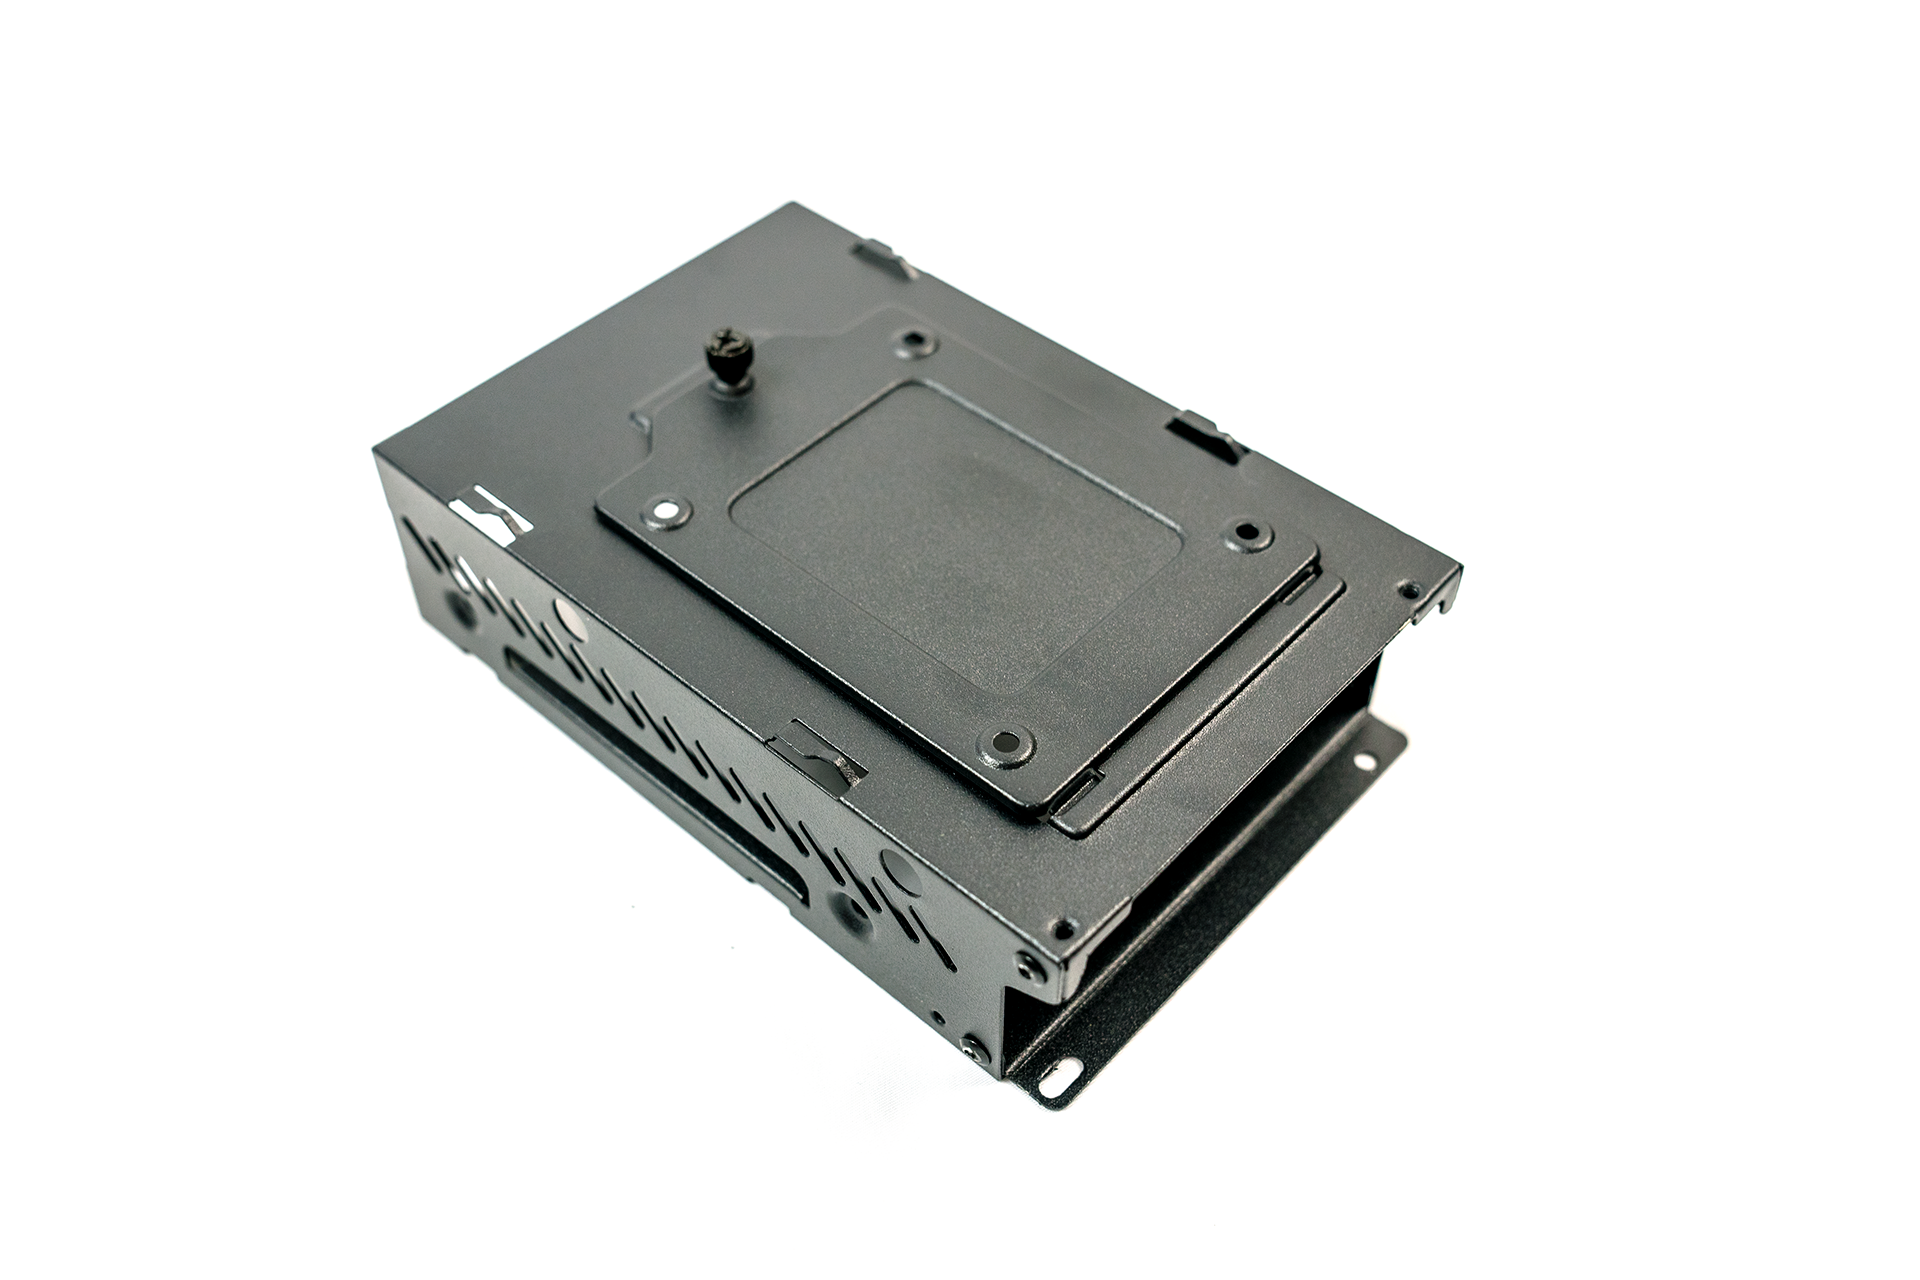
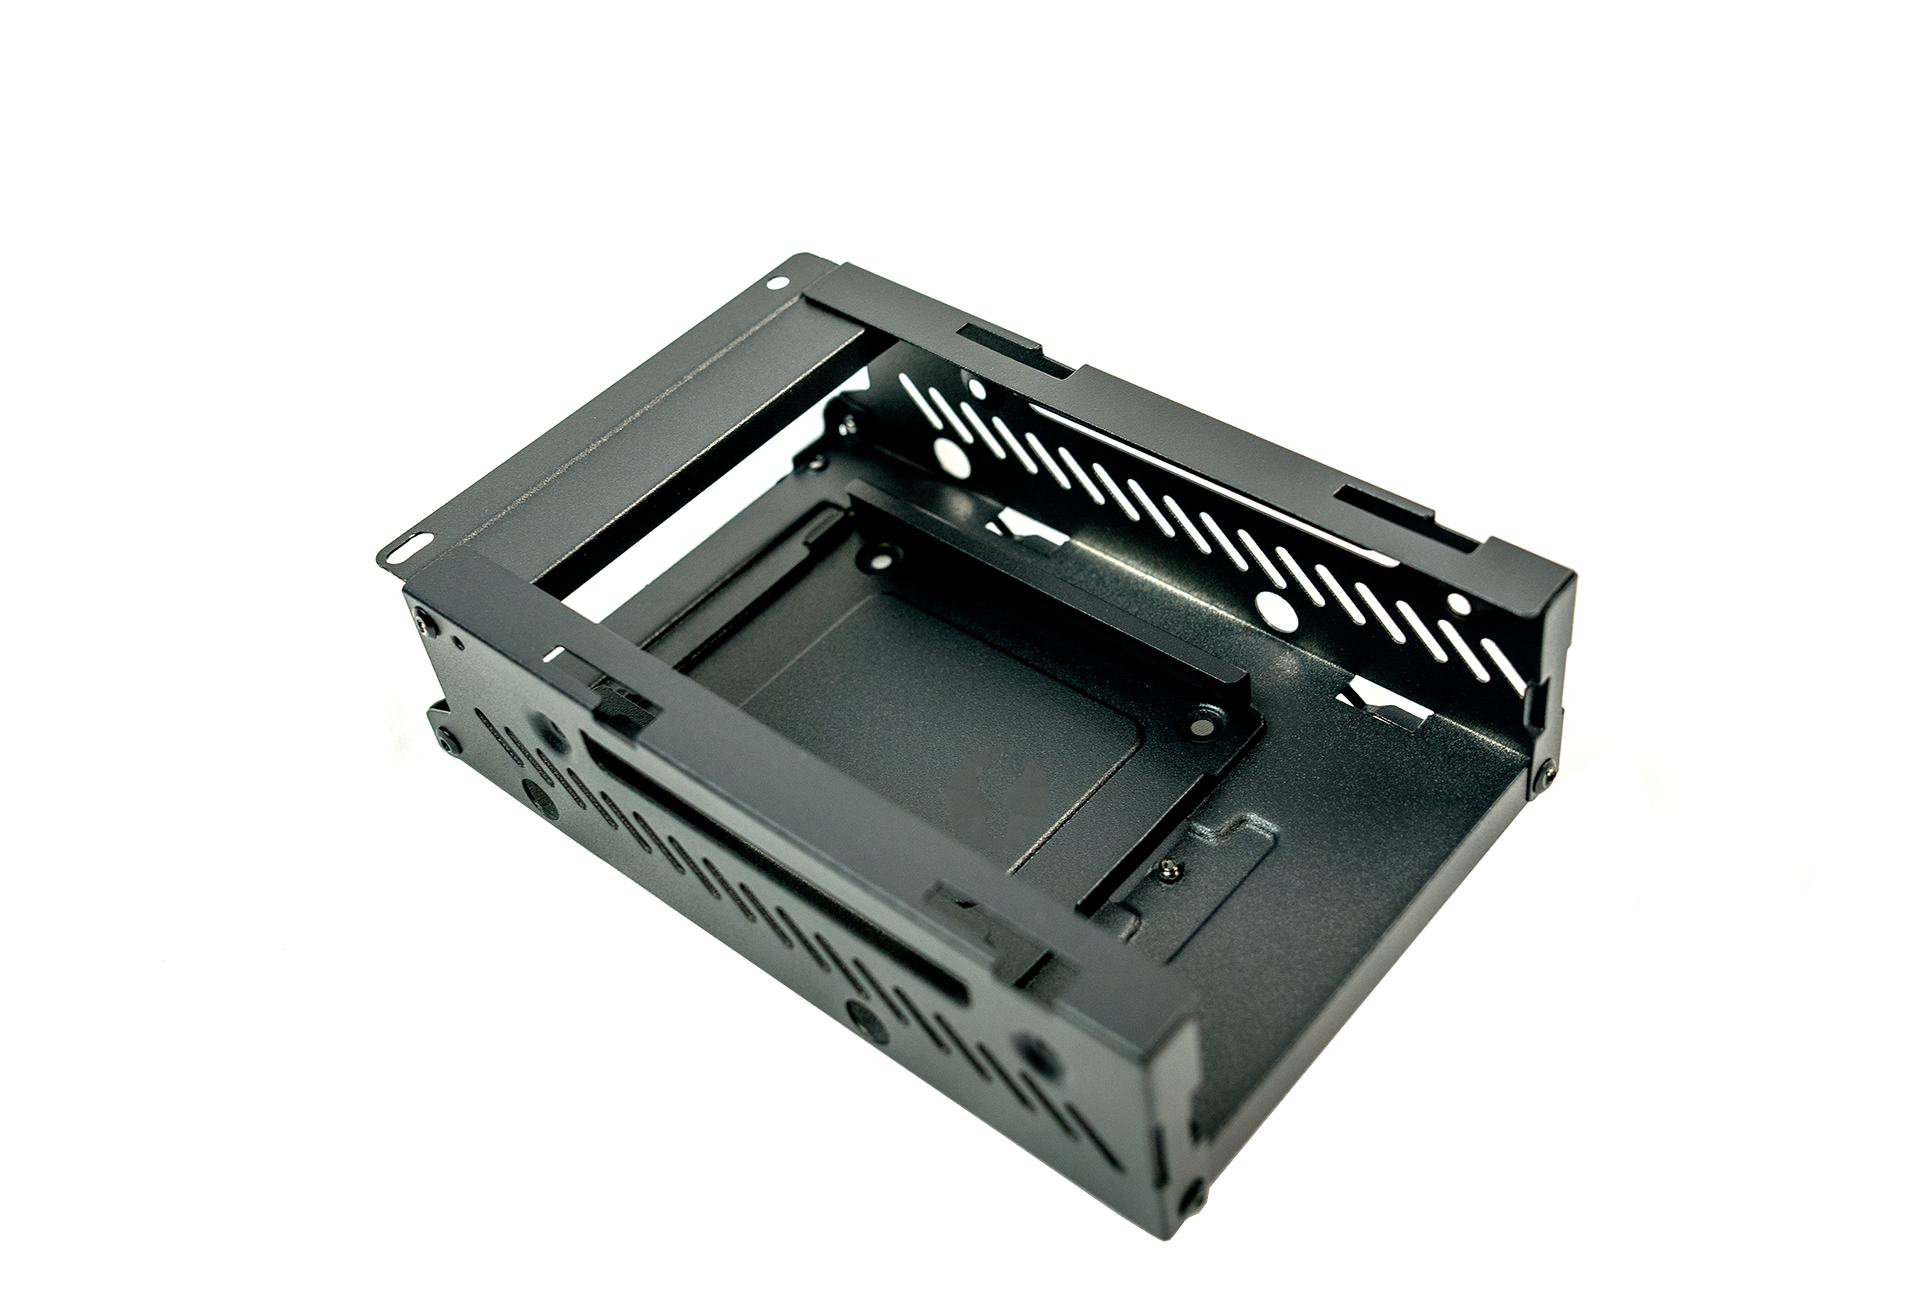
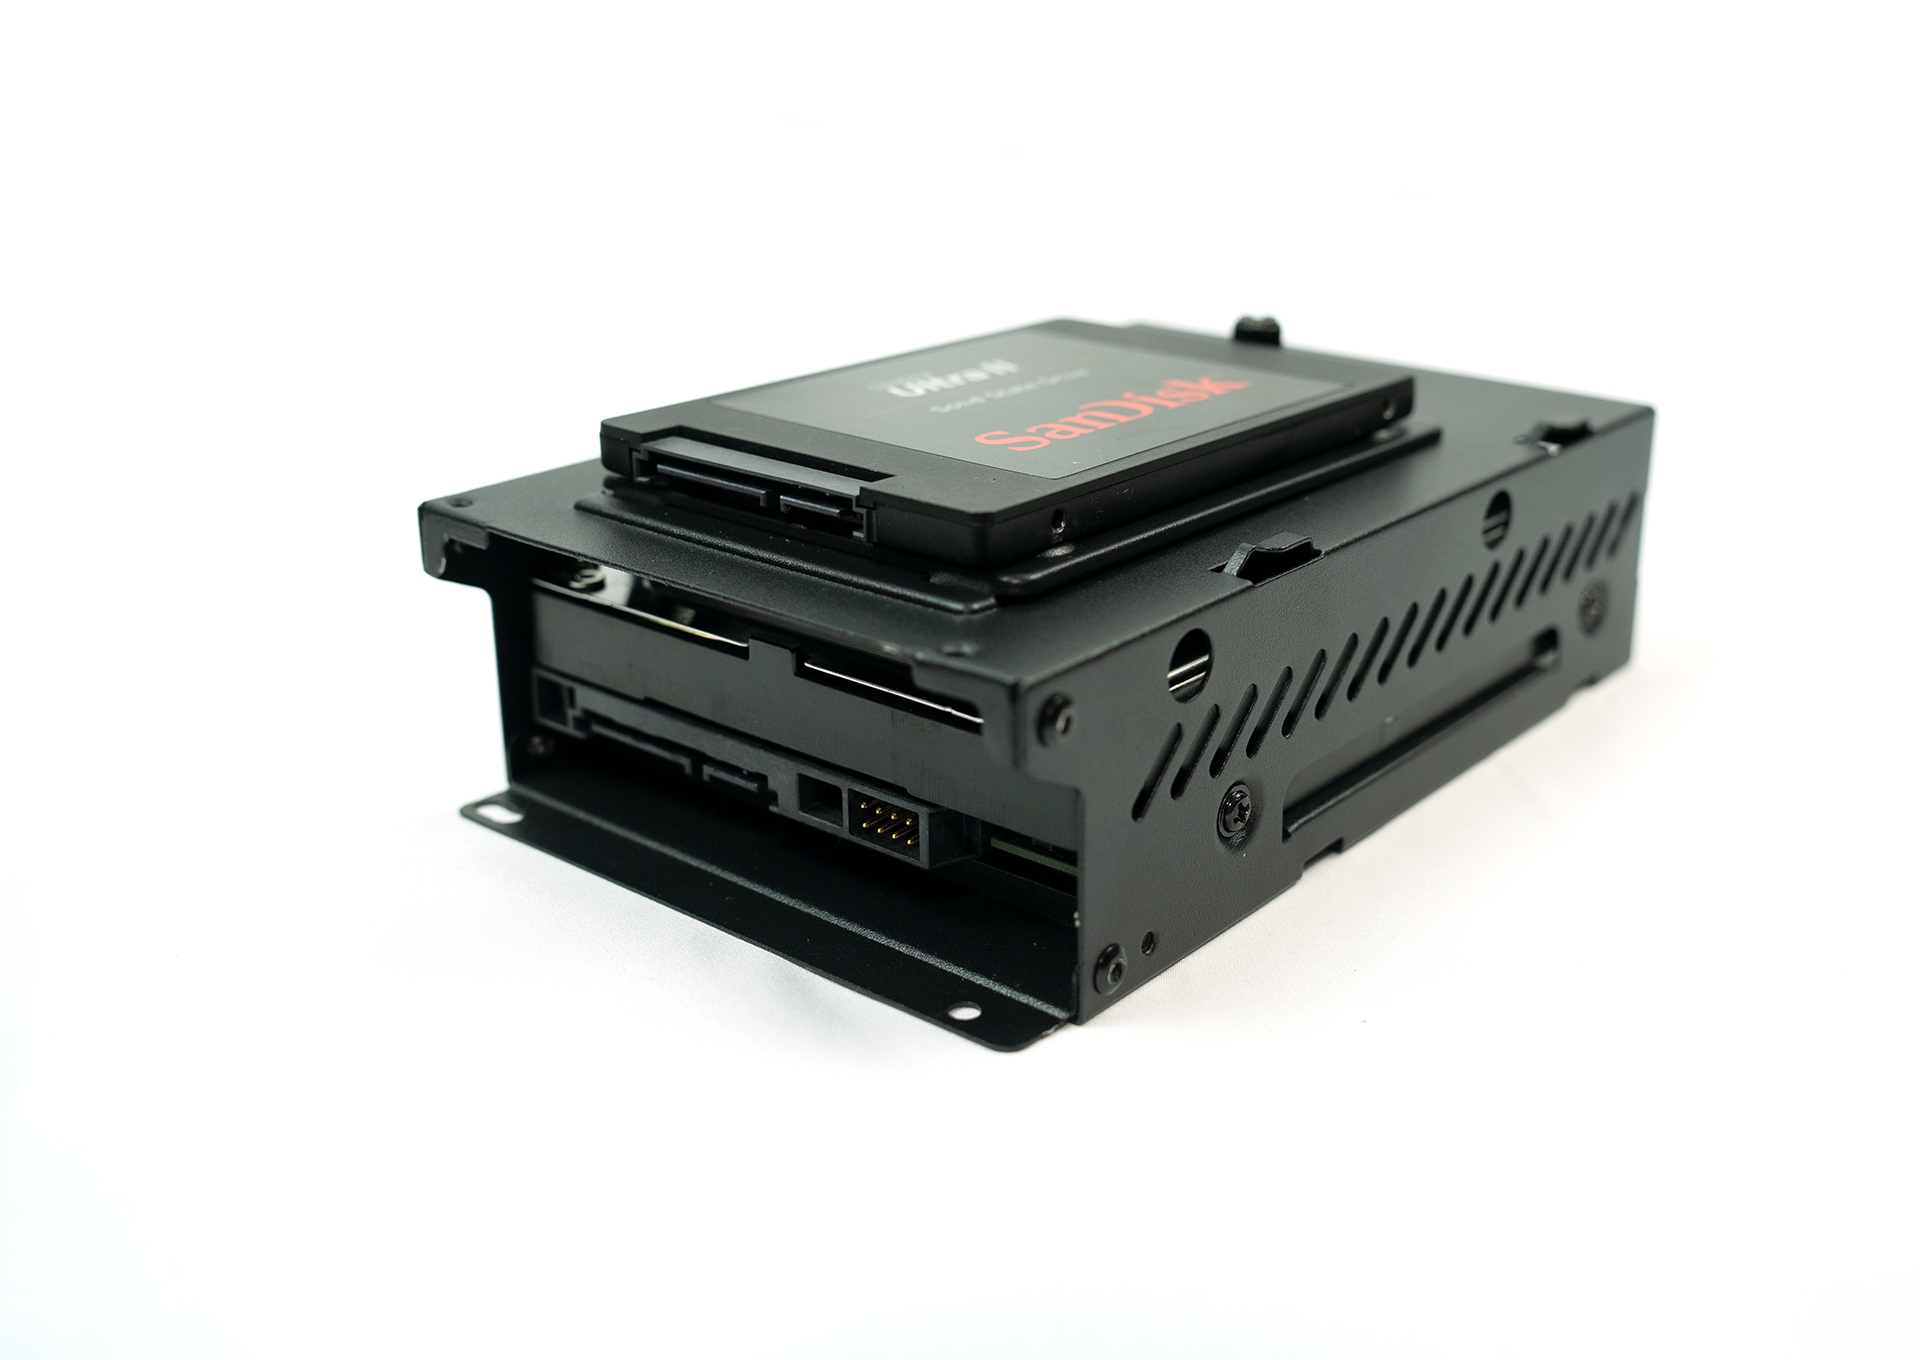
The hard drive cage in the basement of the Fara B1 is removable. So if its not needed, you can remove it to make room to hide away your cables. Ther is a removable SSD sled on the top of the hard drive cage, and an SSD sled built inside as well if you’re done with hard drives altogether.
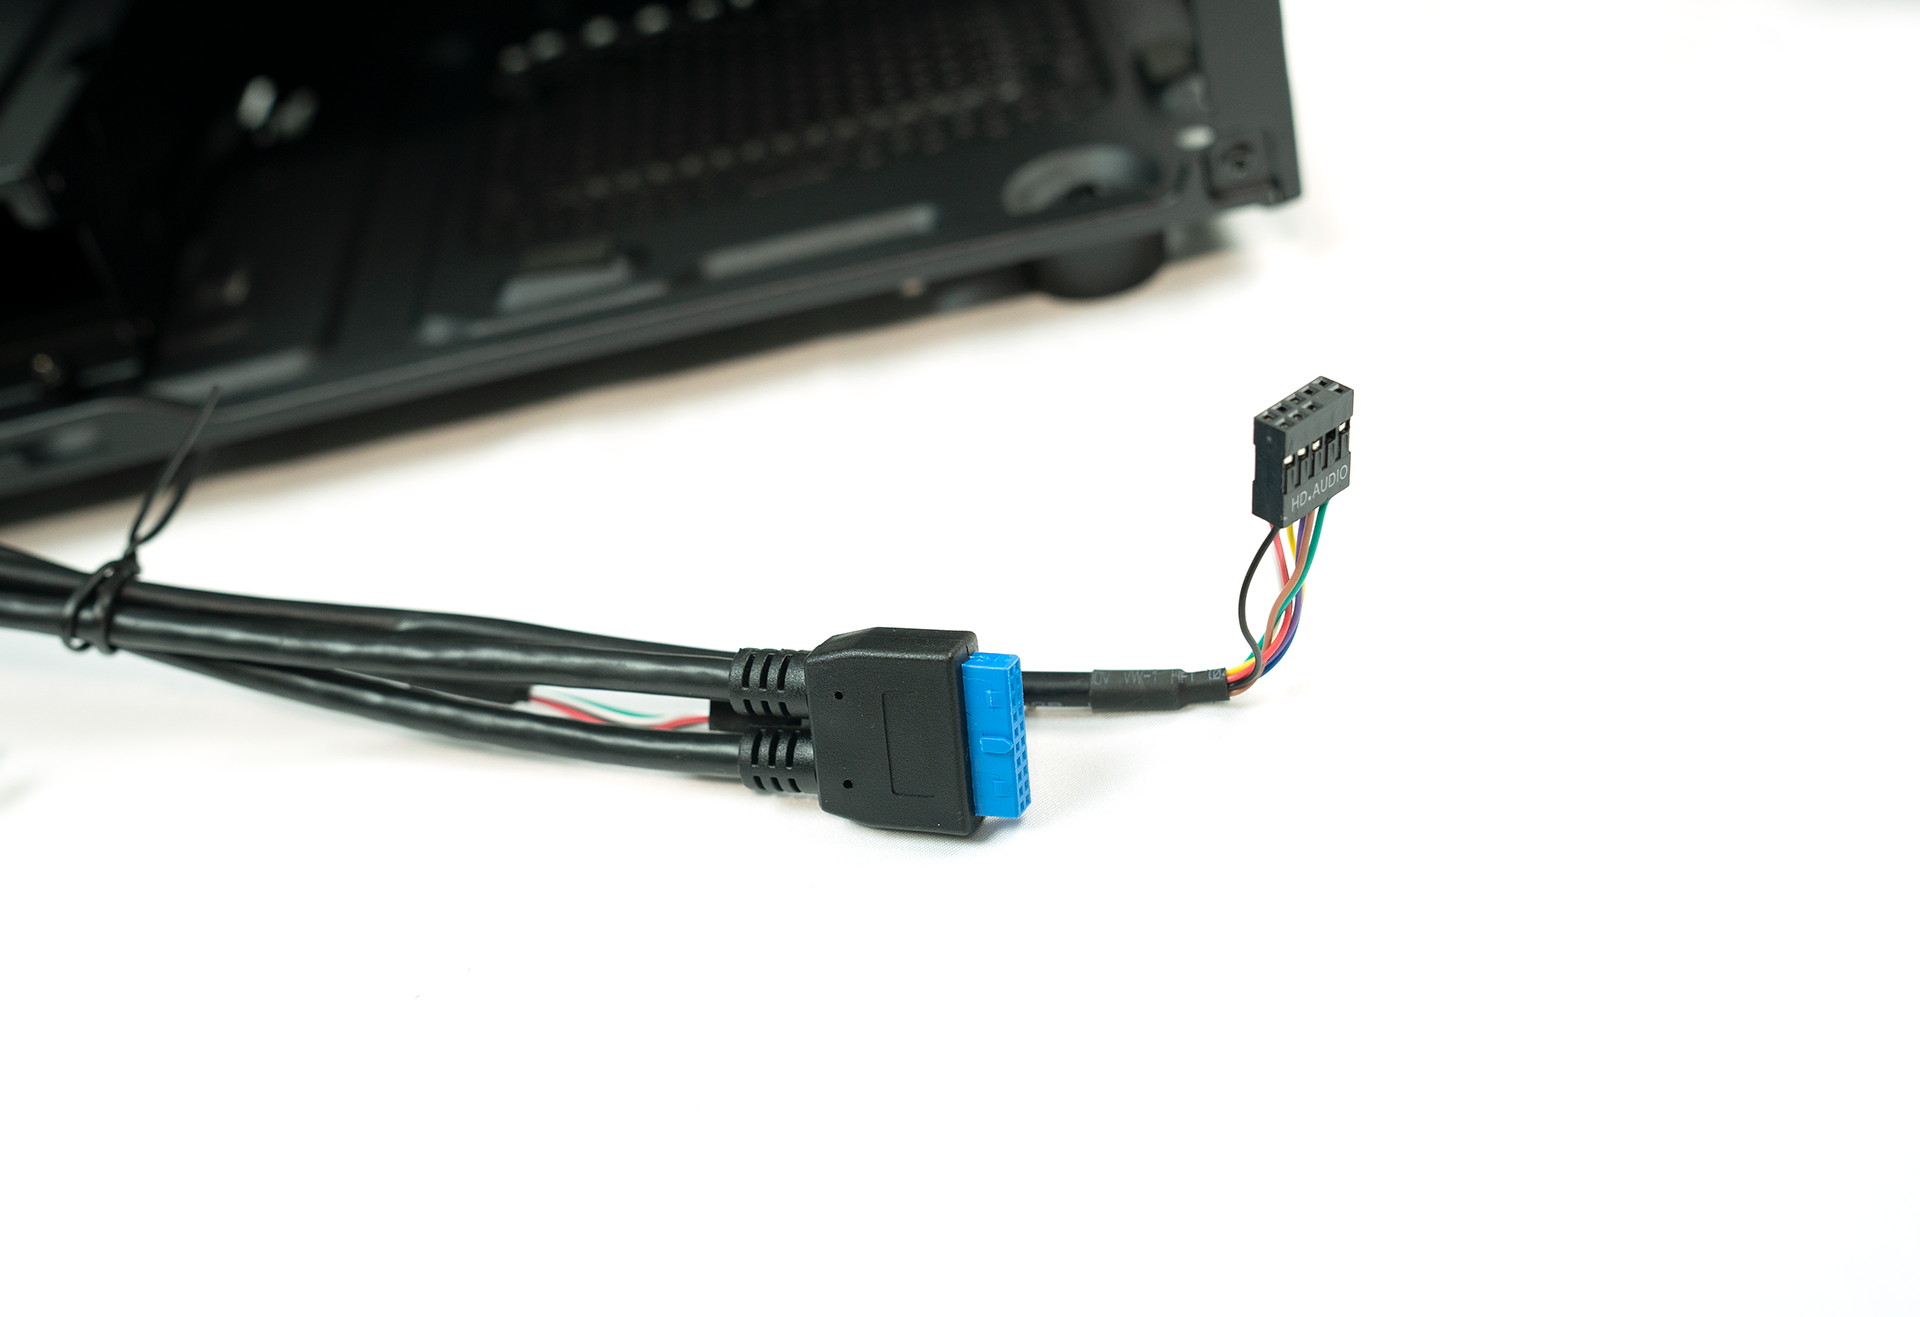
The Fara B1 has your standard front panel connectors. There are the power and reset switches, as well as power and HDD LEDs. There are two USB connectors that power the three USB ports on the front IO, one USB 2.0 and one USB 3.0. Sadly the Fara B1 does not have USB Type-C support. There is also a front panel HD audio connector that connects the front panel hybrid audio port to the motherboard. The hybrid 3.5 mm port connects both your gaming headset and the boom mic on your headset without the use of a splitter.