Installation
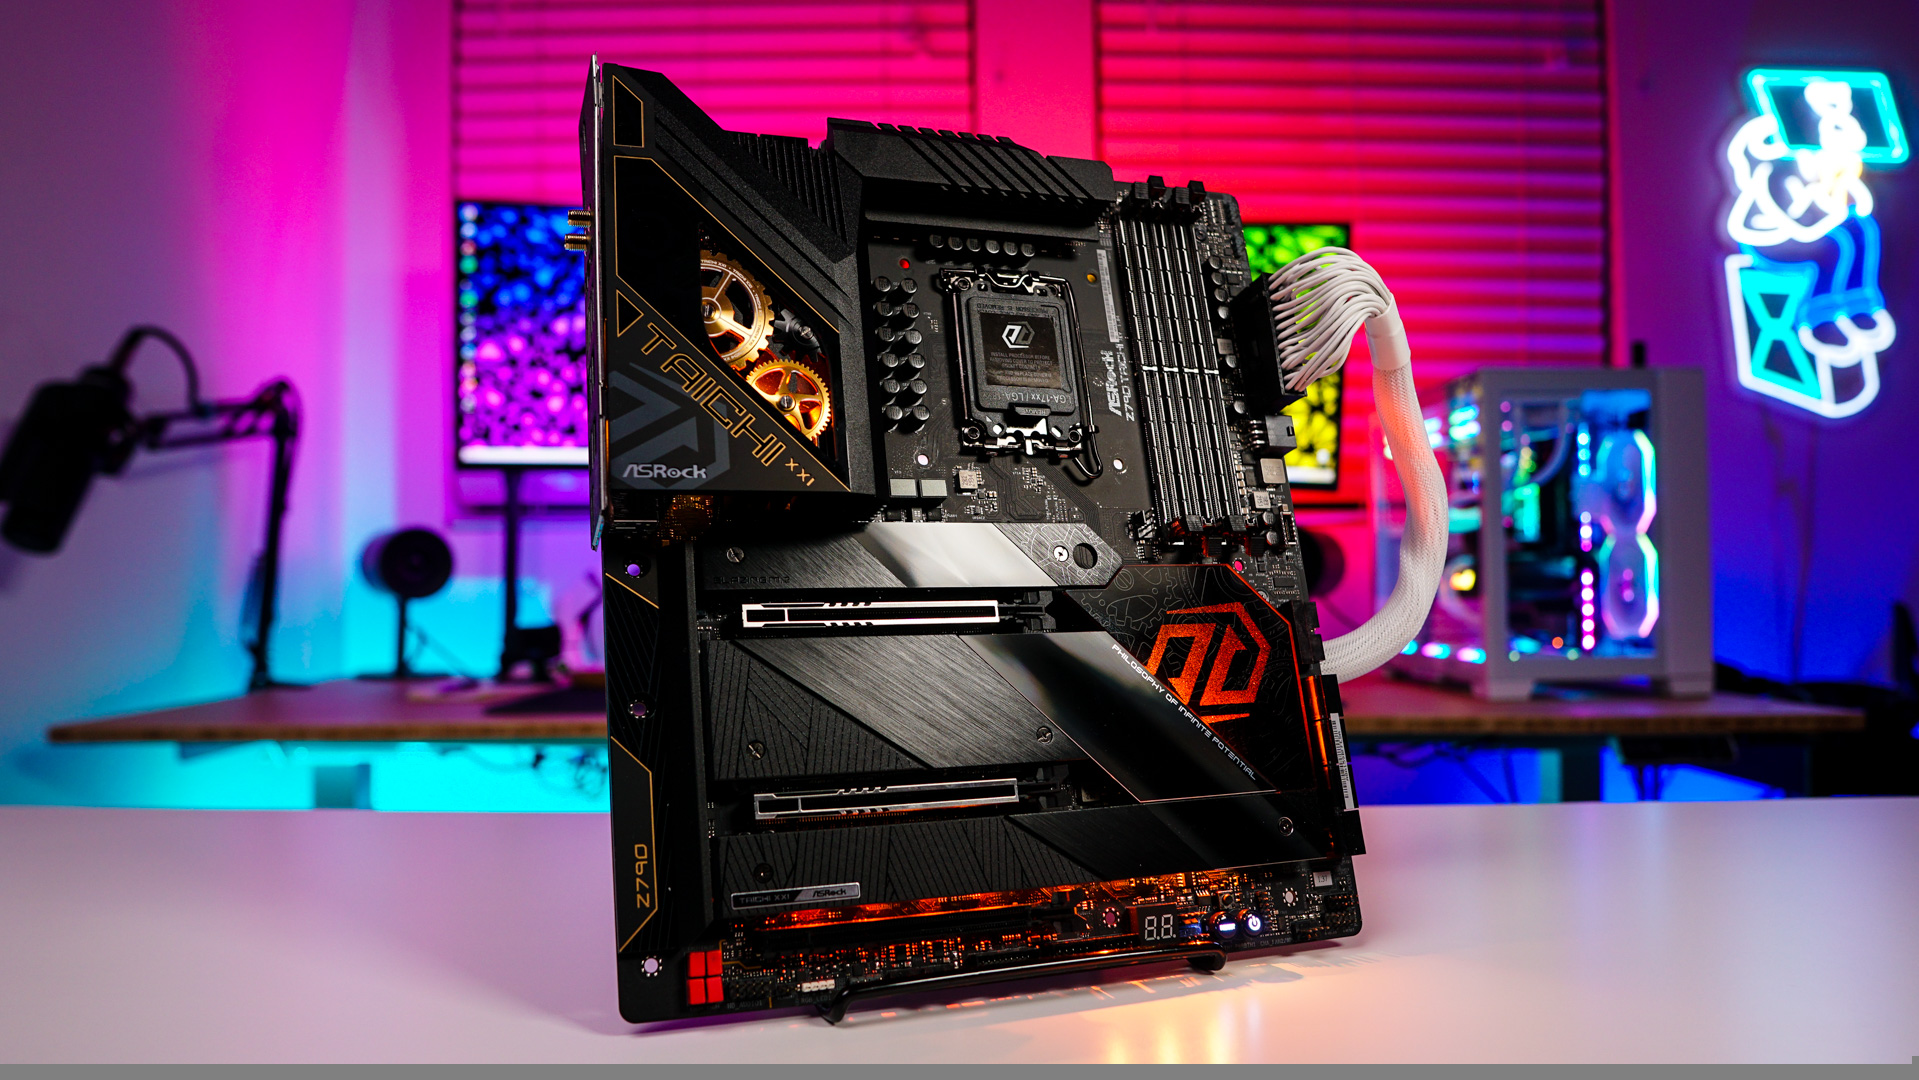
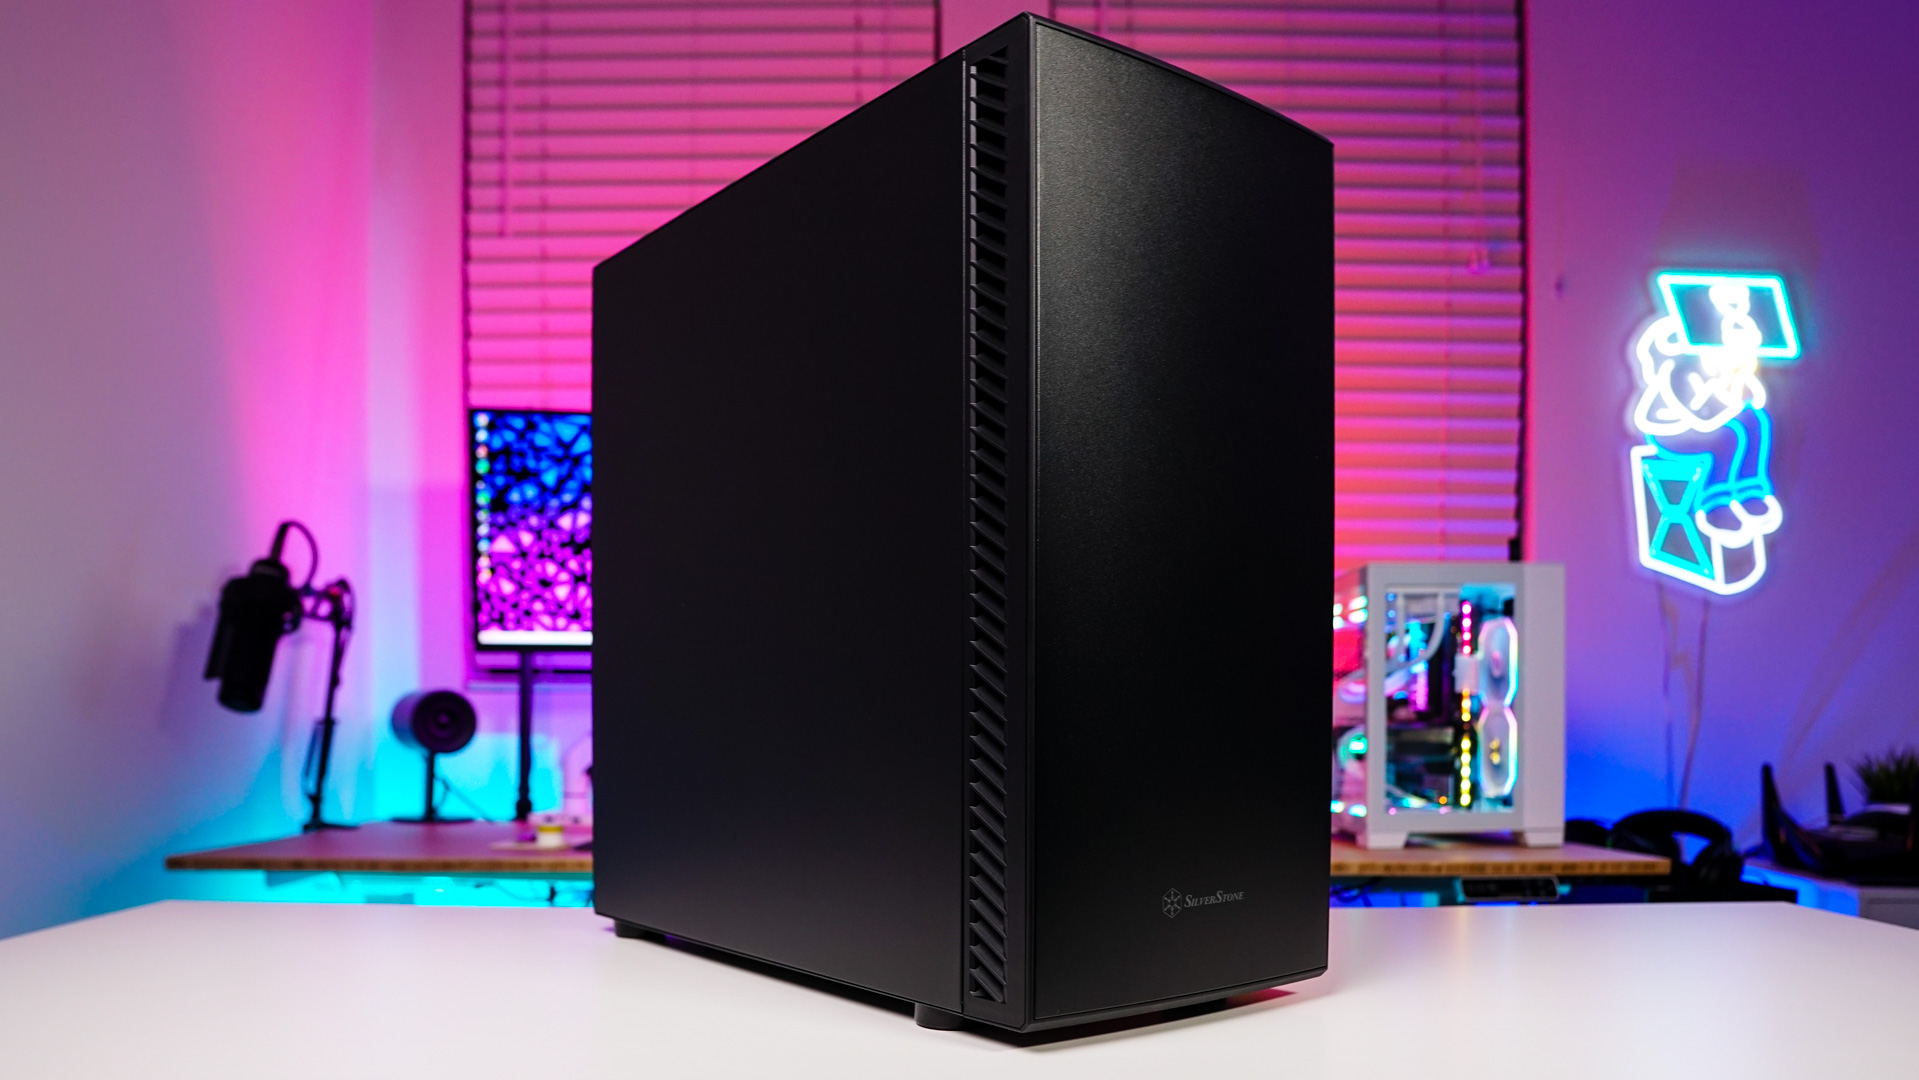
Installation in the SETA Q1 should be pretty straight-forward. If you are installing a motherboard larger than micro ATX you’ll need to move the covers over and install the standoffs to accommodate your motherboard. It would have been nice for SilverStone to include a standoff tool, but sadly one was not included. With the extra standoffs installed our motherboard goes in no problem.


After our motherboard the next thing we’ll be installing is our solid state drive. I went ahead and installed it on one of the removable SSD trays on the backside of the motherboard tray. These easily come off, which makes installing your drives a breeze.


Your power supply will slide in from the backside of the case. Even with the hard drive cage installed there is more than enough to get it installed.


The last thing we need to install is our graphics card. For those who have larger graphics cards you won’t have to worry, there is more than enough room inside.

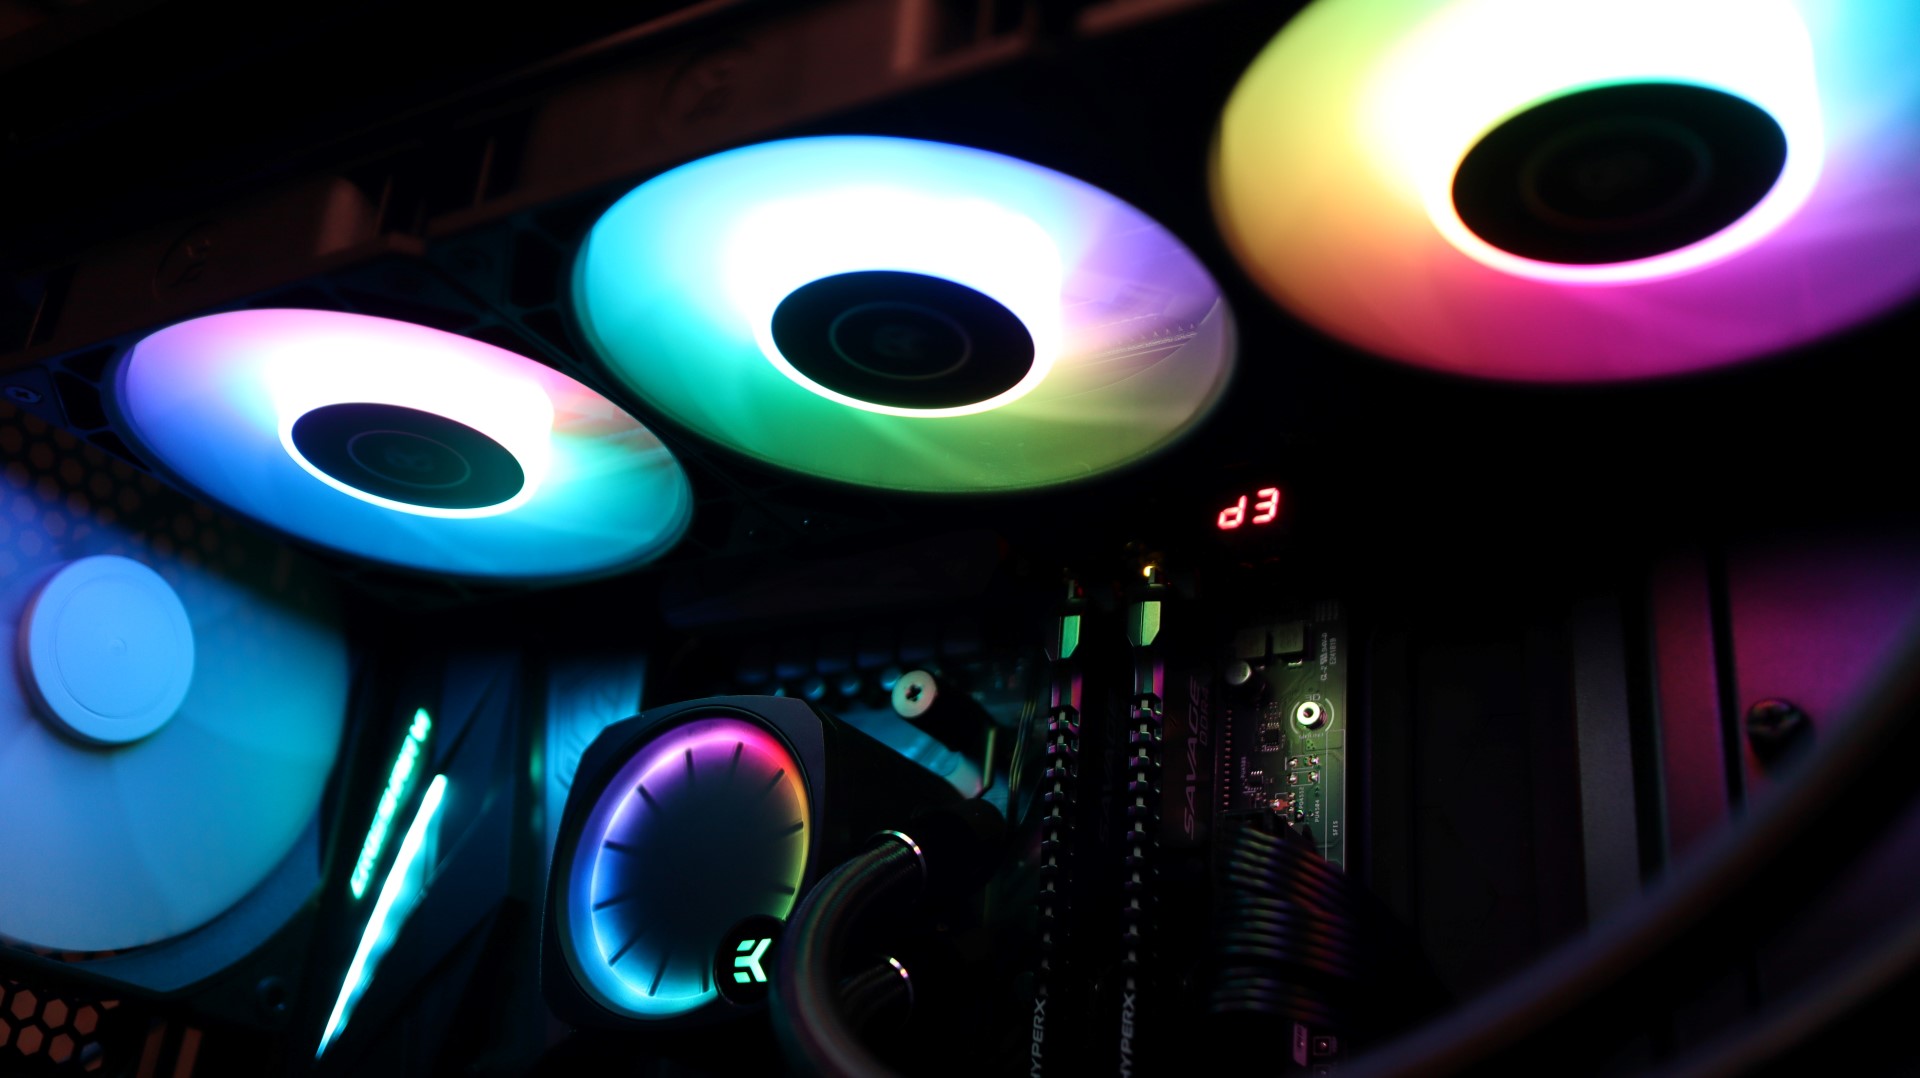
With everything installed it is time to wire everything up. While we don’t have any velcro ties or anything like that there are plenty of tie-down points for the included zip ties. As you can see we have a very clean build!