Installation
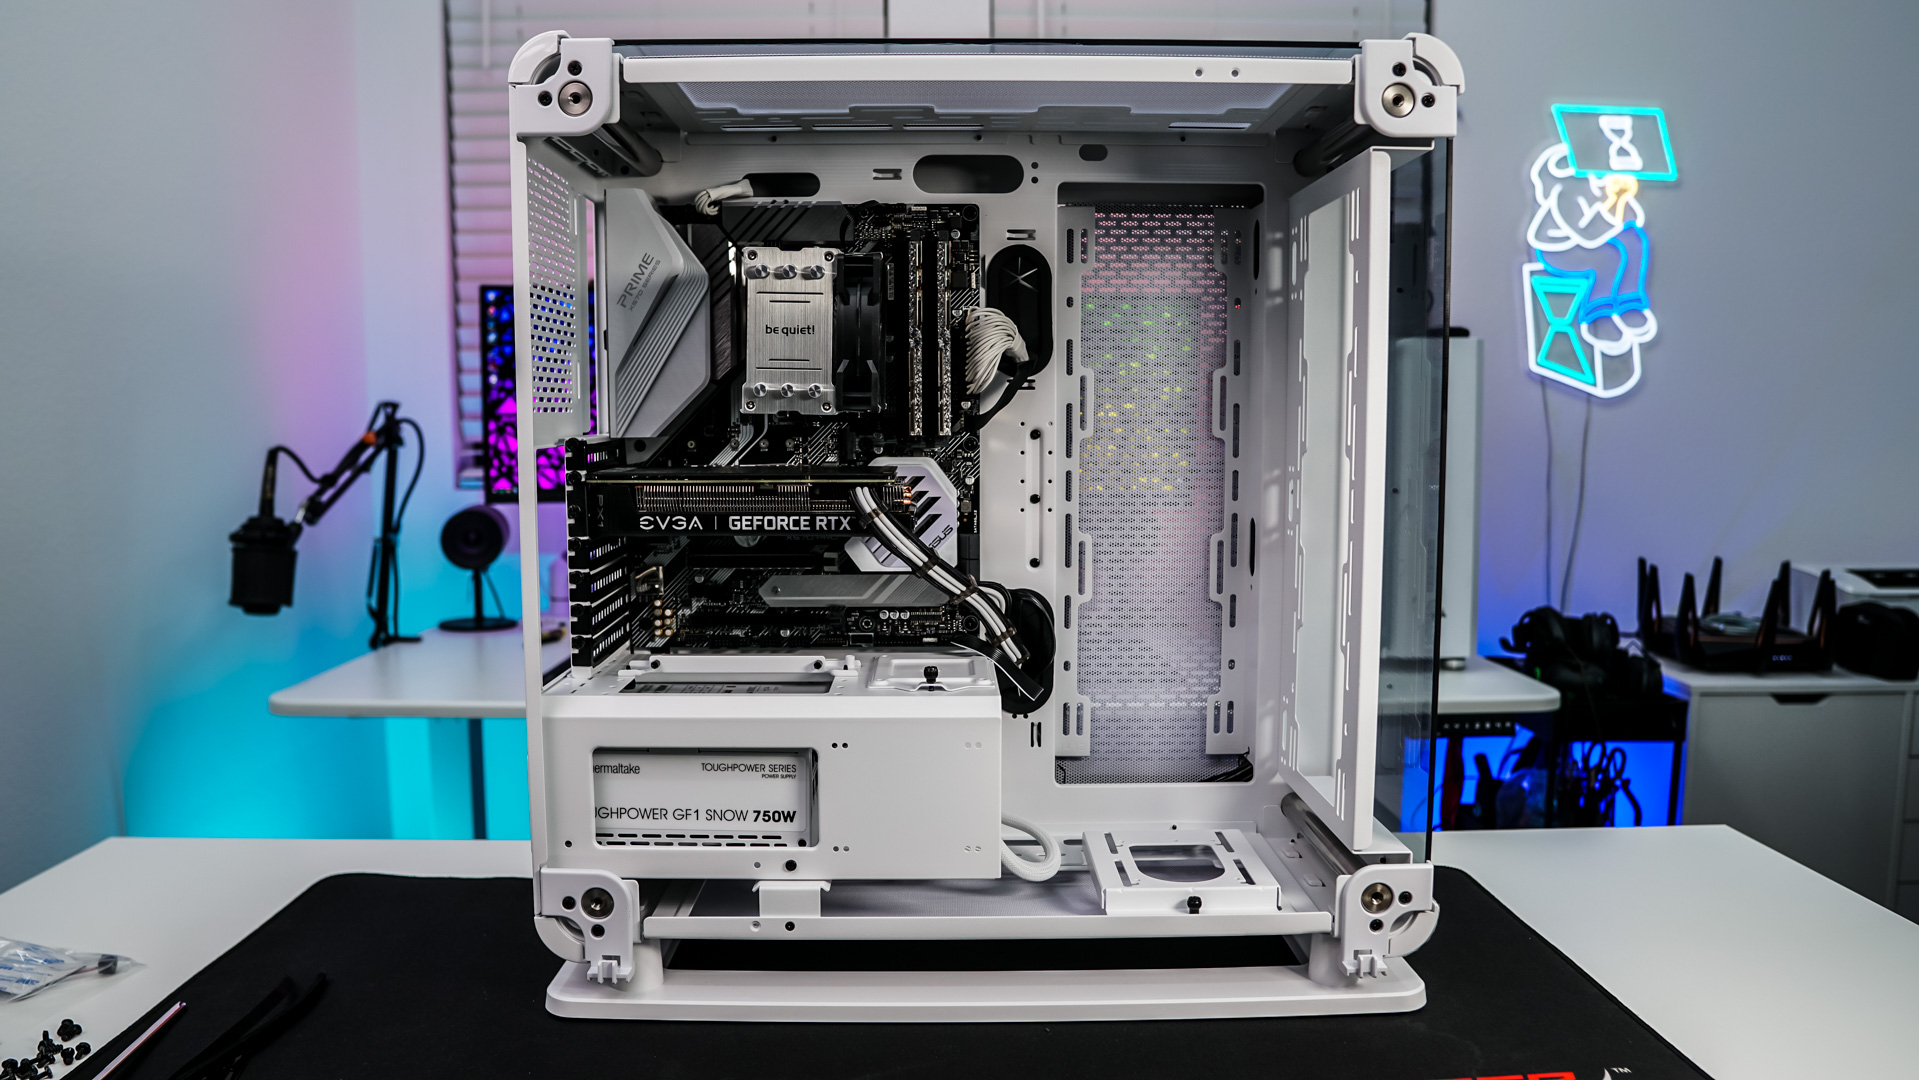
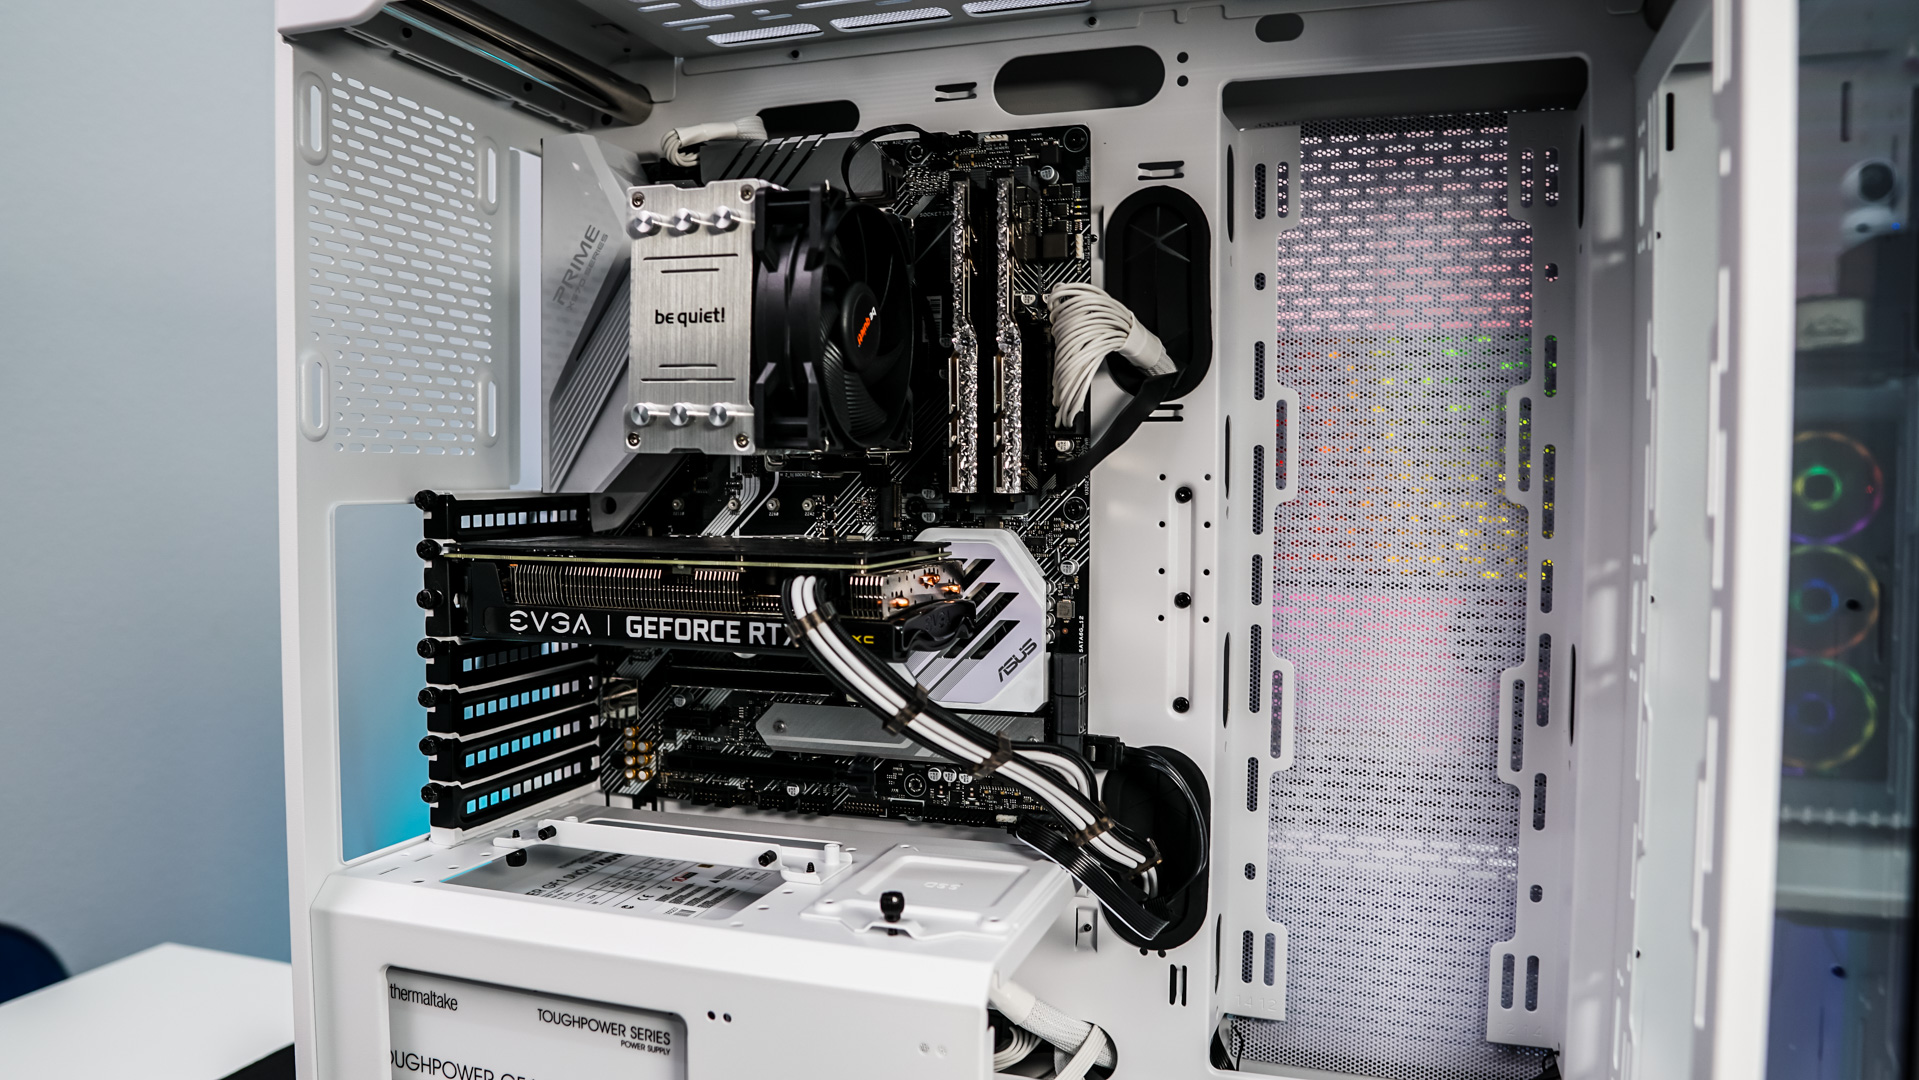
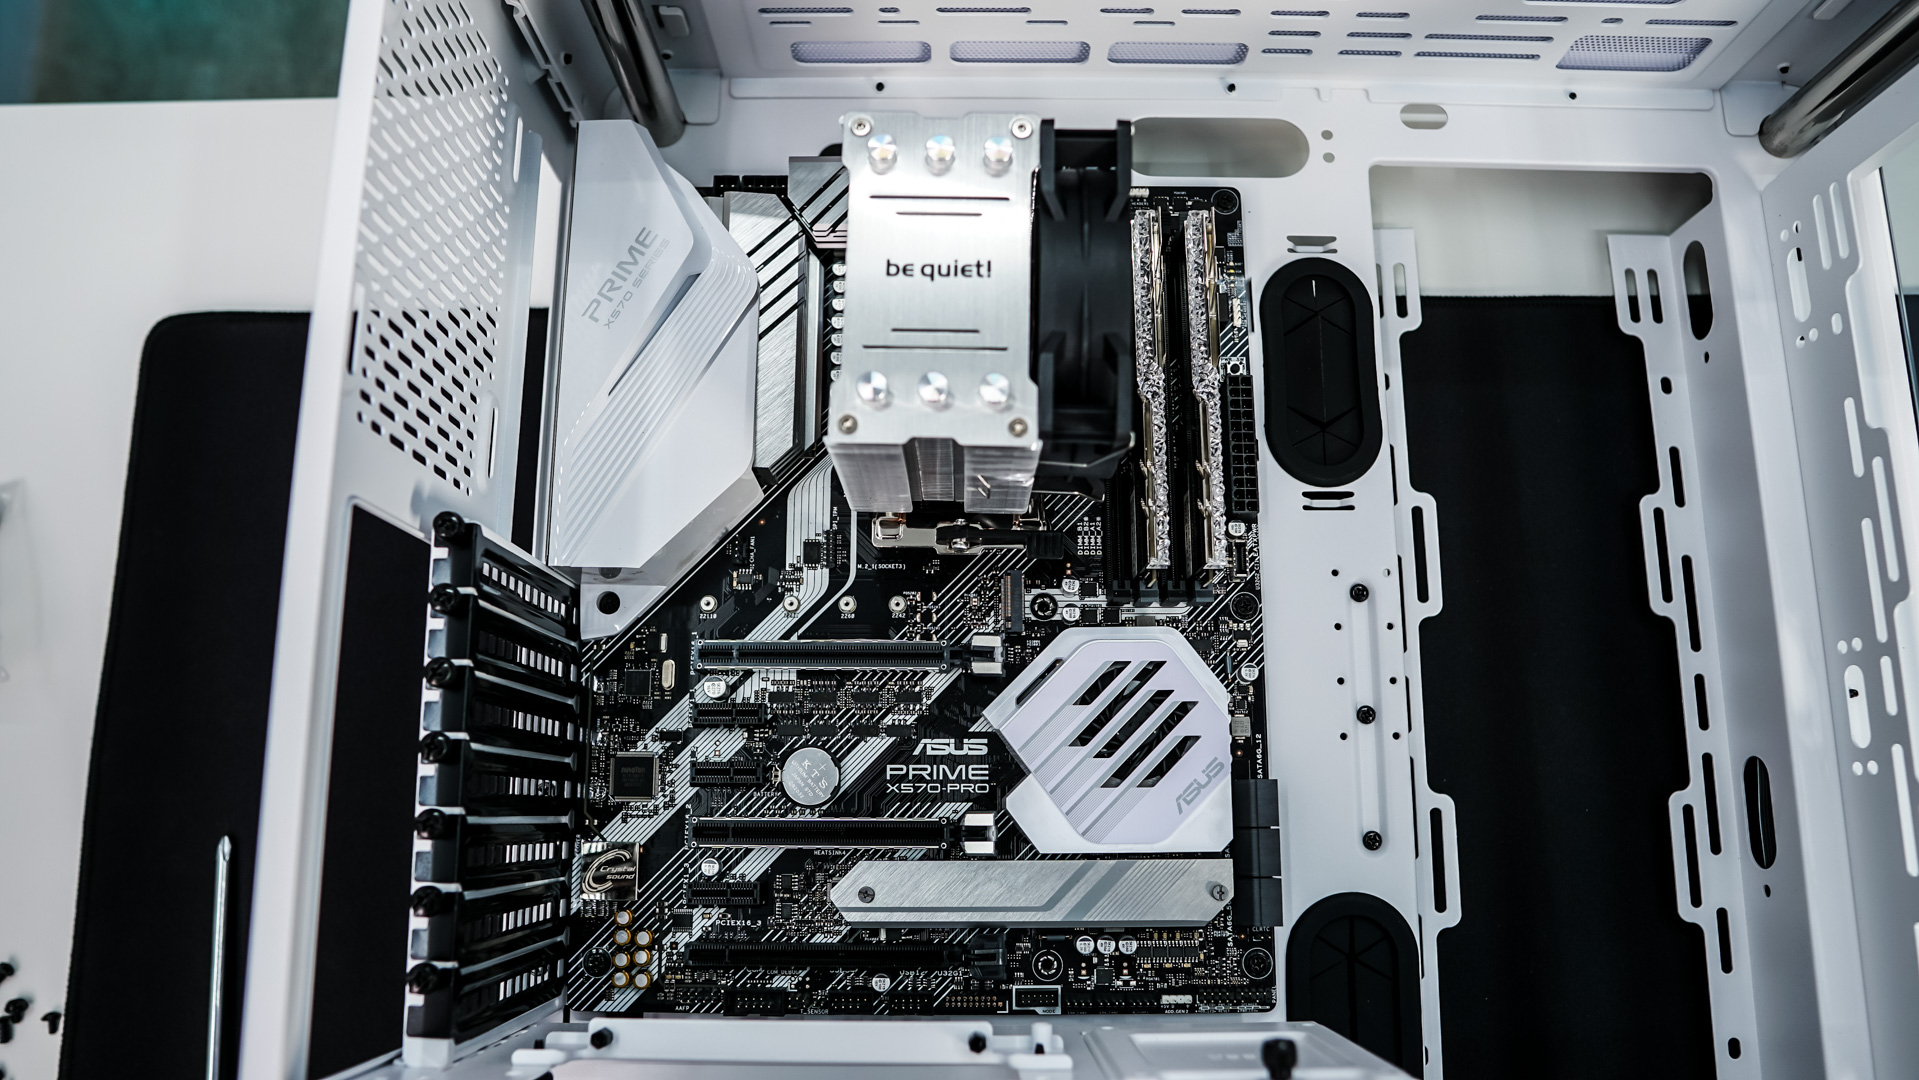
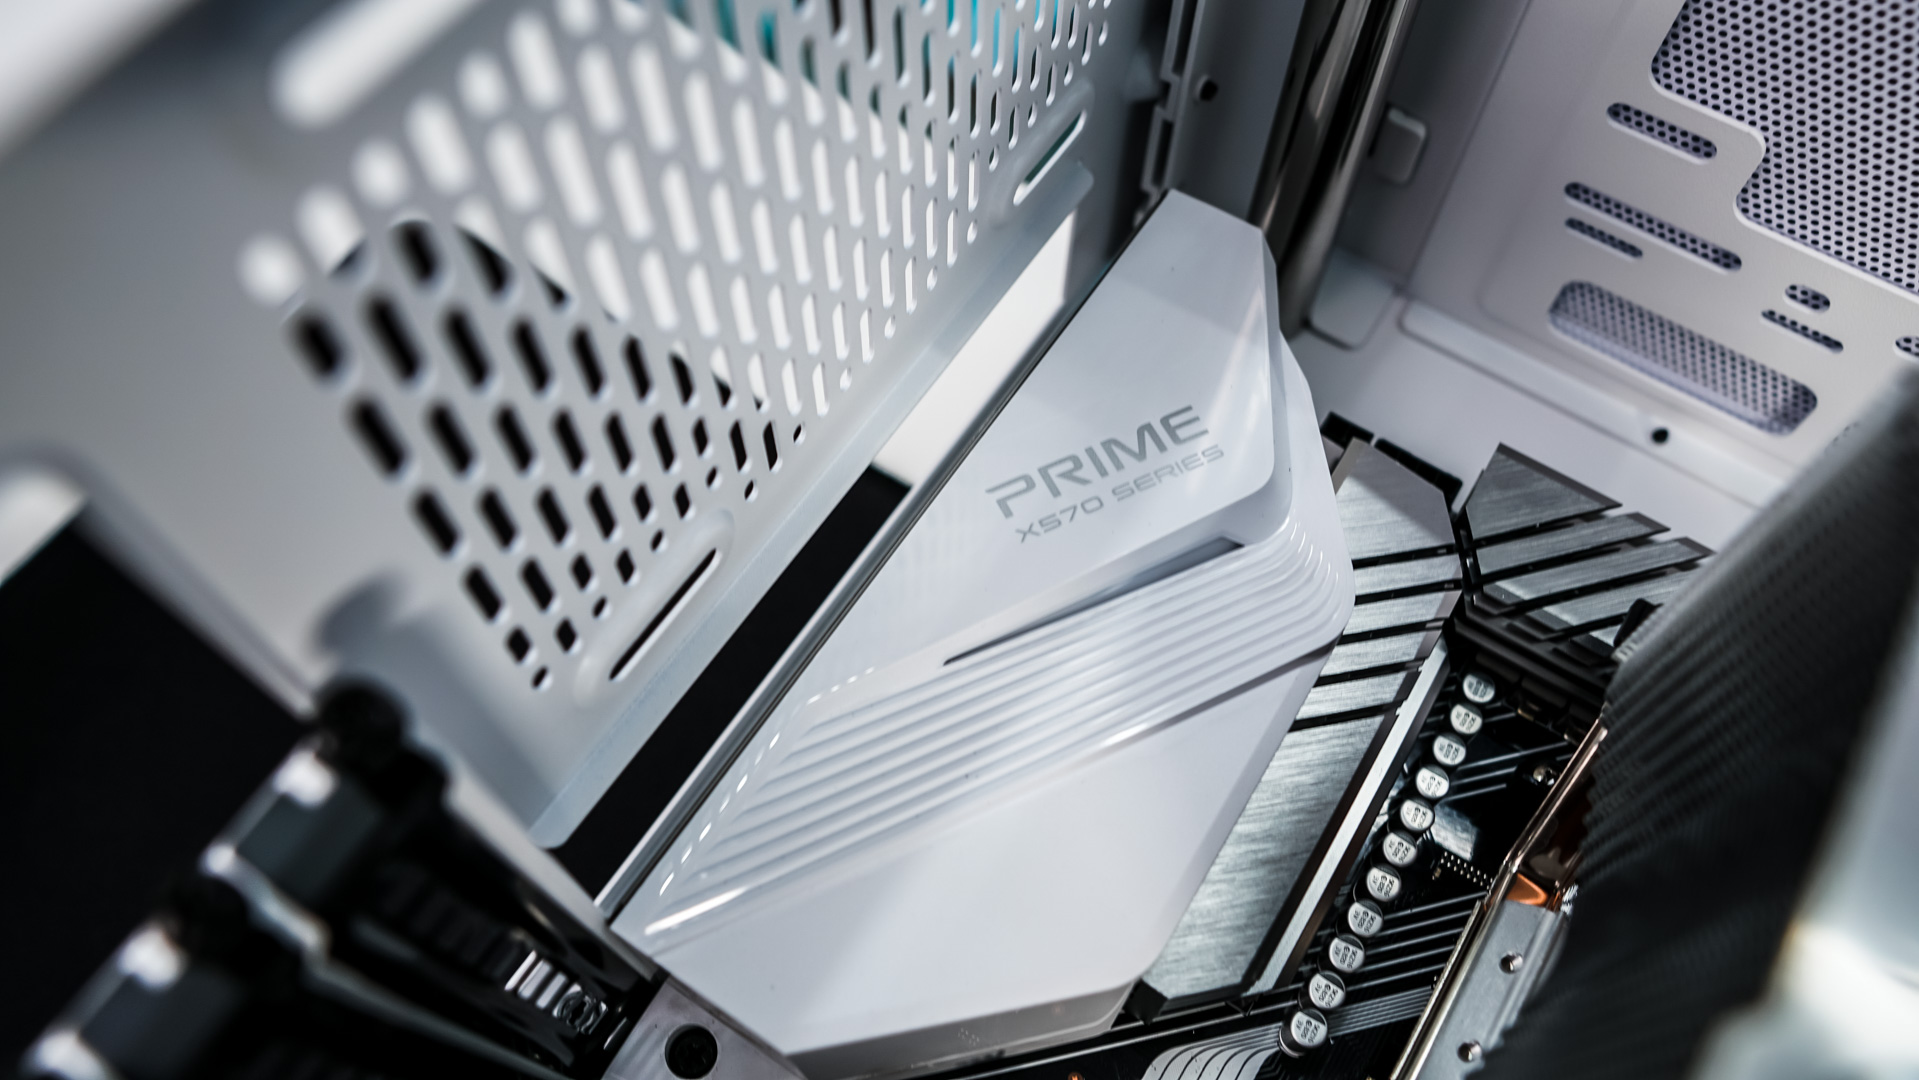
Installation in the Core P6 TG is pretty straight-forward. Since this is such a large case you have a lot of room to work with. The first piece of hardware we are installing is our motherboard, which goes in no problem. It does however not sit flush with the rear of the case, which is how this case is designed so don’t think you’ve done something wrong when it doesn’t line up.
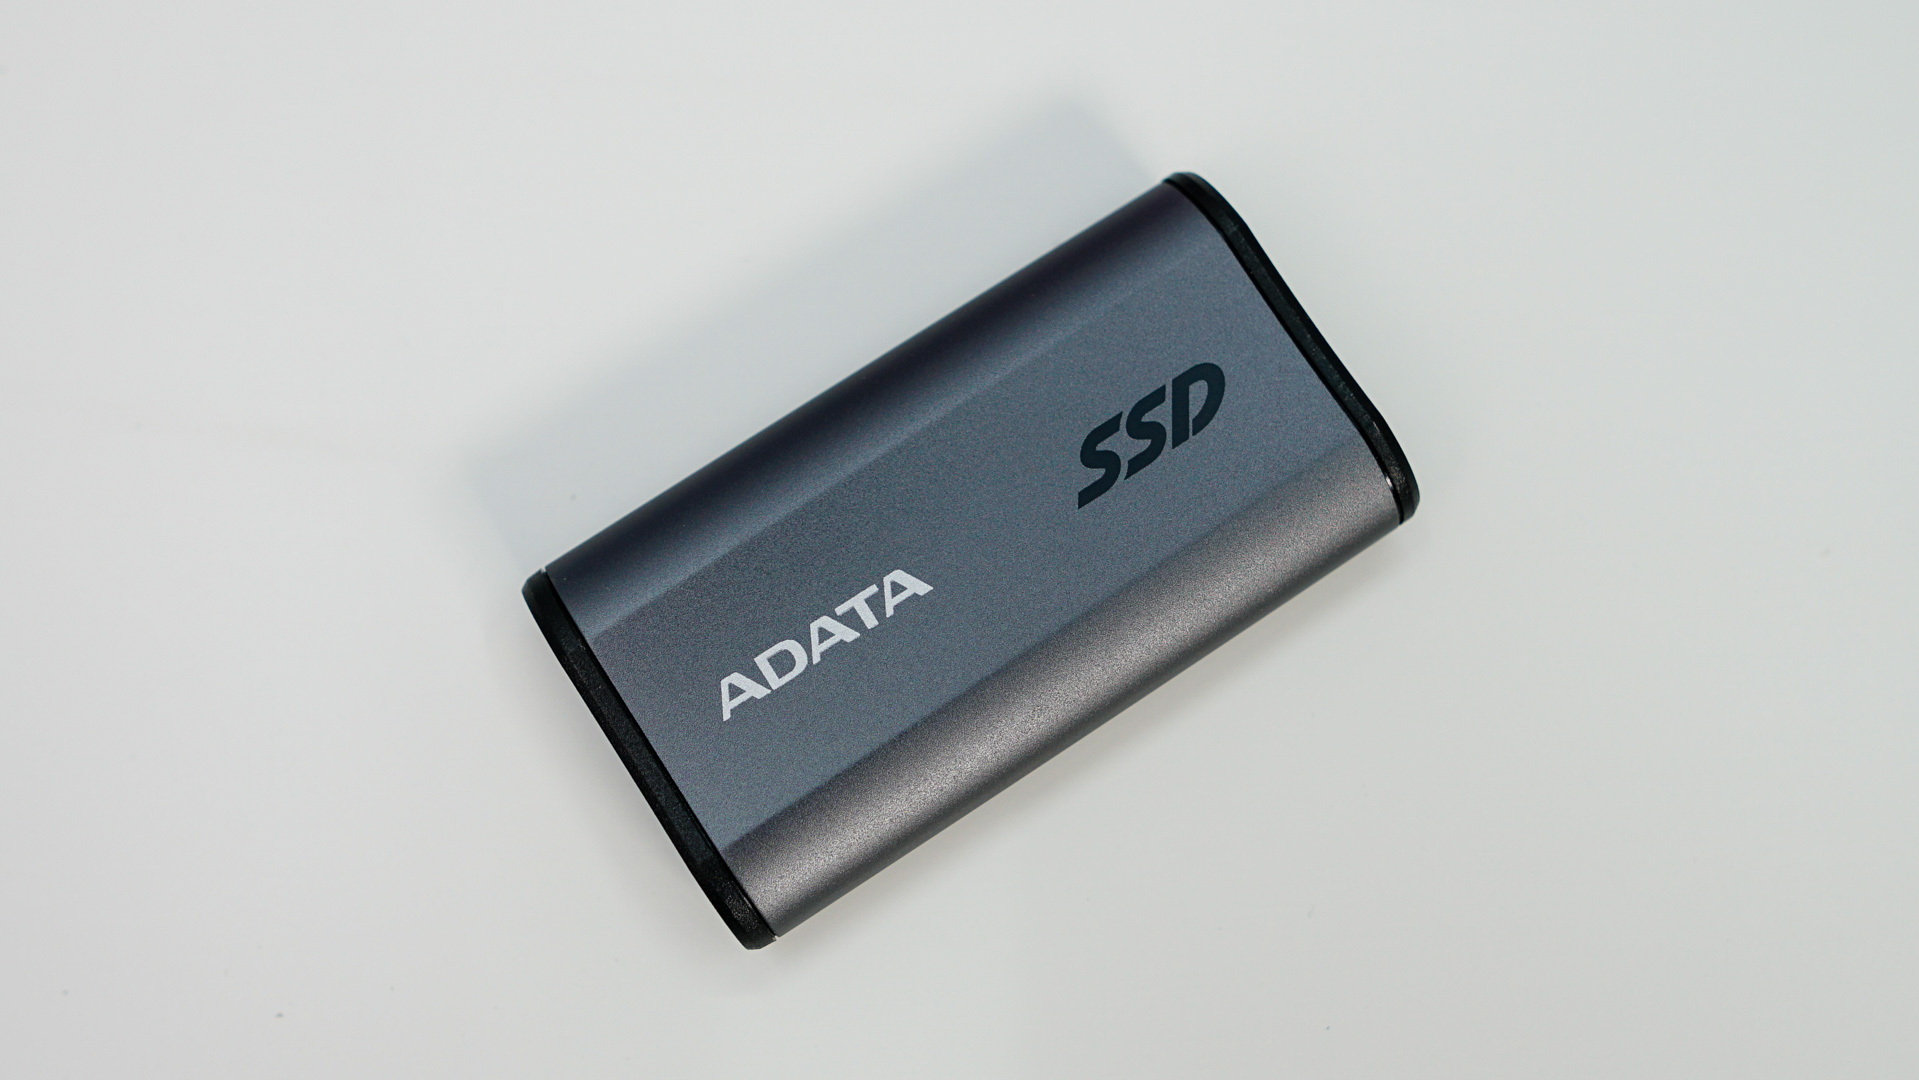
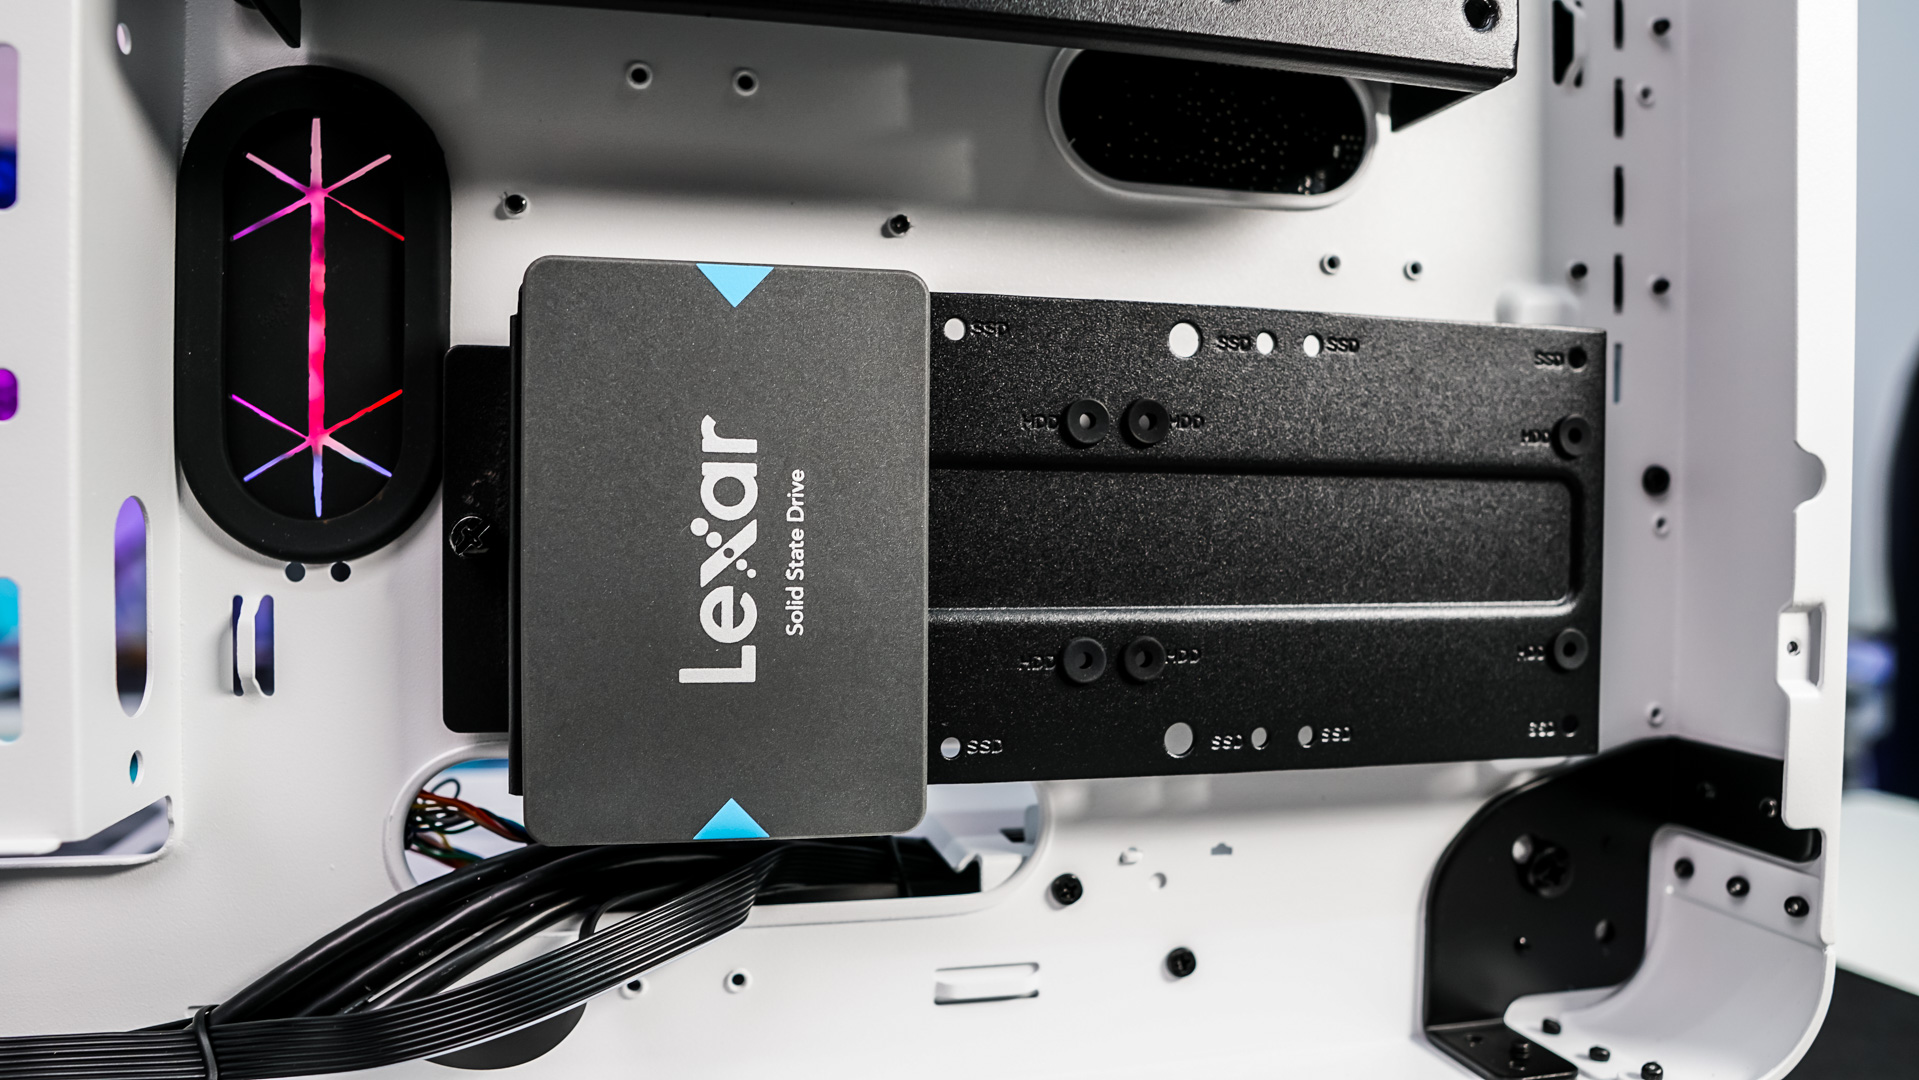
The next thing we are going to install is our 2.5-inch solid state drive. It can be installed in multiple places in the case, but we opted for one of the mounts behind the motherboard tray. It can be removed from the case for easy installation.

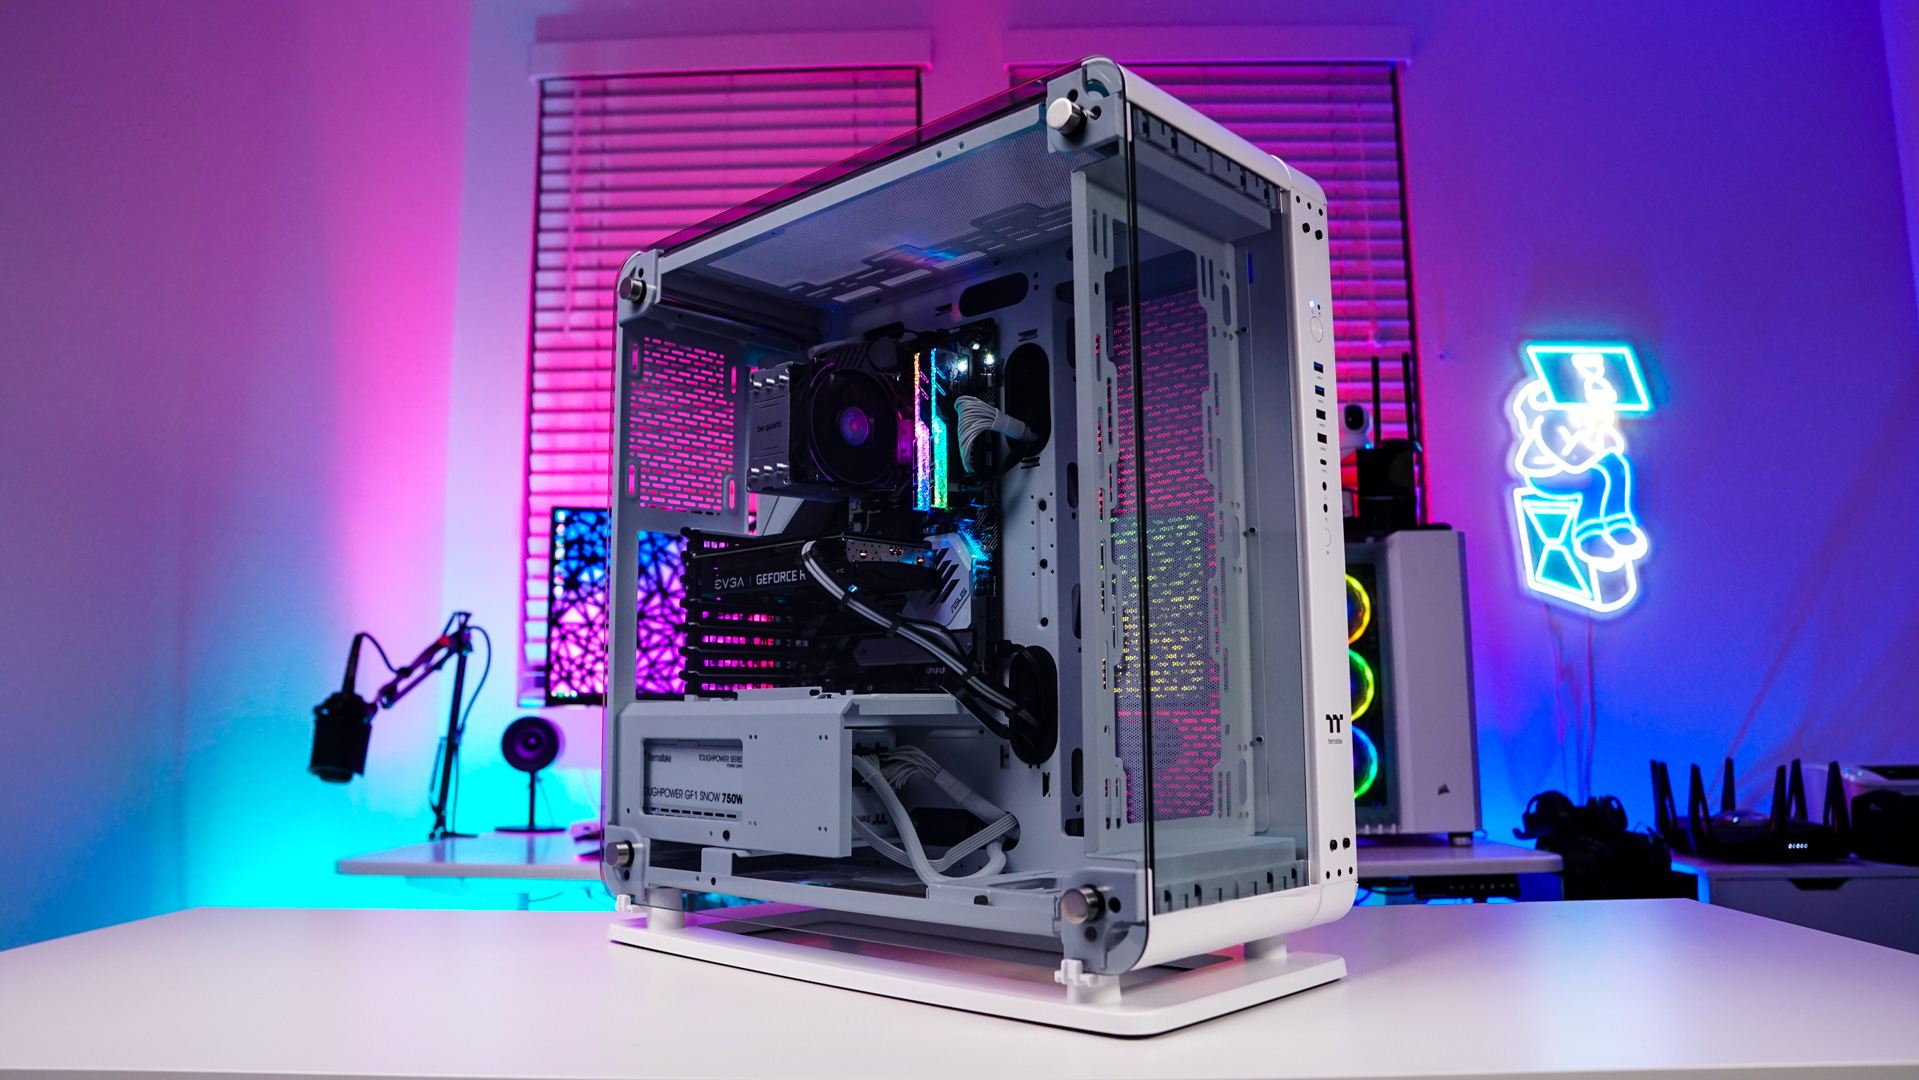
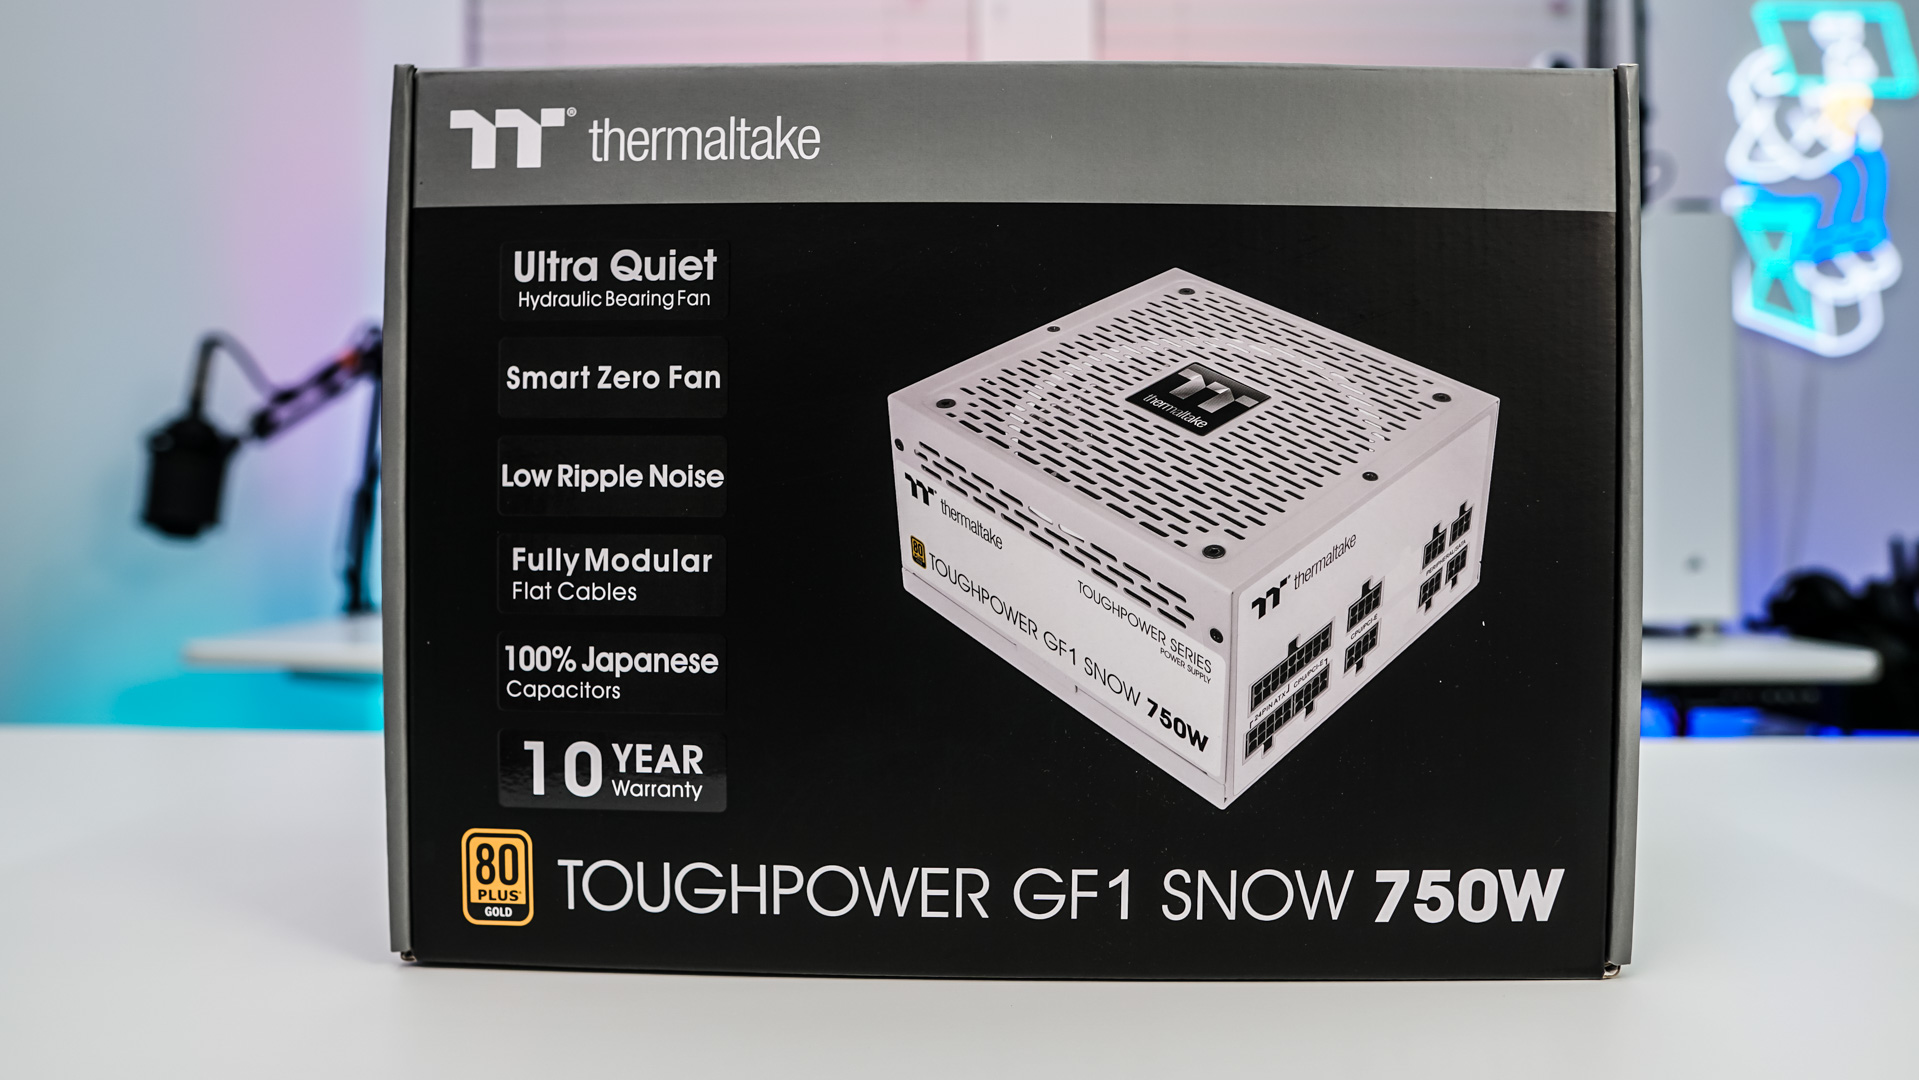
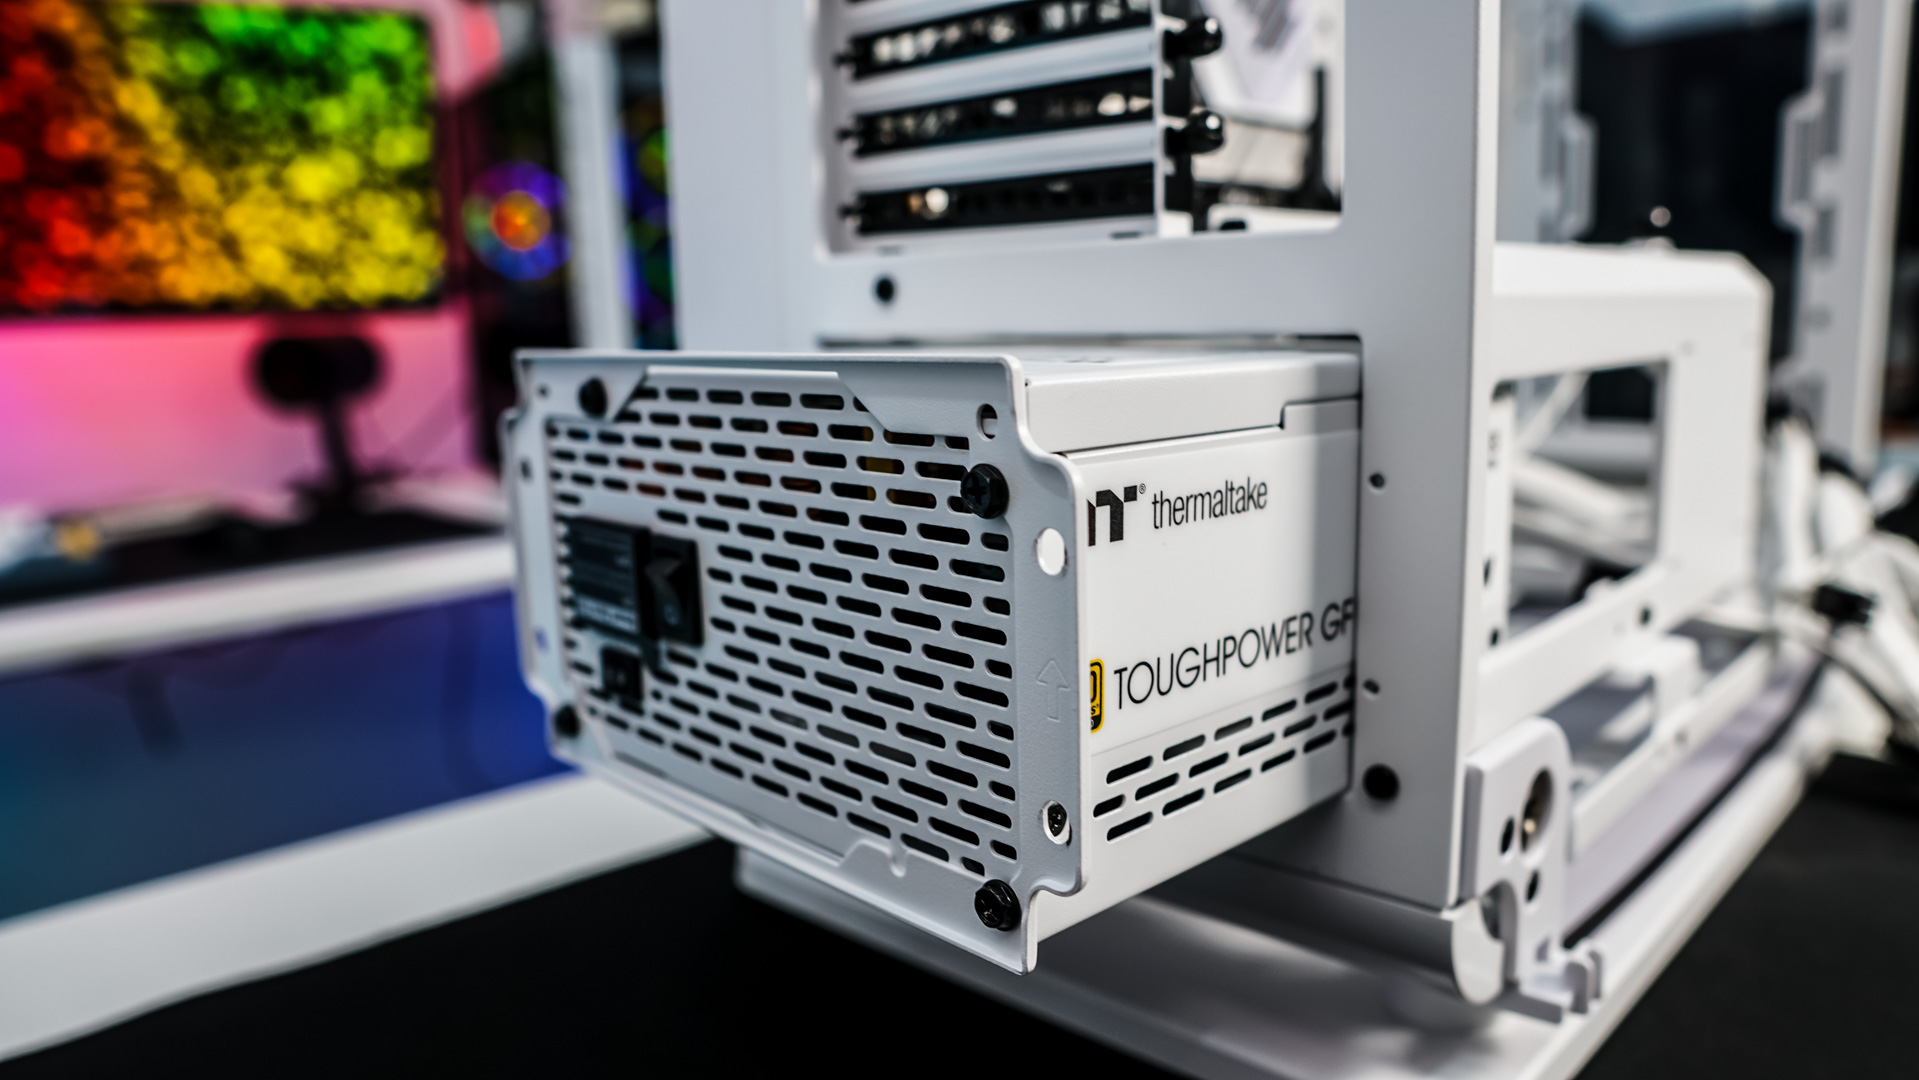
For our power supply Thermaltake was nice enough to send over their ToughPower GF1 Snow 750W unit which is all white and even comes with white cables. To install your power supply you need to remove the power supply bracket for the back of the case and install it on your power supply. Then slide your power supply in from the back of the case.


Our graphics card goes in no problem as it is a smaller card. Even larger cards won’t be a problem in this case.

The last thing to do is route all of our cables and connect everything. There are plenty of tie-down points on the backside of the motherboard tray to keep things nice and tidy. The only thing I really noticed is that you really can’t hide the cables coming out of your PSU as the front of the PSU shroud is open.