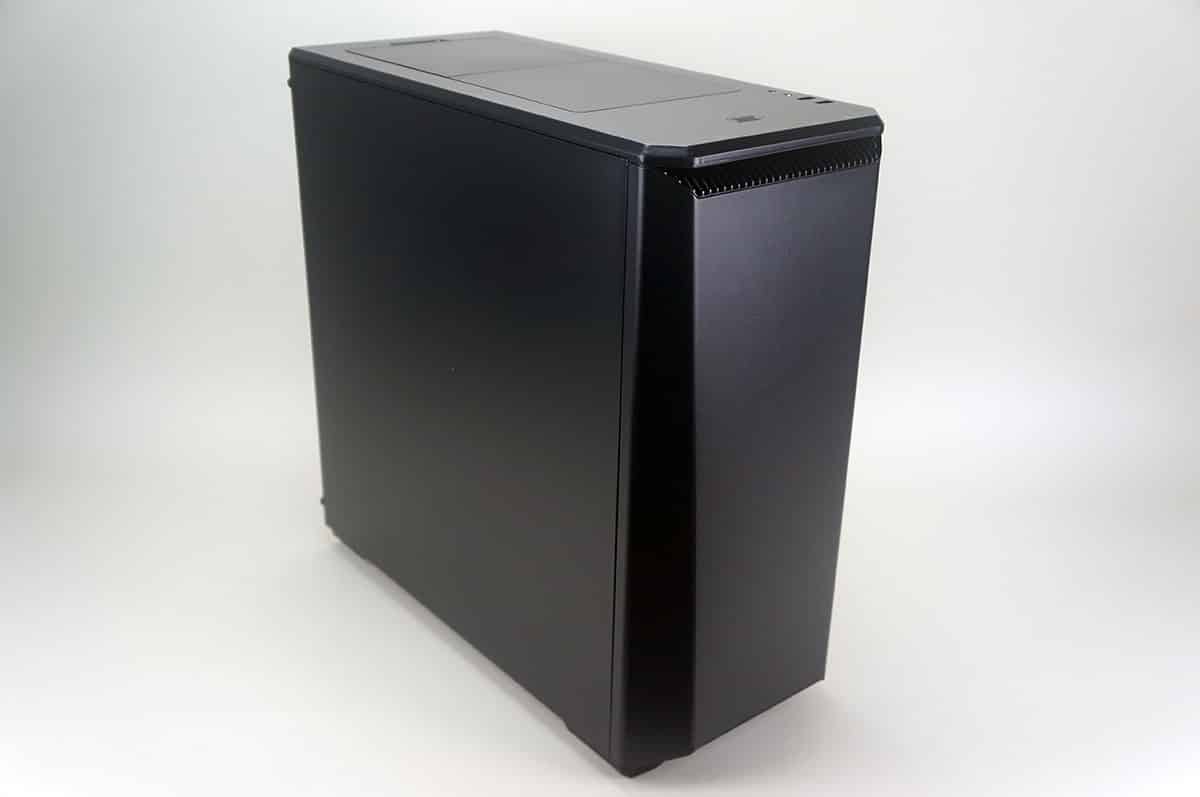
Inside the Thermaltake N21 Mid-tower Case
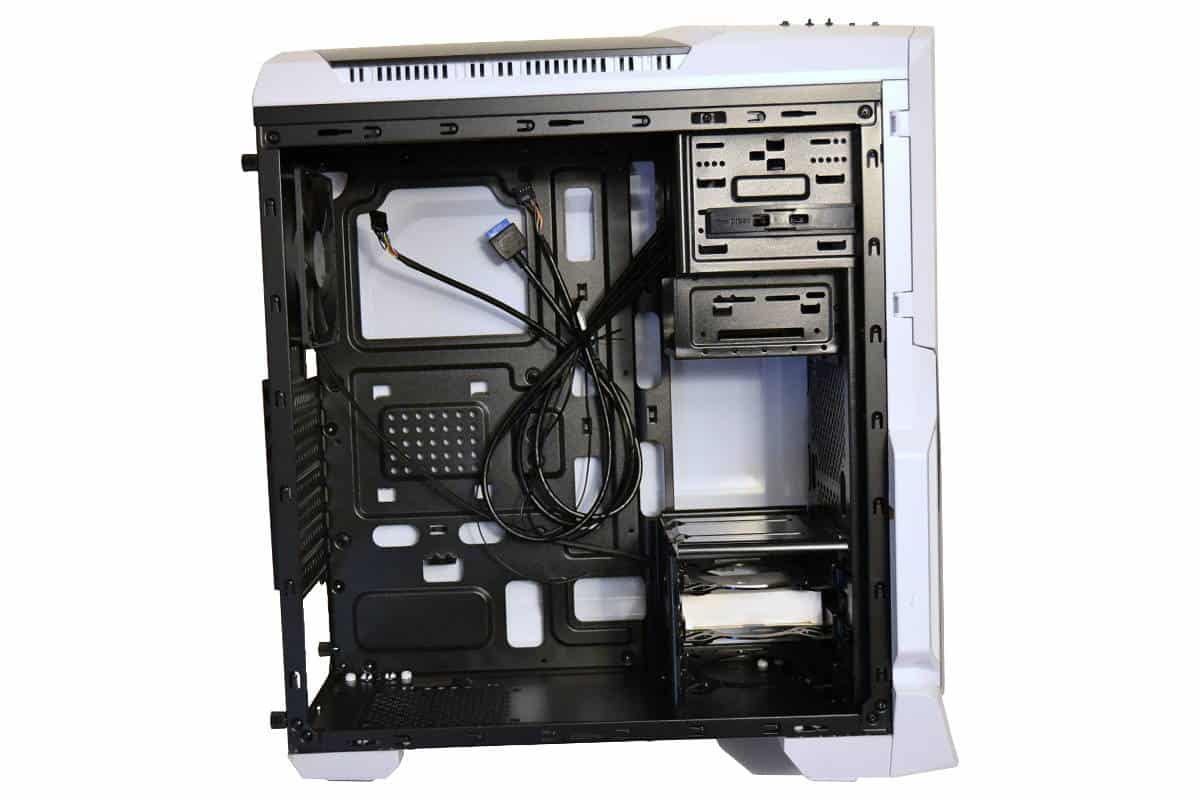
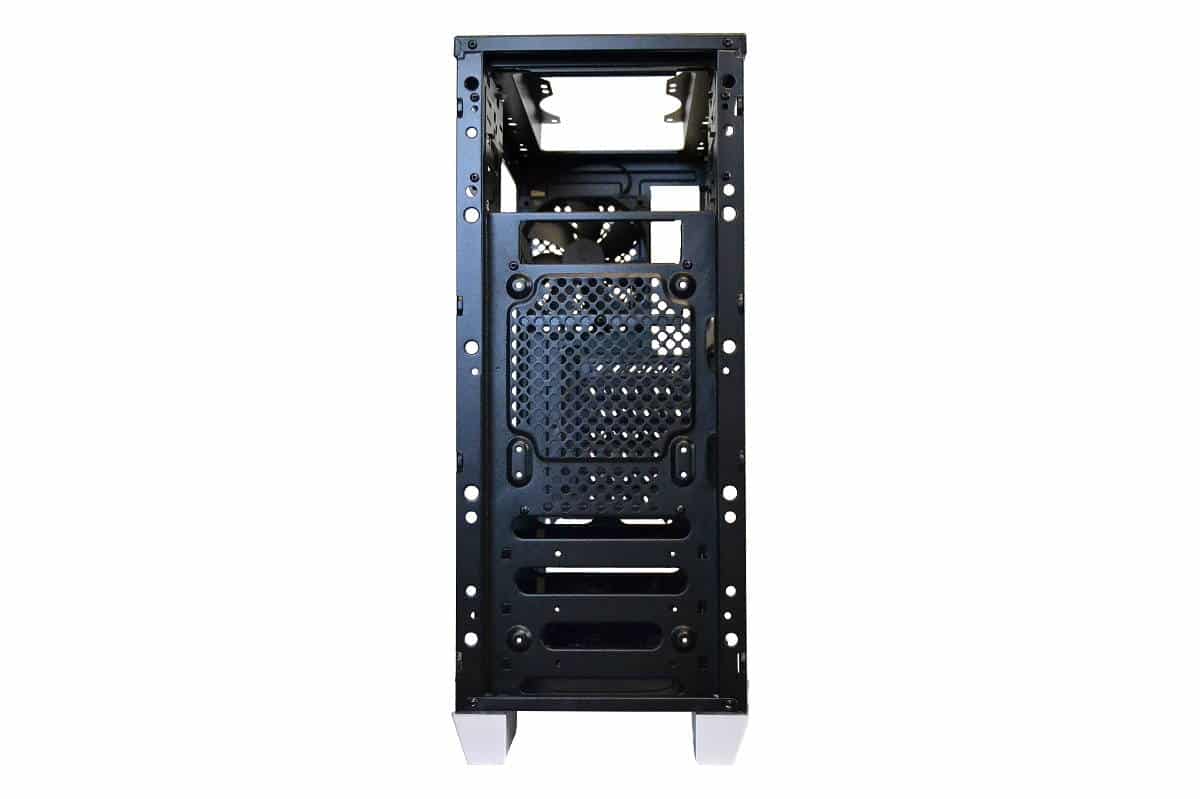
If we were to define the total case in one word we would have to use “Efficient”. The case is a mid-tower that wants to be a full tower and has much of the same room that the full towers provide. With the above picture, you can see that the case interior is very well painted with even colored paint and no overspray or bare patches. The frame is not the strongest but light and the engineering of the box keeps it really solid and robust. Overall we had no problems building inside the case.
The top of the case’s frame makes room for a 120 x 240 radiator but air flow is somewhat restricted by the upper ventilation of the body panel. Using the “old school” air cooler is recommended in this case but we are not saying that this case is not good for water cooling but if you are planning a custom loop get out your Dremel and make a few more holes for air escape and intake. The beauty of this case is also the Achilles Heal of this case as well as the lighting was the primary force for the theme of this build.
The rear exhaust port has some restriction and is protruding out some so if you plan on using a push/pull type cooling solution on the back side you might plan to stay inside the case and not mount a fan outside. Also, if you will notice there is a generously open CPU access point behind the motherboard tray so changing cooling solutions will be easier. This has become a mainstay in the computer case building process and we are personally thankful for this since we as builders were cutting them for ourselves for years before they started adding the holes as standard equipment in almost every case made today.
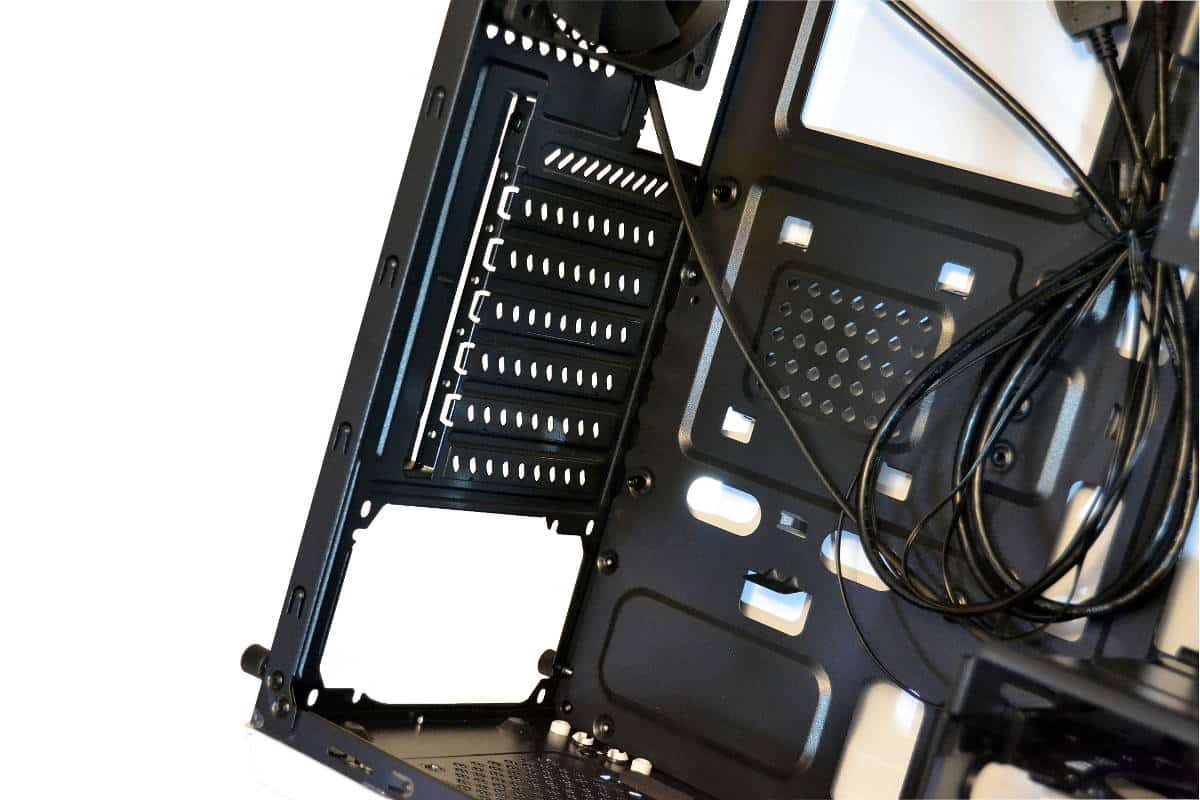
Since this is a budget case, the PCI slot portion of the case is where they saved money during manufacturing. We call these type of bay closures “knock-outs” because they are actually stamped with the case during manufacturing and are not reusable, so be extra careful of what knock-outs you plan to remove or you will have an empty slot on the back of your case unless you buy PCI Slot covers separately, the way most of us modders do anyway.
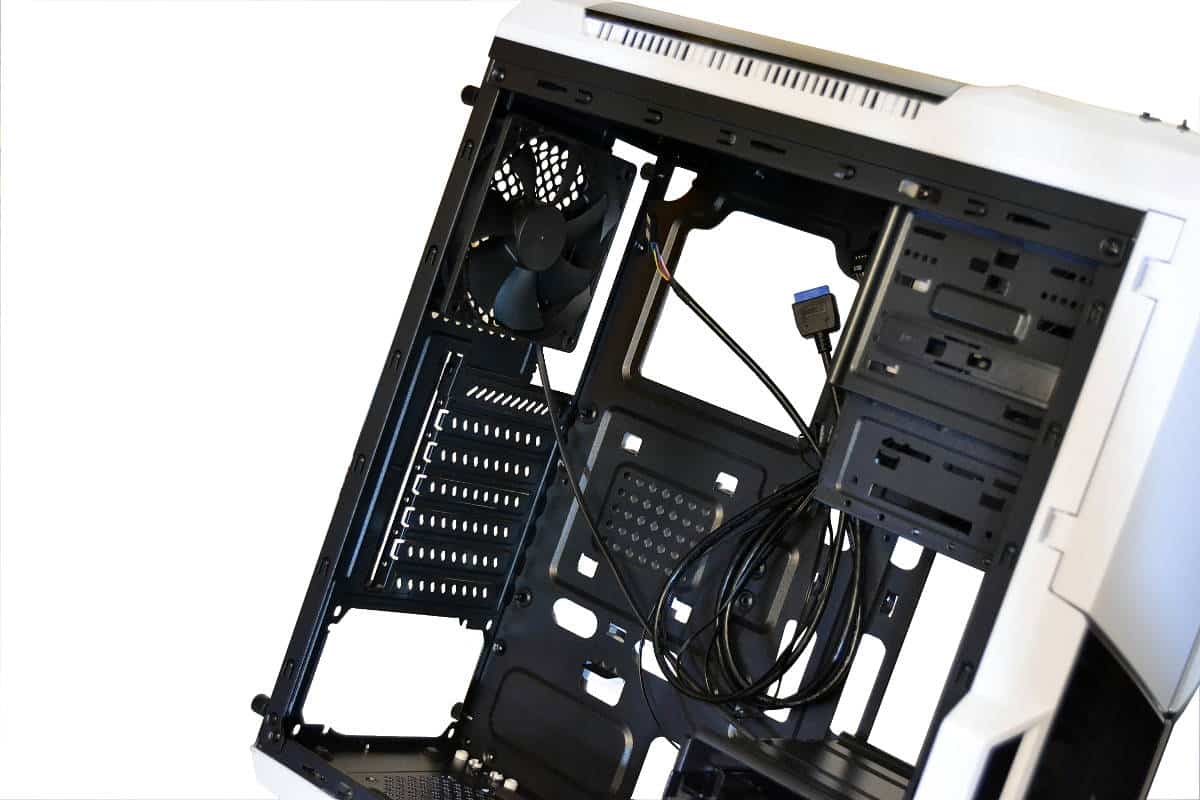
The back of the chassis is well made and solid with a medium amount of tie-downs that allow for routing wires where the builder needs them and away from places that doesn’t need wires. The extra space alloted by the back panel gives lots more room than this picture leads you to think, but a MicroATX board is recommended for this case if you plan to use the bottom center access points for routing the CPU Power wire to the top back corner of the case. I used a full ATX build in this and the board completely covers these holes so I had to route my power wire diagonally across the back of the tray. Had I used a smaller board I would have been able to use one of the two holes at the top for USB, HD Audio, and CPU Power cable routing. Still the case is built well and this was the only part of the wire management issues that I found and that would have been avoided if I didn’t use such a big motherboard for the case but I used what I had and the board fit great.
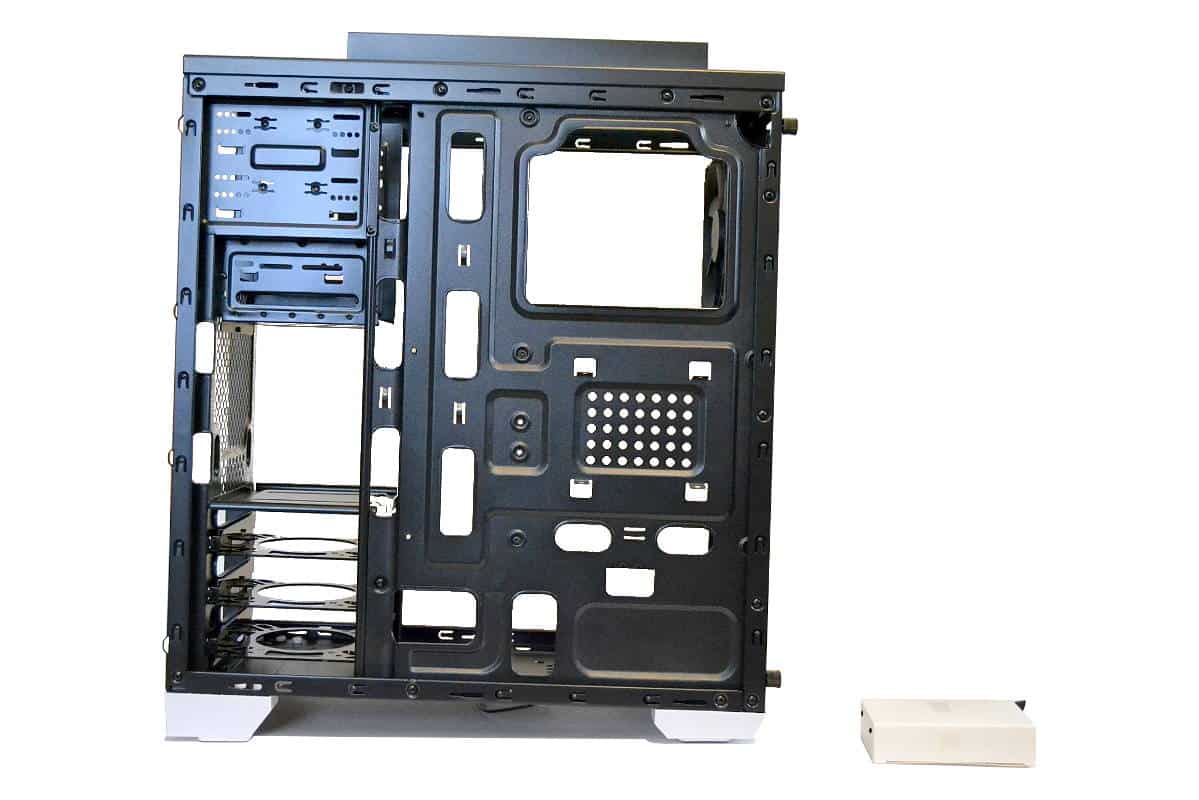
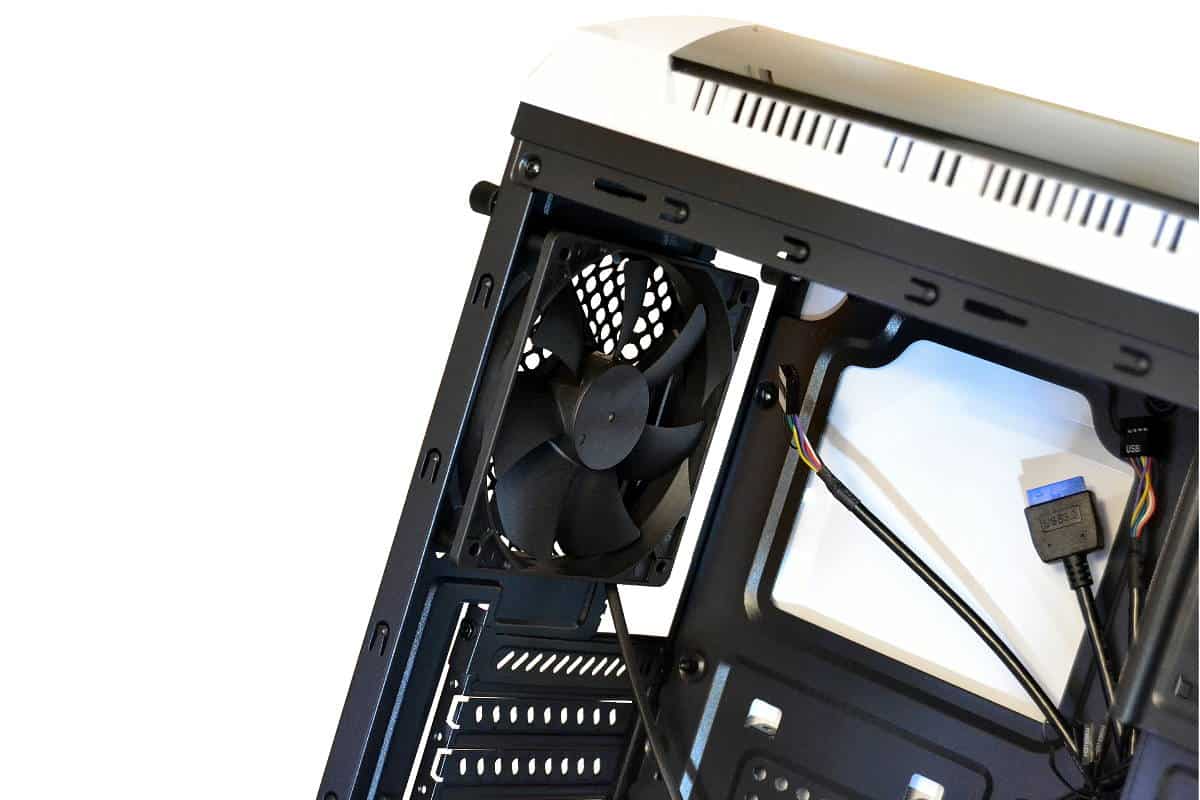
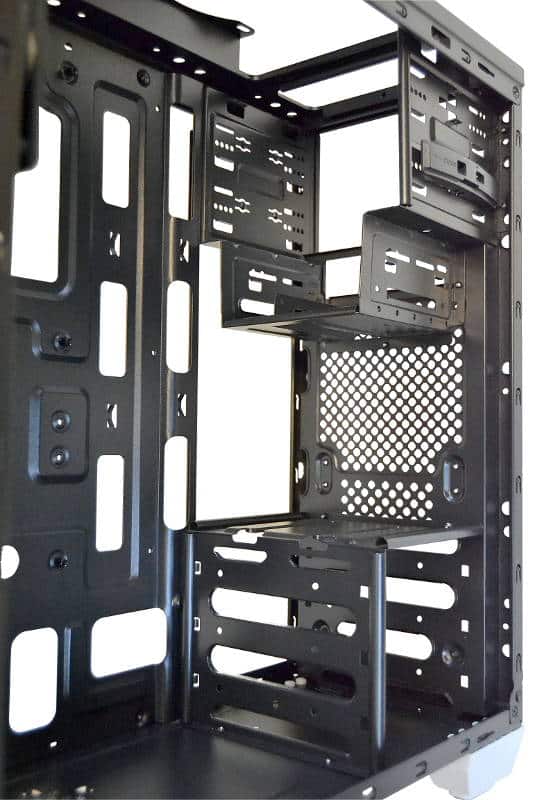
We chose this top view inside the case to show how open the chassis is and still allow a lot of options for add-on drives and CD Writers. There is a nice SSD mount below the 3.50-inch bay. It has four screw points to hold the SSD perfectly and still allow for a 3.50in add-in controller or card reader. The top is generously open to almost every need so we really like the way Thermaltake took everything into consideration when they were engineering this case chassis. It is ver well thought out for a case in the budget league.
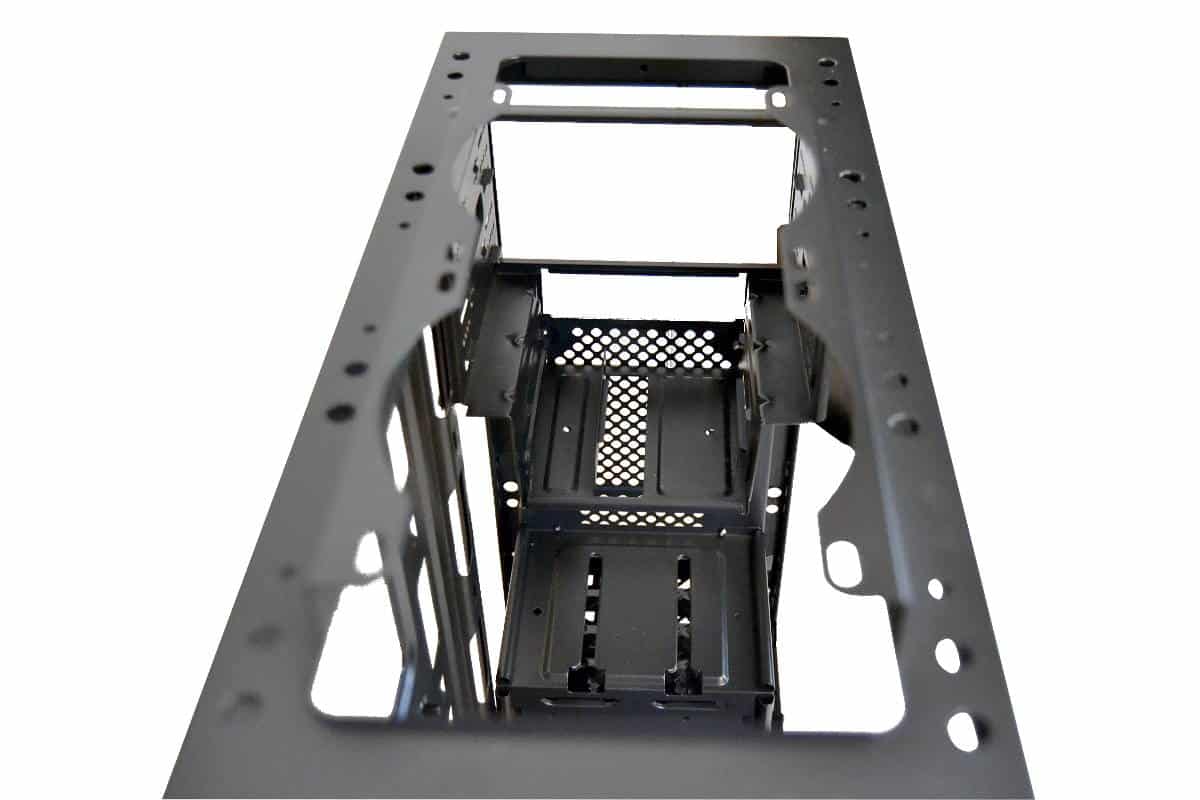
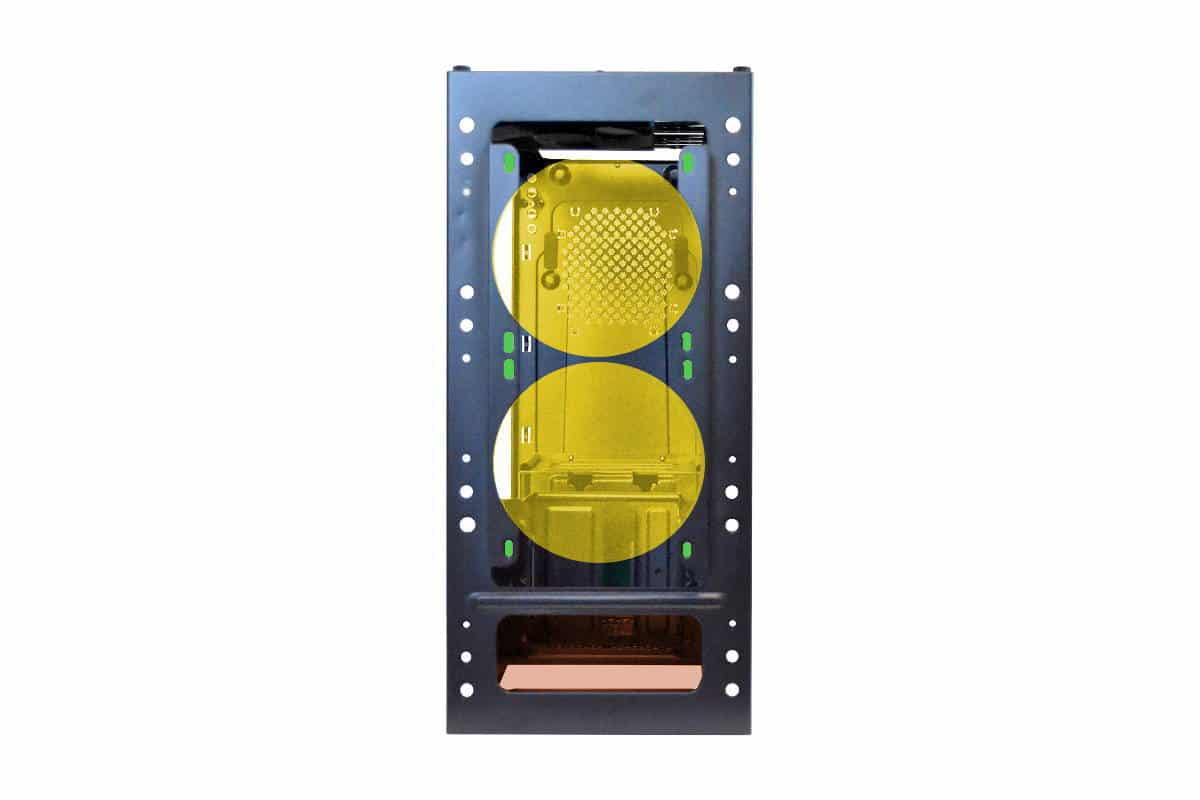
One thing we found noteworthy about this case was its little channels that are all over the front structures of the case. We found it very easy to route wires through areas that we were not using and hide wires and route them smartly. The bottom has drawer cassettes that we will review on the next page that fit into the bottom cube of the case. The cassettes hold all mechanical and SSD hard drives equally and slide and click closed securely. The line up for the drives electrical plugs for the Cassettes are perfectly set for both types of drive and did really well for completing the build cleanly.
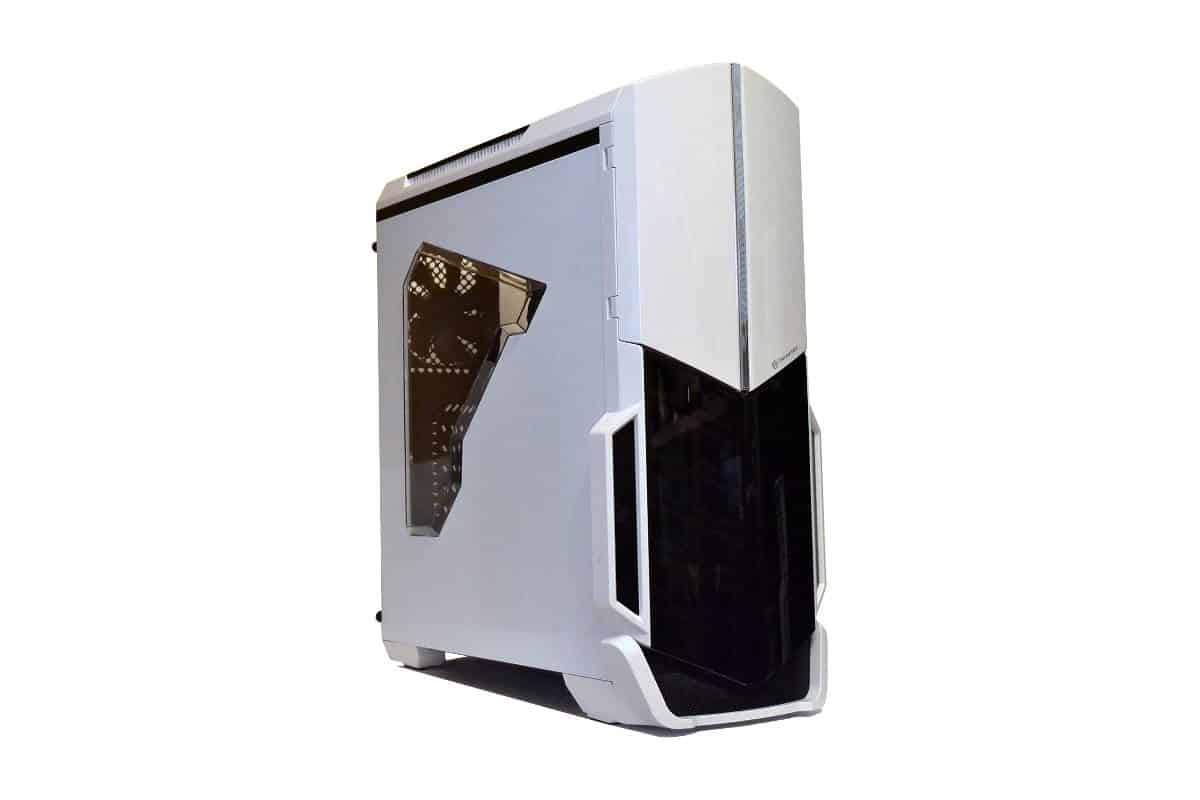
We purposely kept the worst for last. In order to give this case a firm rigidity with the thinner chassis steel, Thermaltake stamped this front side with not much forward ventilation, but this is not a problem for someone with a Theme and a Dremel in mind. It is there in a small way and cutting some of this is up to the builder but I would definitely be careful not to cut too much from the front. If you do plan to use this case and add more ventilation keep in mind that the front of the case is built to add more strength to the total inner chassis so keep certain struts in place to keep the strength of the case. But it is a very obstructive front case but the case really doesn’t allow much air induction from the front or the top so cutting some out just might become an exercise in futility.
8 comments


Awesome review man!!! I’m planning on buying this. This helps a lot
Thank you, AdikRahan… It is always nice to get feed back on my work. I appreciate the compliment and I really have a taste of helping builder out with my thoughts of the cases no matter what the price. I think this a really great case for the Price Range and the only reason I gave this case an 8 out of 10 is only because this is not a Premium, High Dollar all aluminum and steel framed work of Art. Those are 10’s for me.
These reviews are awesome! I have been trying to decide on a case and these reviews/build logs are super helpful. I do have a question for you though. Do you think a h100i would fit well it the top of this case with a pull configuration set up and would it sit over the motherboard making ram removal difficult? You did water cooling on your carbide 100r build and that was super insightful. Have any tips?
Is Does the plastic give a cheap feel? I do really love this piece. Want to buy ASAP.
I just got my case in and love it. You can’t visibly tell the difference between the metal and plastic on the case. It looks quite nice. It definitely feels a little cheap and light but I don’t ever move my case.
Hey there looking for a computer case here we listed top10 best computer cases for you make sure to check that out don’t forget to share hope you like it. 🙂
http://bestcomputercaseslist.com
Hello, I really like your Article..If you Are looking for Best Computer Cases Then you should Check http://bestcomputercaseslist.com/ .
Wow… Never had I thought I would see a review of a case this long and enjoy reading to the last words. This is an awesome review!
Have you also taken a look at Thermaltake Versa N24? I want to decide between N21 and N24 but I haven’t seen any review on N24 case. I like N21 for its looks but N24 for its internal layout with space for more larger fans. Can you please share your thoughts on Versa N24 too?