Notifications
Now that our follower goal is in place, wouldn’t it be nice to have some sort of indicator for when we gain a new follower? Thankfully, adding this source to Streamlabs OBS is a breeze, and if you followed Part 1 of our guide, we left the default “Alert box” source in our configuration. There are a ton of options for exactly how you want to configure your notifications, but for this guide, we will focus on a simple visual and audio notification setup.
Notifications Setup
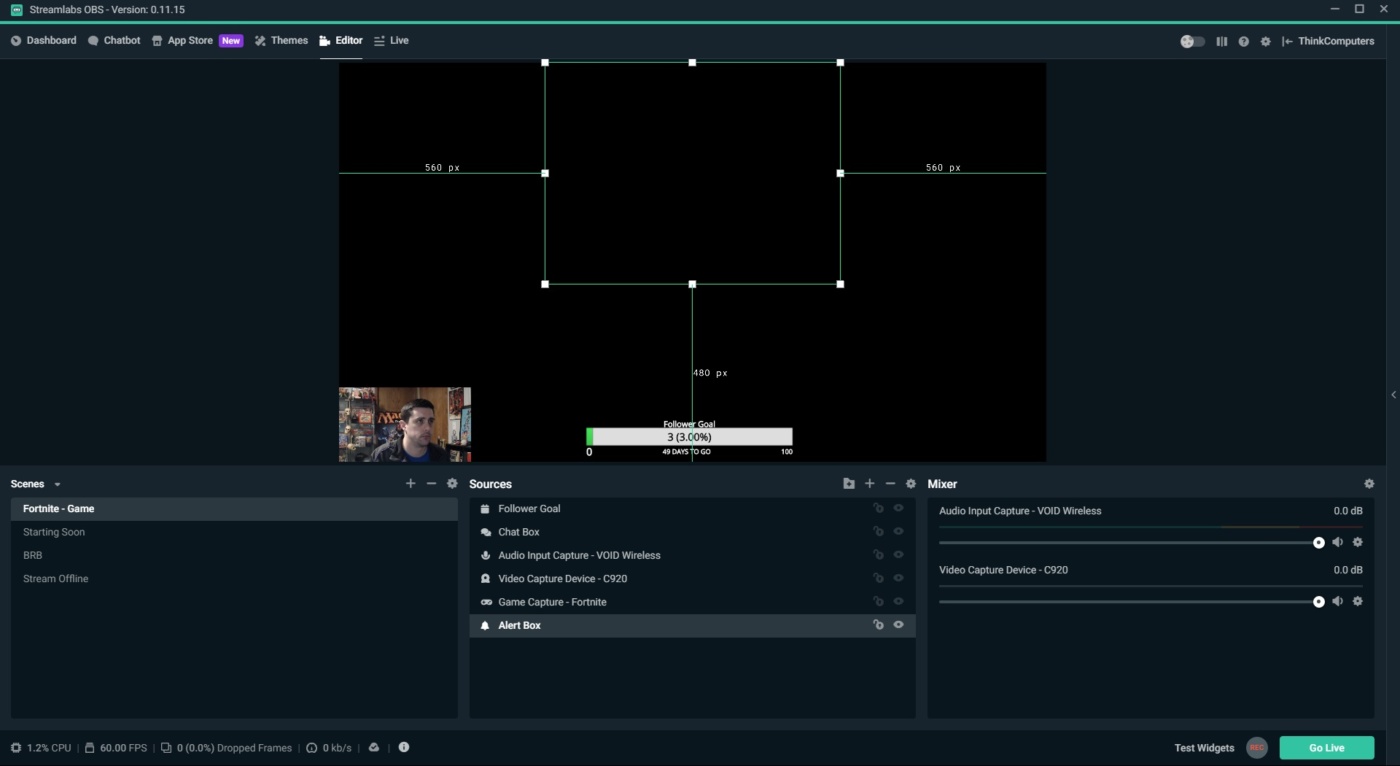
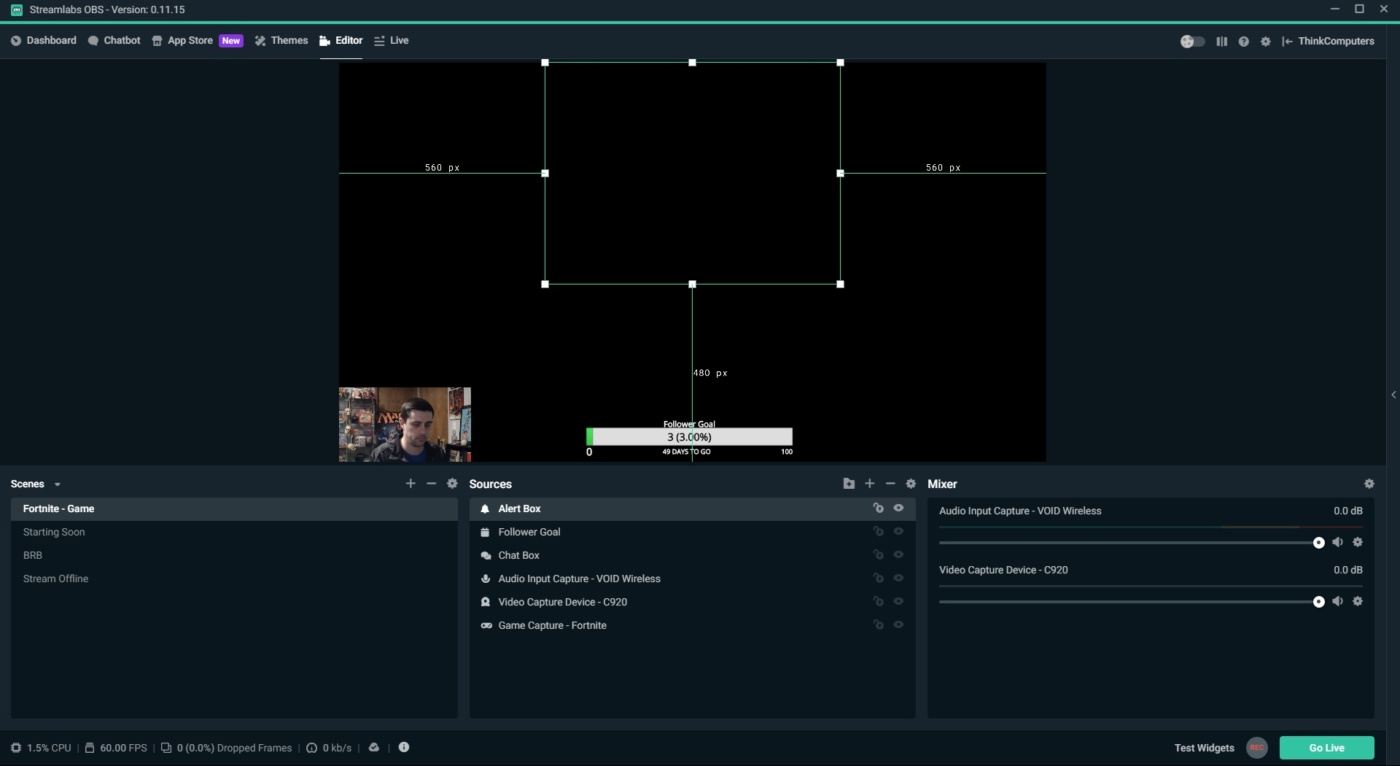
Since we kept the default “Alert box” source enabled when we initially setup Streamlabs OBS, we will simply adjust that source. Prior to that however, we will need to move the source up in our list, as it is currently at the bottom, and will not be seen if left where it is. To move the alert box source in the list, simply click and drag it up to the top of the list. This will make sure that the notification is seen above the rest of your sources. If left where it was, our game capture source would block it from being seen on screen.
To adjust the settings for the alert box, simply double-click it in the Sources window to open the “Settings for Alertbox” window.
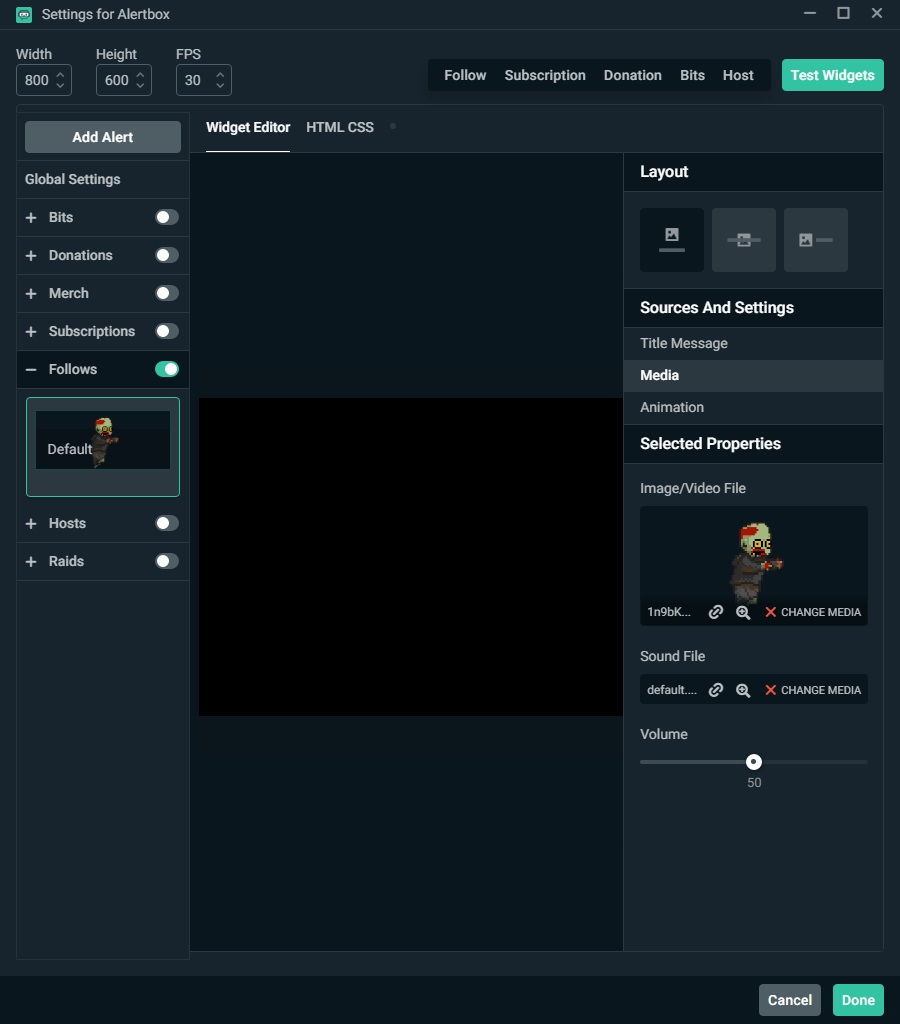
This settings window is similar to previous widgets, though there is another section we first want to highlight. The left portion of the window has a default list of alert types ranging from followers and donations, to subscriptions and stream raids. Each of these notification types can be enabled or disabled, depending on your preferences, and we have chosen to configure the “Follows” alert, as we aren’t going to dive into setting up donations, and subscriptions aren’t available to us yet as a beginning Twitch streamer. With all but the Follows alert disabled, we can now edit this alert type to fit our needs.

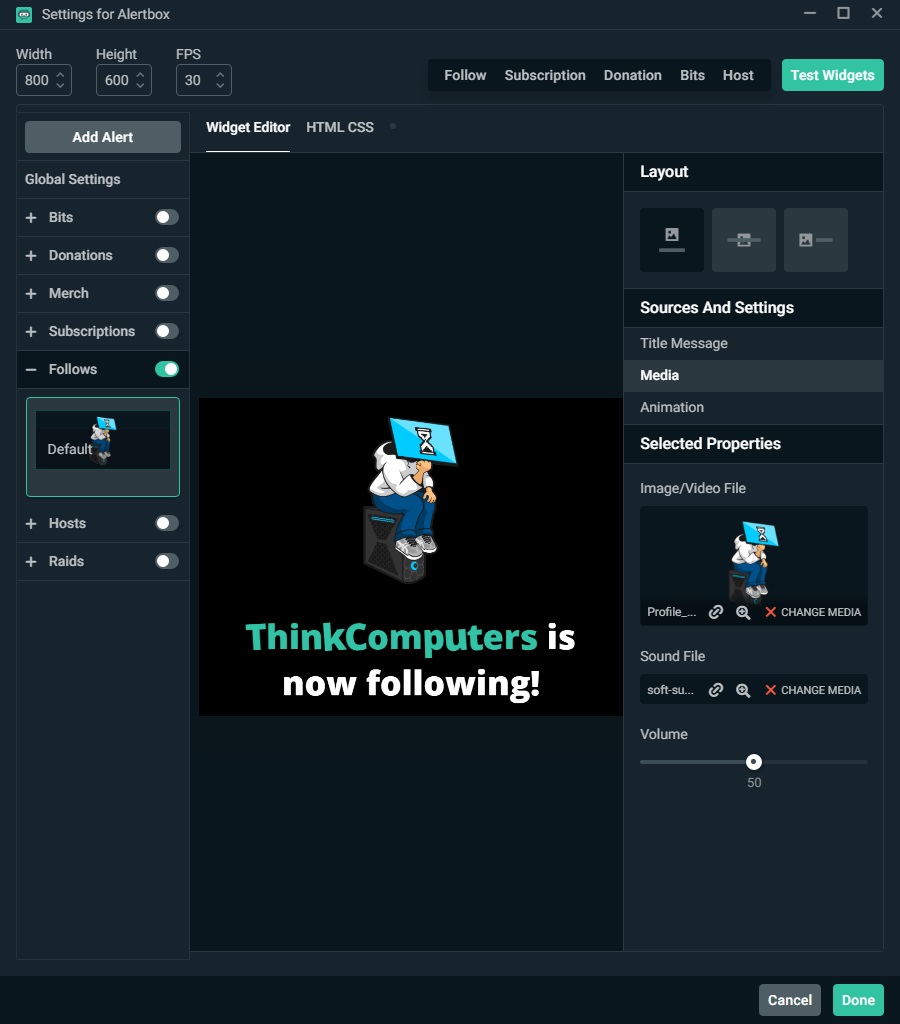
The first thing we are going to look at is the message that appears when someone decides to click that follow button on our stream. The default message template will display “{name} is now following!”, where “{name}” will be the viewer’s Twitch account name. You can adjust this message to your liking, but we are going to leave the default. Within the “Title Message” section you can also adjust the font of the message, including the primary and secondary text colors. The primary color is used for the majority of the message text, while the secondary color is used for the “{name}” text.

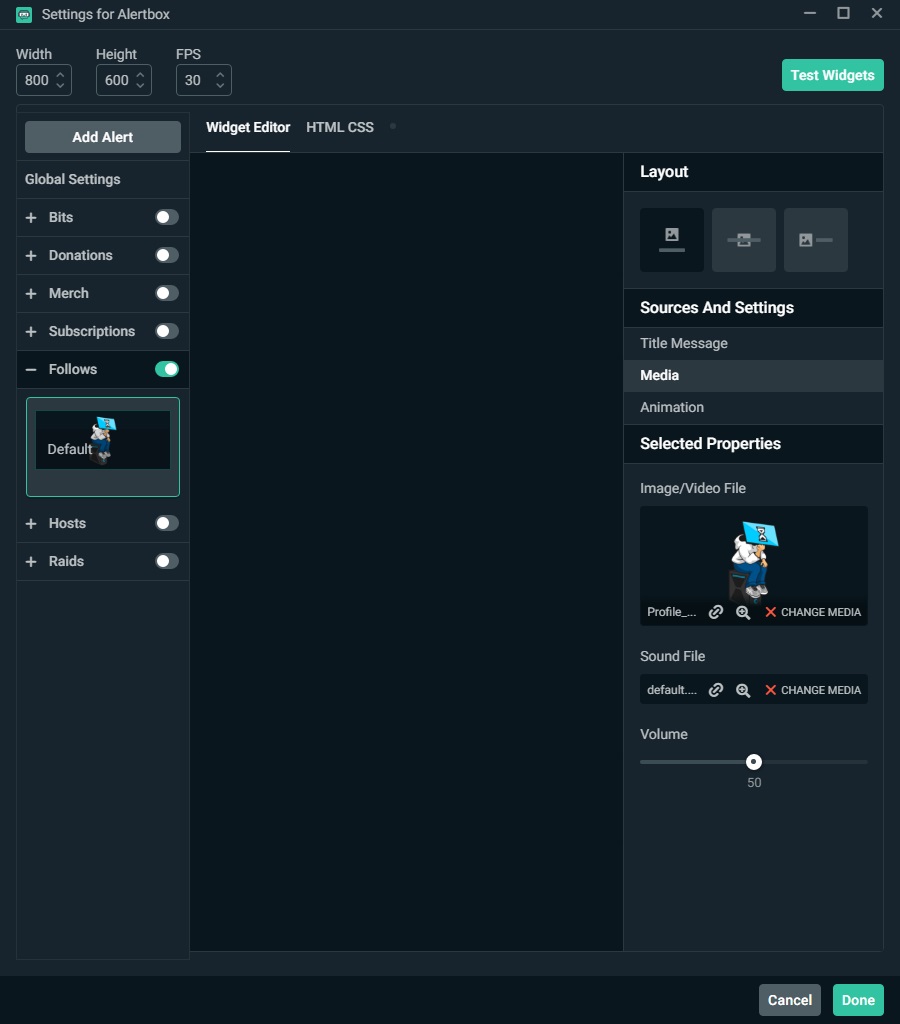
Moving down to the “Media” section on the right allows us to adjust the image and sound that is presented upon this event. While the default running zombie animation is humorous, we have decided to utilize our site logo instead. To do so, we simply click the “CHANGE MEDIA” text beneath the zombie.
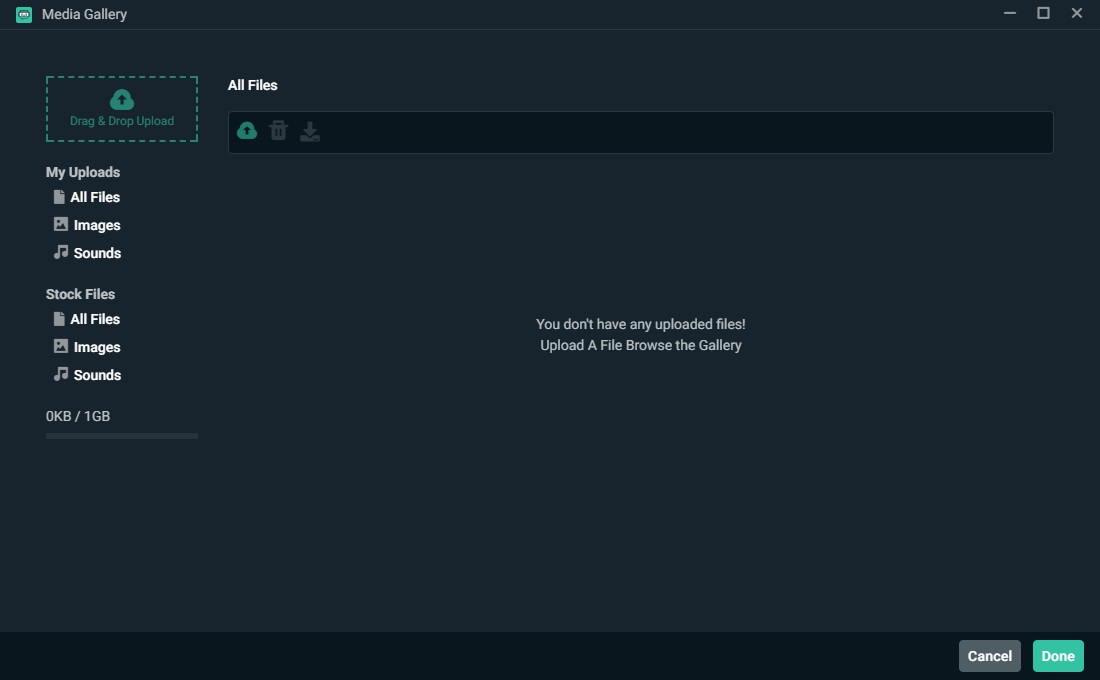
The “Media Gallery” window that pops up will allow us to either choose another of the included images, or browse to one of our own. You can even drag and drop images and sounds into this window. We simply clicked the “Drag & Drop Upload” button in the upper left portion of the window to browse to our desired image.
With our image uploaded, we can select it and click the green “Done” button. Once back at the Alertbox setting window, we can then see that our image has replaced the running zombie.

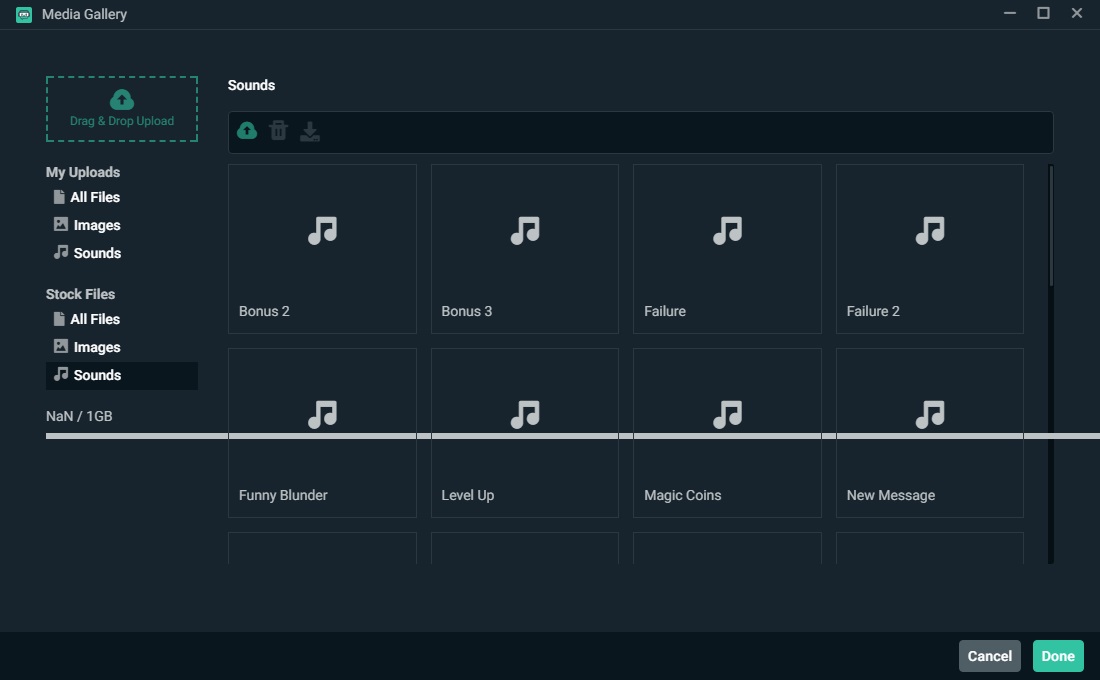
Next we will adjust the audio notification by clicking the “CHANGE MEDIA” text in the “Sound File” portion of the Media settings.
We are once again taken to the Media Gallery, where we can either upload our own audio file, or choose from one of the included options. We chose “Soft Success”, an included file, and clicked the green “Done” button.
You can then adjust the volume of the notification, but we have left it at the default setting of 50.

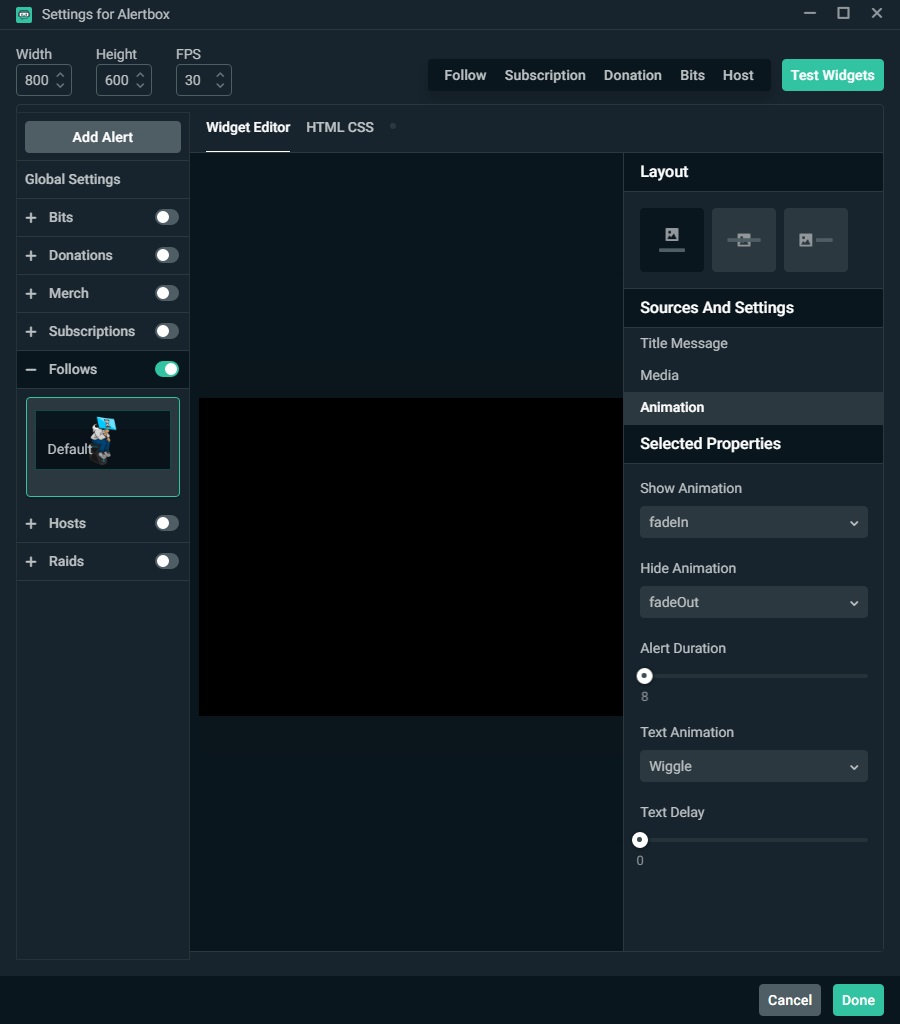
Next up we will move down to the “Animation” portion of the Alertbox settings window, where we can adjust the timing and animation of our Follows alert. There are multiple options for both the presentation and removal of the alert, as well as the ability to animate your text with various options. We have left all of these animation options to their default settings, as we think they are pretty decent to start out with.
Before we leave the Alertbox settings window, we are going to test out our Follows alert by clicking the green “Test Widgets” button at the top right of the window. Clicking this button will bring us a menu for the various alert types, and we will select “Follows” to show our alert in the preview window below. Once you are happy with your settings, simply click the green “Done” button to add the source to your scene.
Again, you can adjust the position of this new source by selecting it in the sources window and dragging the object in the preview window.