Transition Screens
Depending on the moment in your stream, you may want to display some sort of message or image that indicates a status that isn’t your live stream. For example, when getting started with your stream, you may want to have a bit of a “warm up” period once live to make sure everything is in place. What we recommend for this is the use of some form of a full-screen image or video that indicates that your stream will be starting soon. Other times, life events can interrupt your gaming and streaming sessions, and you may need to step away for a few minutes. This is where a “BRB” screen can help convey that you will be right back, hopefully helping to keep your viewers.
This leads us to our first panel – “Starting Soon”. We like to start our stream with this type of message and a bit of a countdown period that lets our followers get over to our channel in time to catch all of our content. While you can definitely make your own panel images, graphic design isn’t our strong suite, so we have chosen to utilize some of the many free resources that can be found on the Internet. We really like the clean and simple looks of the Mono – Dark Stream Stream Screens found over at Twitch Overlay. This set of three screens is essentially free, just requiring a quick tweet about the site to unlock the download.
Screen Setup
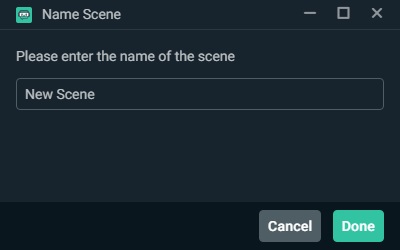
With Streamlabs OBS open, we first want to add a new scene to our configuration. This will start us out with a blank canvas, where we can then add new sources. To do so, we simply need to click the “+” icon at the top-right corner of the Scenes section, which will present us with a pop up to name our new scene. We chose to name ours “Starting Soon”. Click the green “Done” button to create the scene.
Next, we will click the “+” icon at the top-right corner of the Sources section to add a new source.

This will provide us with the “Add Source” window, where we will select the “Image” option from the Standard section. Clicking the “Add Source” button takes us to the next step.
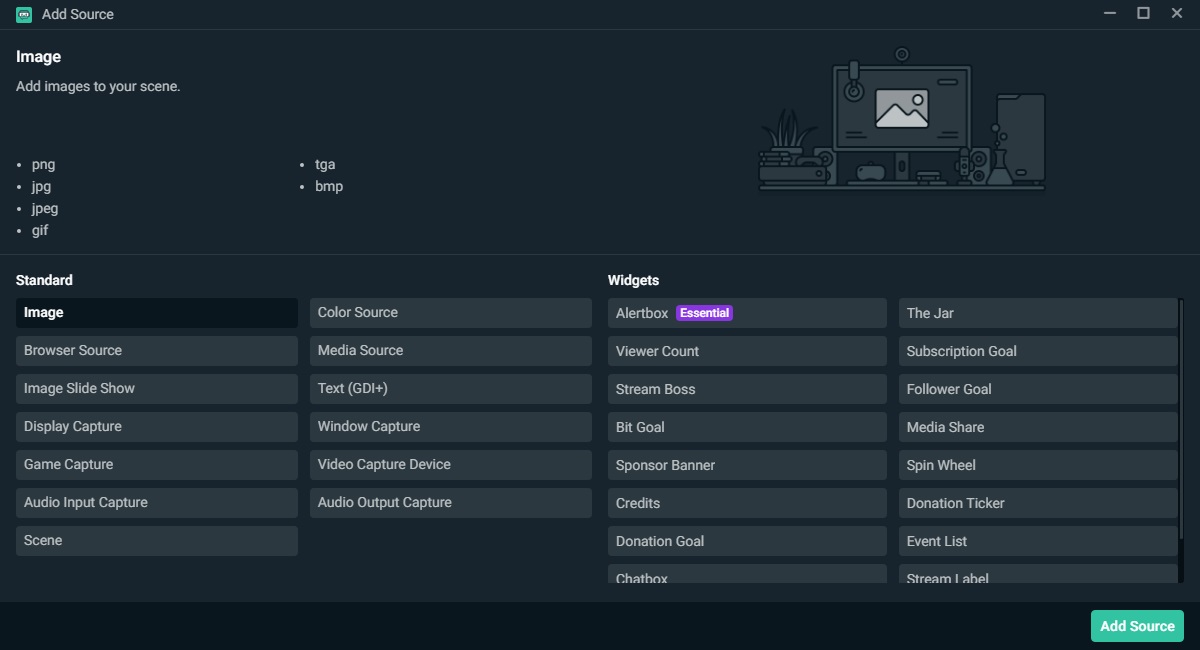
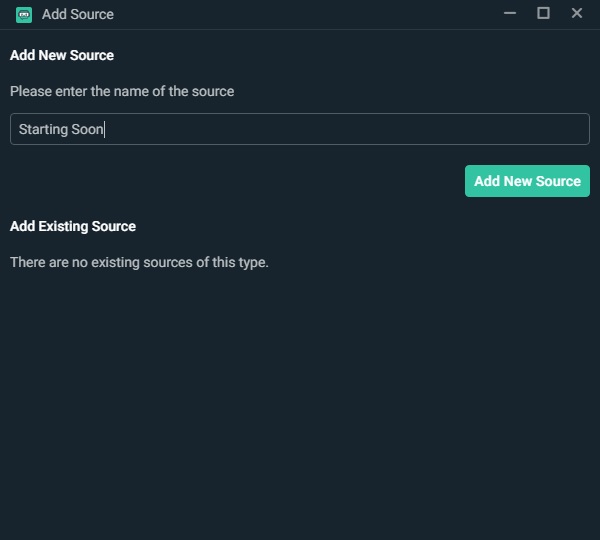
Here we can give our new source a name, in our case we again used “Starting Soon”. We can then click the “Add New Source” button to move on.
The next window allows us to browse for our image file, in our case this will be “mono-soon.jpg” Selecting this image will fill in the preview window, and we can then click the “Done” button to finish.

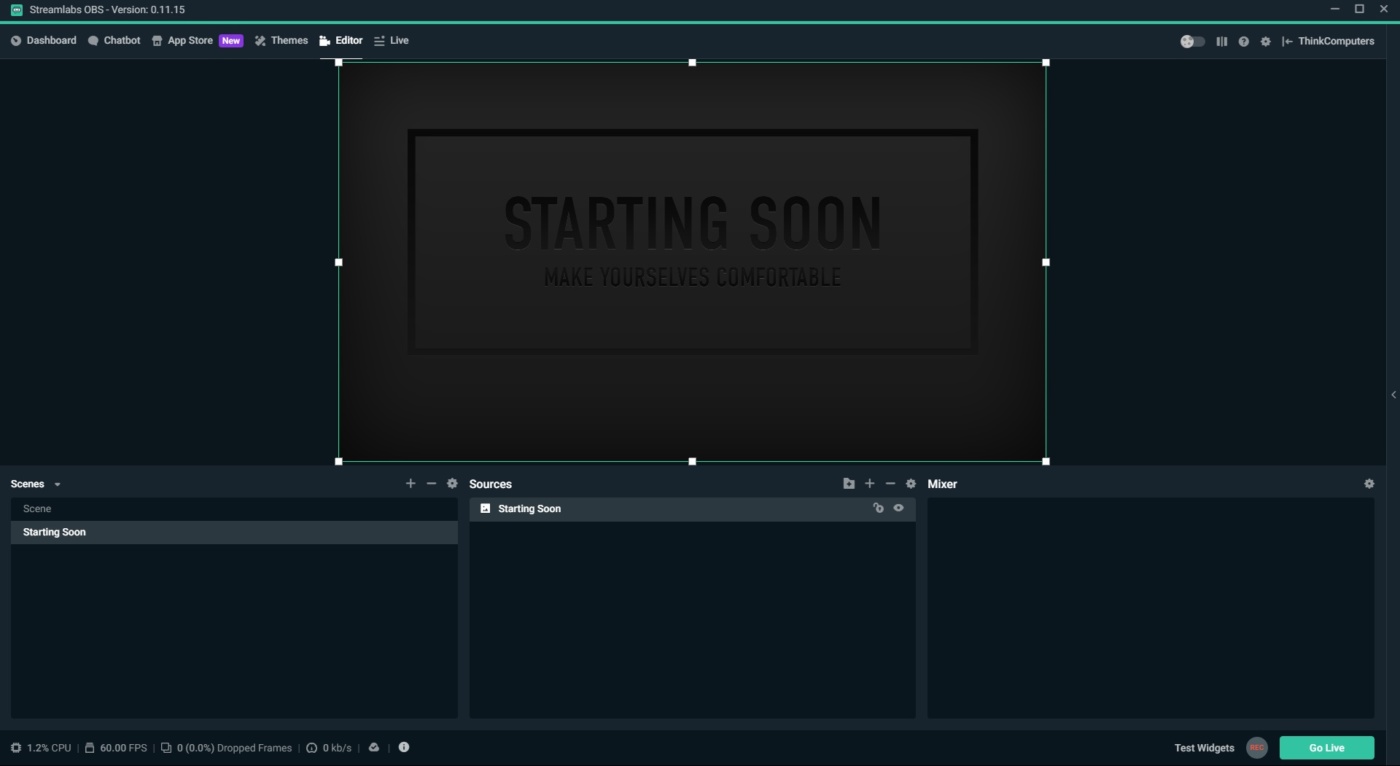
This will take us back to our main editor window, where we will now see our full-sized “Starting Soon” screen. As you can see, there is just a single source in this scene. What that means is that there will be no audio from our system or microphone when this scene is active. Adding these audio sources back into the scene is done via the same process we outlined in Part 1. Whether or not you want these audio sources to be present on your starting soon, BRB, or other screens is a personal preference.
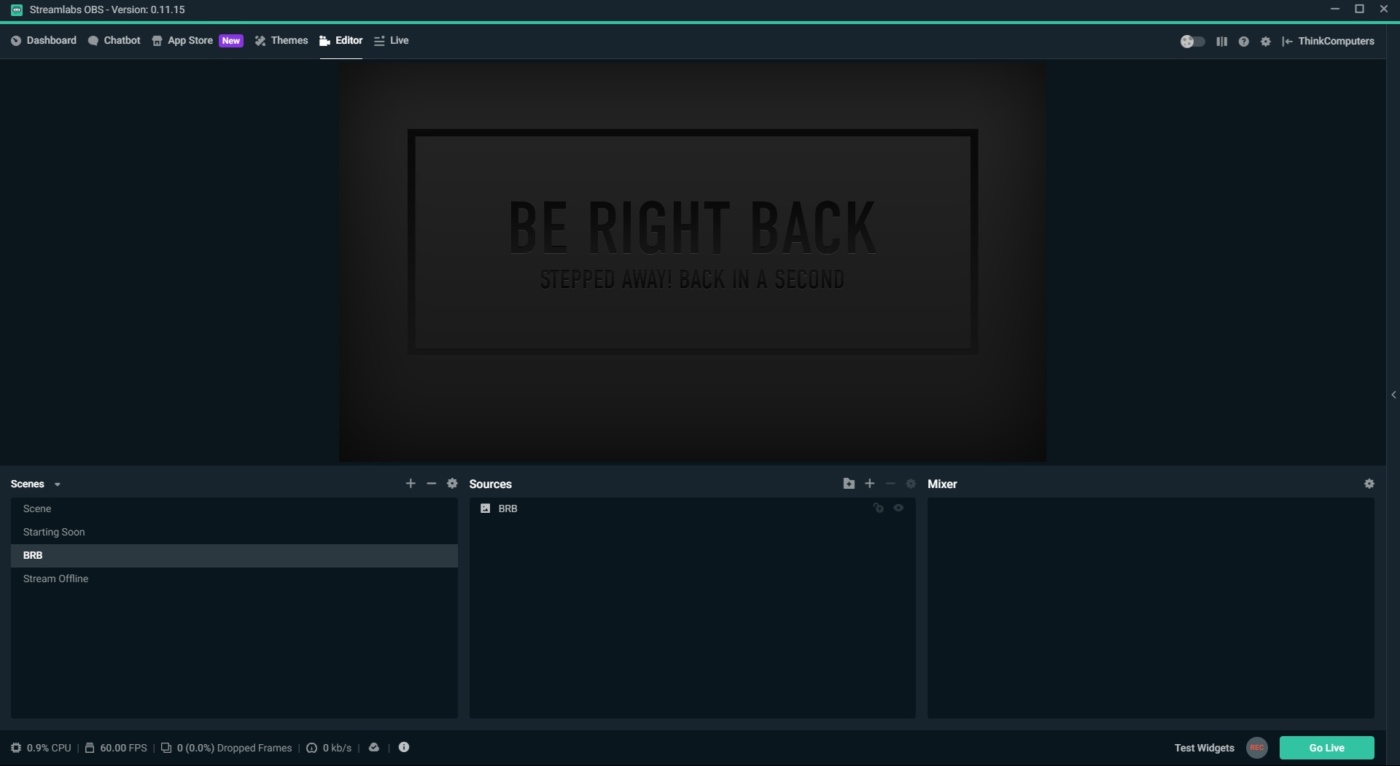
The same steps above can be followed to create a BRB scene, as well as a Stream Offline scene. We typically utilize the BRB scene when we have to interact with someone in our physical environment, or need to step away for a moment.