Chat Overlay
Adding your Twitch chat on-screen can help your viewers stay engaged with each other while keeping your stream full-screen. Some people may find this to be a bit overwhelming having everything on screen at once, but we like the idea of testing things like this out, and making that determination on your own.
Chat Overlay Setup
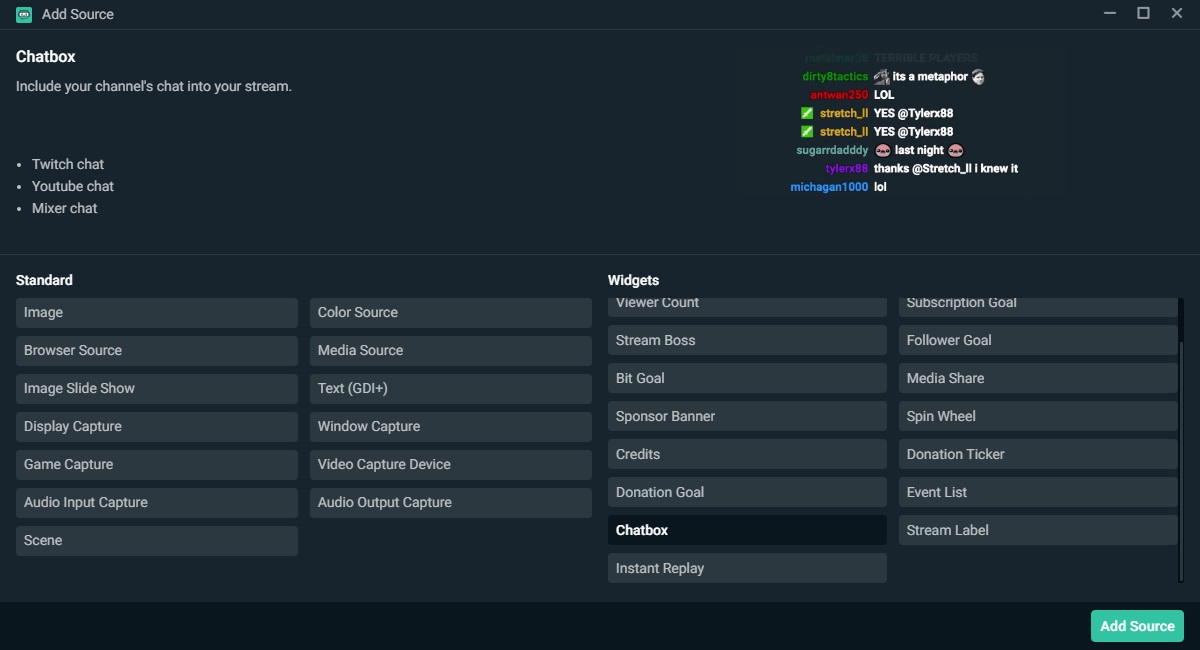
Since we want our chat to be present in our gaming scene, we first need to make sure we have that scene selected. Next, we will add another source to the scene, this time selecting “Chatbox” option in the Widgets area, and selecting the “Add Source” button.
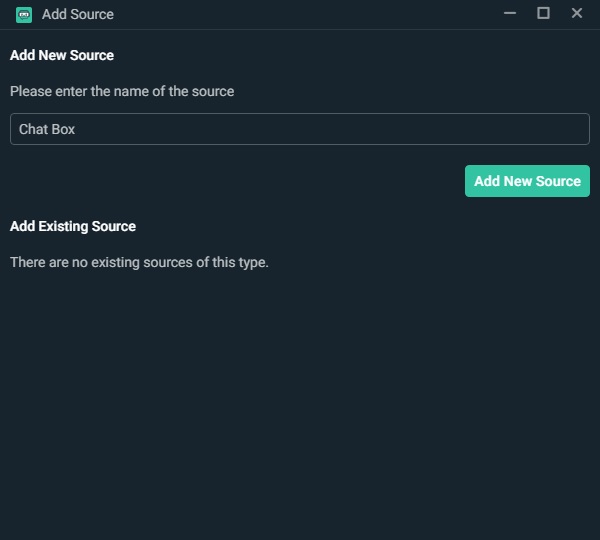
Here we have the option to name our new source, but we will keep the default of “Chat Box”, and select “Add New Source”.
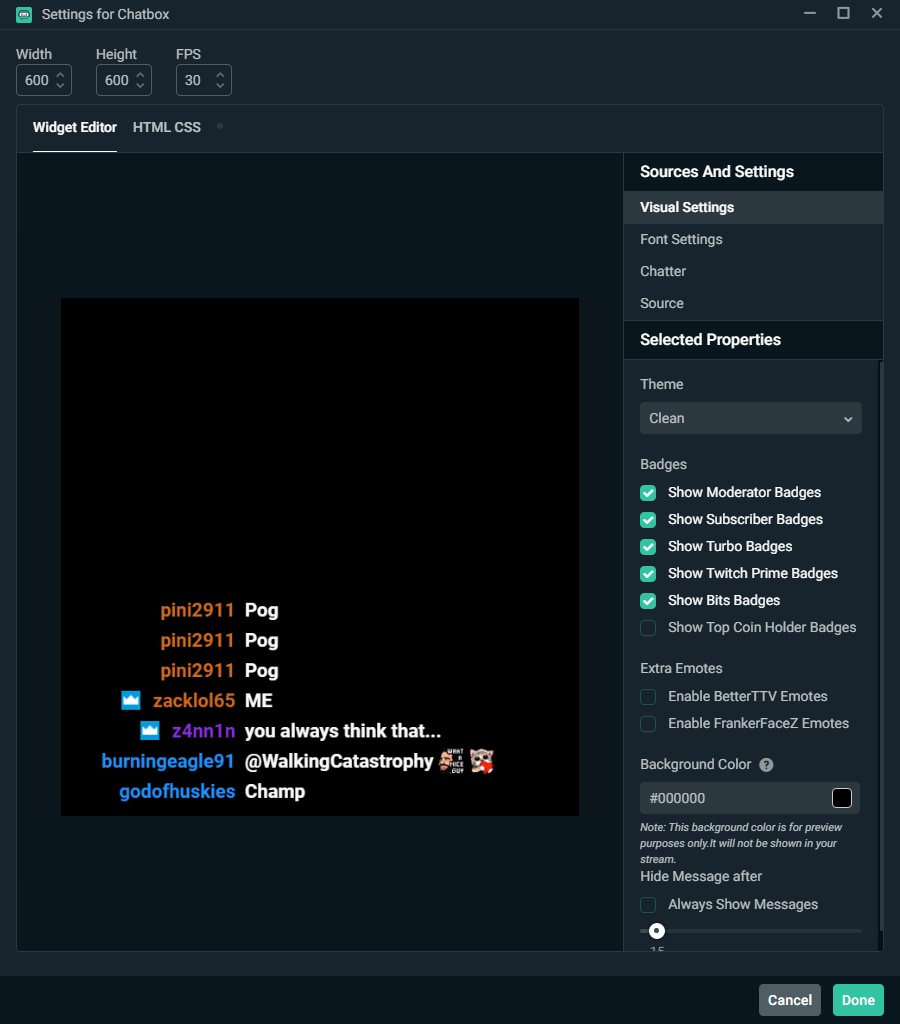
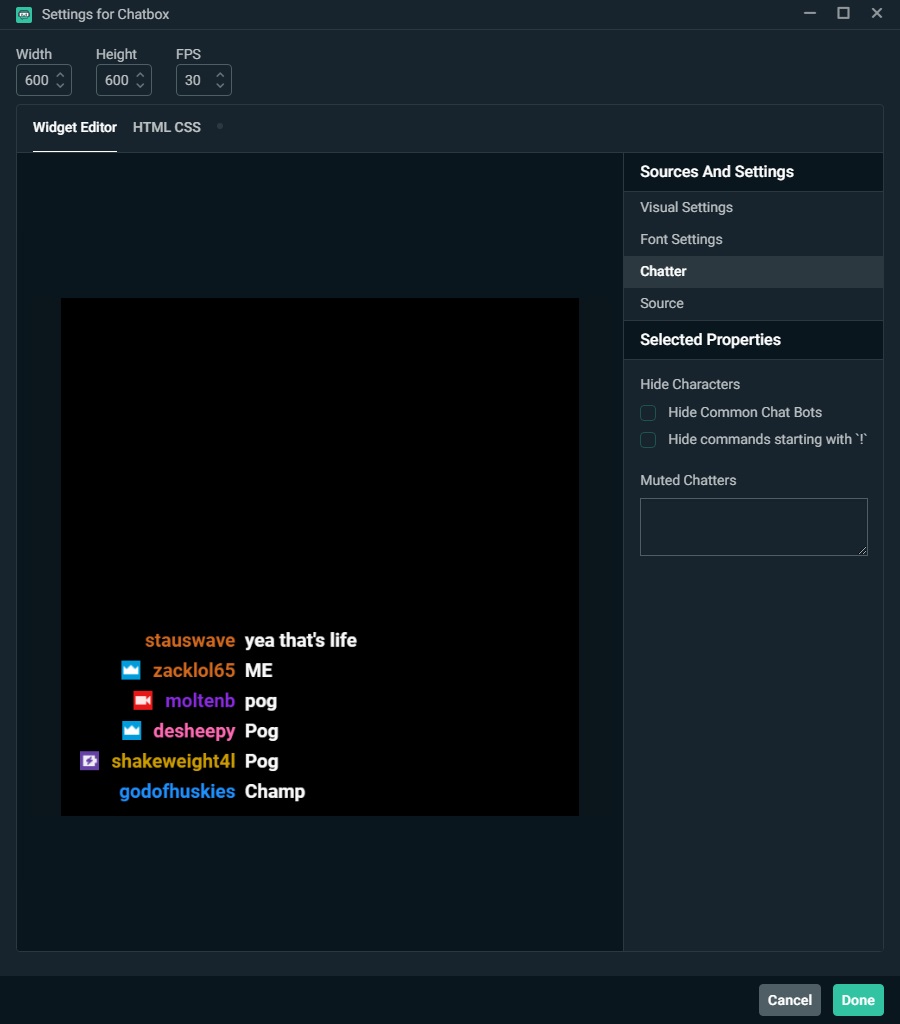
Next we see the Settings for Chatbox window, which includes a ton of options for our chat box source. Up top you can set the width and height of your chat box, as well as the FPS for the widget. The right side of the window gives us multiple sections for sources and settings, the first of which lets us customize the visual settings for this widget. This area allows us to select a theme, turn on or off badges, and set the amount of time messages are shown on-screen.
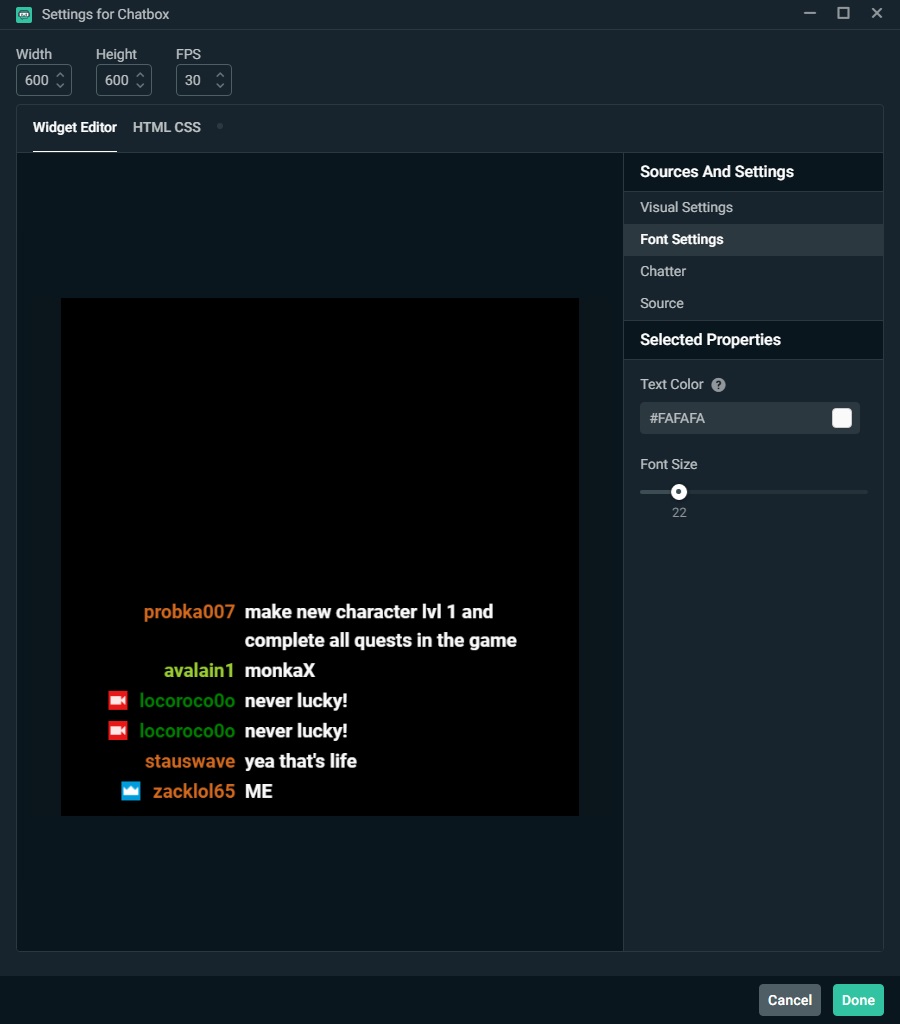
The Font Settings area is pretty self-explanatory, providing text color and font size options for your widget.
Chatter can help filter out messages from chat bots, as well as commands that your viewers may submit to any chat bots you might have on your stream.
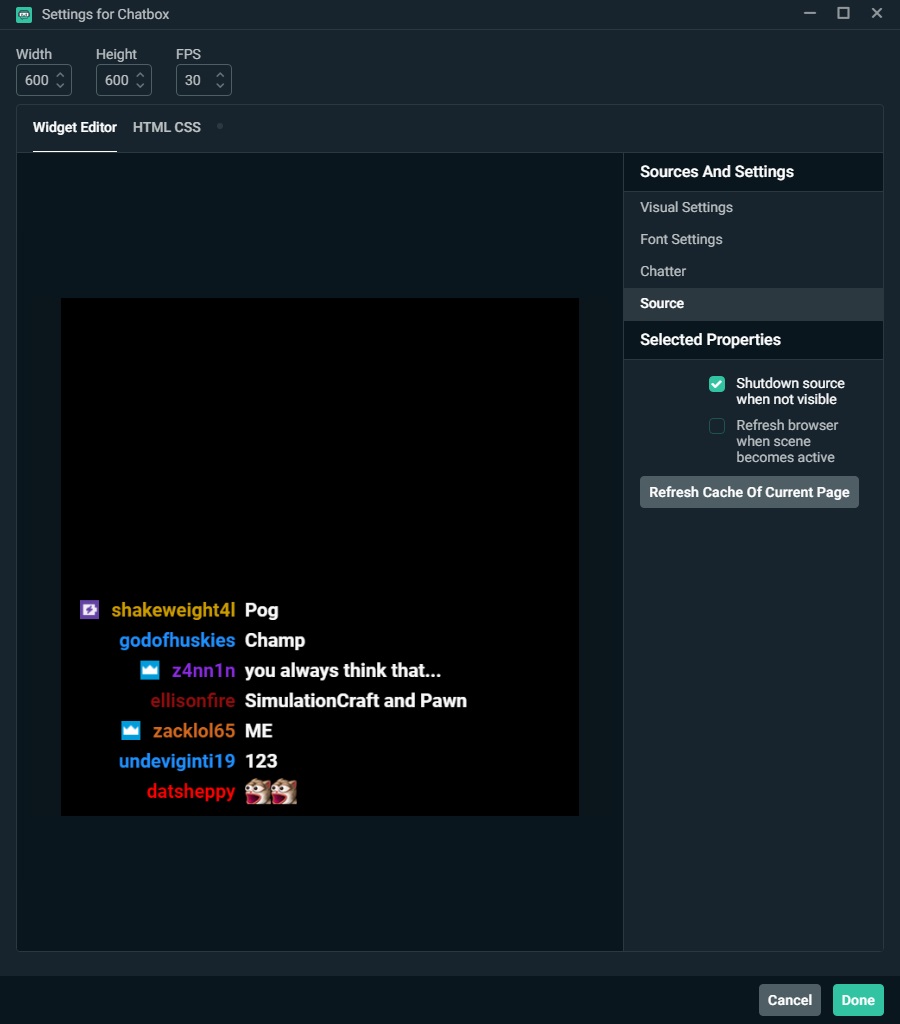
Finally, the Source area allows you to shutdown the source when it is not visible, as well as refreshing the browser when the scene becomes active again.
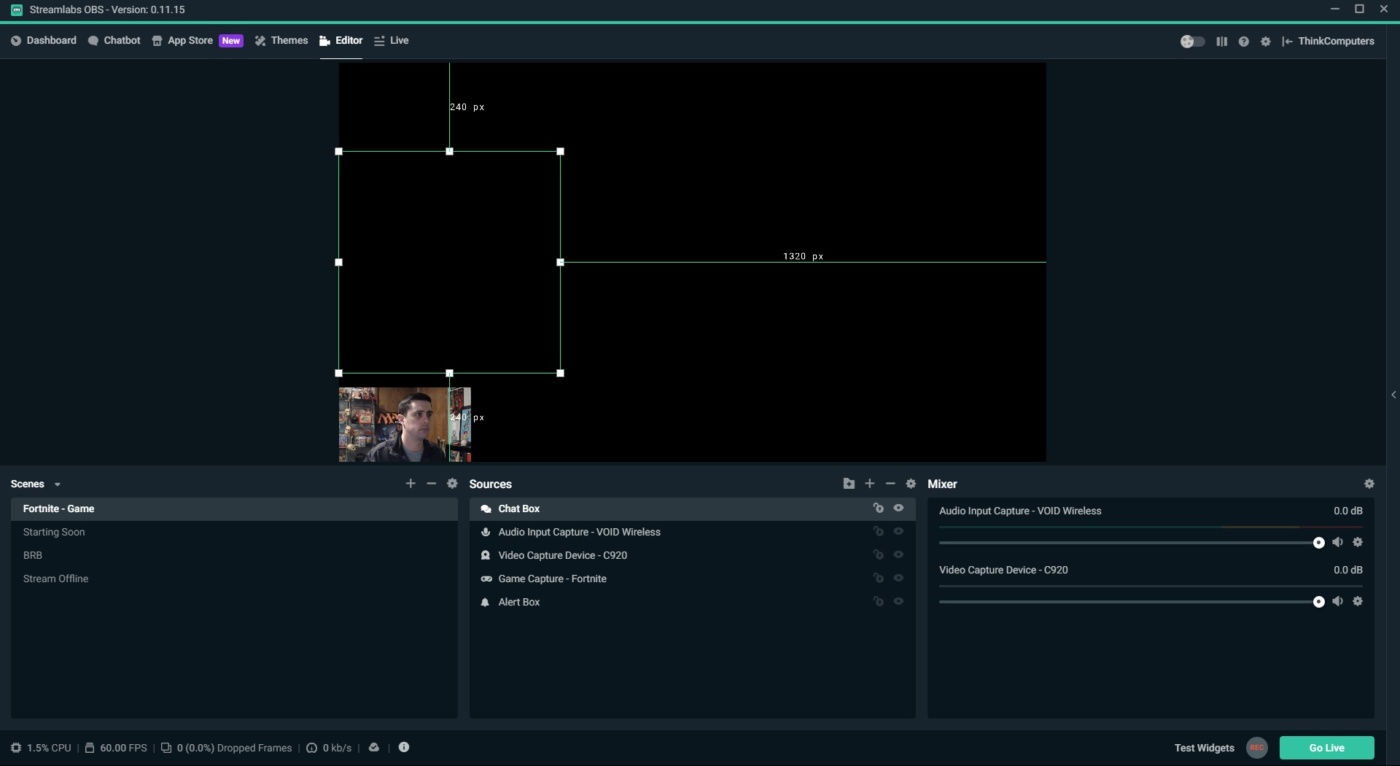
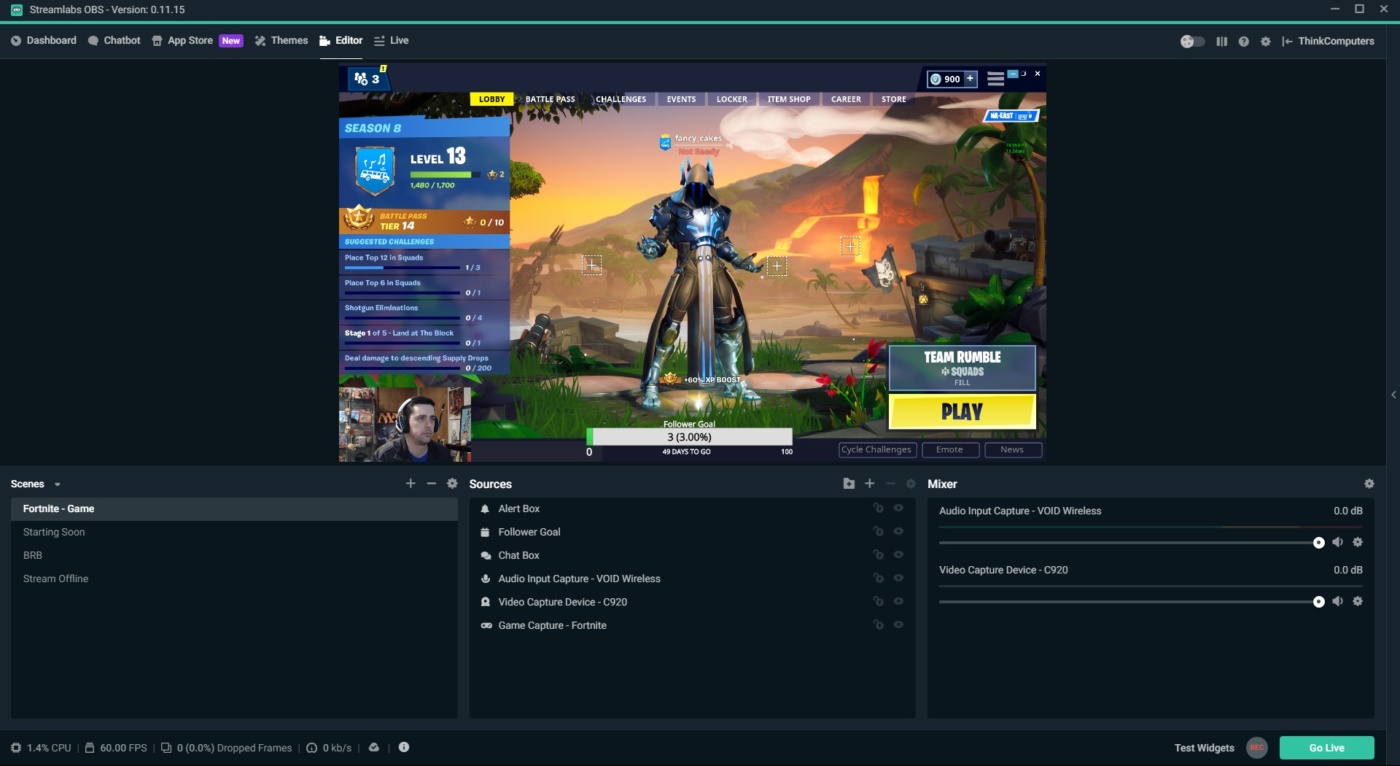
Once your settings have been configured, clicking the “Done” button will return you to the main Streamlabs OBS window, where your chatbox outline is ready to be moved to your ideal position.