Setup & Usage
Getting the Sound Blaster K3+ setup is pretty easy. Now keep in mind you can use it completely without a PC or Mac. Just plug it into USB power and you are good to go! In our case though we will be using it with out PC. PC setup is extremely easy, just plug the included USB cable into your PC. Windows should automatically detect the device and you’ll see two microphone inputs called Sound Blaster K3+ show up.

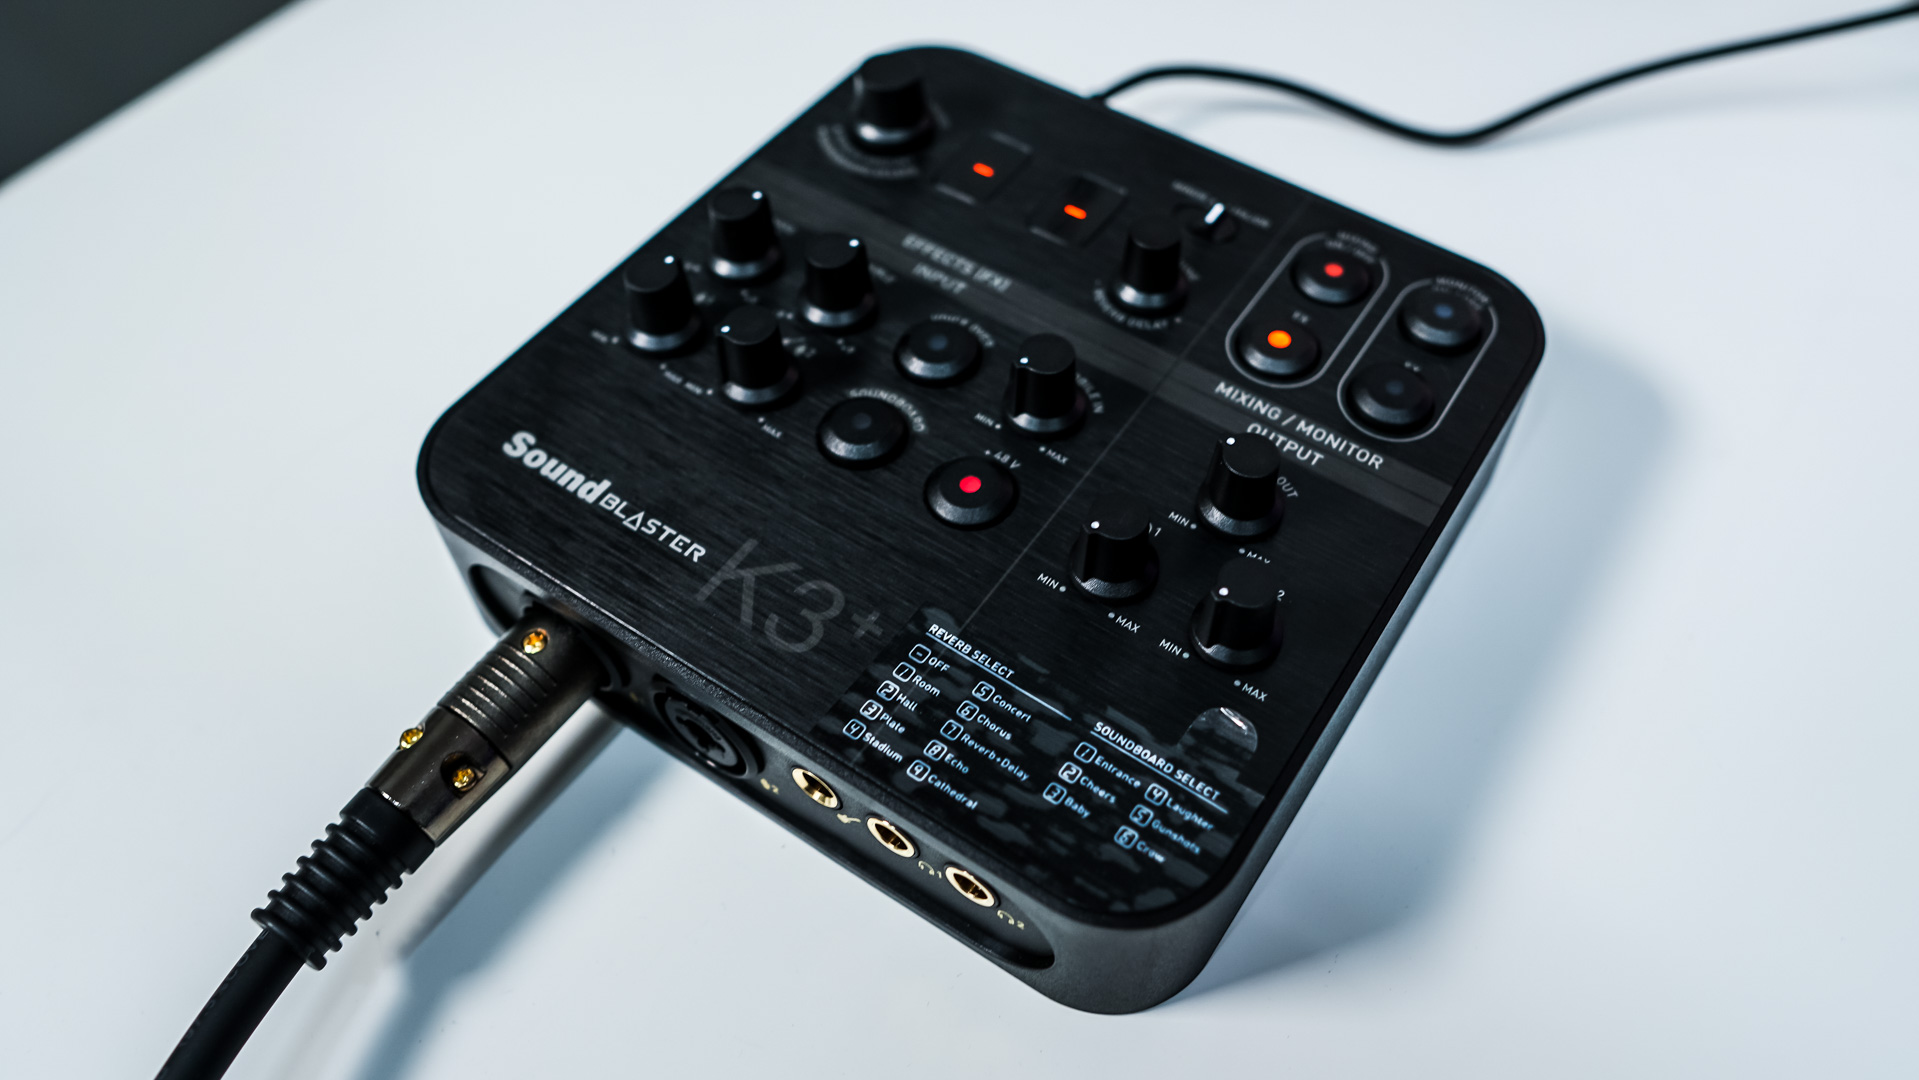
These of course are for the two microphone inputs on the front of the K3+. Now plug in your microphone to the XLR input and you are pretty much good to go. Be sure to press in the +48V button if your microphone needs phantom power. It will light up to let you know it is enabled.

Now you are going to want to adjust your volume, bass, and treble (on the K3+ itself) to suit your needs. I would suggest either listening to yourself using one of the headphone ports or recording yourself and playing it back.
I have been using the Sound Blaster K3+ as my main audio interface for the past 3 weeks. You can hear it in action on our Weekly Tech Podcast! Here is a short clip of what I sound like using the Sound Blaster K3+ with an Audio-Technica AT2020 XLR microphone. This clip was recorded directly into Adobe Audition, the only post-processing that was done was Normalizing to -3 dB. The file was saved as an MP3.
That should give you a really good idea of how an XLR microphone would sound using the Sound Blaster K3+, how the reverbs and sound effects work, and how you can adjust the bass and treble.
One thing I definitely want to note is the voice over function. This is made to cut-out background noise, which gets picked up easily if you are using a condenser microphone. I would say it does a good job, but I do think NVIDIA’s RTX Voice does a better job. So if you have an RTX graphics card I would just use that instead.