Installation
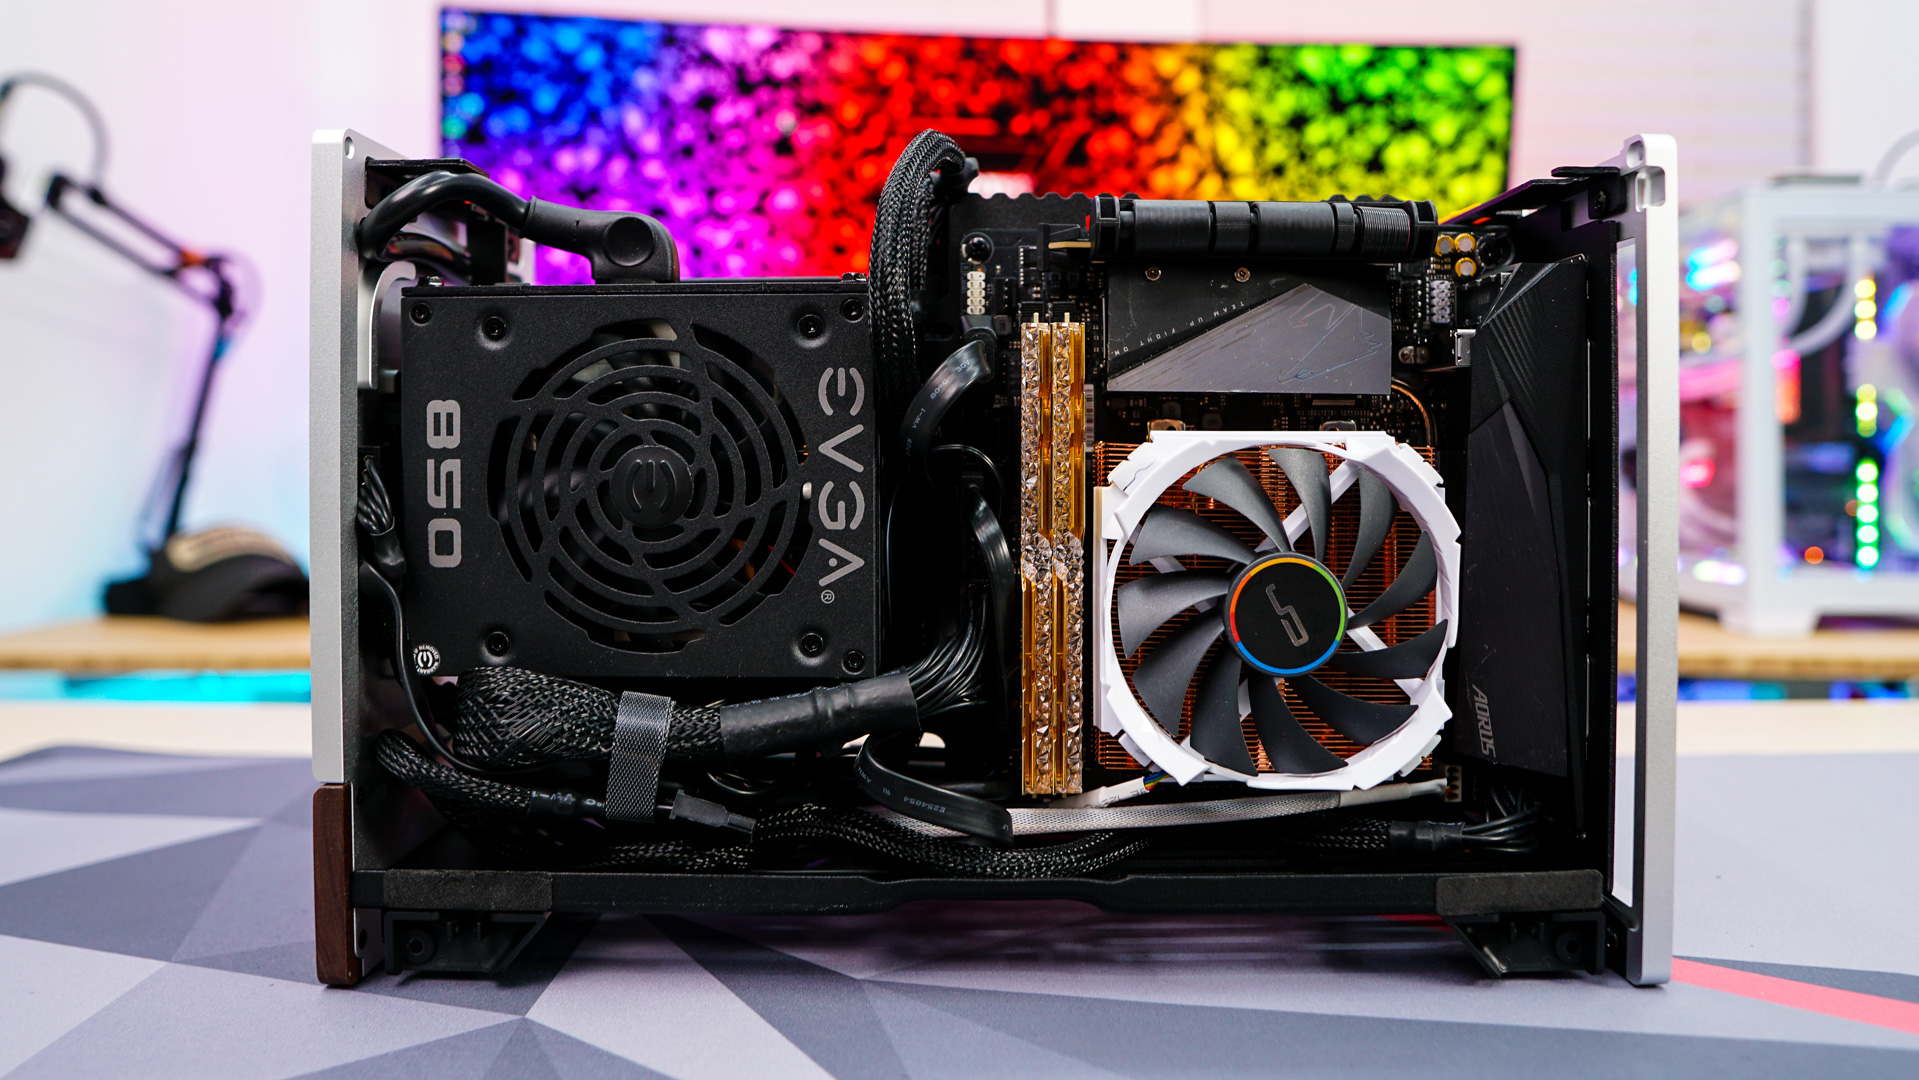
Getting your hardware installed inside the Terra is quite easy. First go ahead and remove the two side panels as well as the top panel. Now depending on your hardware configuration you may need to adjust the center spine. Our our case we did not have to.
To start installation we actually installed our solid state drive first. We opted for the velcro strap mount on the front of the case. Make sure you have the connections facing towards the left if you are looking at your SSD.

After our SSD in our motherboard, which goes in without any issue at all.

The power supply bracket on the center spine of the case is removable so you can install it on your power supply then just simply reinstall the bracket. Before you reinstall the bracket be sure to connect all of the cables you plan on using to your power supply. Before you go any further go ahead and connect all of the necessary cables to your motherboard.


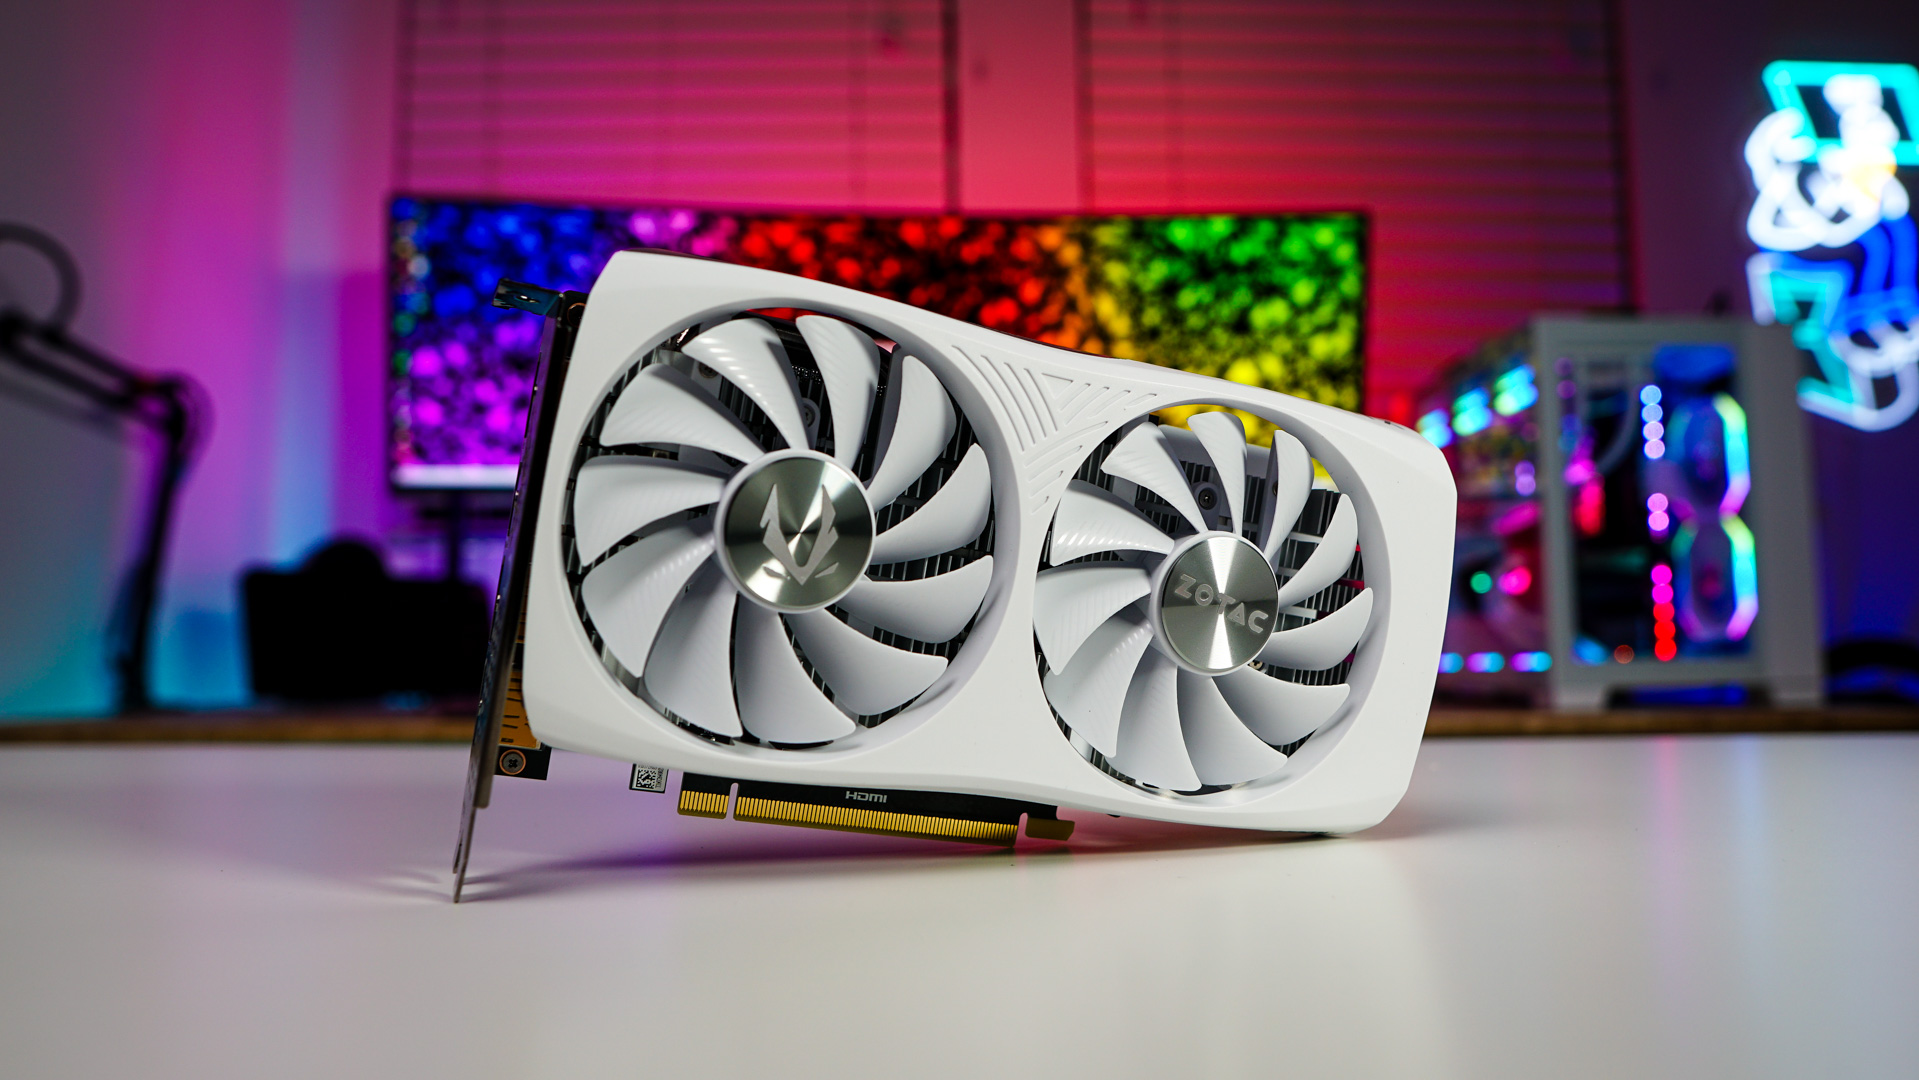
Now go ahead and install your graphics card being sure to connect it to power.


With the build completed just clean up any wires. You can really see how the sandwich design allows you to really take advantage of the small footprint of this case.