Setup & Usage
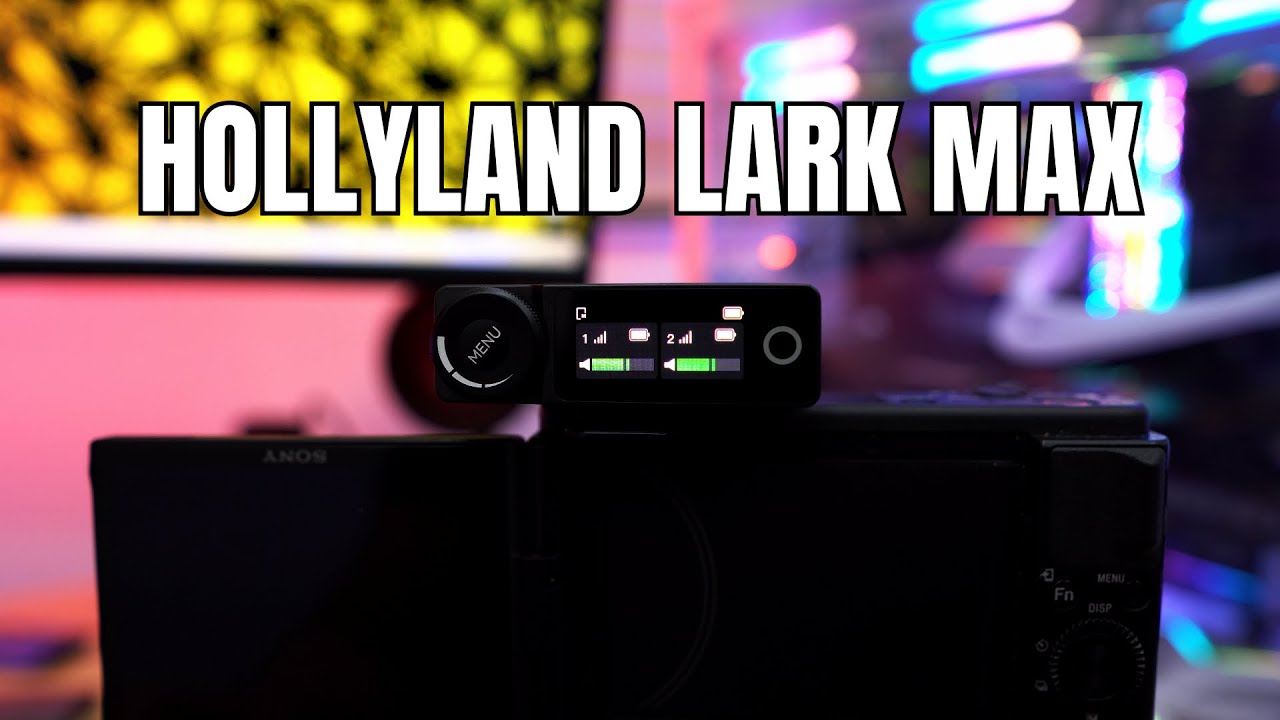
Getting the Lark Max setup and ready for use is extremely easy. All you have to do is take the receiver and microphones out of the charging case. Once you do that they will instantly pair. From there connect the receiver to your camera or other device using the supplied cables. Here is what the Lark Max looks like mounted to my Sony A6300. As you can see I have it mounted in the cold-shoe in the cage that I use and then simply connected to the microphone port.

Then just attach the microphones to yourself and your subjects and you are good to go. One thing that is really nice about these microhpones is that they come with magnets. These make using them with normal t-shirts so much easier than trying to clip them on the collar of a shirt.


When the receiver powers on you’ll notice the 1.1-inch screen turn on. This gives you quite a lot of options and customization as well as a live view of the sound coming from each microphone. I’ve gone over the screen and its functions in the video below…
When it comes to your recording modes you have Stereo, Mono, and Safety Track.
Stereo will record one microphone to the right track and one microphone to the left track. Mono will record both microphones for a single output track. Safety track is just like mono, except you get your main recording of both microphones on the left track, while the same recording at a -6dB setting is on the right track. This really can come in handy, especially if you have any audio clipping in your main recording.
You can also record audio directly to each microphone as they have built-in internal storage (8GB). You can hit the record button on each microphone to start your internal recording. You can also set the microphones to automatically start recording when you take them out of the charging case. The 8GB of internal storage should give you up to 14 hours of recording time, so the Auto Record Start might be a good idea. You can connect each microphone to your PC using the USB-C connection and they show up as an external storage device.
If you are wondering how these microphones sound below are samples of the Lark Max, Hollyland Lark M1, Rode Wireless GO, and a Rode VideoMicro (shotgun microphone). We’ve tested both the normal mode and noise cancellation mode.
Hollyland Lark Max (Normal)
Hollyland Lark Max (Noise Cancellation)
Hollyland Lark M1
Rode Wireless Go
Rode VideoMicro