Installation
Installation in the HYTE Y40 is pretty straight-forward. The first thing we are going to install is our motherboard. Be sure to remove the PCI-Express riser from the top slot in the case so it is not in the way. The motherboard goes in no problem. With the motherboard installed you might want to connect all of the bottom connections on the board as your graphics card will get in the way once you install it. When connecting the front panel headers to the motherboard I did notice there was just a single connector that was not really labeled.


With the motherboard installed it is time to install our solid state drive. The storage bracket easily removes from the case so you can get your drive installed and then reinstall it.


Your power supply will slide in from the backside of the case.


The last thing that we need to install is our graphics card. This is easily done as the riser is already mounted in the case and we simply install our graphics card there. It was also very easy to route our PCI-Express power cable around the back of the card and down through the cable routing hole.


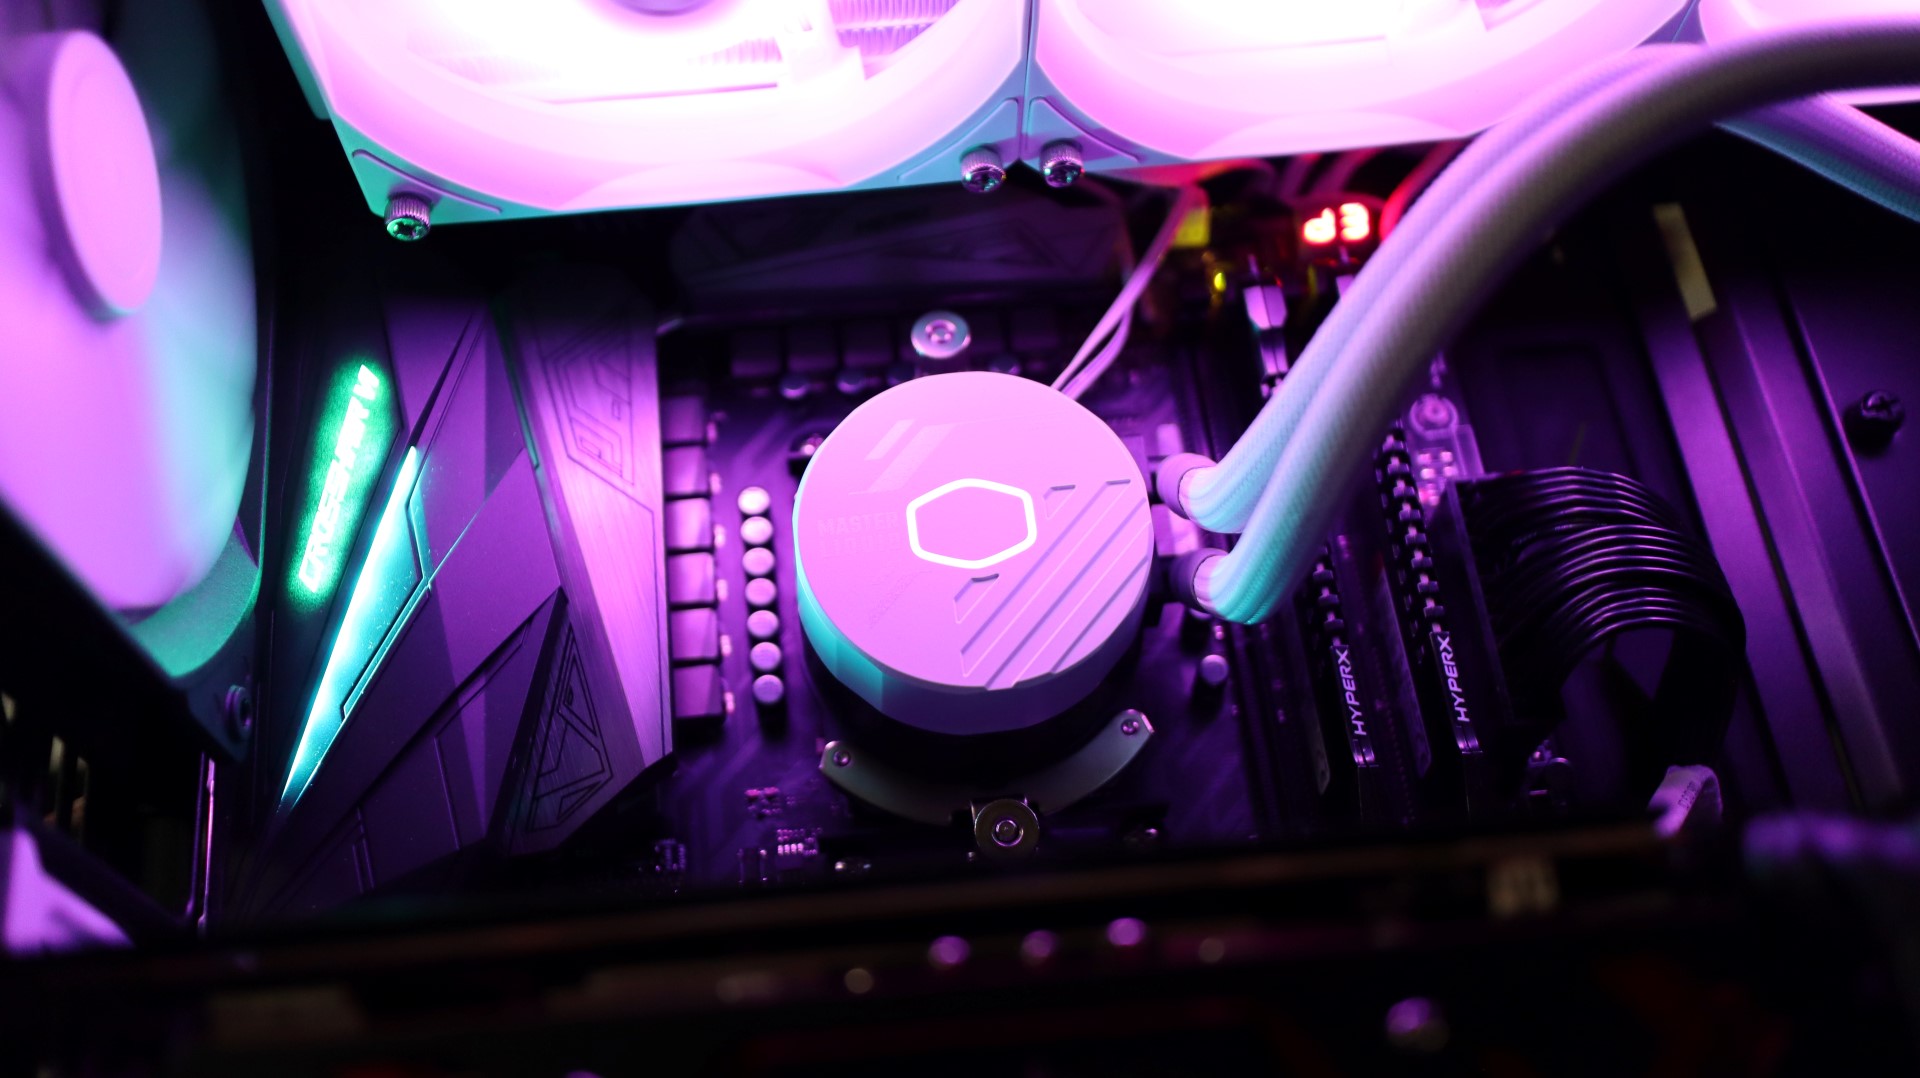
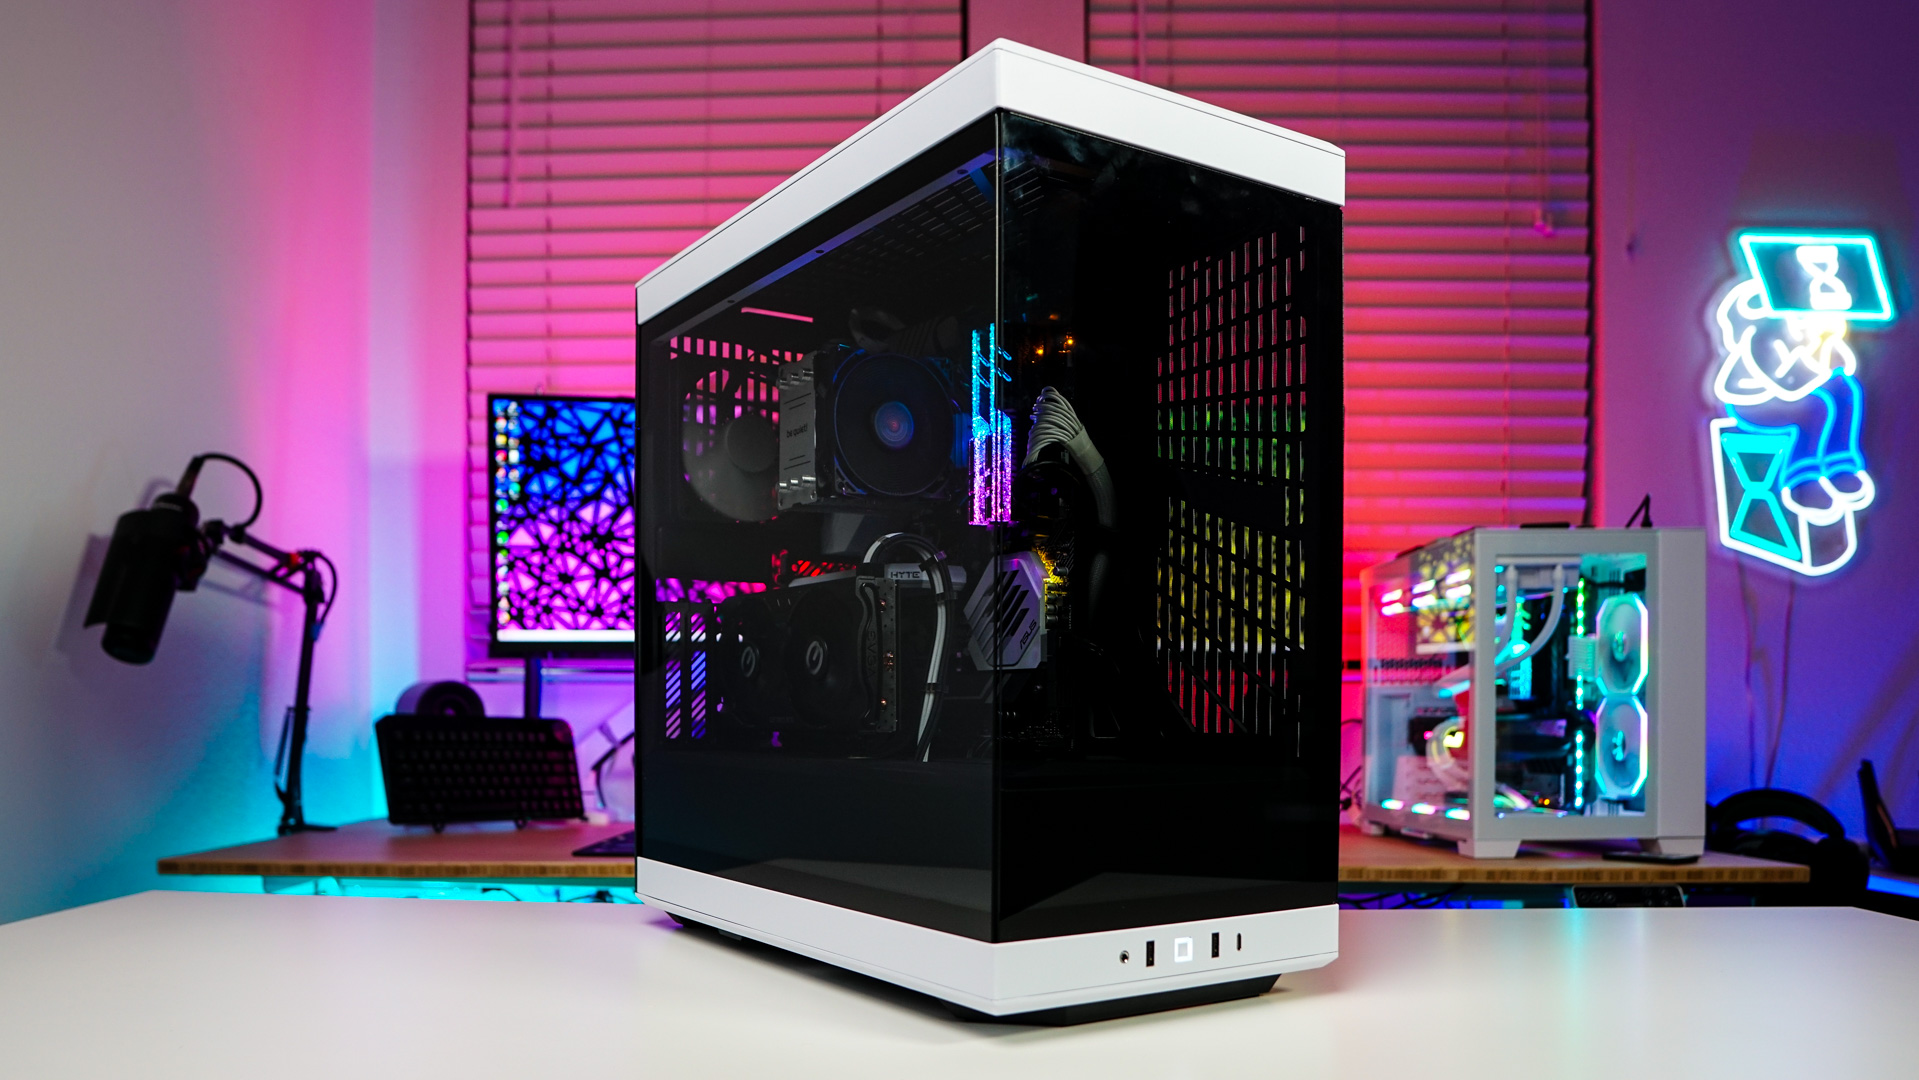
With everything installed it is time to route and connect the rest of our cable and tidy things up. It was quite easy to route all of our cables and there was more than enough room in the bottom section of the case to hide our cables. With everything installed we have a very clean build.


The case does not come with any lighting, but the tempered glass panels allows the RGB lighting on our motherboard and memory to be displayed. I think if you did really want to light up this case you should get some RGB strips.