Setup & Usage
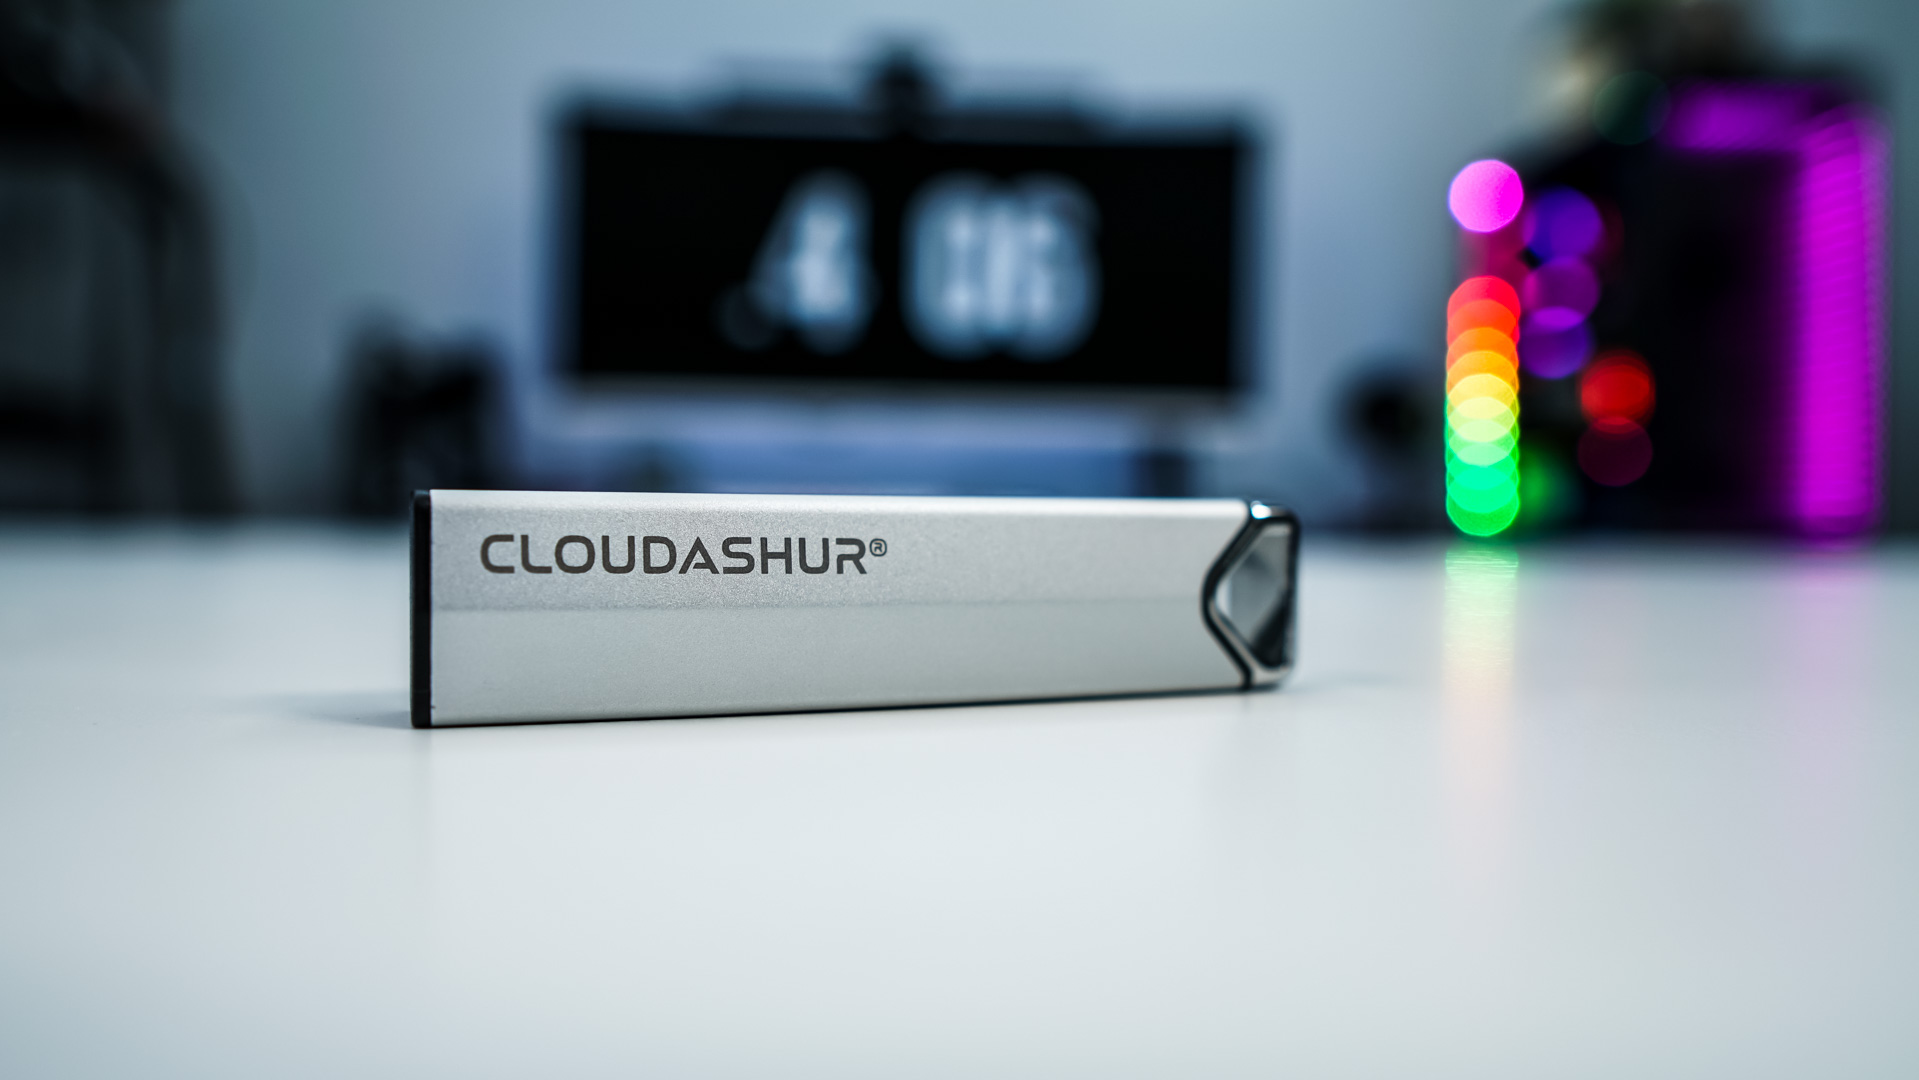
The first thing that you are going to want to do is make sure the cloudAshur is charged. Simply plug it into an open USB port for about 20 minutes and you’ll be good to go. After the cloudAshur is charged you are going to want to use the pin pad to “login” to the drive and change the admin password. Follow the included quick start guide to do this, but iStorage requires you to change the Admin pin, which is also easy to do.
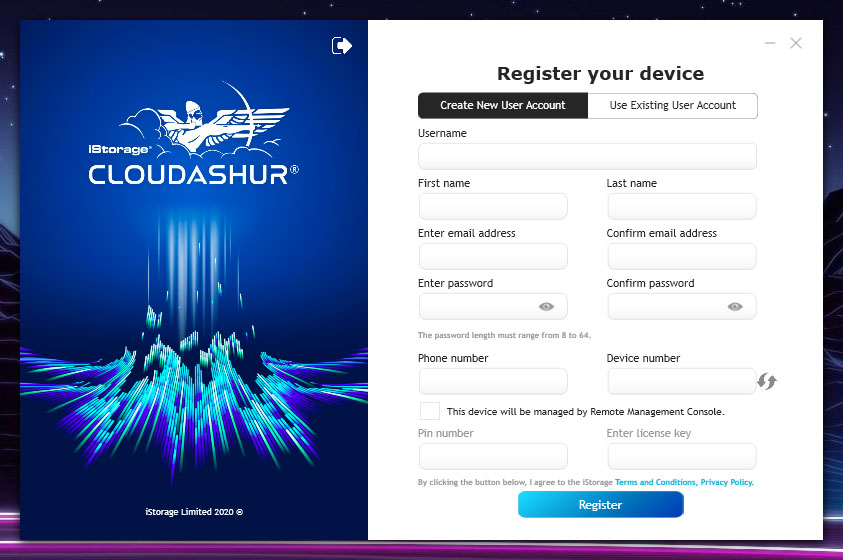
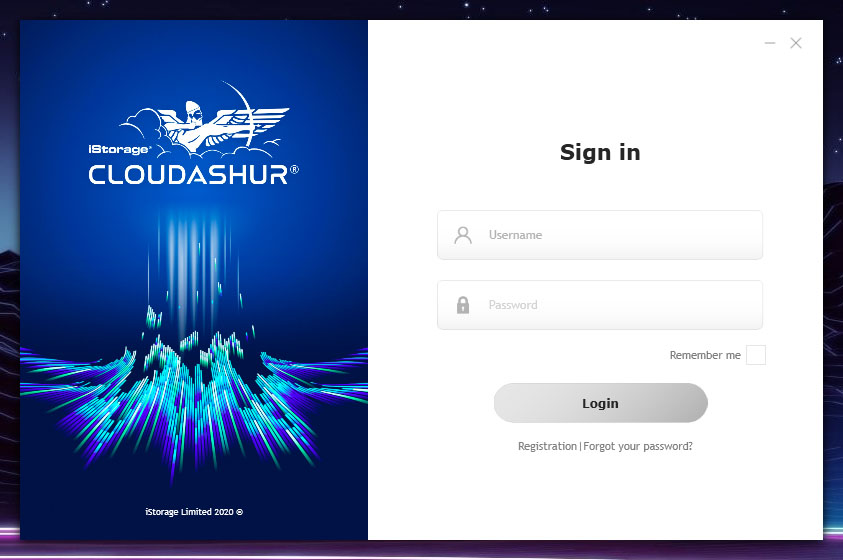
In order to start using the cloudAshur you’ll need to download the client app, which can be found here: https://istorage-uk.com/software-and-updates/. It is currently available for both Windows and Mac. Once you install the app you’ll need to register, the registration process is fairly easy. Once registered go ahead and unlock the cloudAshur module, plug it into your PC, and then login to the cloudAshur app.
In the app you’ll want to select folders that you want to be Monitored Crypto folders.

Now when you add files to these folders as long as you have the cloudAshur module installed you’ll be able to encrypt these files. When you add a file a simple prompt comes up and asks you to encrypt the file.

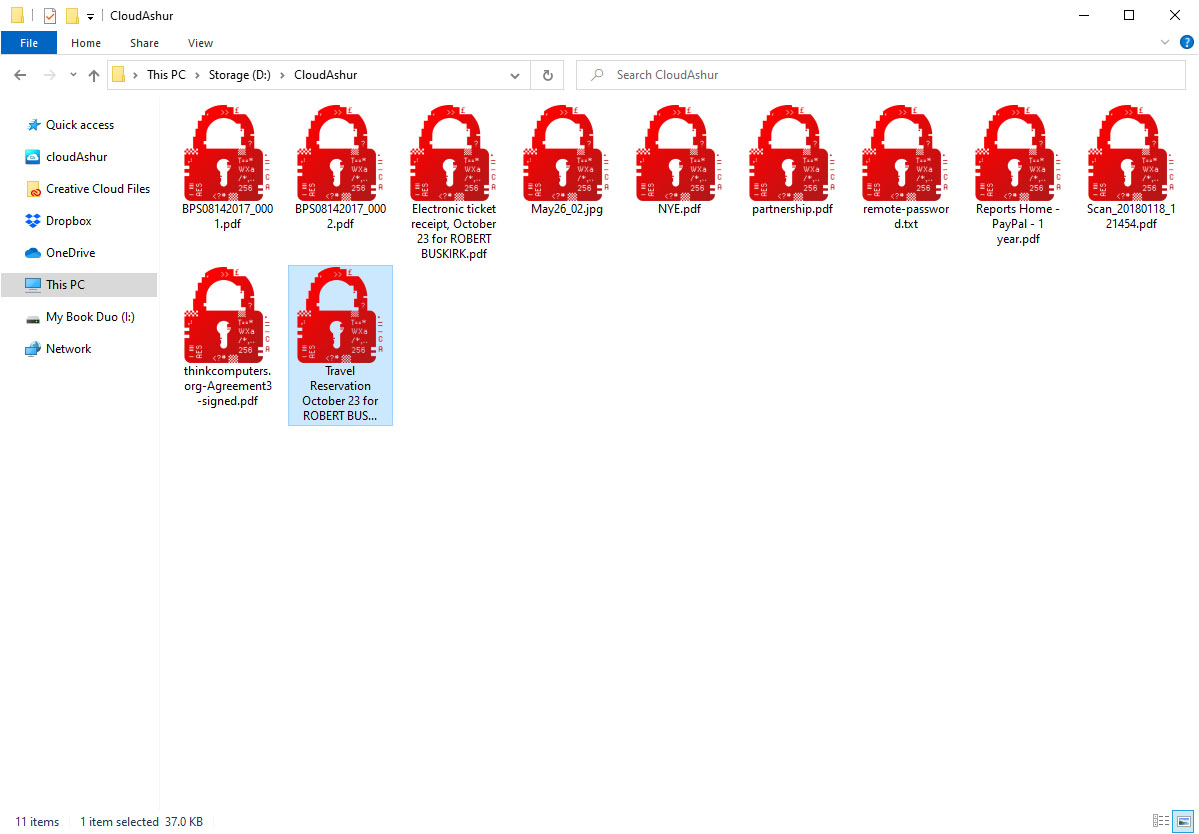
Now we’ve created the folder “CloudAshur” on our computer and encrypted a handful of files. Once encrypted their icons change and when you double click on them you are brought to a new virtual folder that shows your files unlocked and able to access. Now if you don’t have the cloudAshur plugged in or the application running you will not be able to access your files. Alternatively you can just drop files into the cloudAshur virtual folder and they will be encrypted automatically.

One thing I found interesting is that if I added a folder only new files I added would be encrypted. There is no easy way to easily encrypt full folders that you’ve already populated with data.
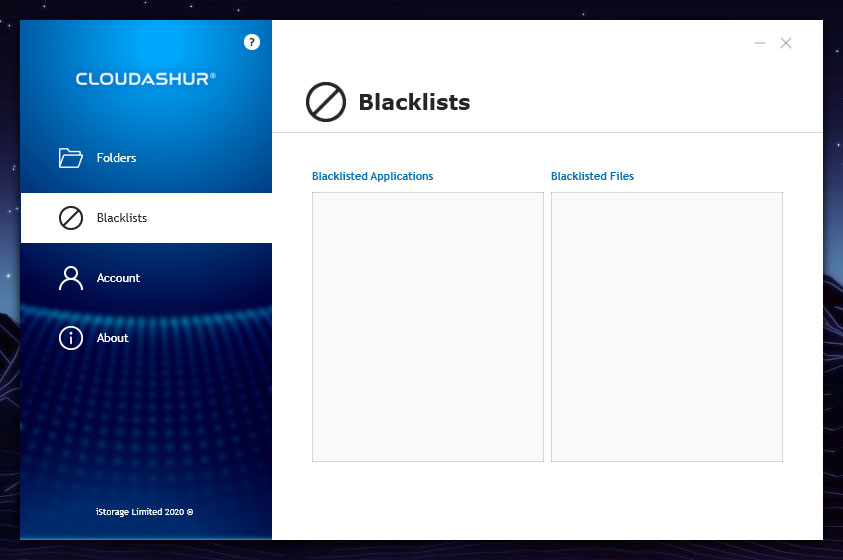
Now there is a section in the app for Blacklisted applications and files, but I have not been able to figure out how to actually blacklist certain files or applications.