Installation
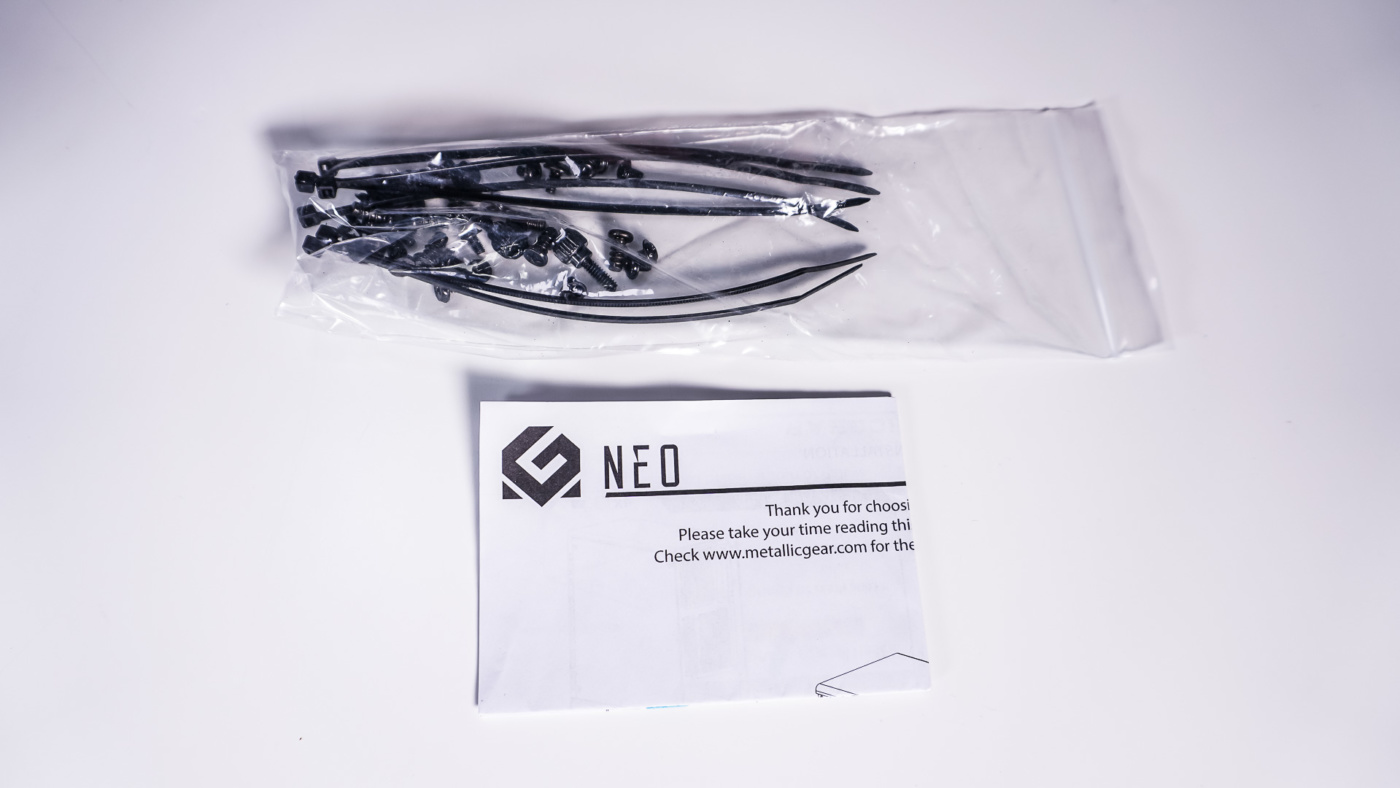
As far what comes with the case there is a simple box of goodies that includes all of your mounting screws, zip ties, and a user’s guide.
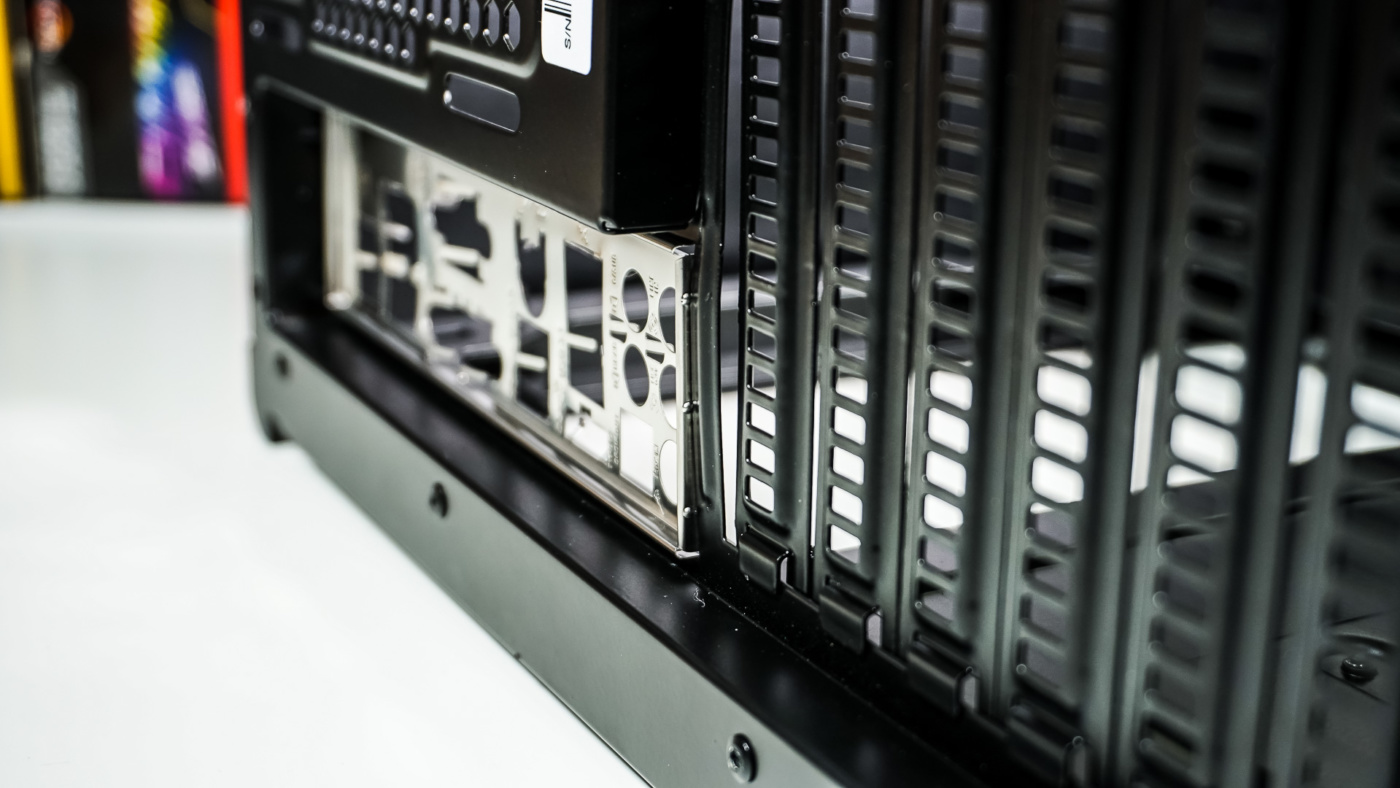
With all case reviews the first thing we do is install our I/O shield. On the MetallicGear Neo we noticed the case actually bend when we installed the I/O shield. There is only a thin piece of metal on the bottom section of where the I/O shield goes, which is definitely a weak point in the case if any pressure is applied to it.
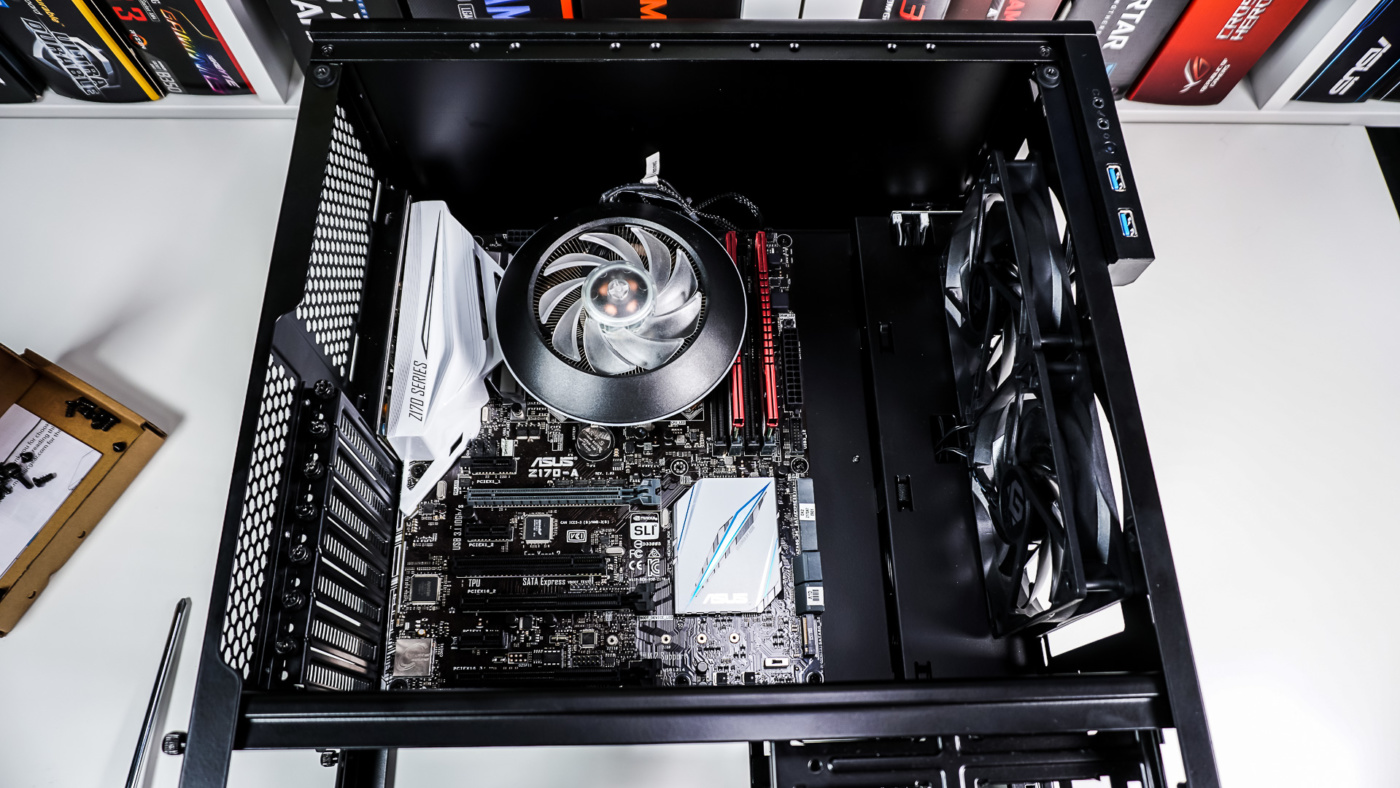
After we had our I/O shield installed our motherboard is next. It went in no problem at all and we secured it with the included screws.
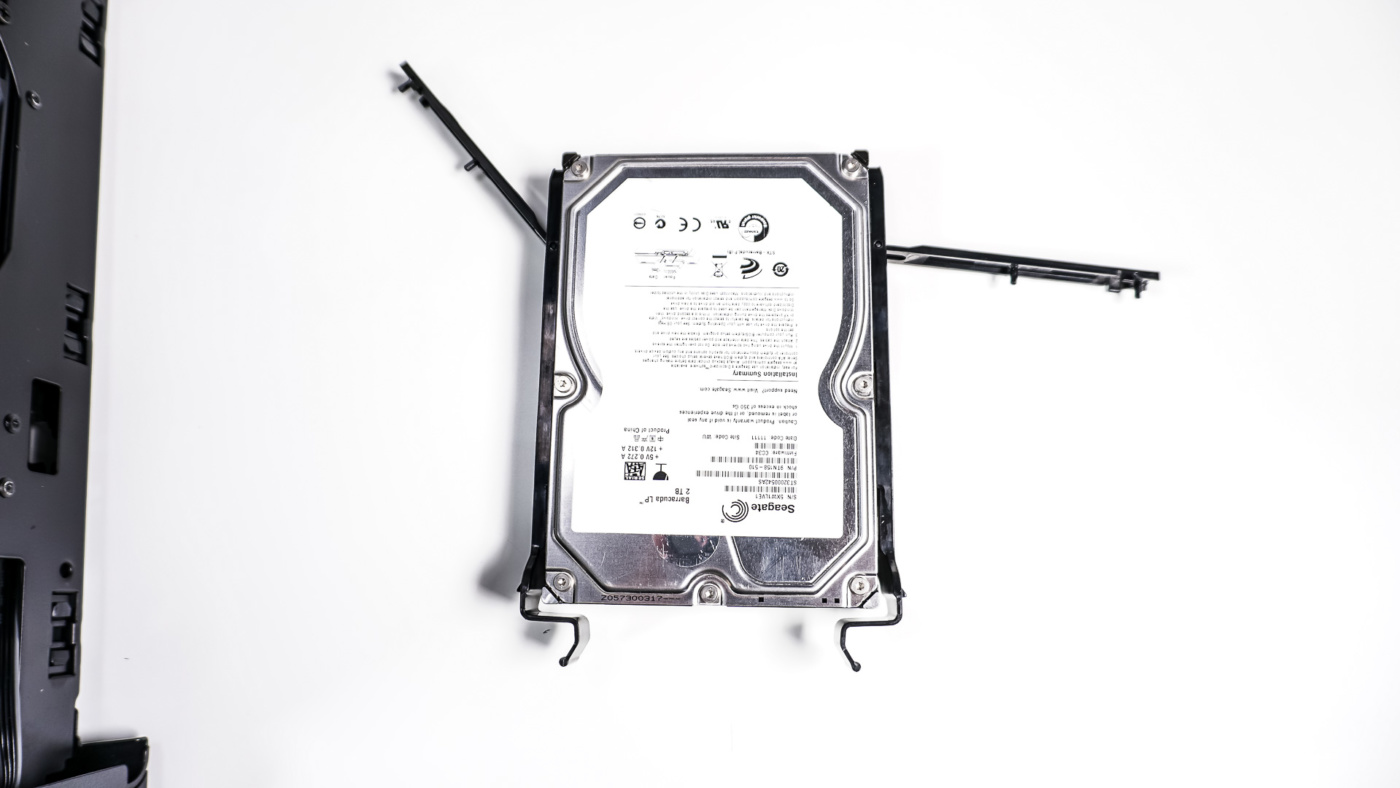
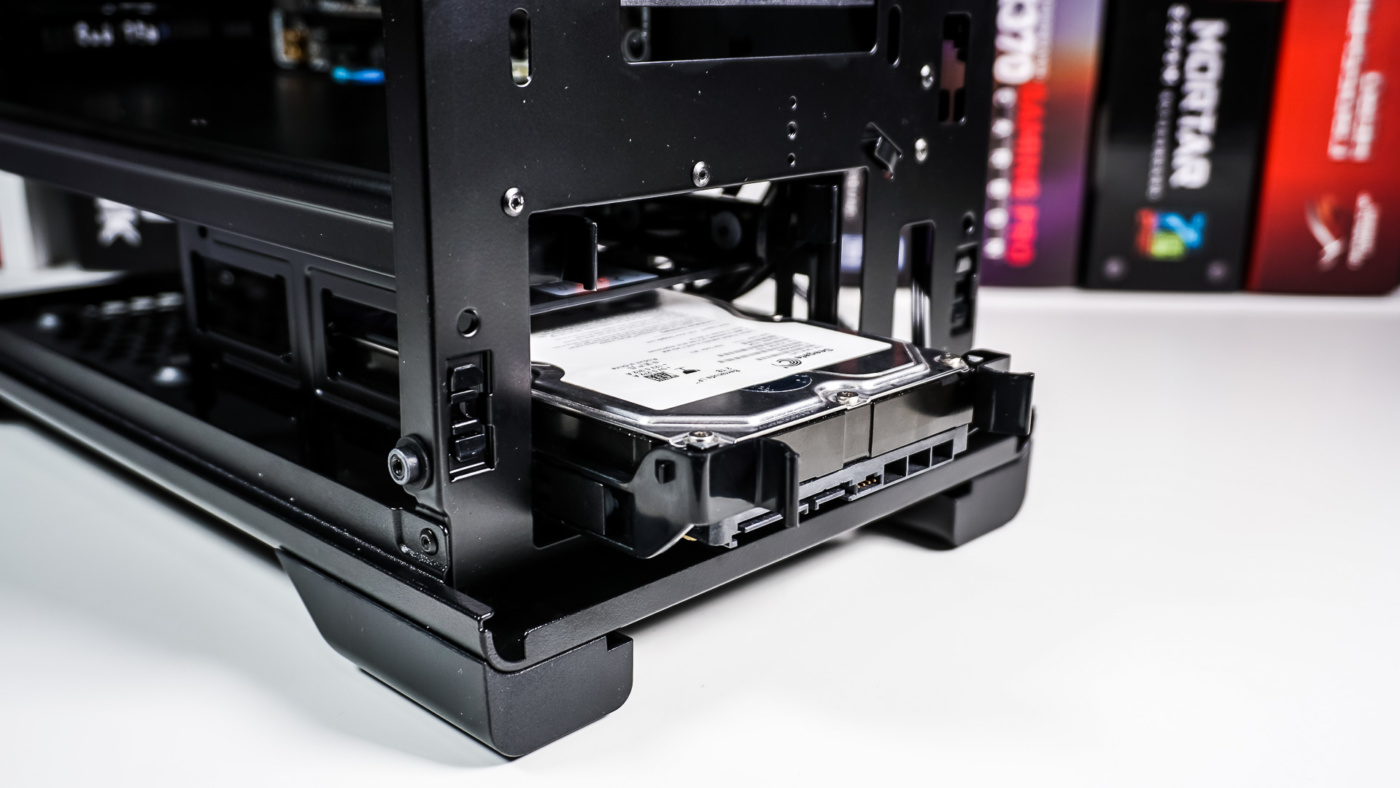
Now it is time to install our hard drives. 3.5-inch hard drive installation is completely tool-less. Just slide one of the hard drive trays out from the front of the case. Now you are going to want to install your hard drive with the connections towards the front of the tray. There are two locking latches that you’ll need to unlock first. Once you have those unlocked install your hard drive and close the latches to lock it into place. With the drive installed in the tray just simply slide it back into your case.

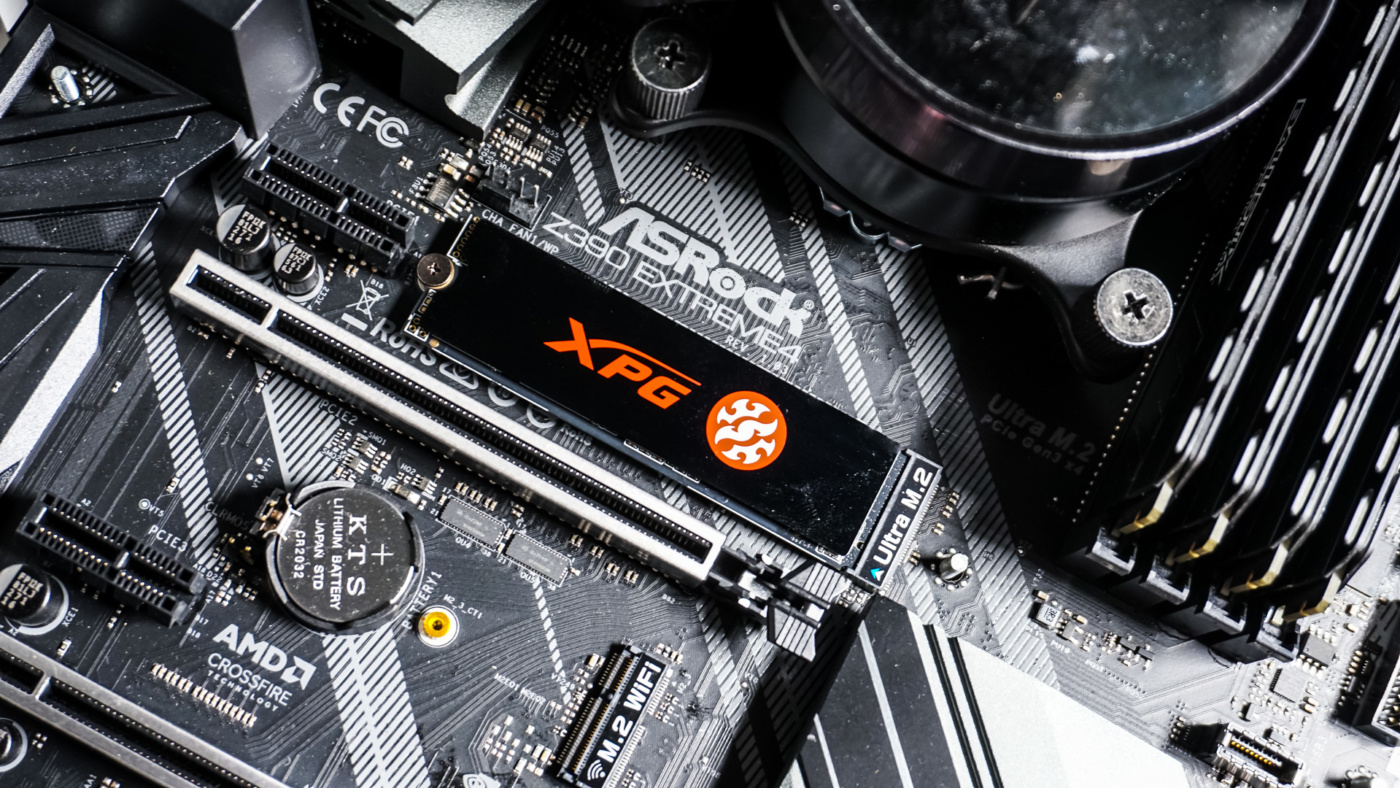
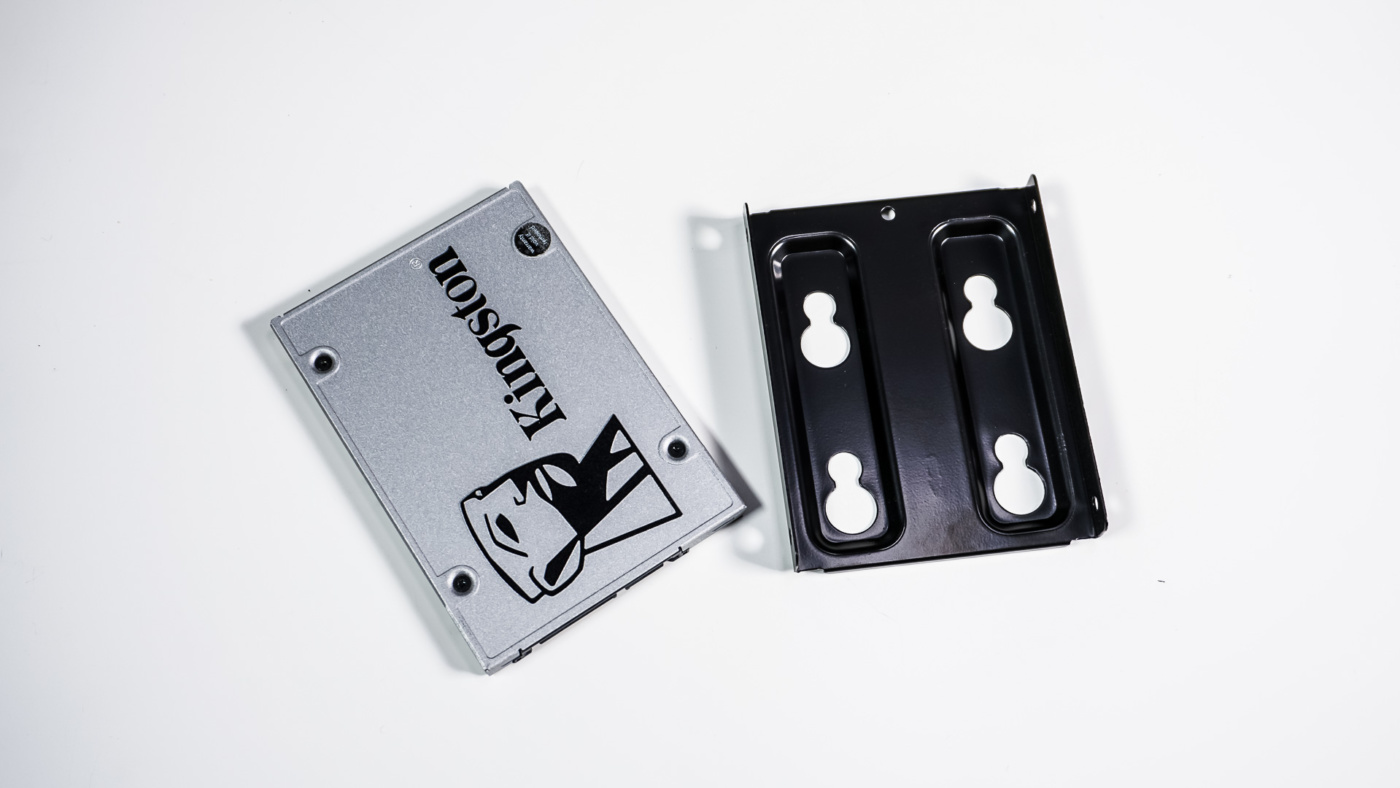
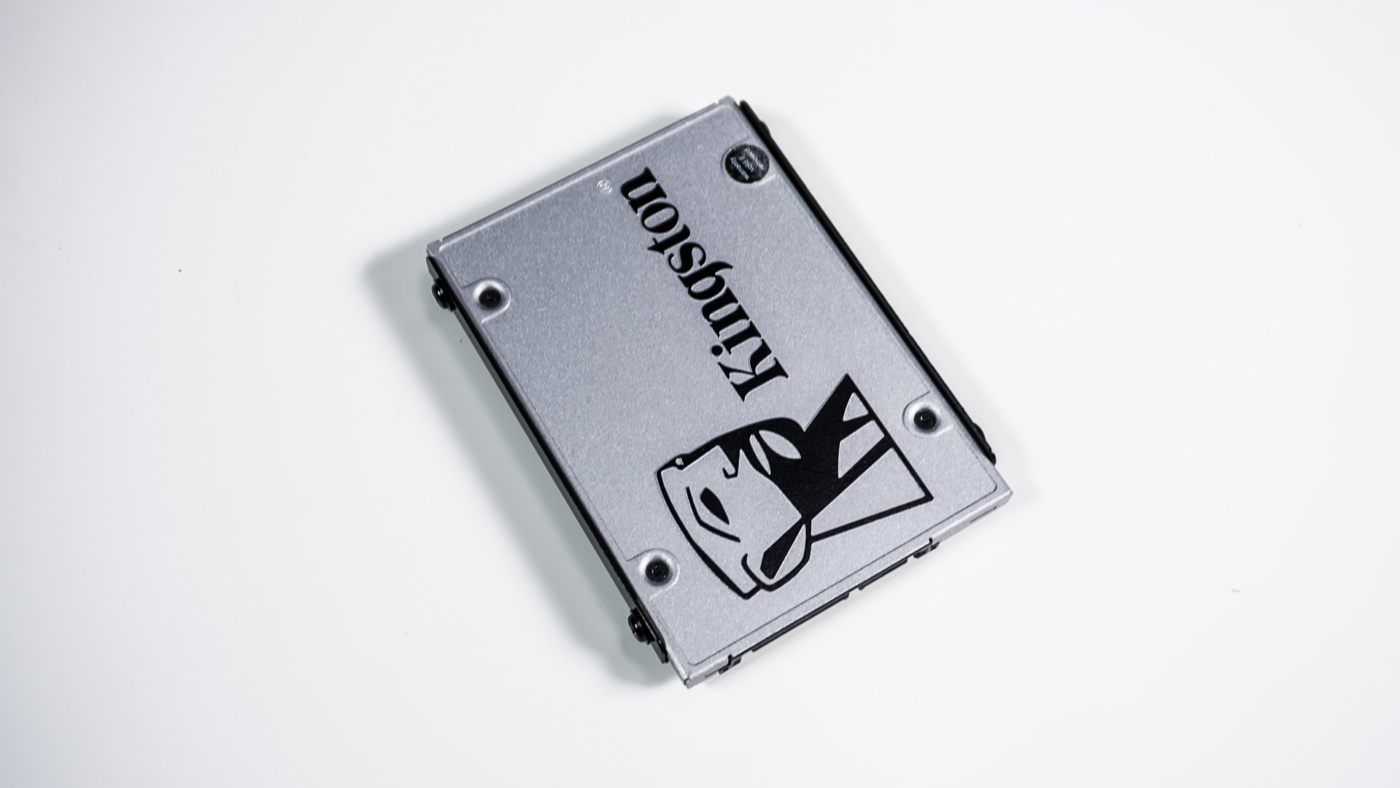
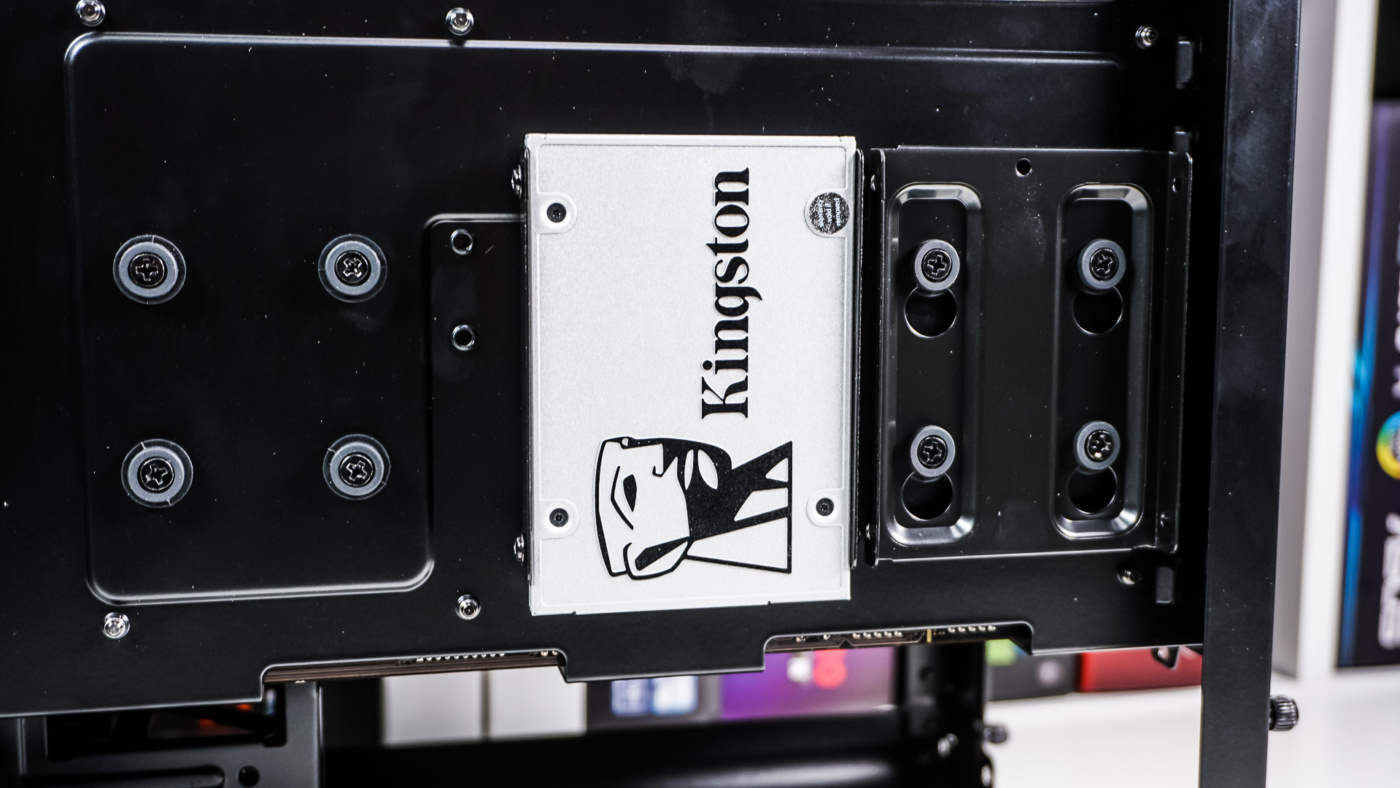
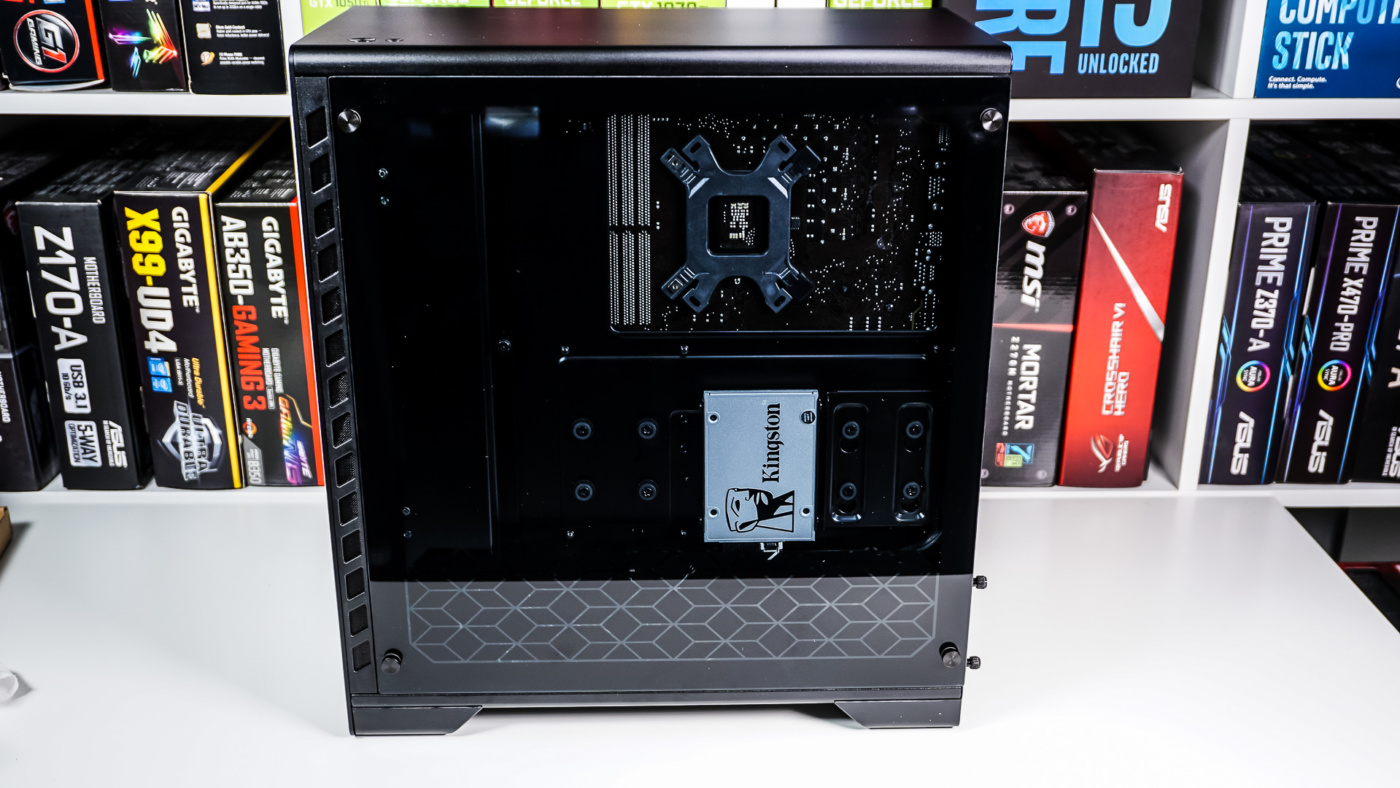
For solid state drives you can easily remove the SSD brackets from the rear of the motherboard tray. You will need to screws these in, but it is quite simple. Once you have your SSDs installed in the SSD brackets, simply reinstall them in your case.
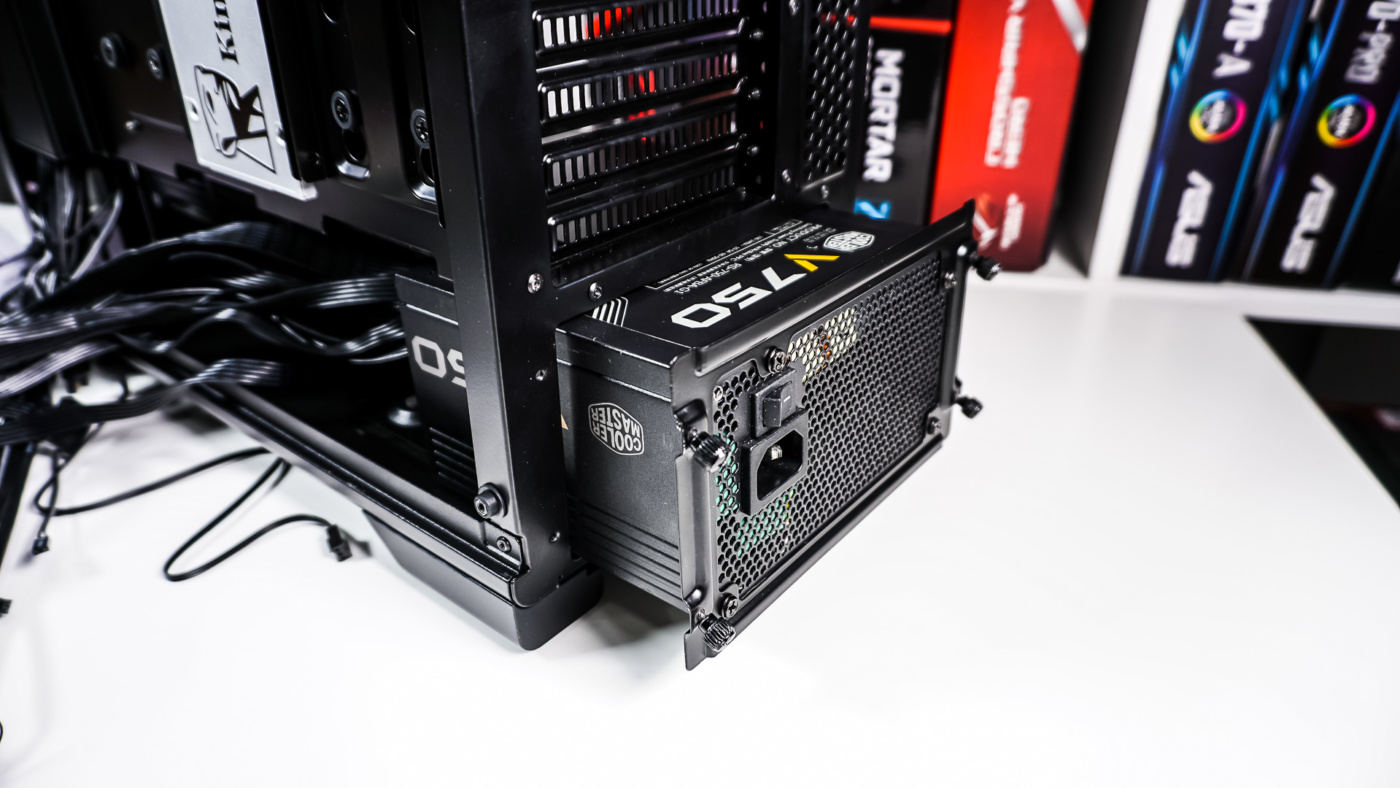
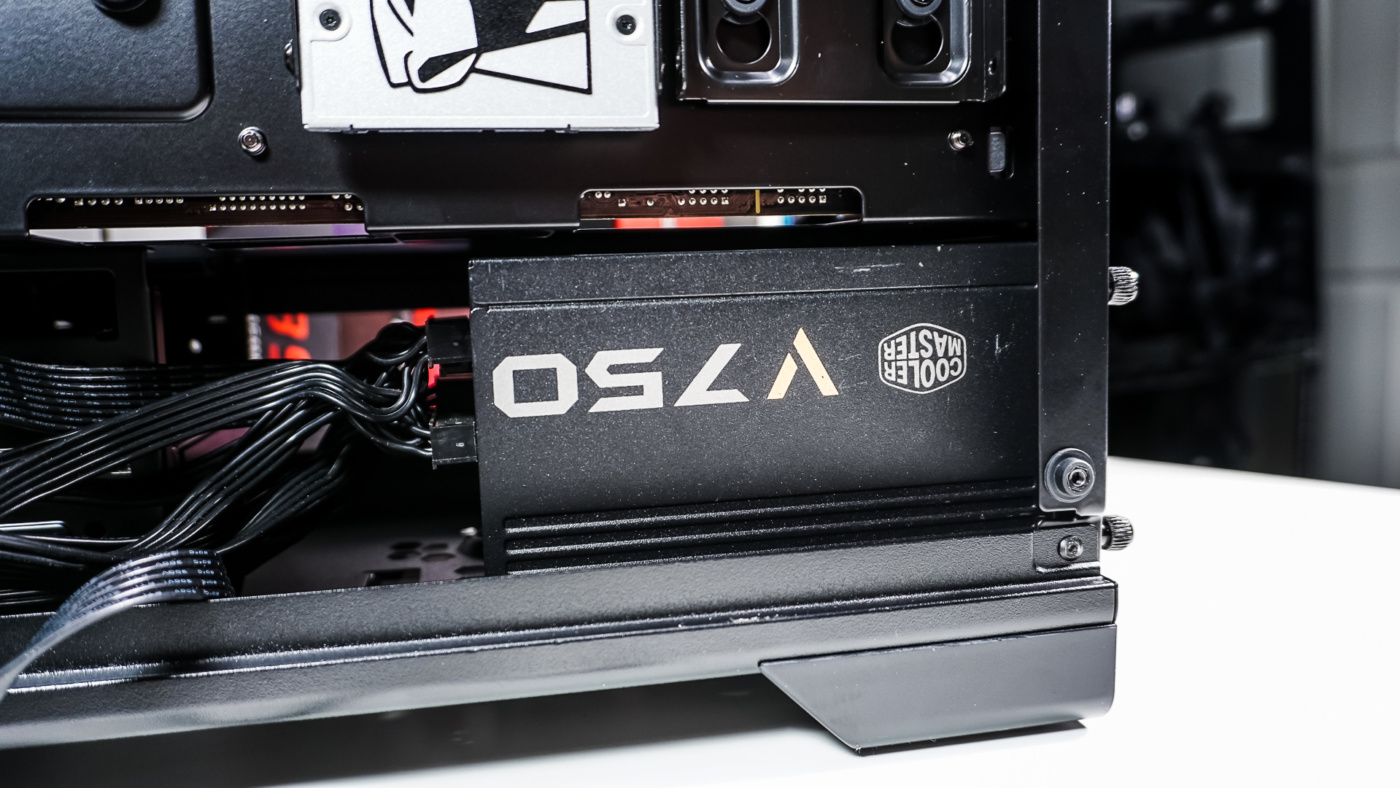
To install your power supply you’ll need to remove the bracket on the rear of the case and install it on your power supply. Then simply slide your power supply in from the rear, securing it with the thumbscrews on the power supply bracket.

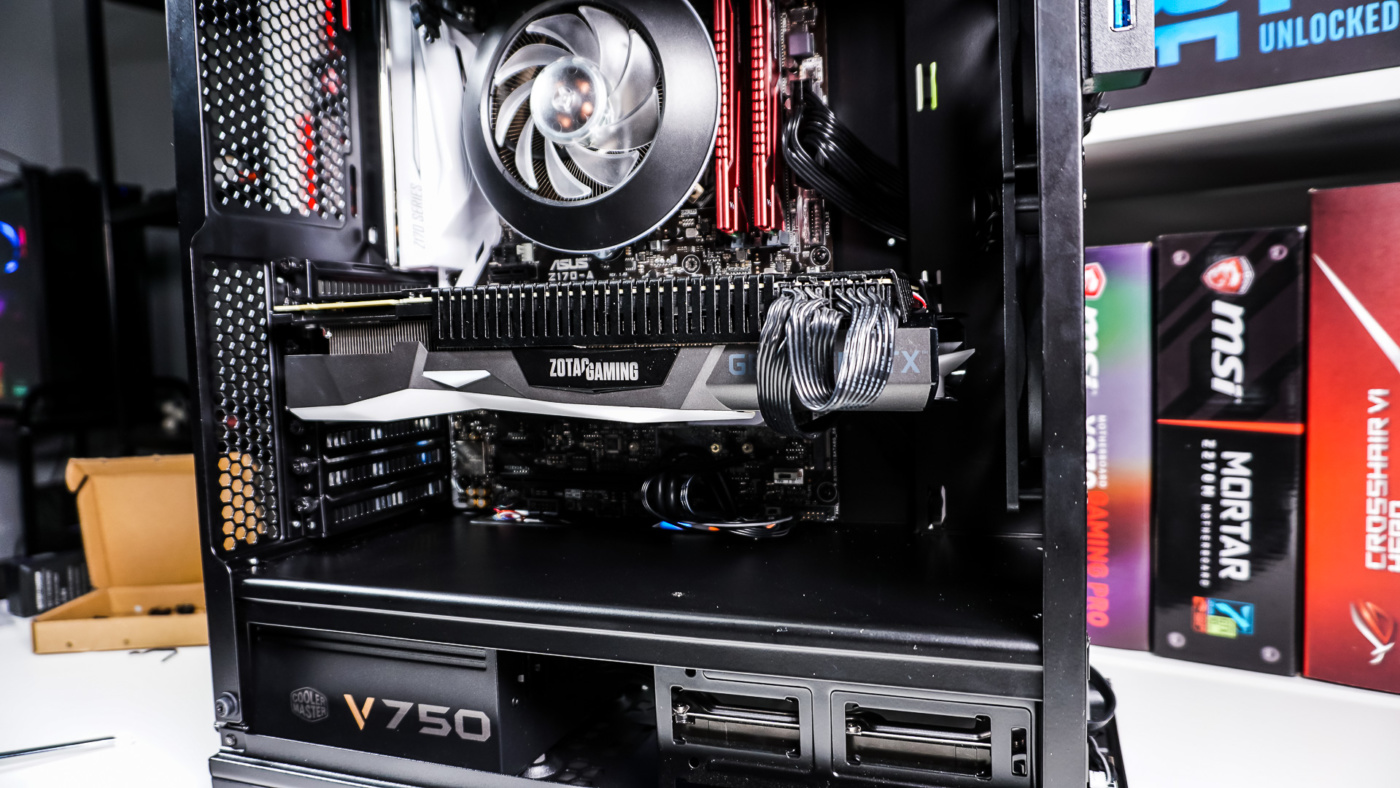
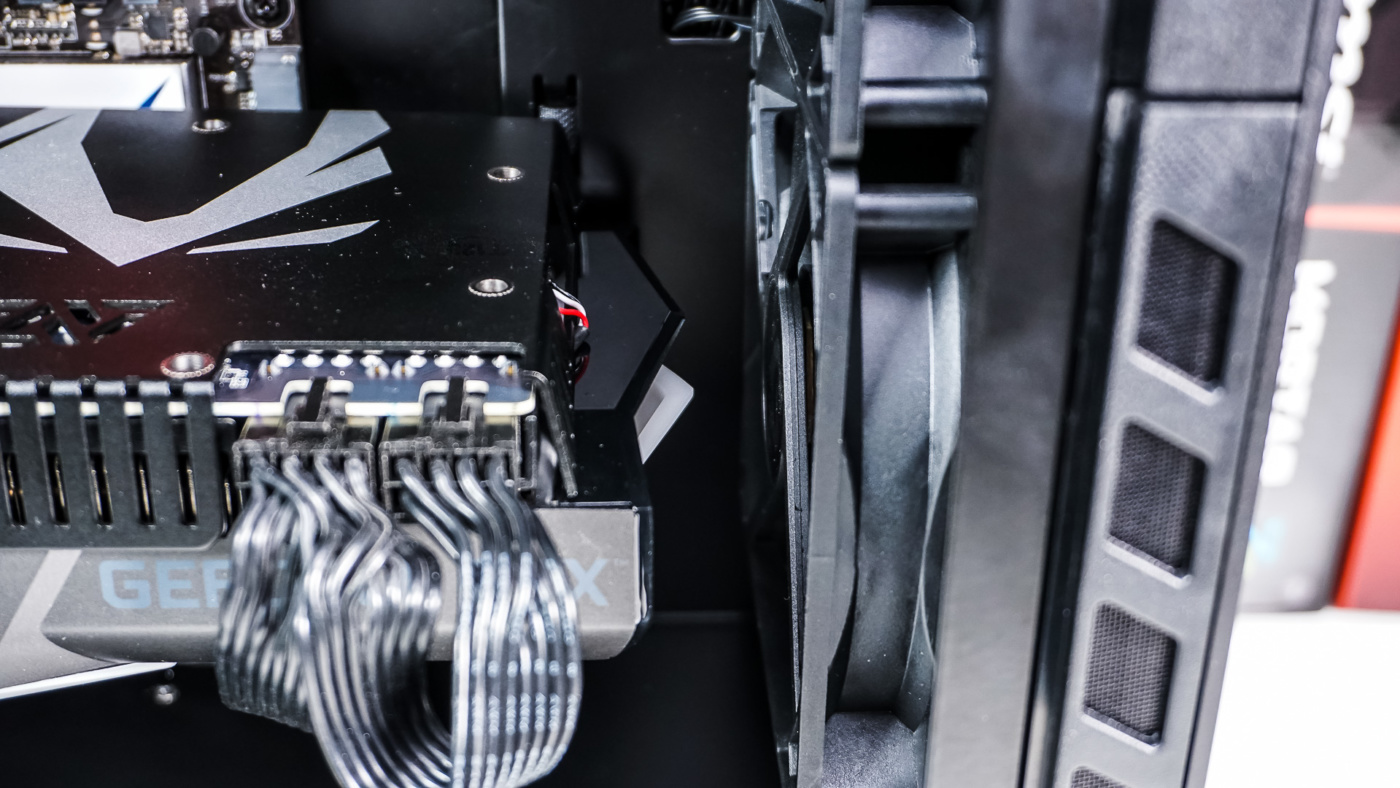
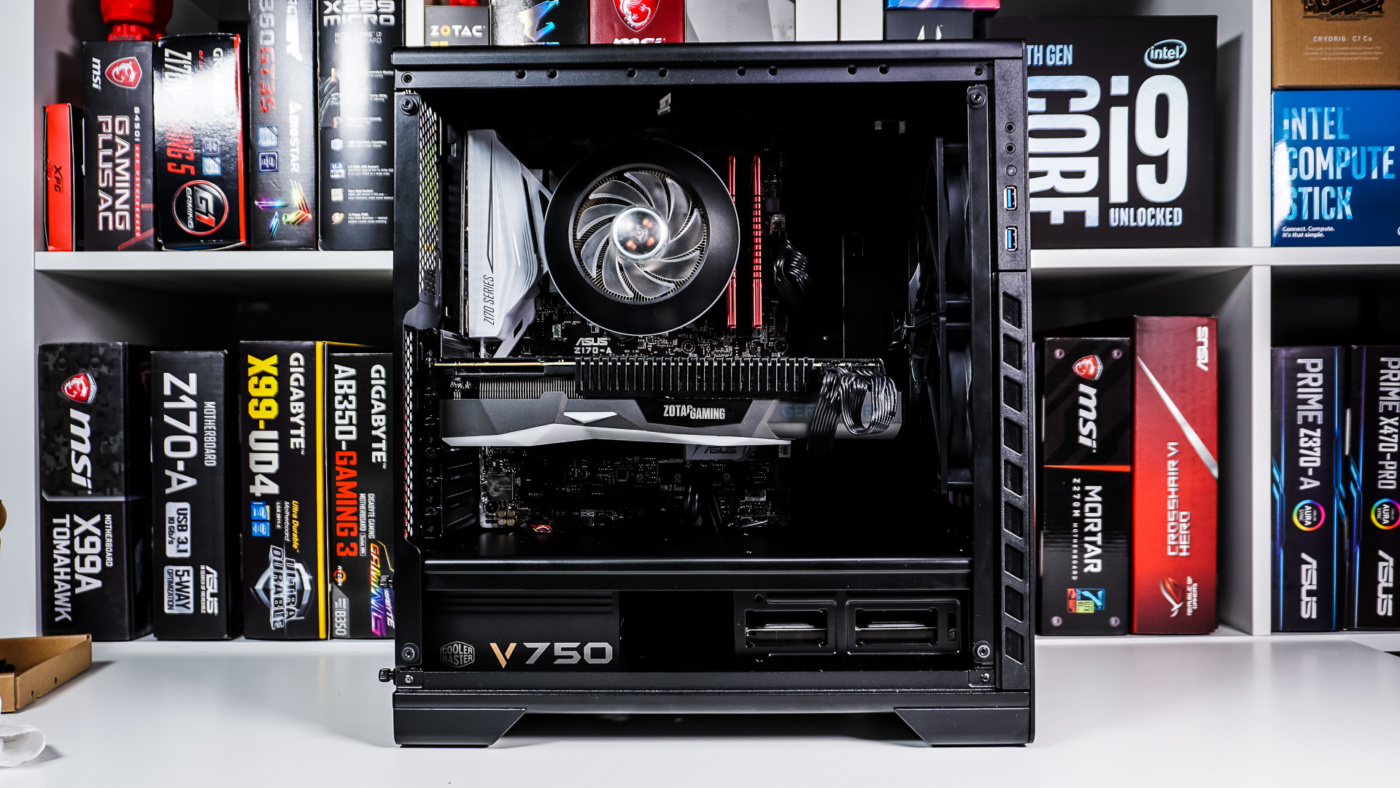
The last piece of hardware we need to install is our graphics card, which is the Zotac GeForce RTX 2080 AMP Extreme. It is one of the longer graphics cards out there, but we had no issues getting it in this case, we even had some room to spare!
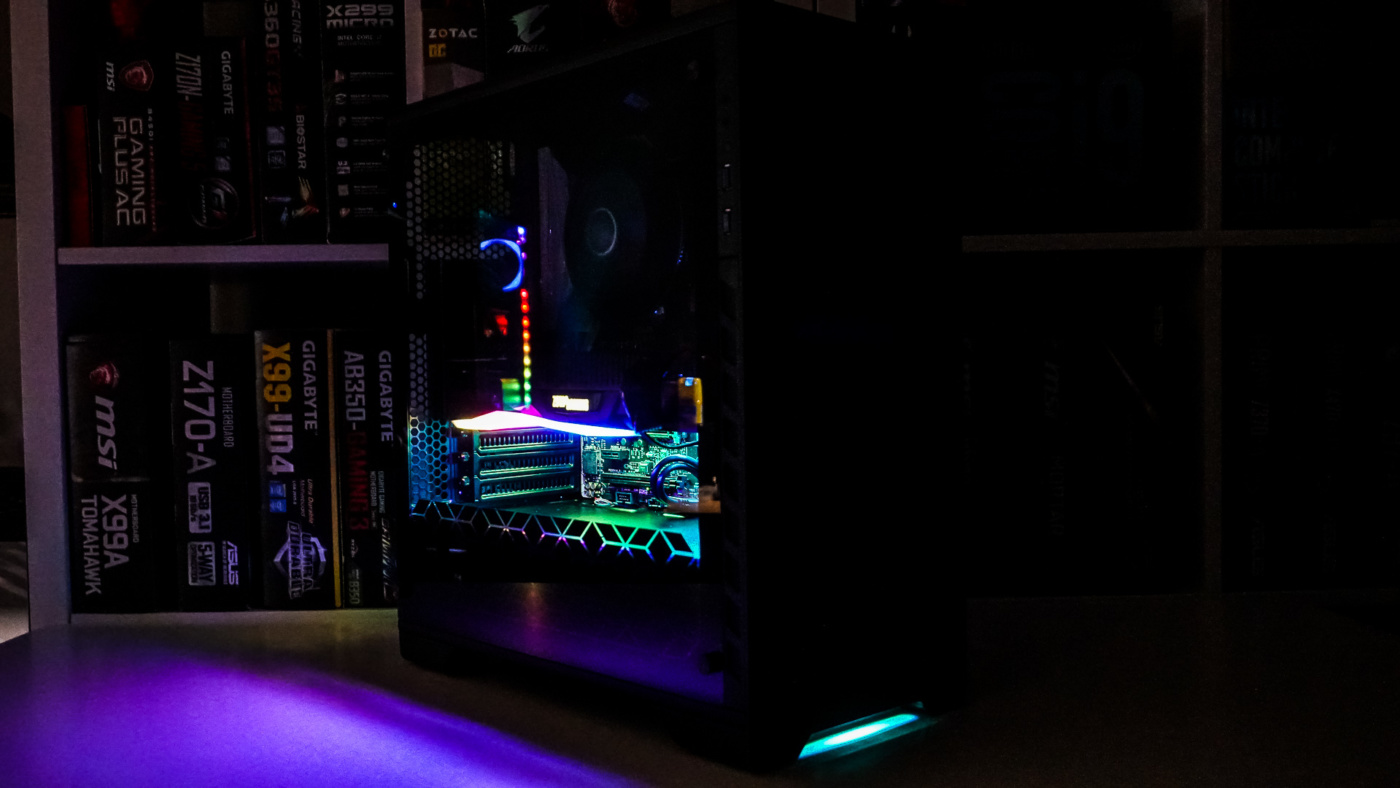
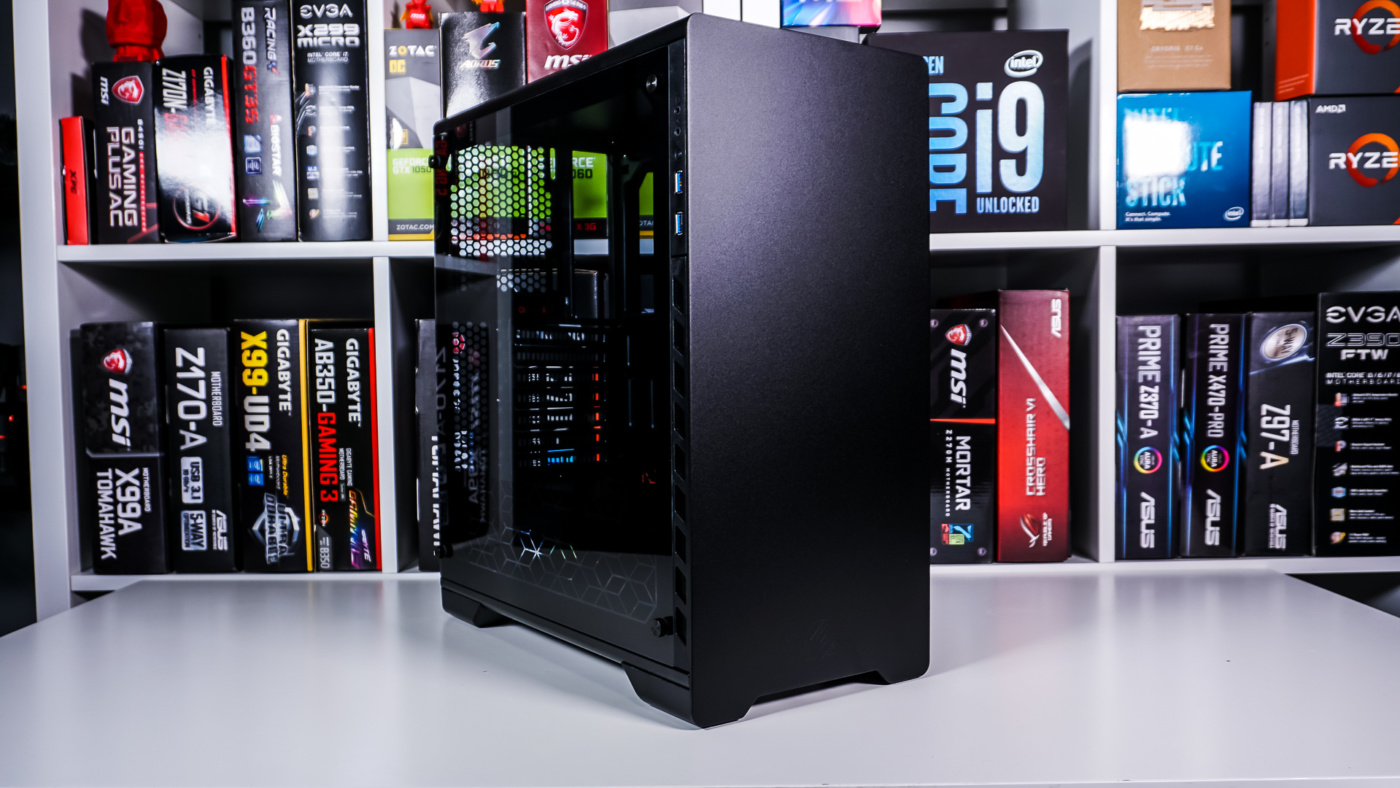
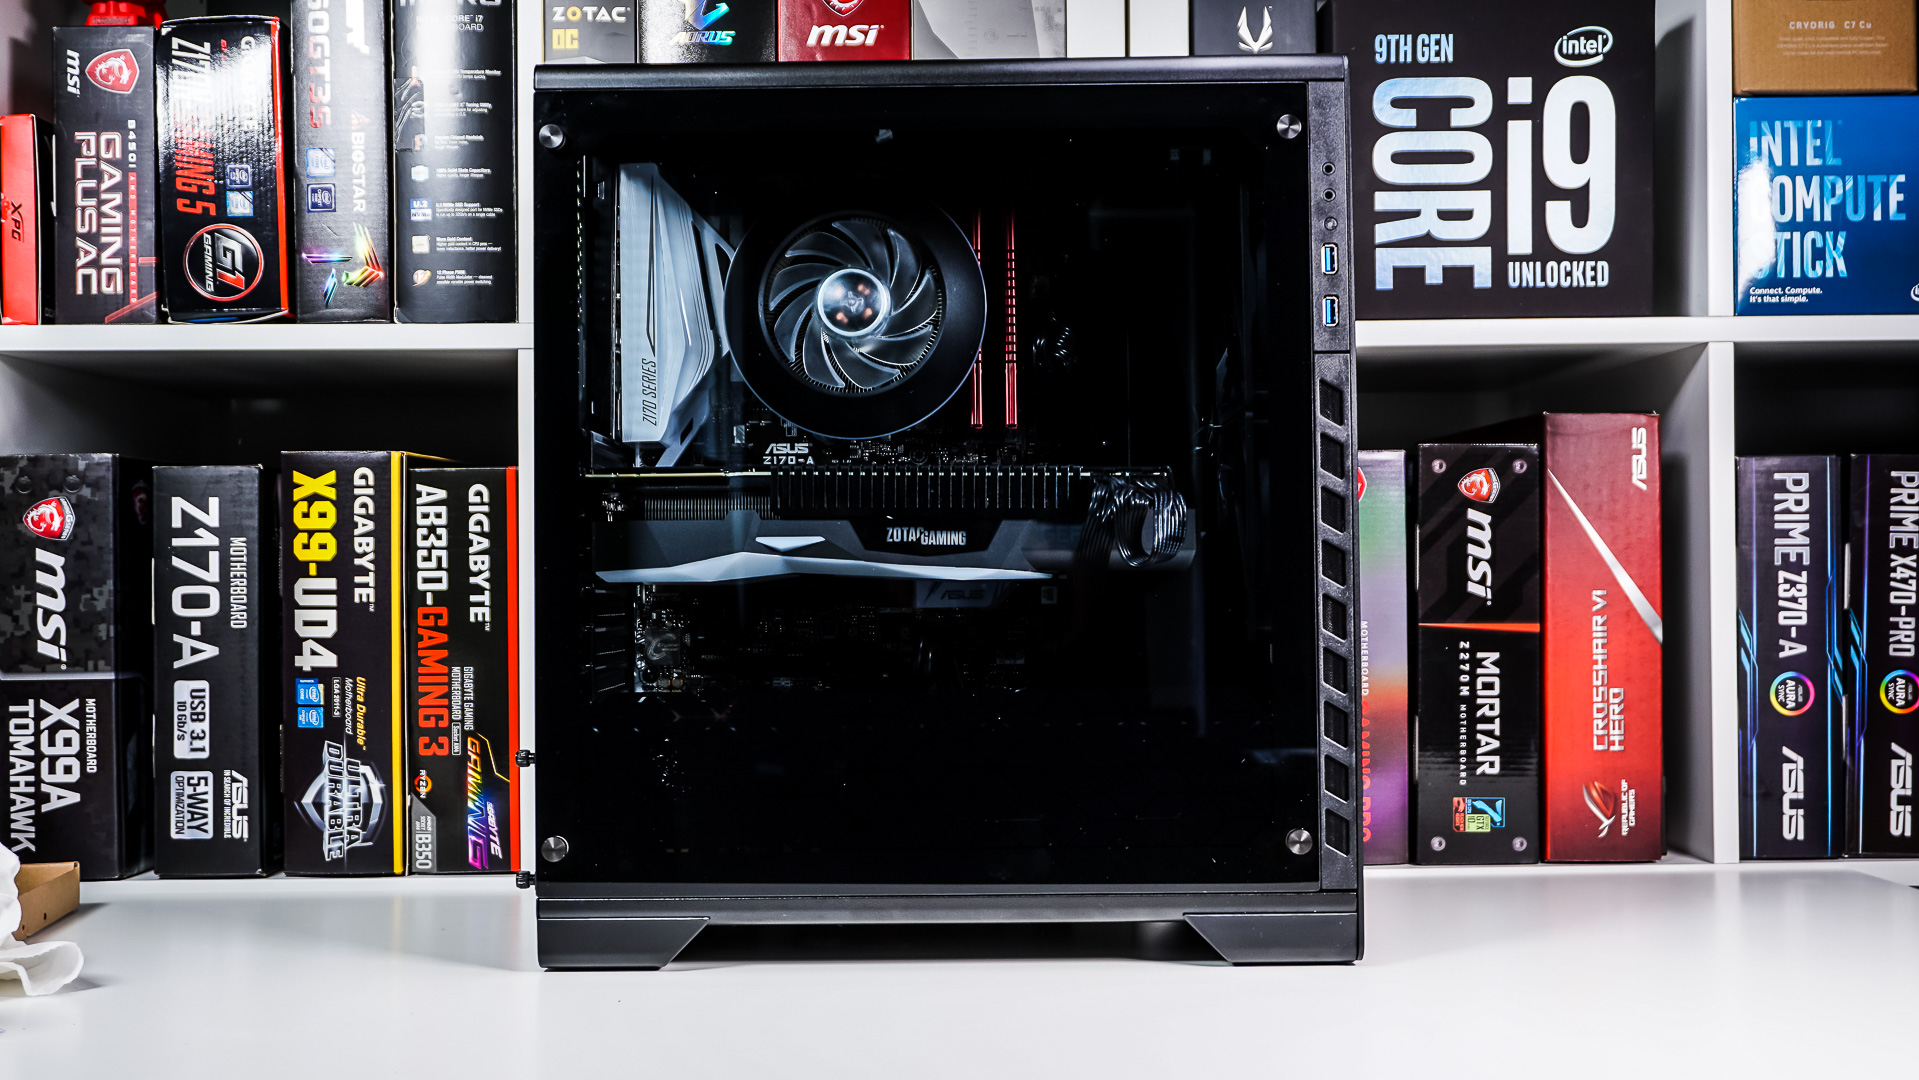
Finally it is time to clean up our cables. The hidden cable management compartment really makes it easy to hide most of the cable mess on the rear of the case. Also keep in mind that everything on the bottom of the case will be covered up by the square design on the tempered glass side panel.
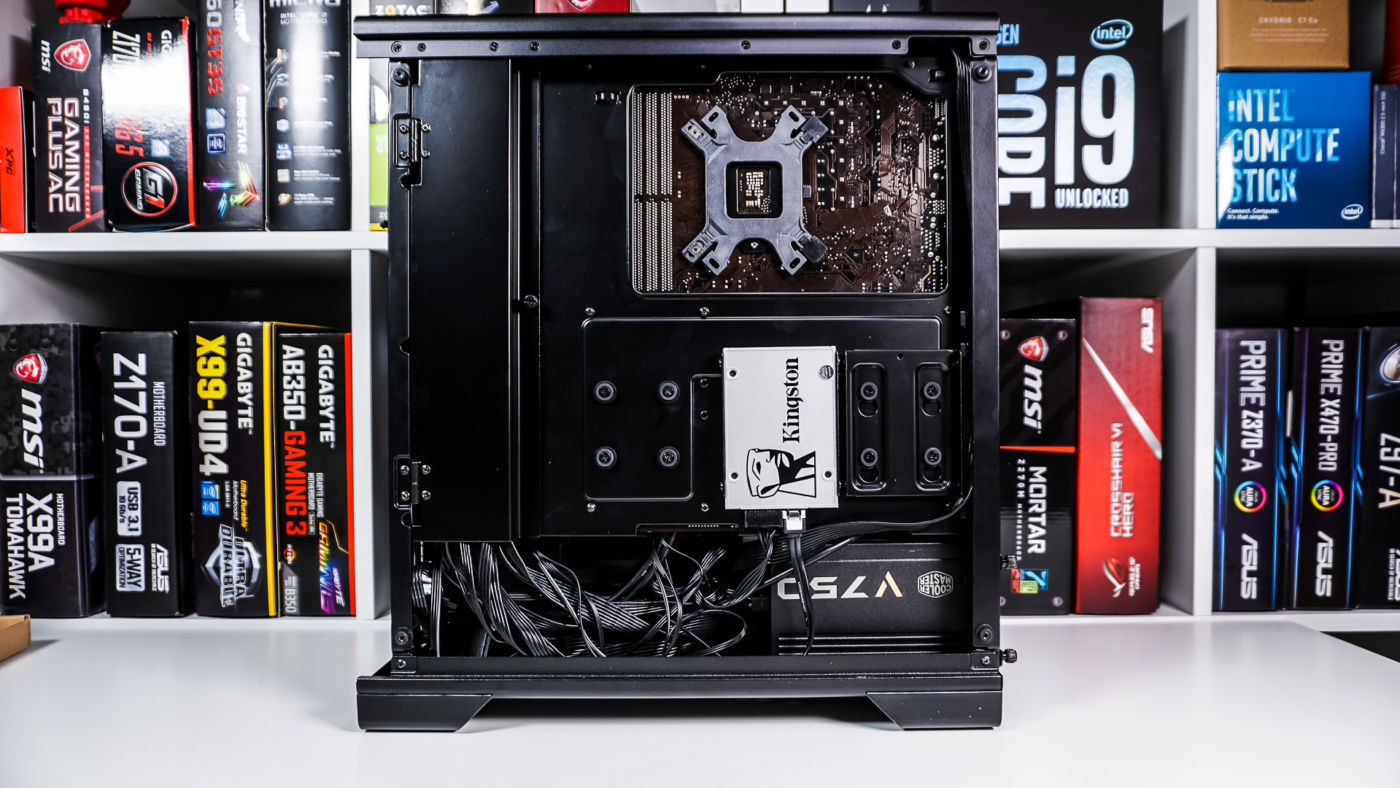
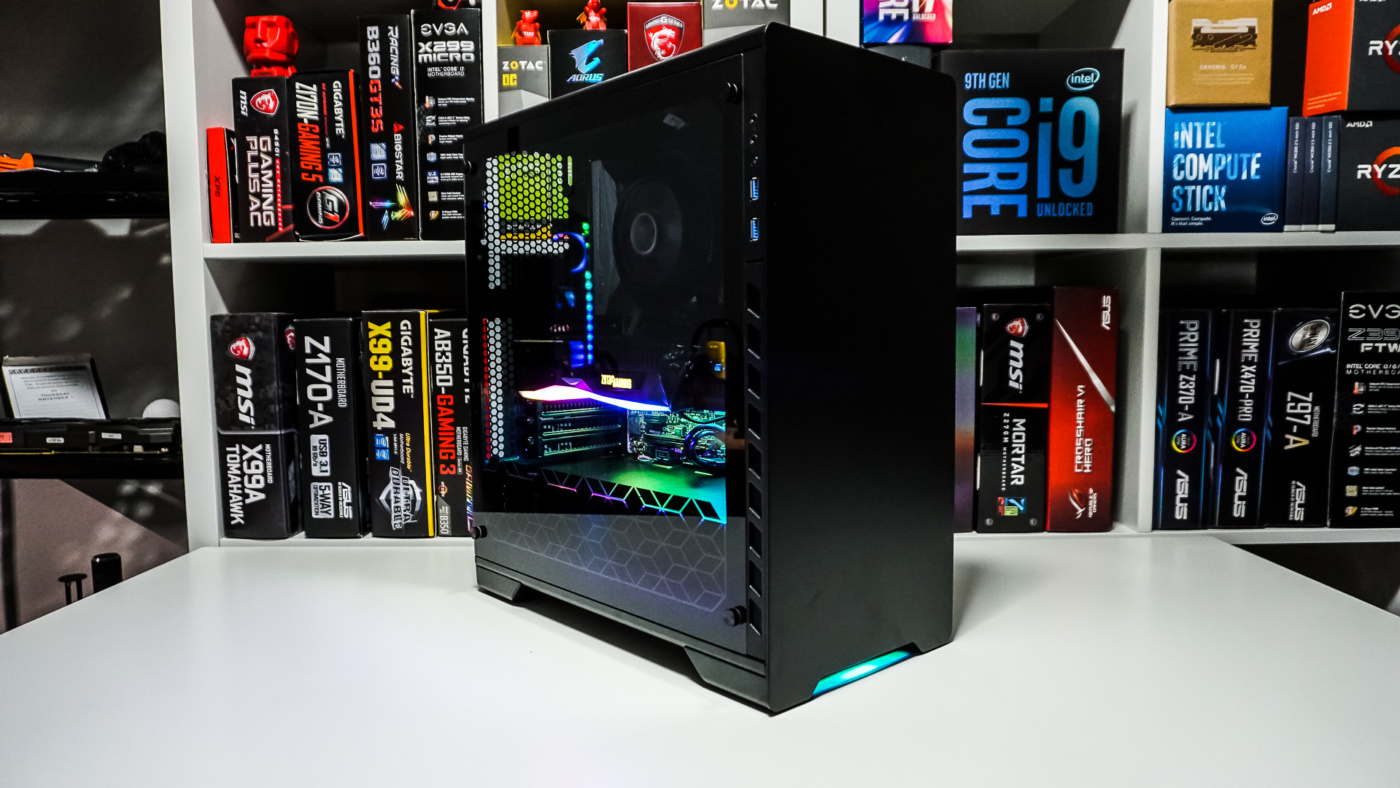
The main compartment of the case is quite clean too. Overall we are very happy with how our build turned out.
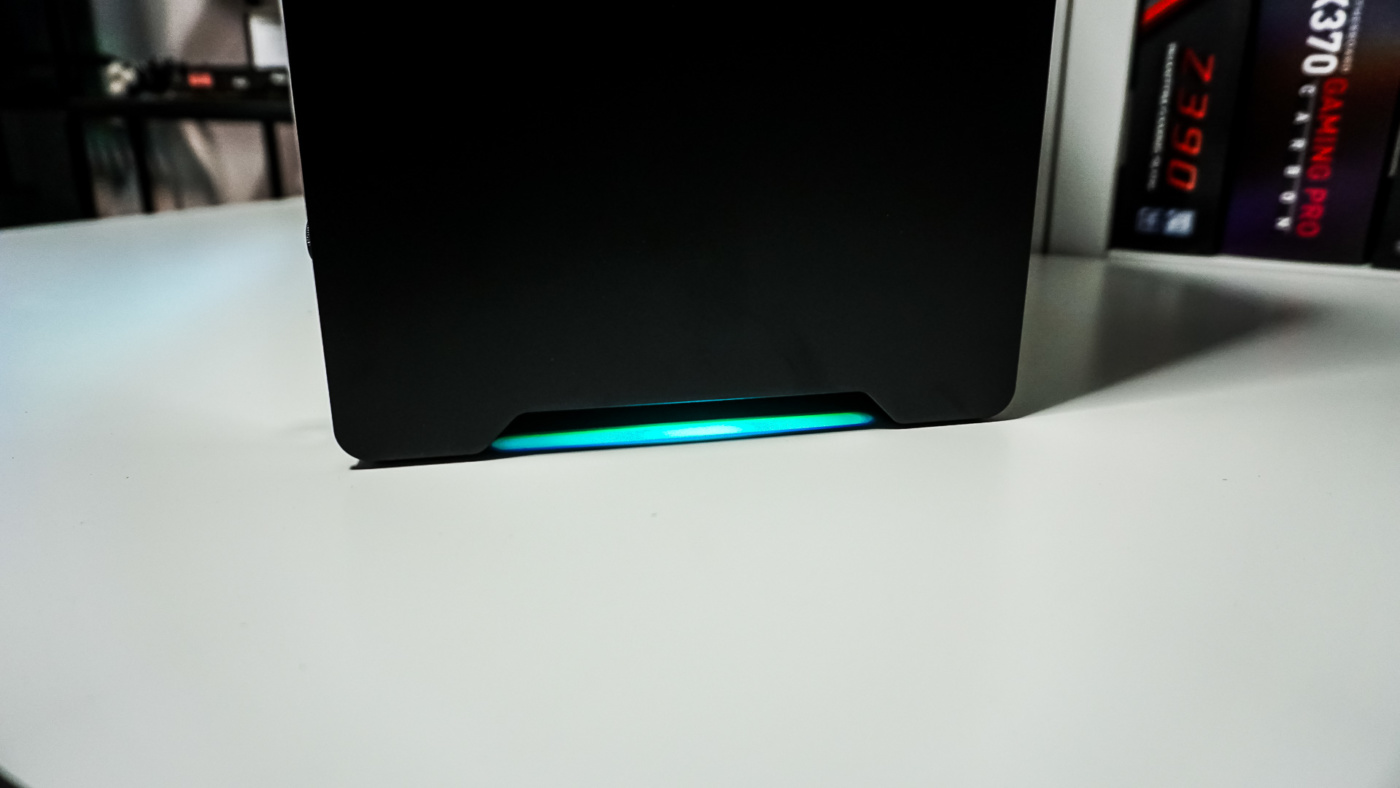
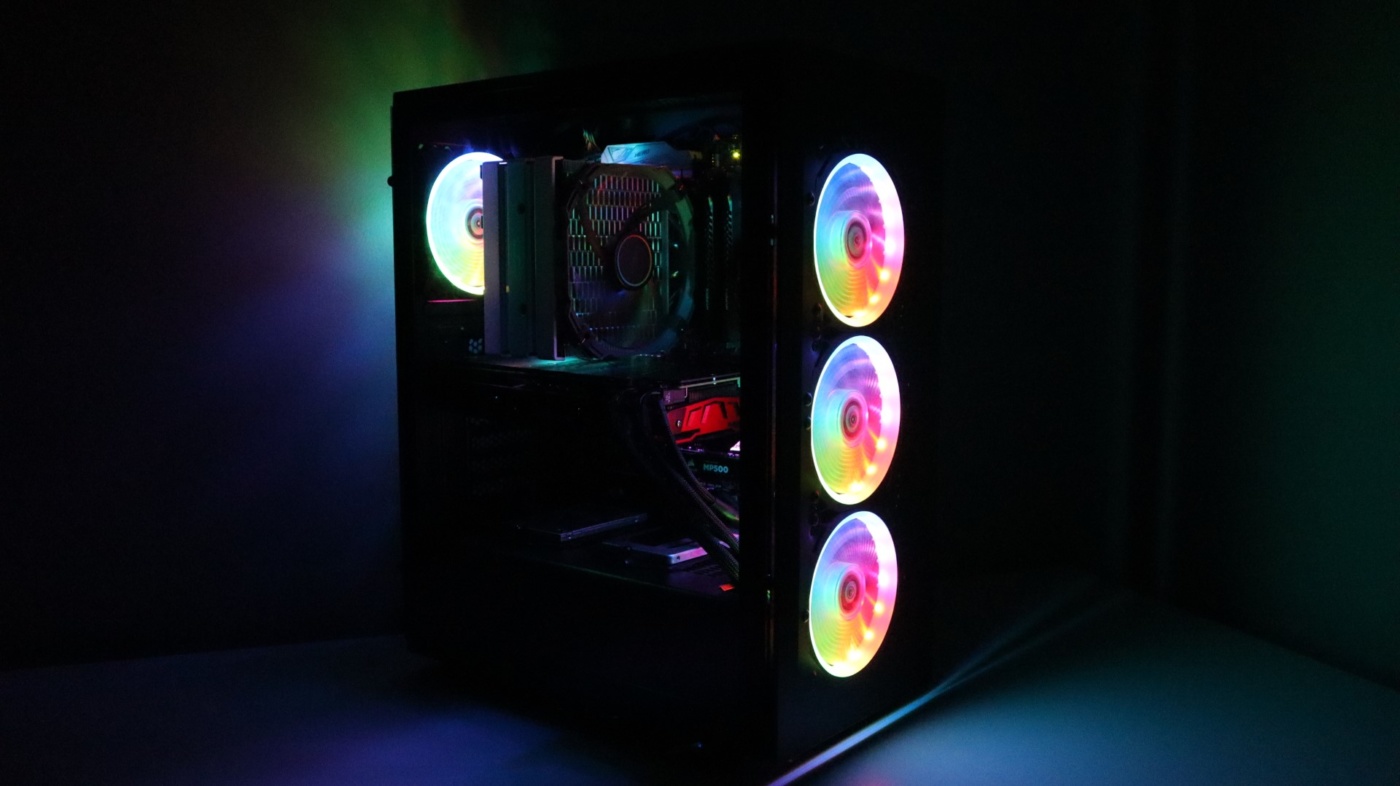
When you power your system on you’ll notice a small light under the front of the case. This is a small RGB strip that you can control from the small button on the top of the case. You can toggle between 10 different colors as well as three different modes. There are extra headers inside the case for you to daisy-chain Phanteks RGB products or to even connect the RGB strip to your motherboard. Our graphics card lit up the inside of the case pretty well, but I would definitely suggest getting at least 1-2 RGB strips to show off your build.