Installation
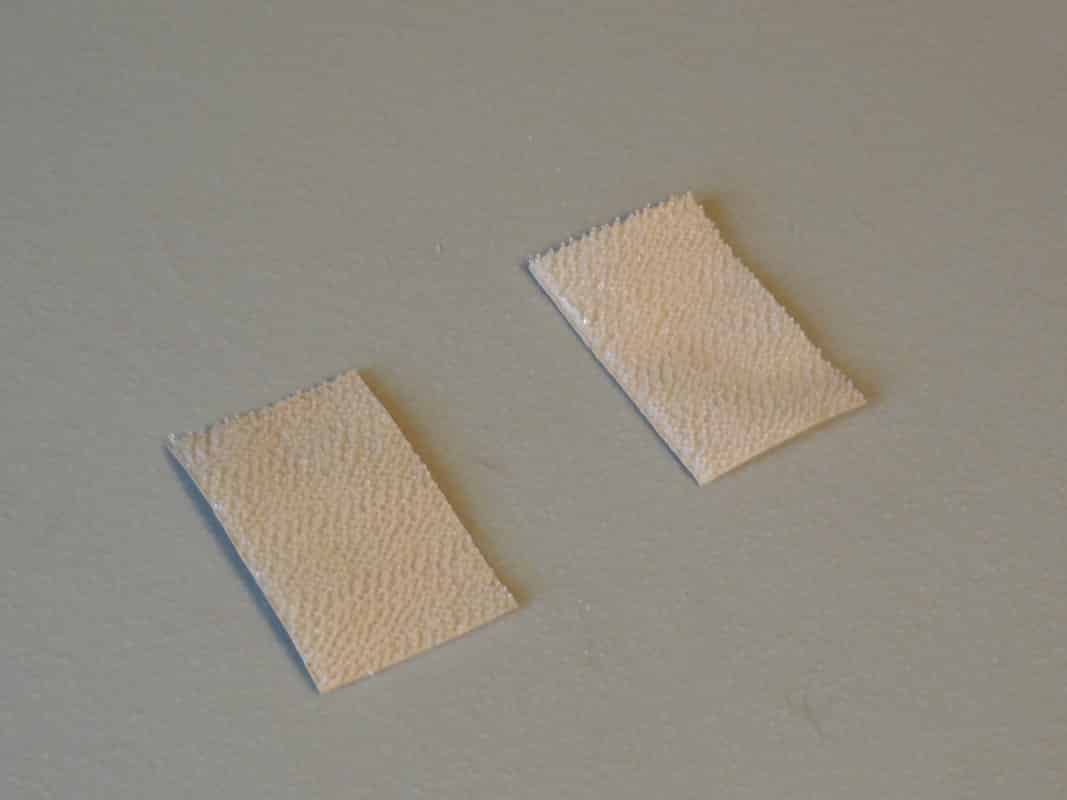
Truly installation of the Grid+ could not be made any simpler than what NZXT has provided. Start by separating the two pieces of 3M velcro tape. Next remove the backing from one of the pieces and install it into your case where you feel you can easily connect the Grid+ to all locations.
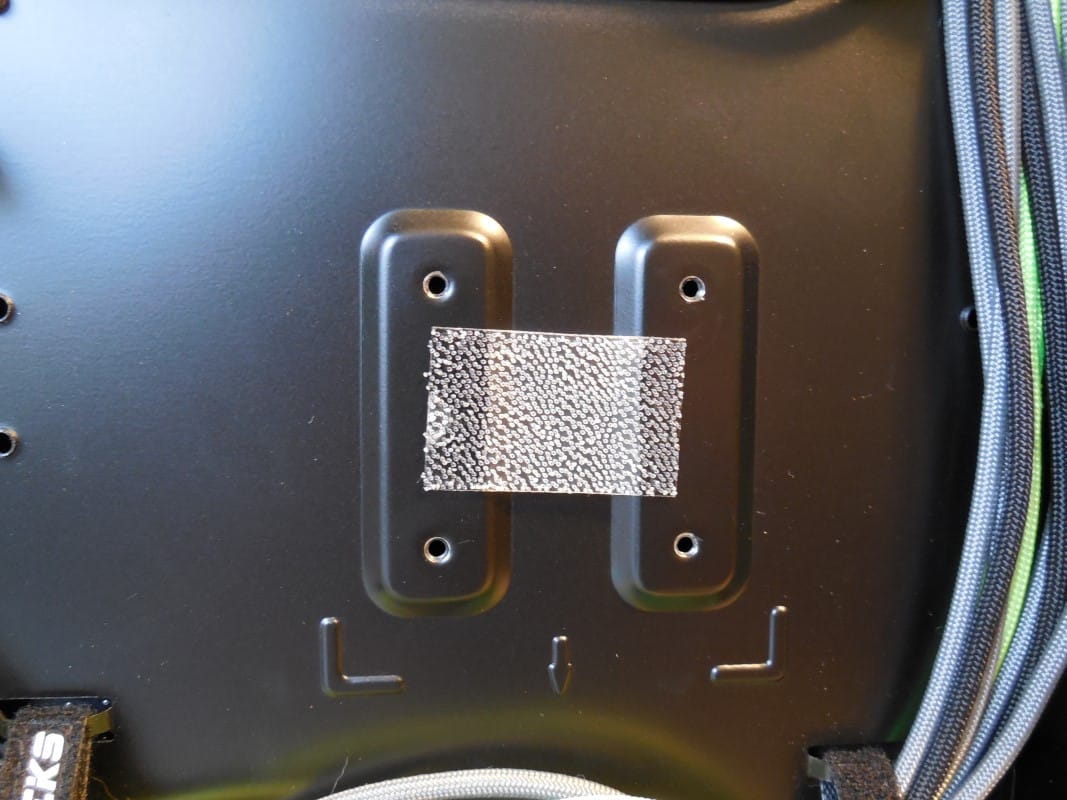
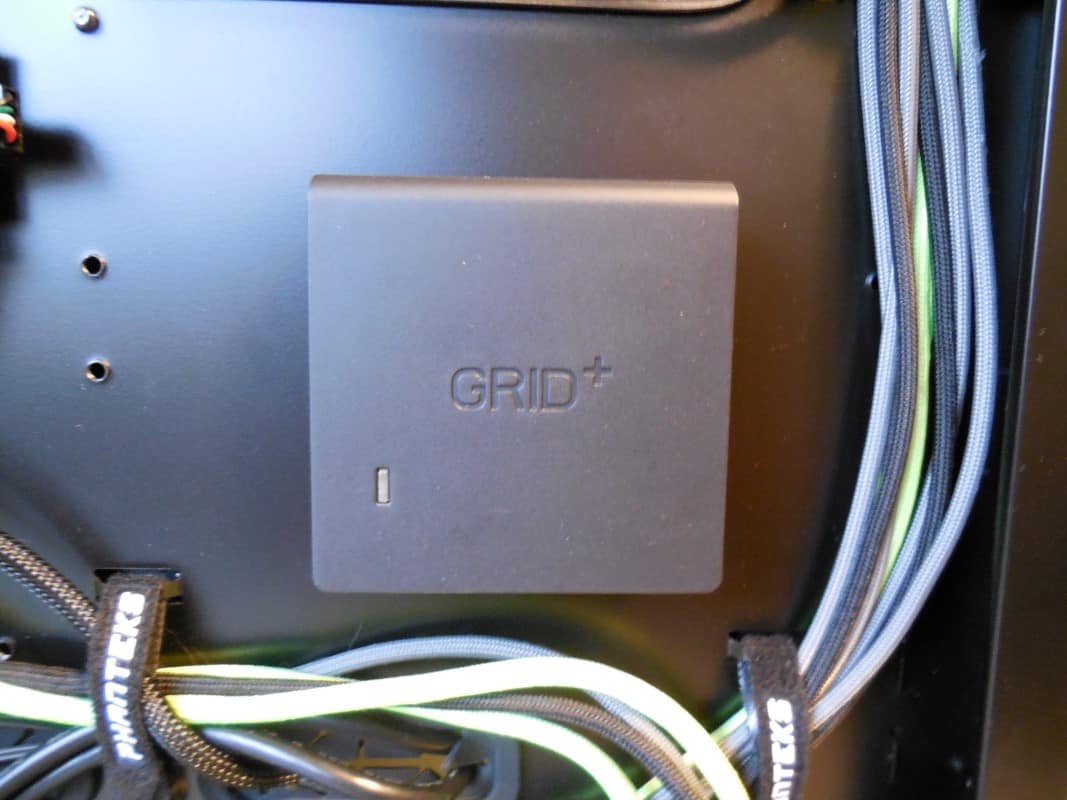
After you have the tape installed in the case install the other half onto the back of the fan hub. Now simply press the hub into the velcro to install. The great thing about the velcro is that it hold really well, and the hub can be easily removed to make new connections.
Now attach the Molex power adapter to an open connector from your PSU and insert the male end into the bottom of the Grid+.
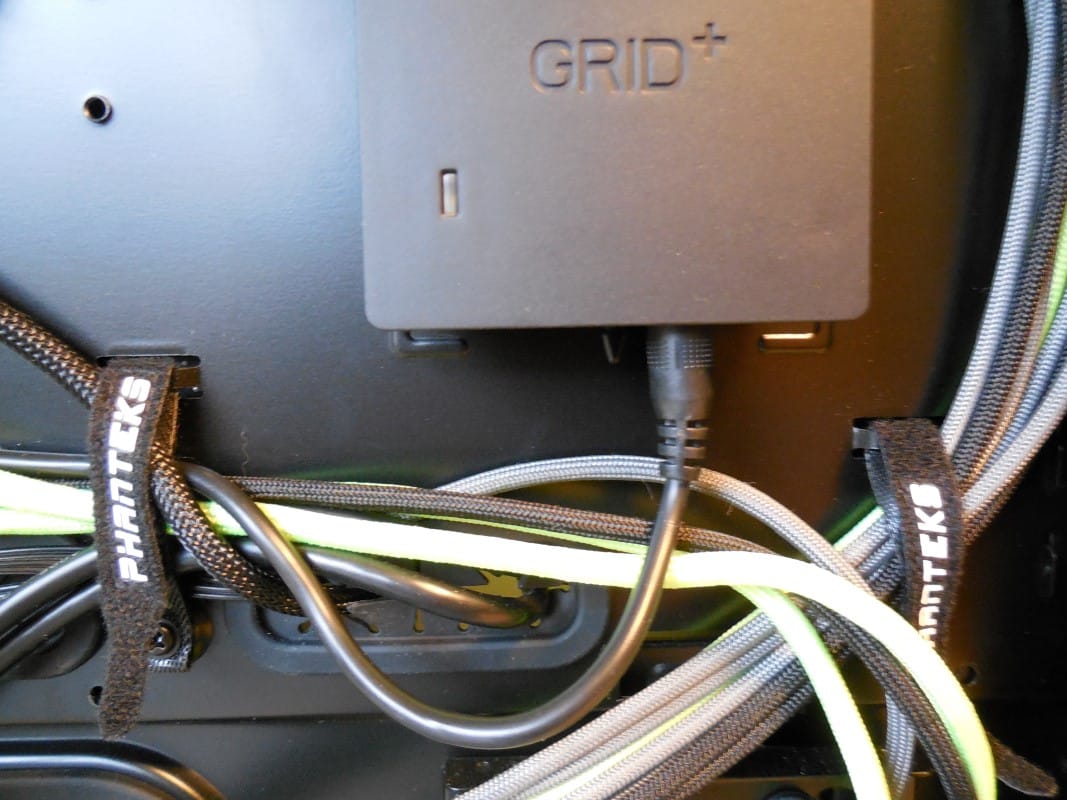
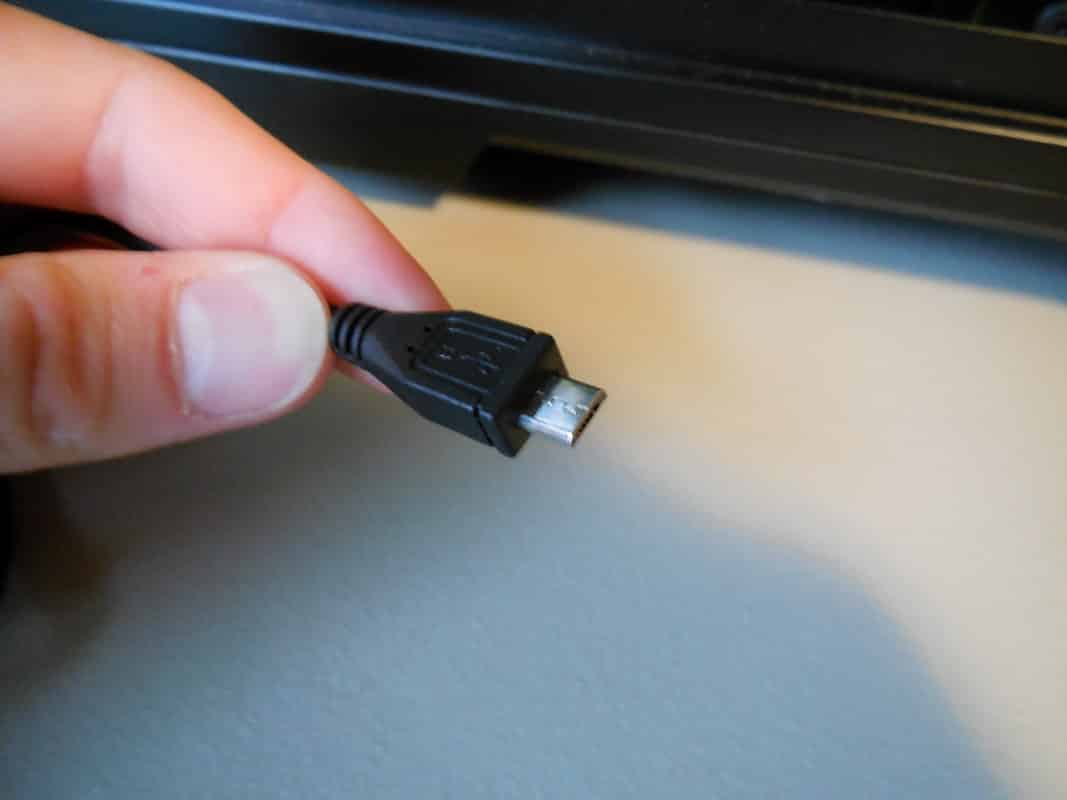
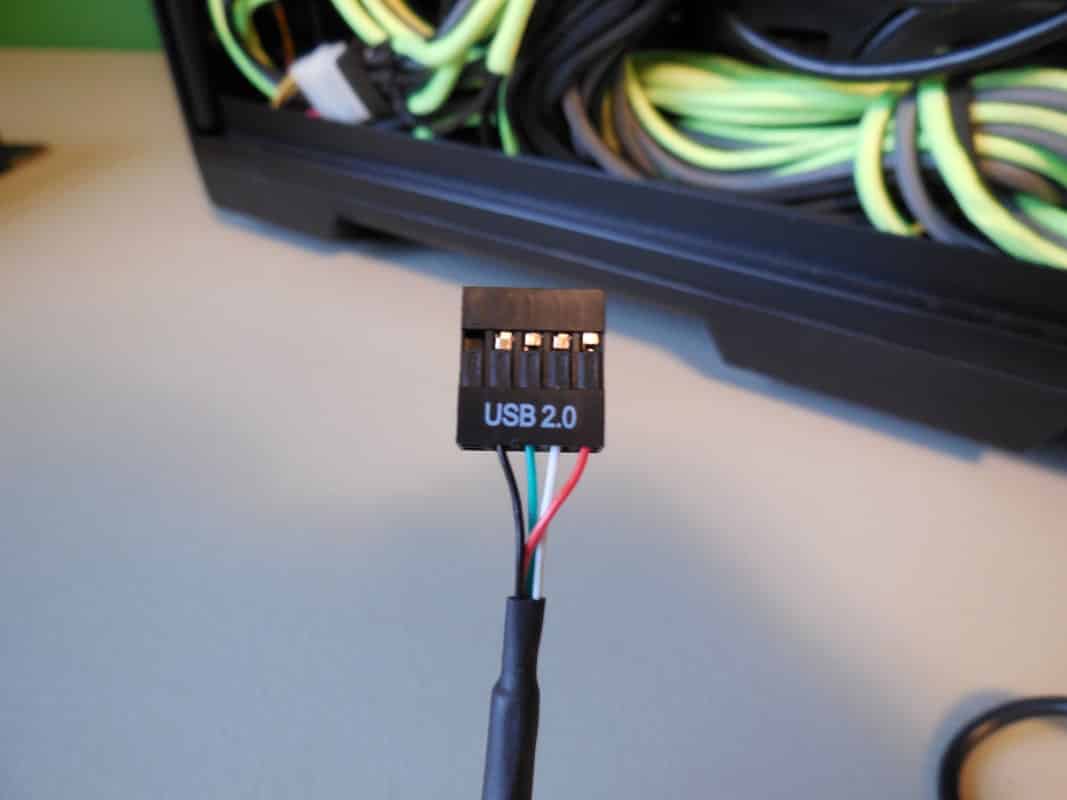
Next up let’s connect the Grid+ to your motherboard. Start by inserting the micro USB connector into the Grid+ on the same side as the power adapter. Once connected to the hub, pass the USB 2.0 adapter through to the front side of the motherboard. At this point we ran into an issue. Let us state that we love being able to connect our devices to CAM. It’s a great feature. However unfortunately we are running out of ways to do this. Our test rig currently has the Kraken X41 installed which requires a USB port. Of course the rig also has a connector installed for the front USB ports. Which is all our USB headers (don’t make the mistake of thinking your 1394 Firewire headers are USB, using them as such will more than likely cause damage to your motherboard!). We understand that there are motherboards on the market with more USB headers, but they are certainly the exception not the norm. Having to choose between front panel connectivity and CAM software is not ideal. We are not sure what the solution could be, perhaps using a SATA connector? For our review we reluctantly unplugged the front panel, and attached our Grid+ connector.
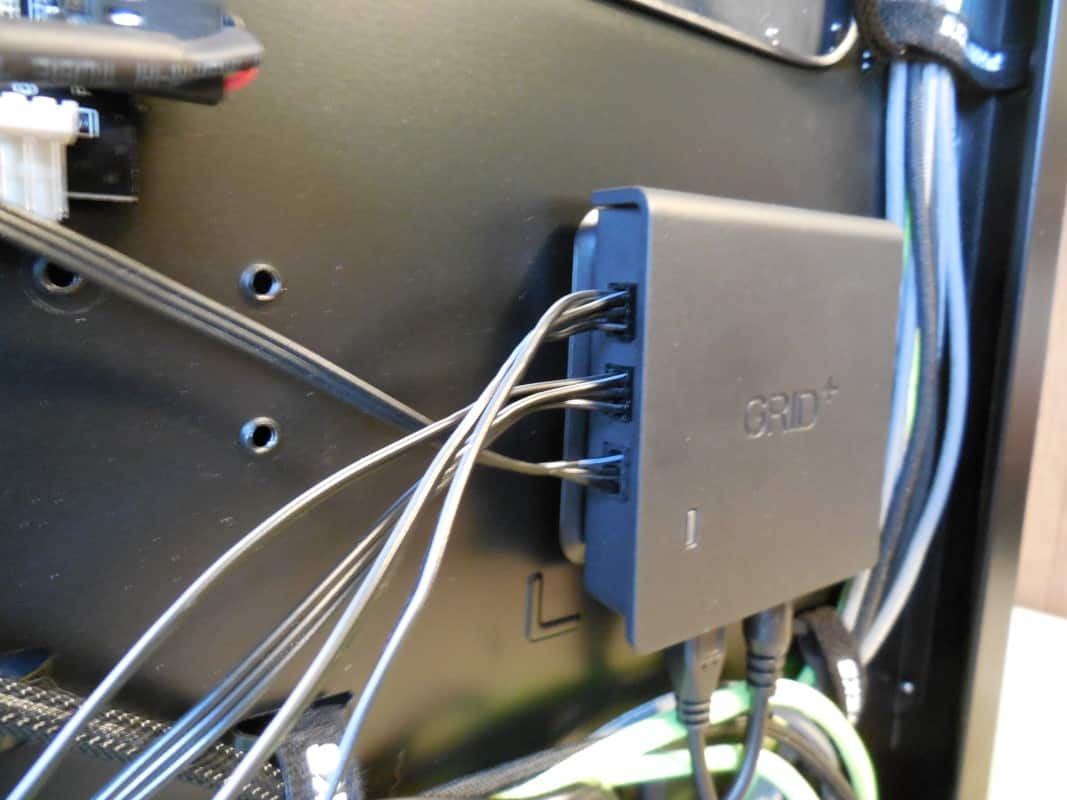
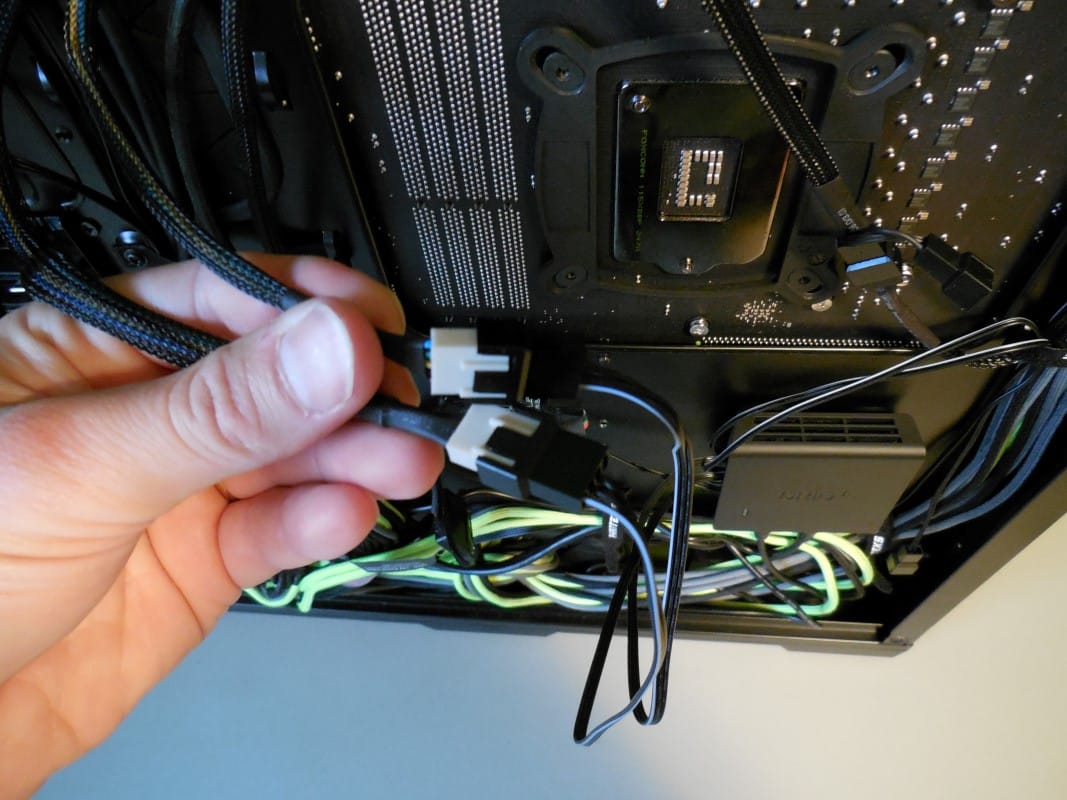
Next we attach our fans to the hub. Originally we wanted to max our case out and attach fans to all six headers. Unfortunately nearly all the fans in our lab are four pin PWM! This adapter certainly seems to be more prevalent today than ever and we find it curious and confusing why the Grid+ isn’t designed to accept this adapter size. Obviously the fans are going to be PWM controlled, but being able to use these fans on this hub would be nice. I feel this is a major design blunder that could be easily corrected with larger opening. An ambitious modder could easily do this themselves with a screwdriver and dremel. Instead of maxing the hub we had to settle for two PWM fans attached to the included adapters, and our one three pin case fan attached directly to the hub.
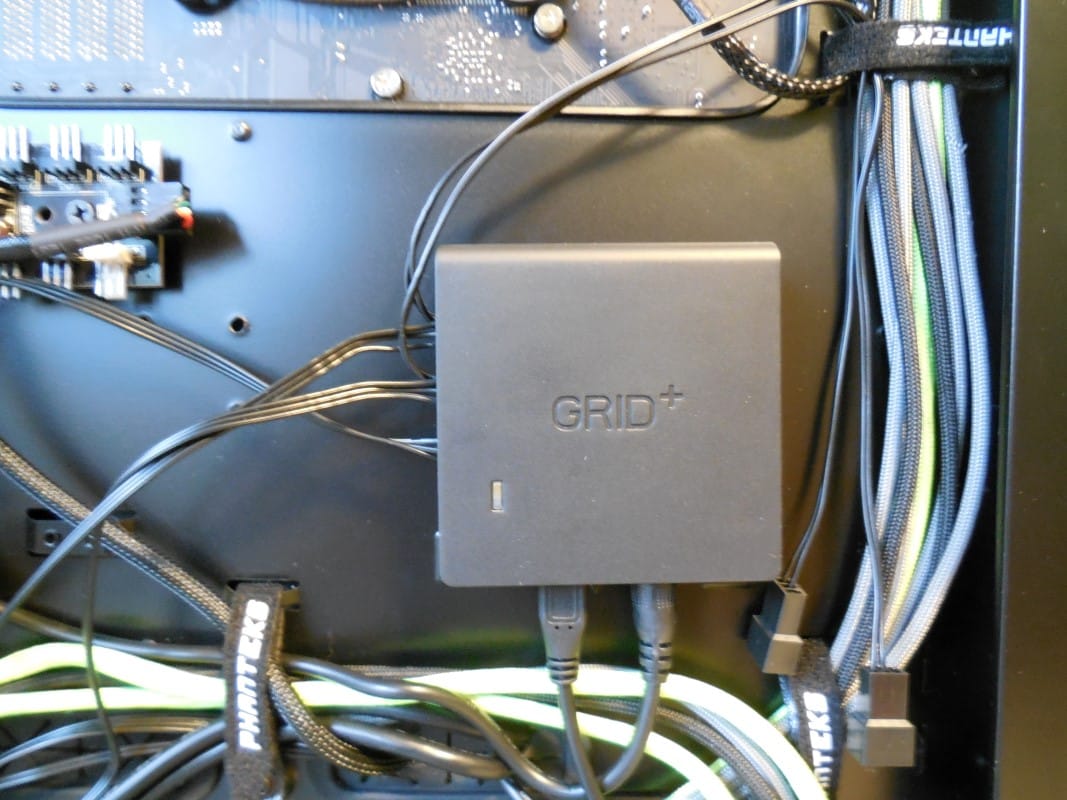
Cable management was a breeze thanks to our test case, but if not the zip ties included by NZXT would have come in handy.
Finally if you do not already have the CAM software installed navigate to the NZXT website, download, and install.