Installation in the Patriot Viper VXD
Getting our drive installed is quite easy. Patriot send over a 2TB version of their P300 drive, which has rated speeds of 2100 MB/s read and 1650 MB/s write. While this may seem slow by today’s standards when it comes to M.2 drives, those speeds will completely max out the USB 3.2 gen 2 connection on the VXD.

With the internal section of the VXD removed from the enclosure we can prep our drive for installation. You are going to want to slide the heatspreader on to your drive (you can use the included thermal pads if you wish.

Then install your drive into the M.2 slot, using the rubber screw on the end of the drive to secure everything. Finally just slide the internal section back into the enclosure, put the end cap back on, and secure it by screwing in the hex screw on the bottom of the enclosure.


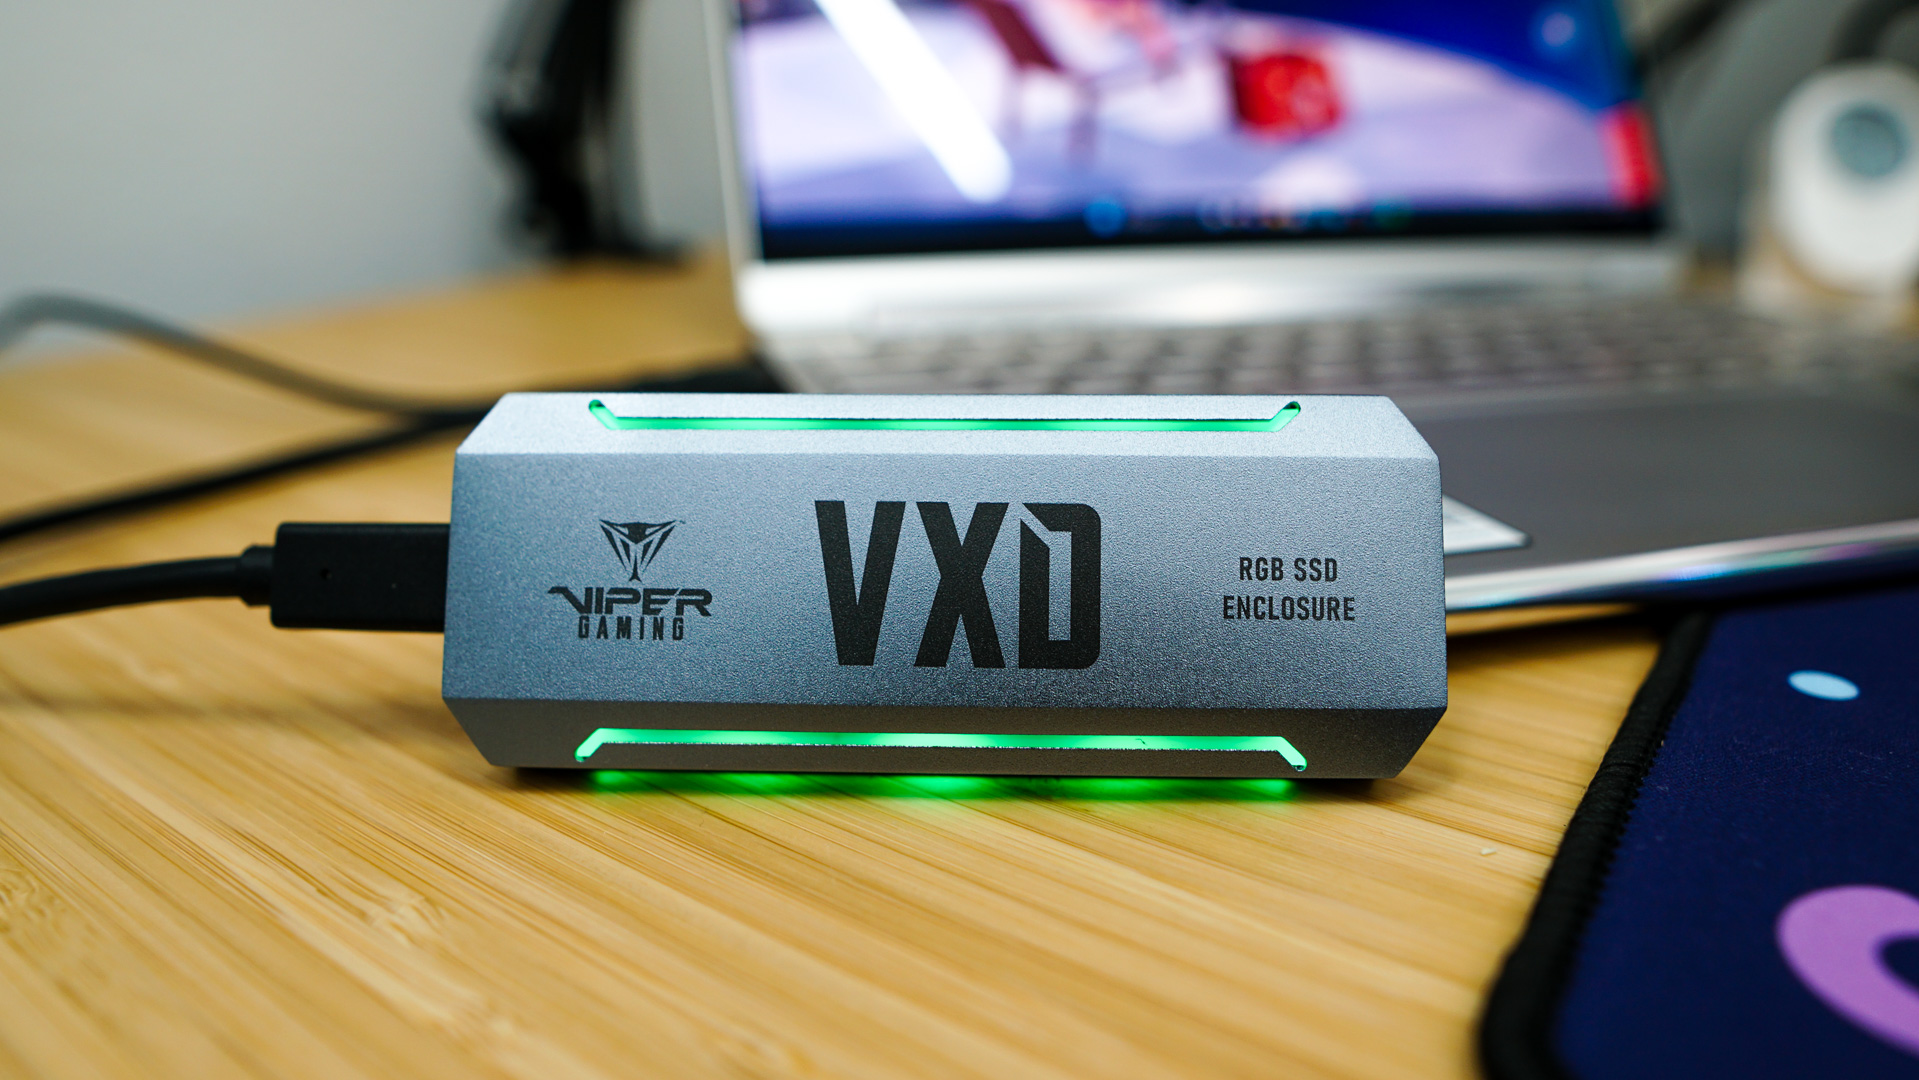
RGB Lighting on the Patriot Viper VXD
When you do plug in your drive you will notice the RGB lighting turn on. There is no way to control this lighting, but it will cycle through different colors and the drive will flash (white) when you are transferring files.