Installation
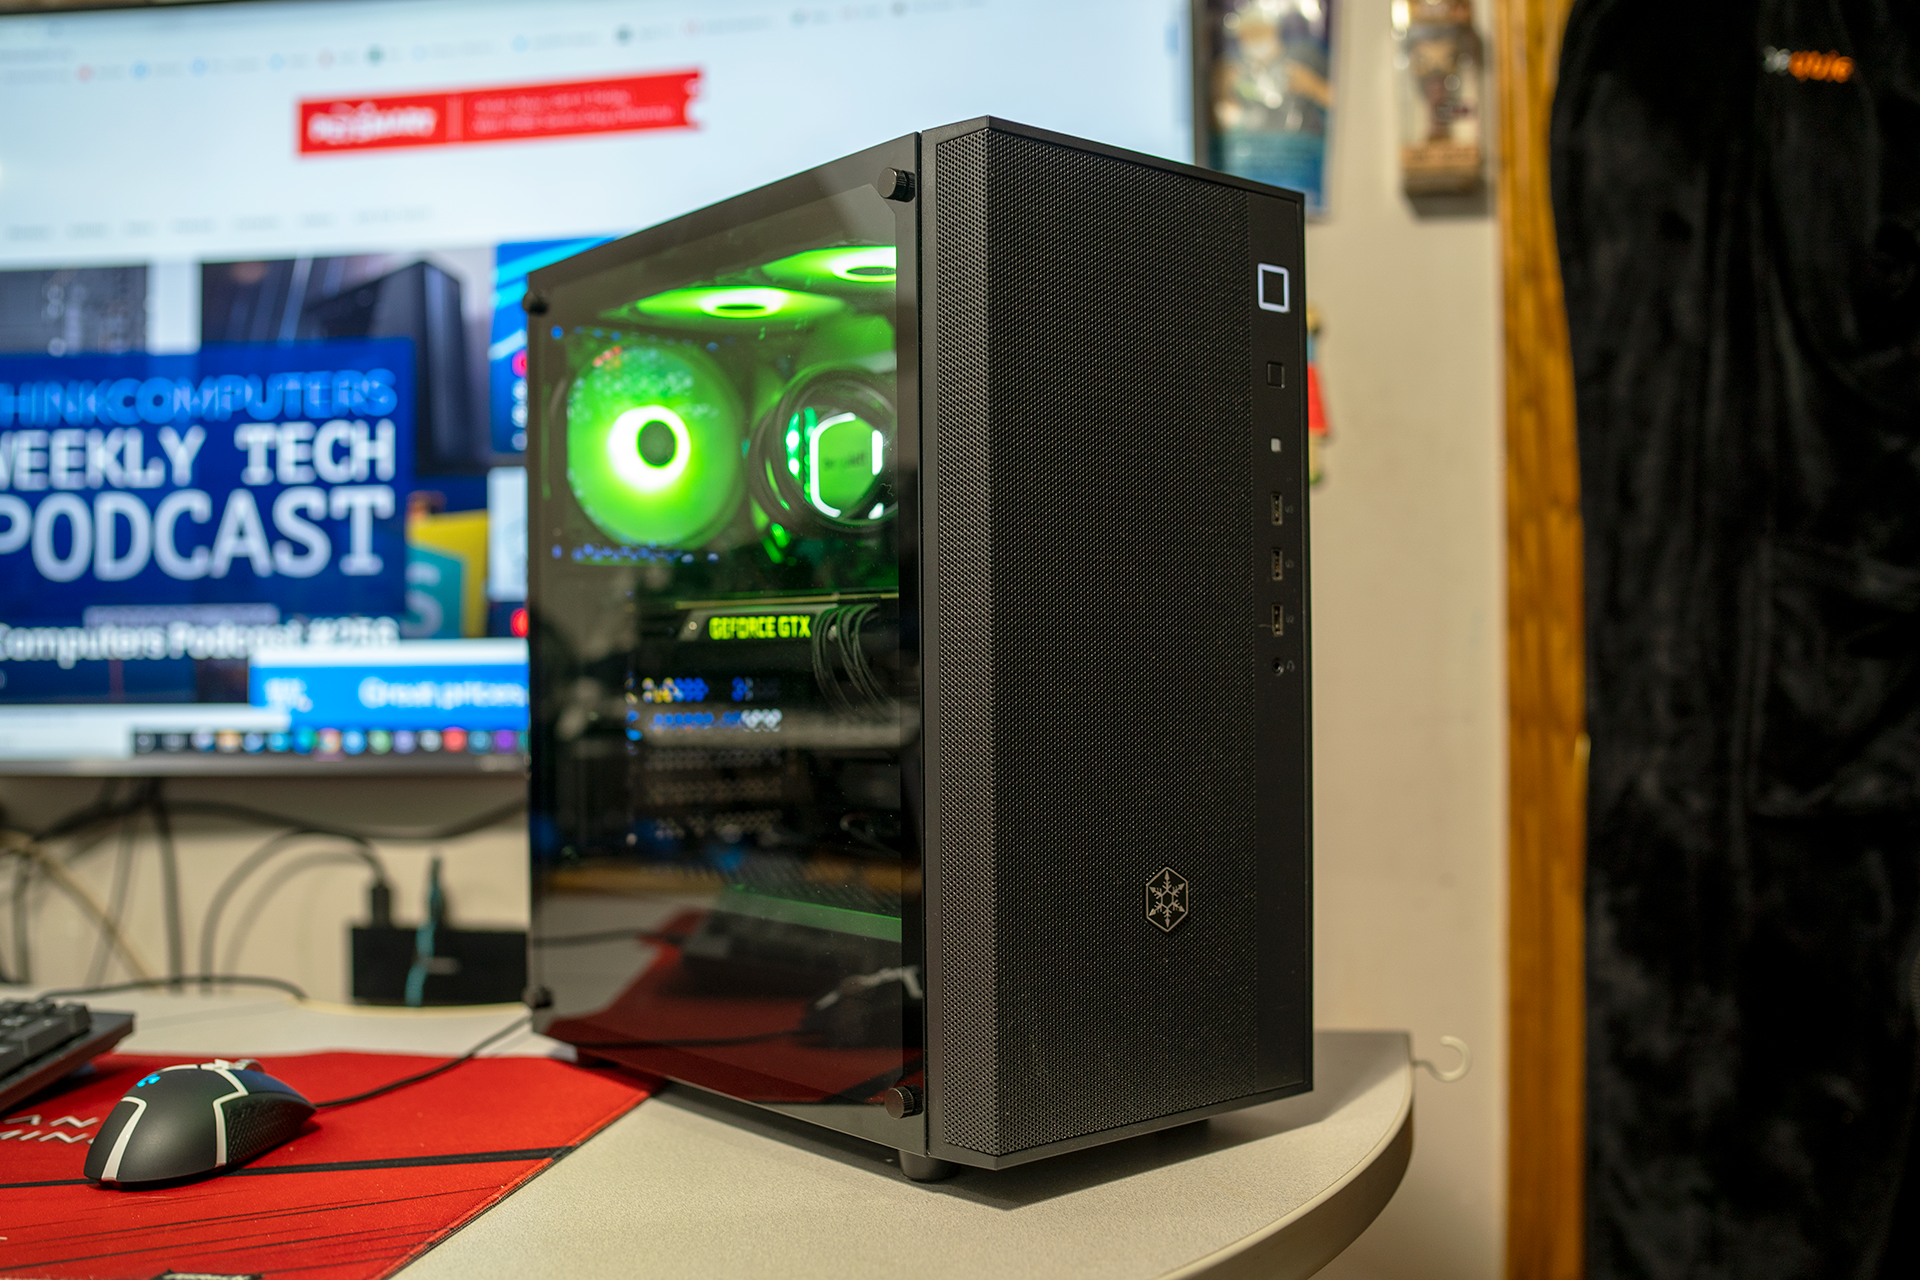
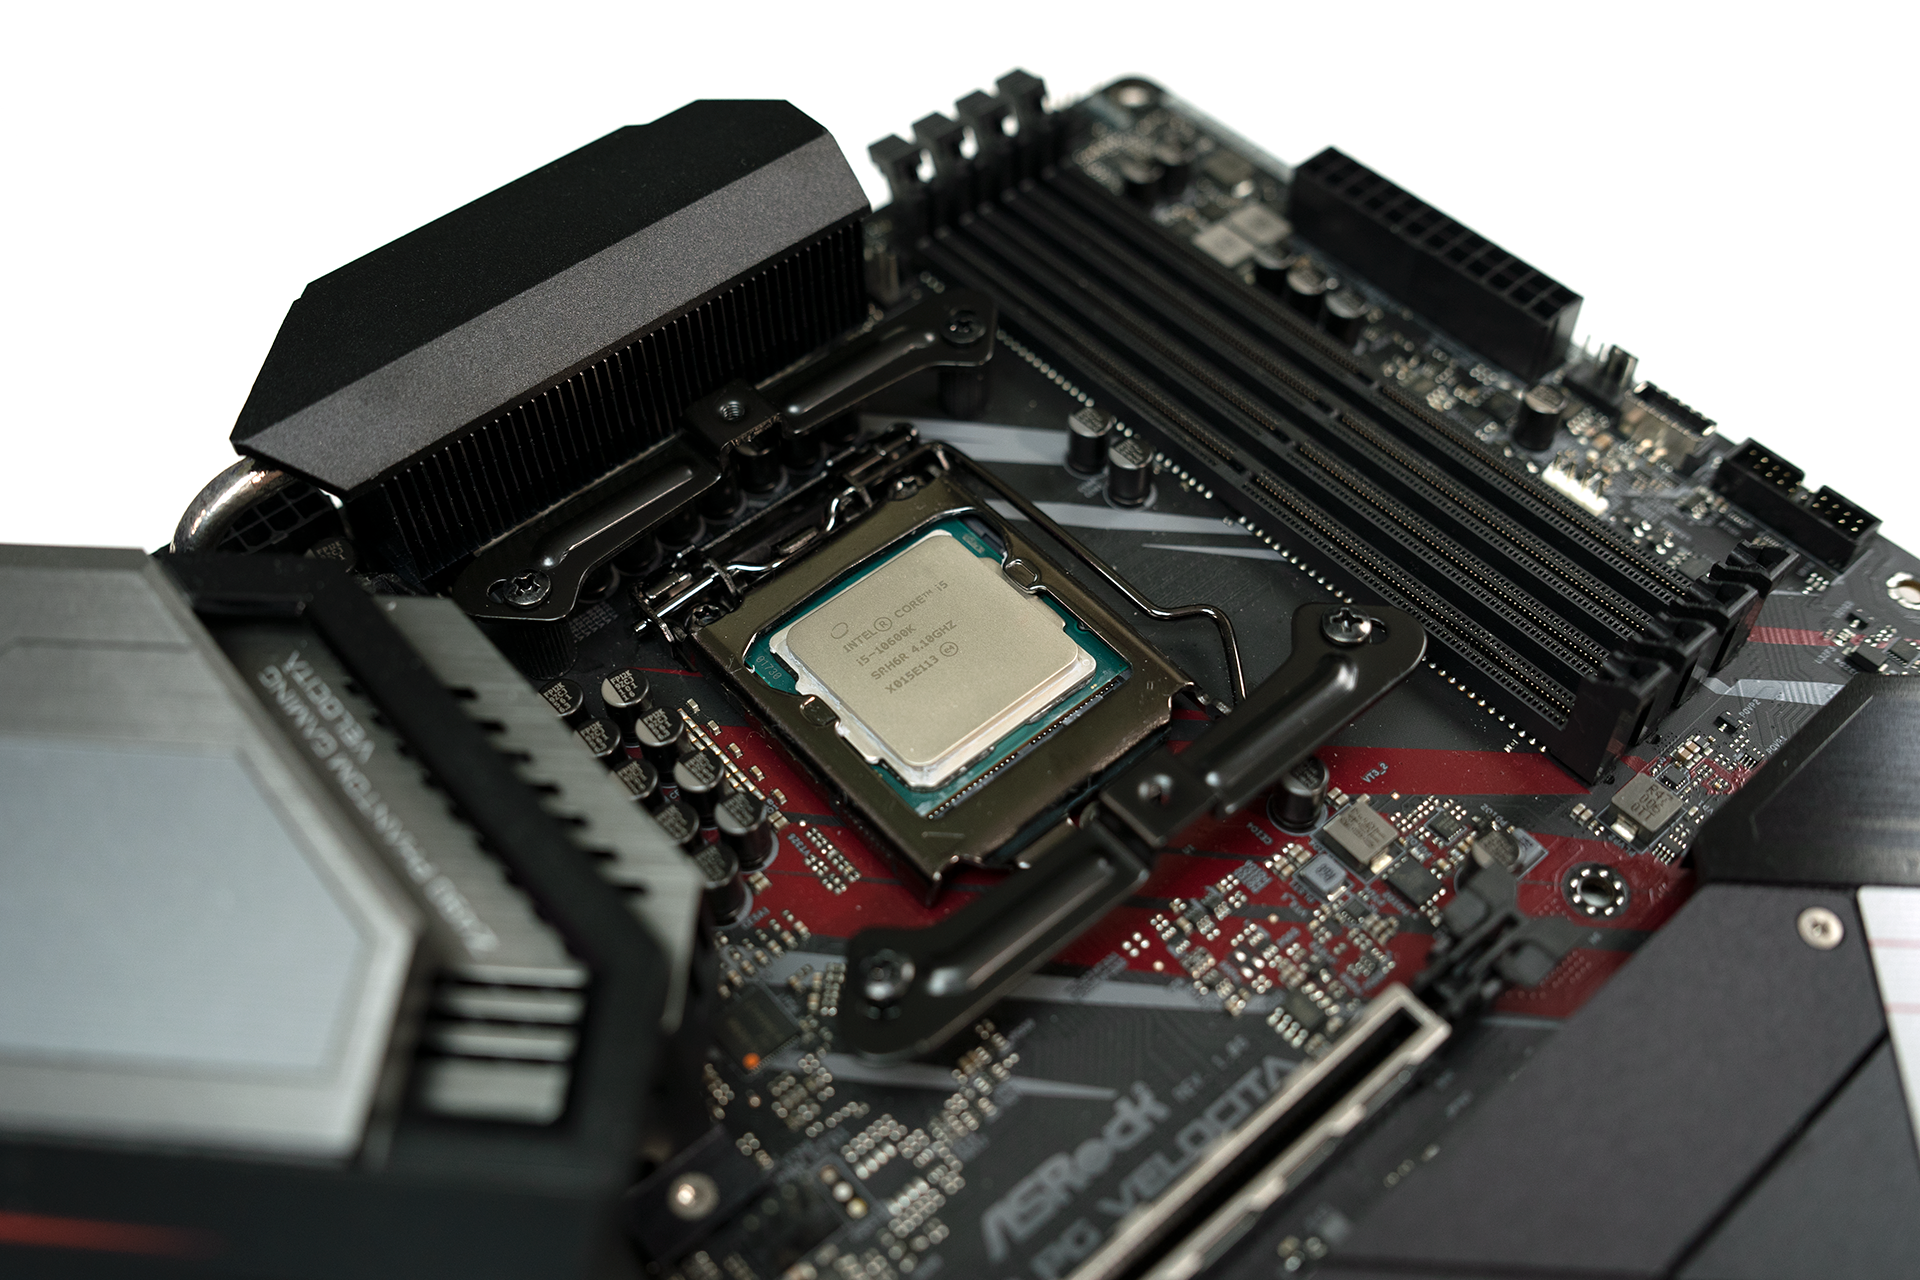
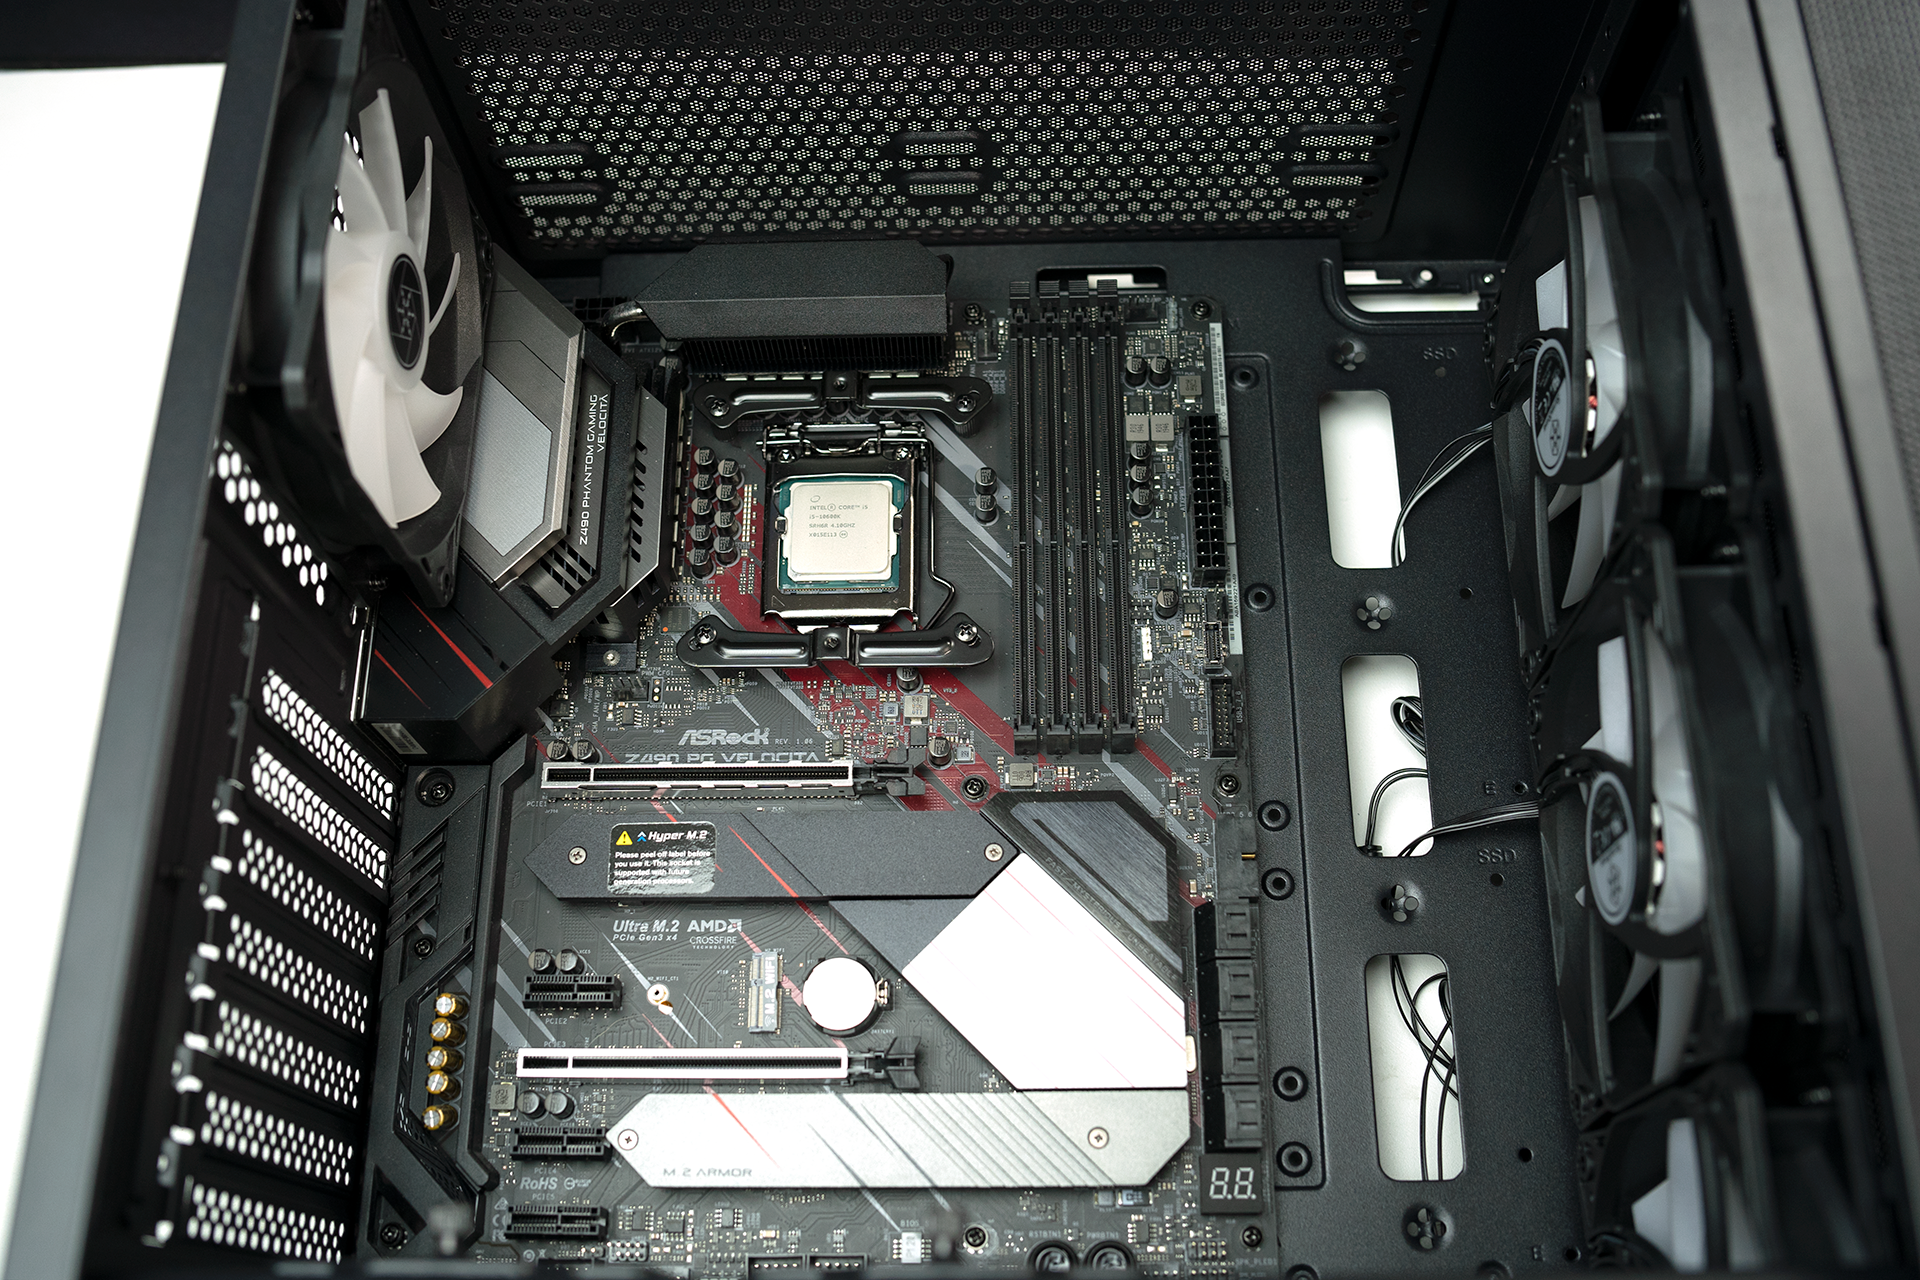
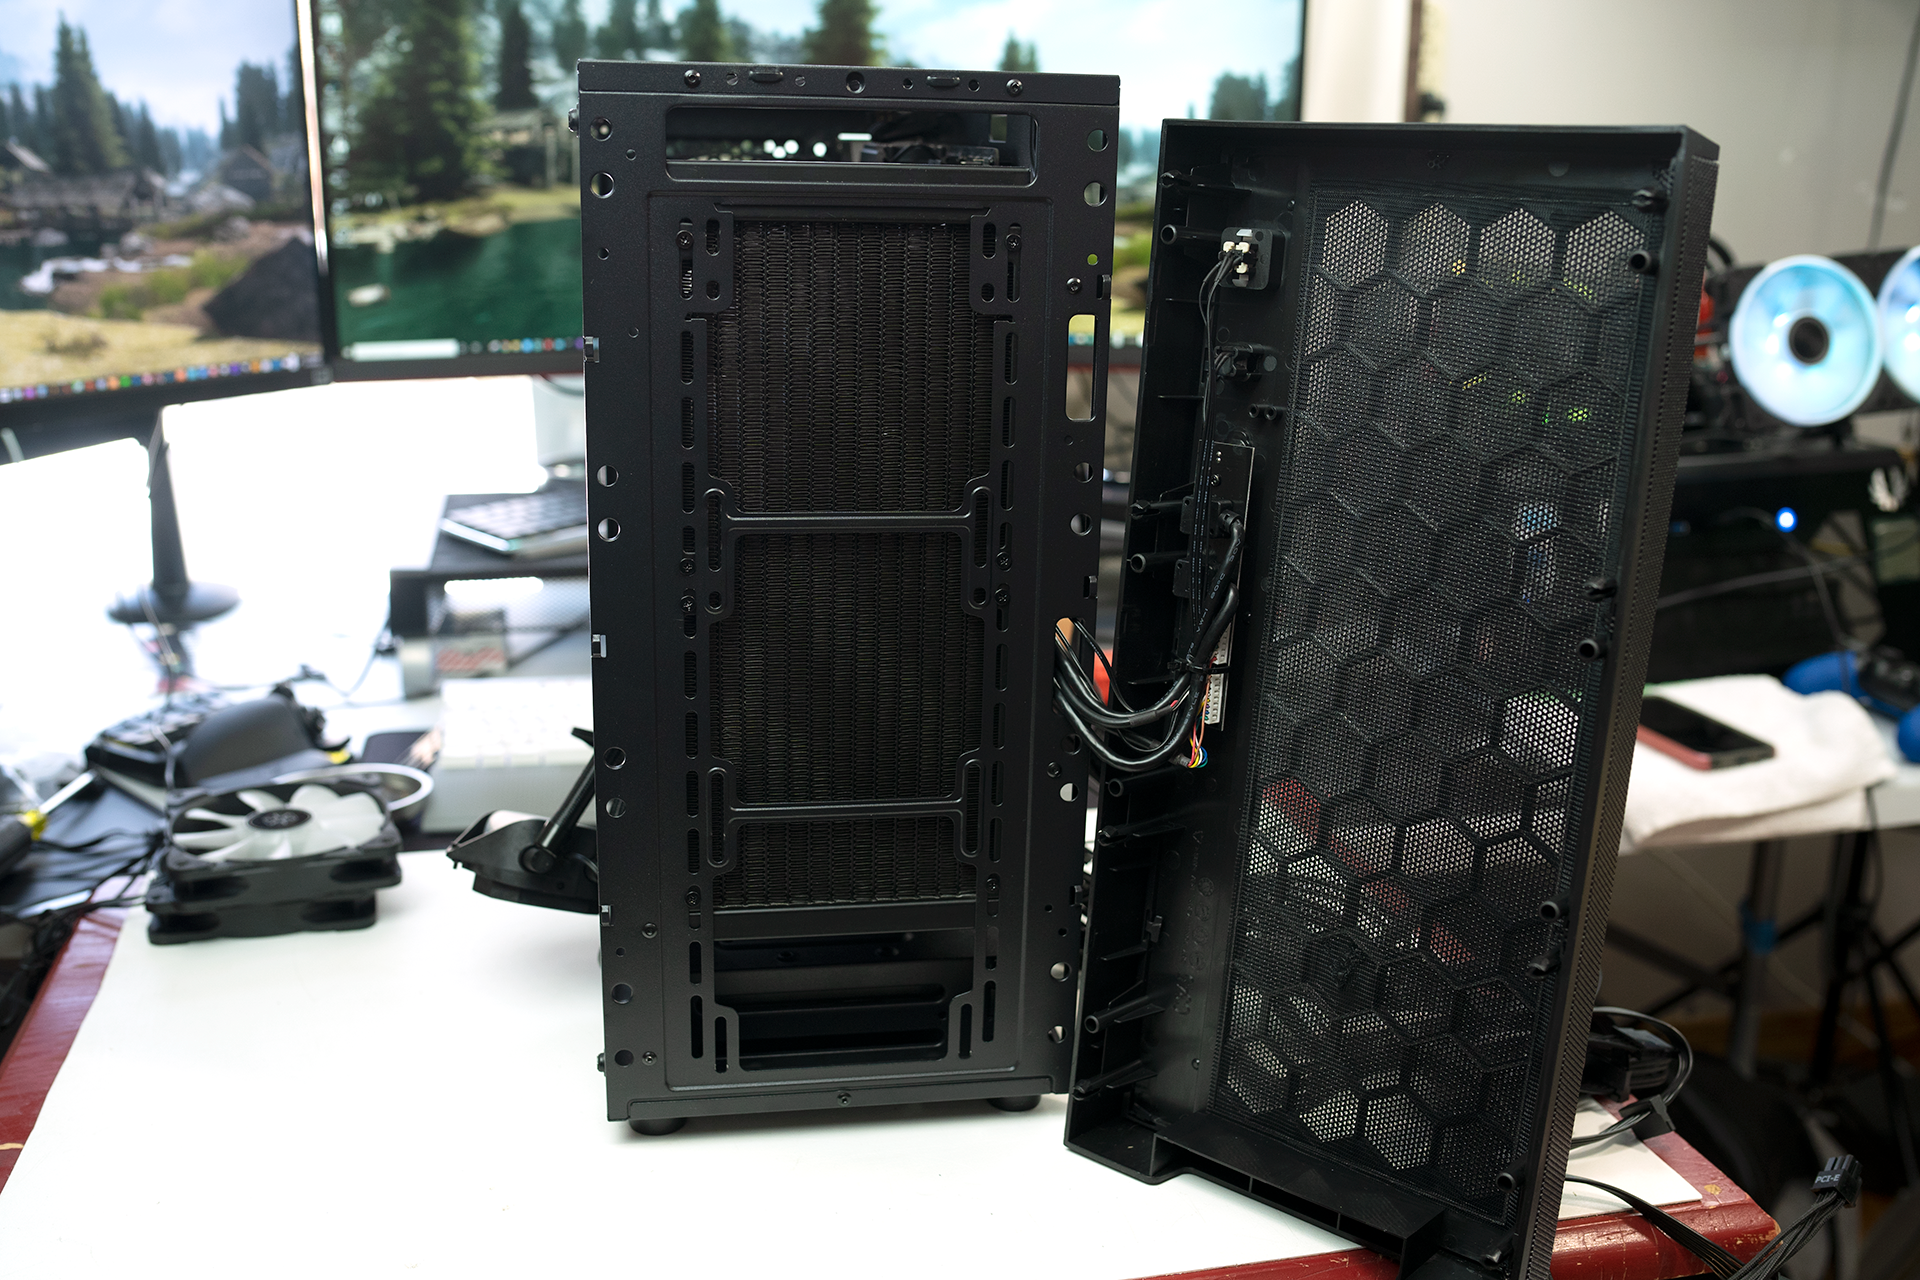
With the Silverstone Fara R1 disassembled, it’s now time to start the building process. The first thing we did was to install the mounting hardware for the AIO cooler we’ll be installing later. next, we installed the IO shield and the motherboard. For this build, we used the ASROCK Z490 Veloita and the I5 1600k. Generally, the first step would be to install the standoffs. However, the Silverstone Fara R1 came with the standoff already installed. But I can’t promise this will be the case for the retail version of the Silverstone Fara R1 Pro.
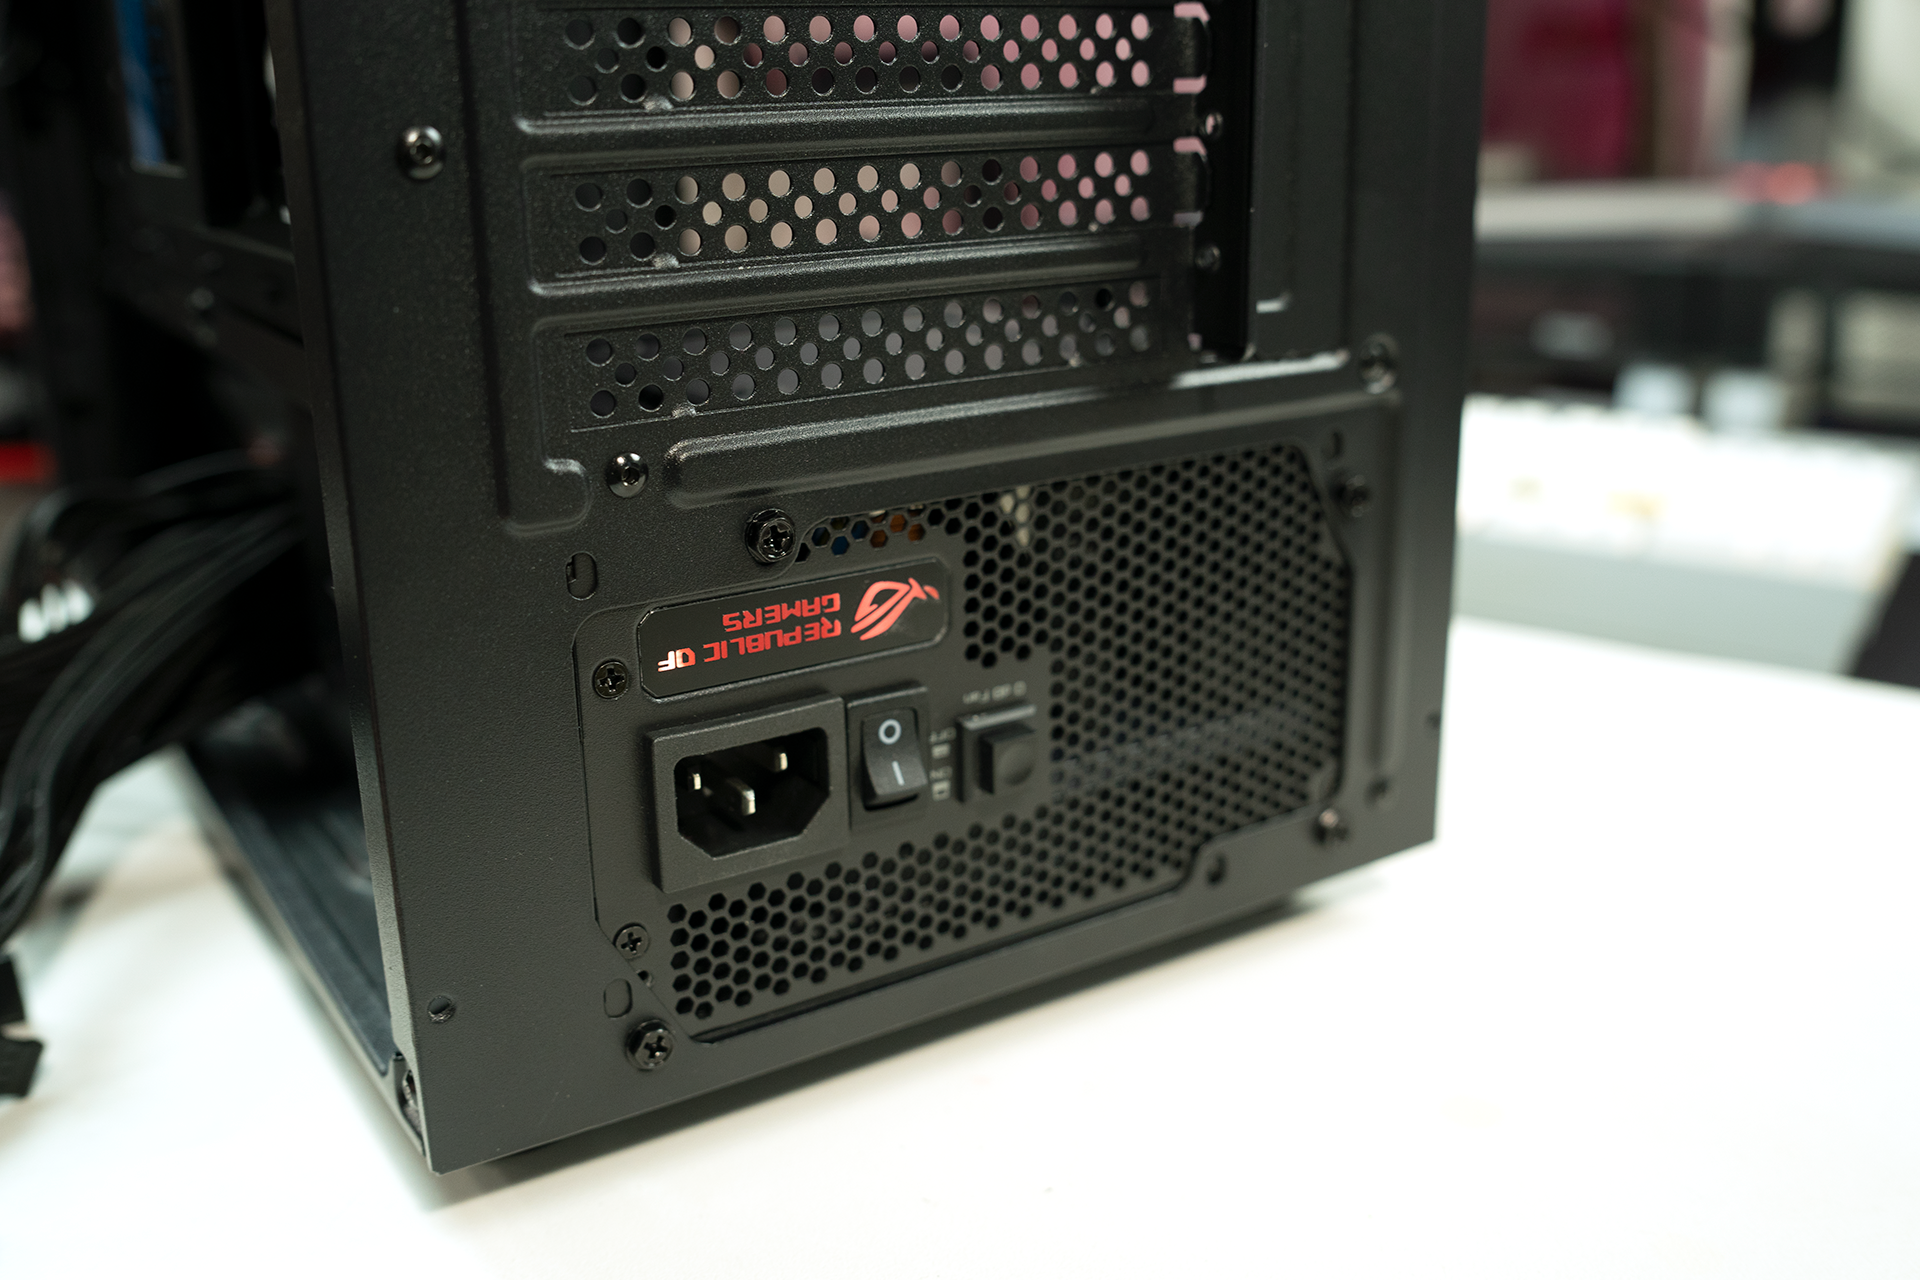
Next, we installed our power supply. The power supply used in this build is an 850 Watt Thor power supply from ASUS. To install a power supply in the Silverstone Fara R1, you have to slide the power supply in from the back of the case. The easiest way is to remove the 3.5″ drive cage to do so. Then simply reinstall the cage afterward. The power supply is held in place by the traditional 4 x 6/32 screws.
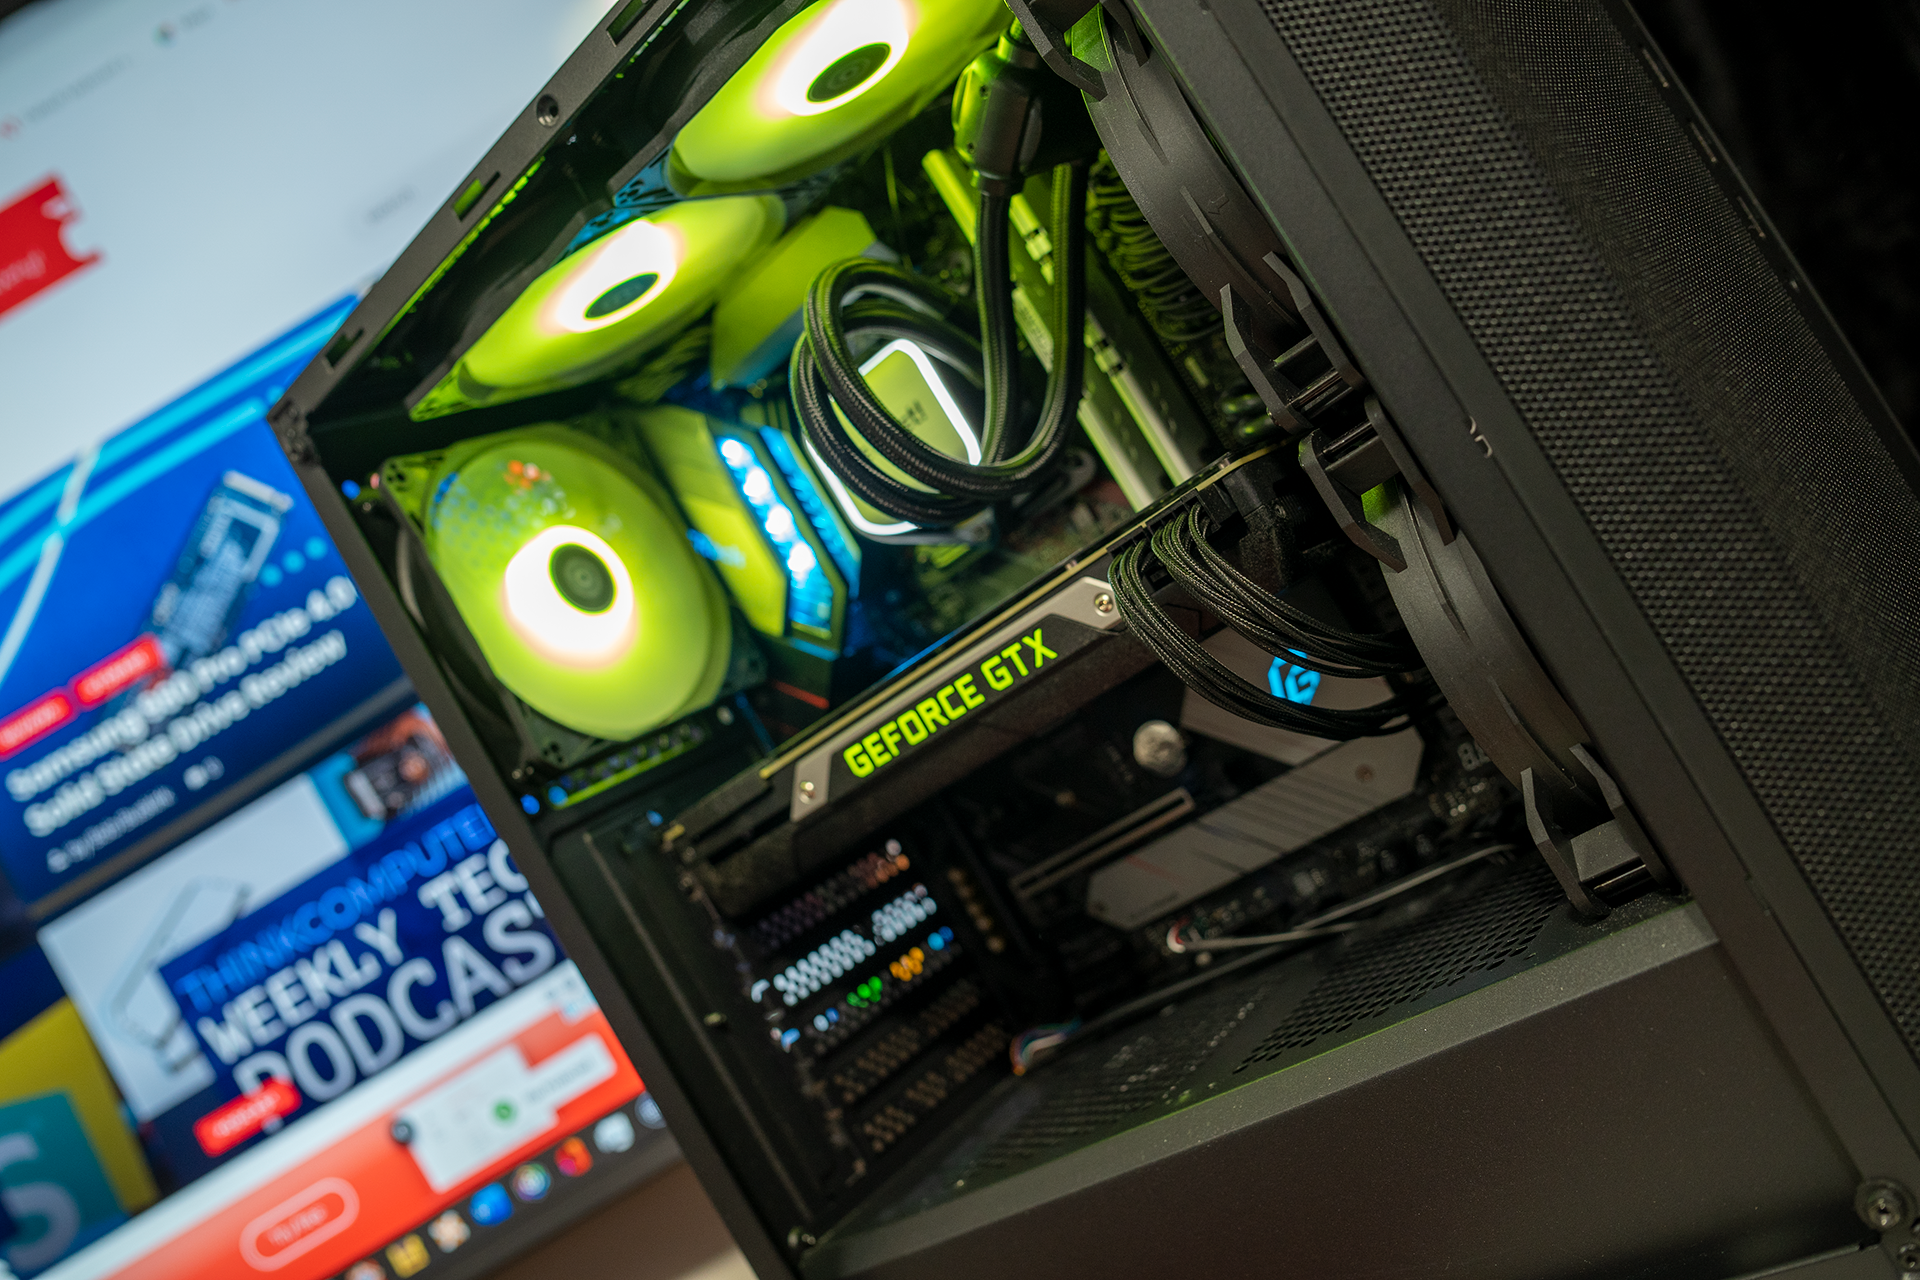
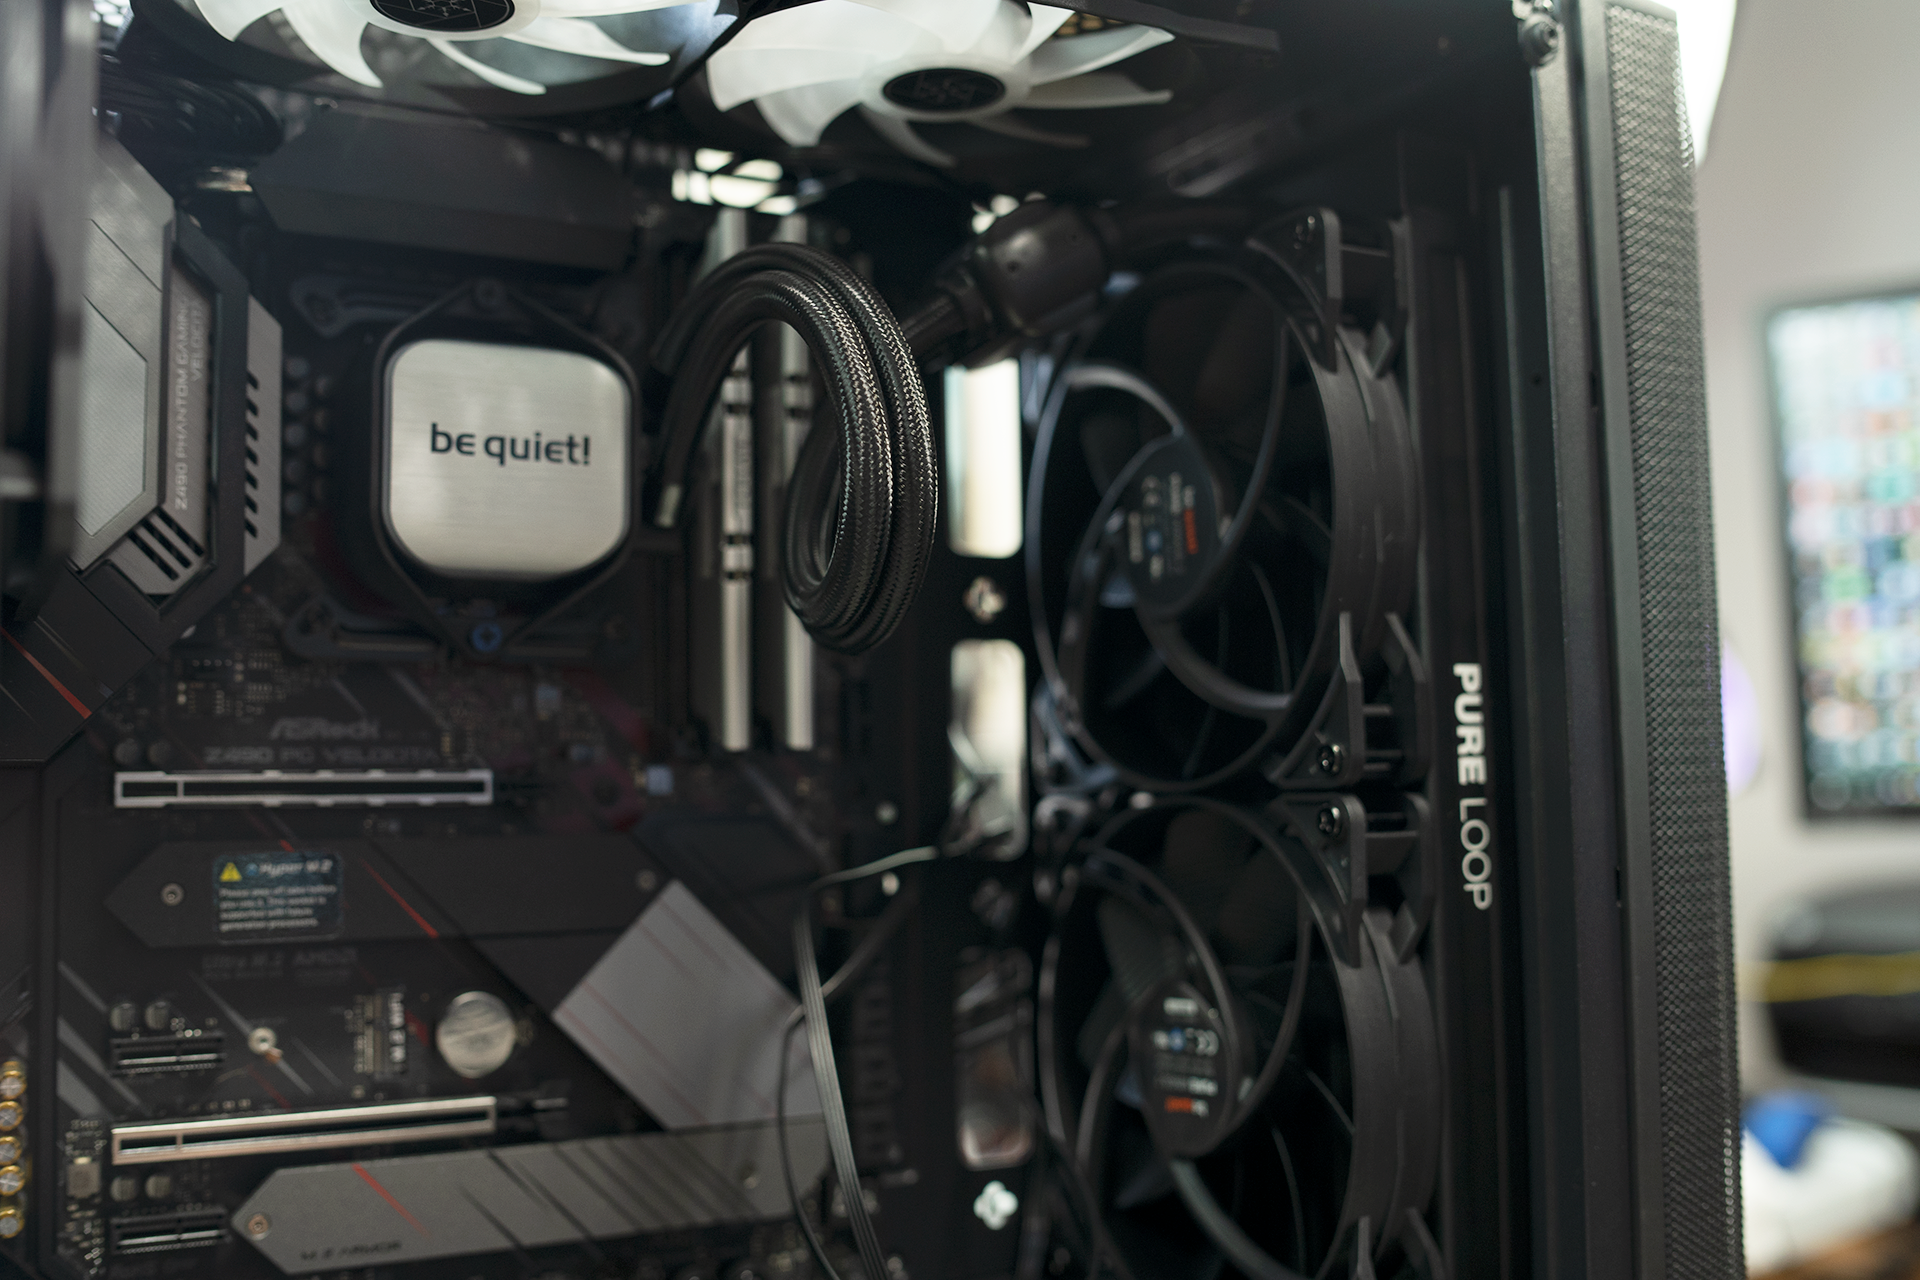
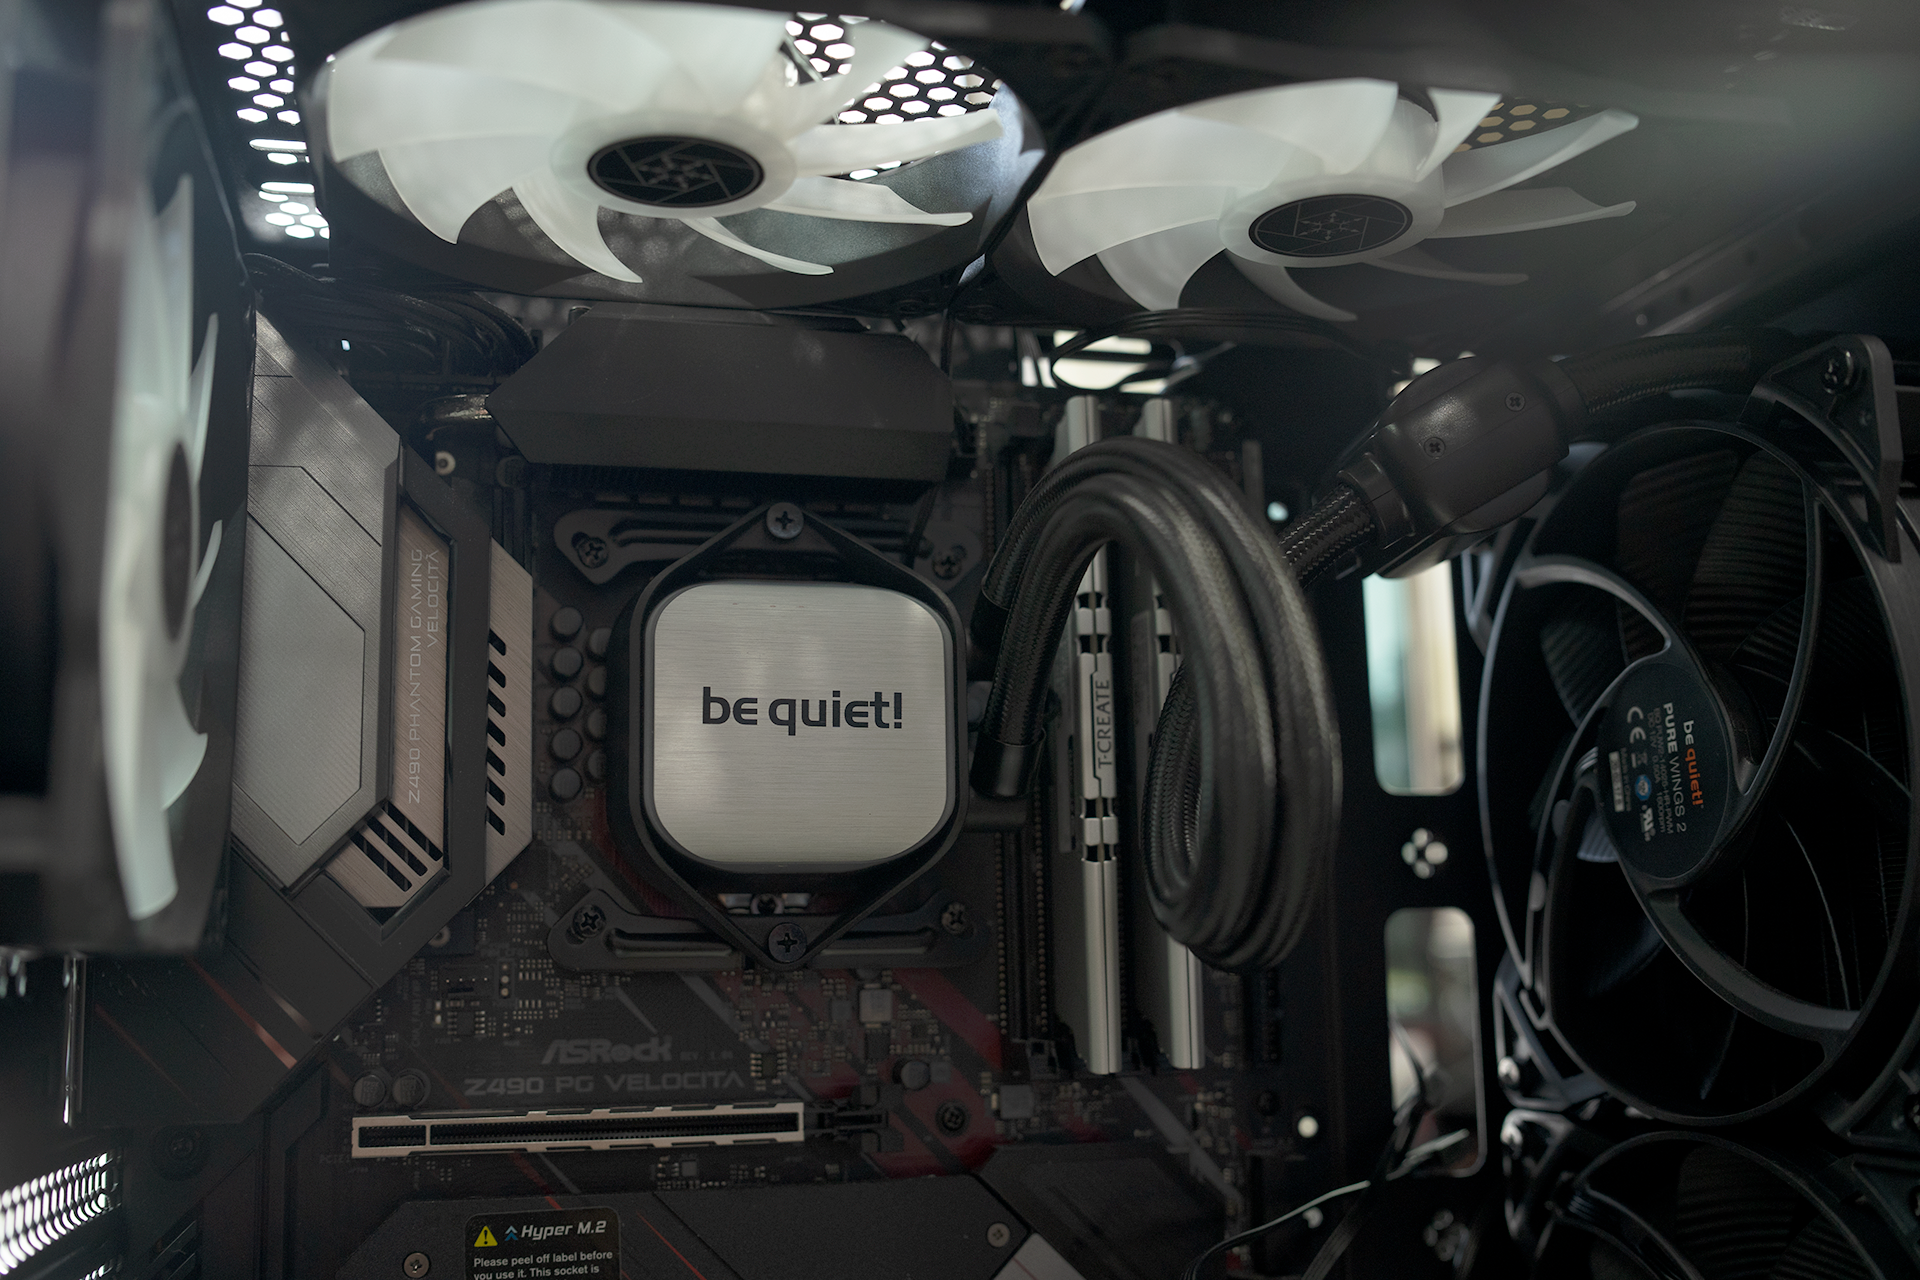
Now that our Silverstone Fara R1 has the power supply and motherboard installed, it’s time for the AIO cooler we’ll be using to cooler our 10600k. For this build, we went with a 280 mm Pure Loop from Be Quiet. We initially tried to install it on the top of the Silverstone Fara R1. However, the heatsinks on the Z490 Velocita got in the way since this is a 280 mm radiator. So, we decided to install the AIO on the front. Here another problem arose. Silverstone advertises that the Silverstone Fara R1 can fit a graphics card up to 322 mm long, with a fan installed in the front. Just not with a fan and a radiator. We tried to install the fans just behind the front panel. When we did this, the front panel IO cables got in the way of the 140 mm fans and the front mesh panel wouldn’t snap back on. So, we had to put the fans on the inside, which prevented us from installing the RTX 3080, RTX 3090, and even an RTX 2080 ti. The only graphics card I had that would fit was an old Maxwell Titan X. But it did the trick for this build. I still say the Maxell cards were the best looking reference cards in the past several generations.
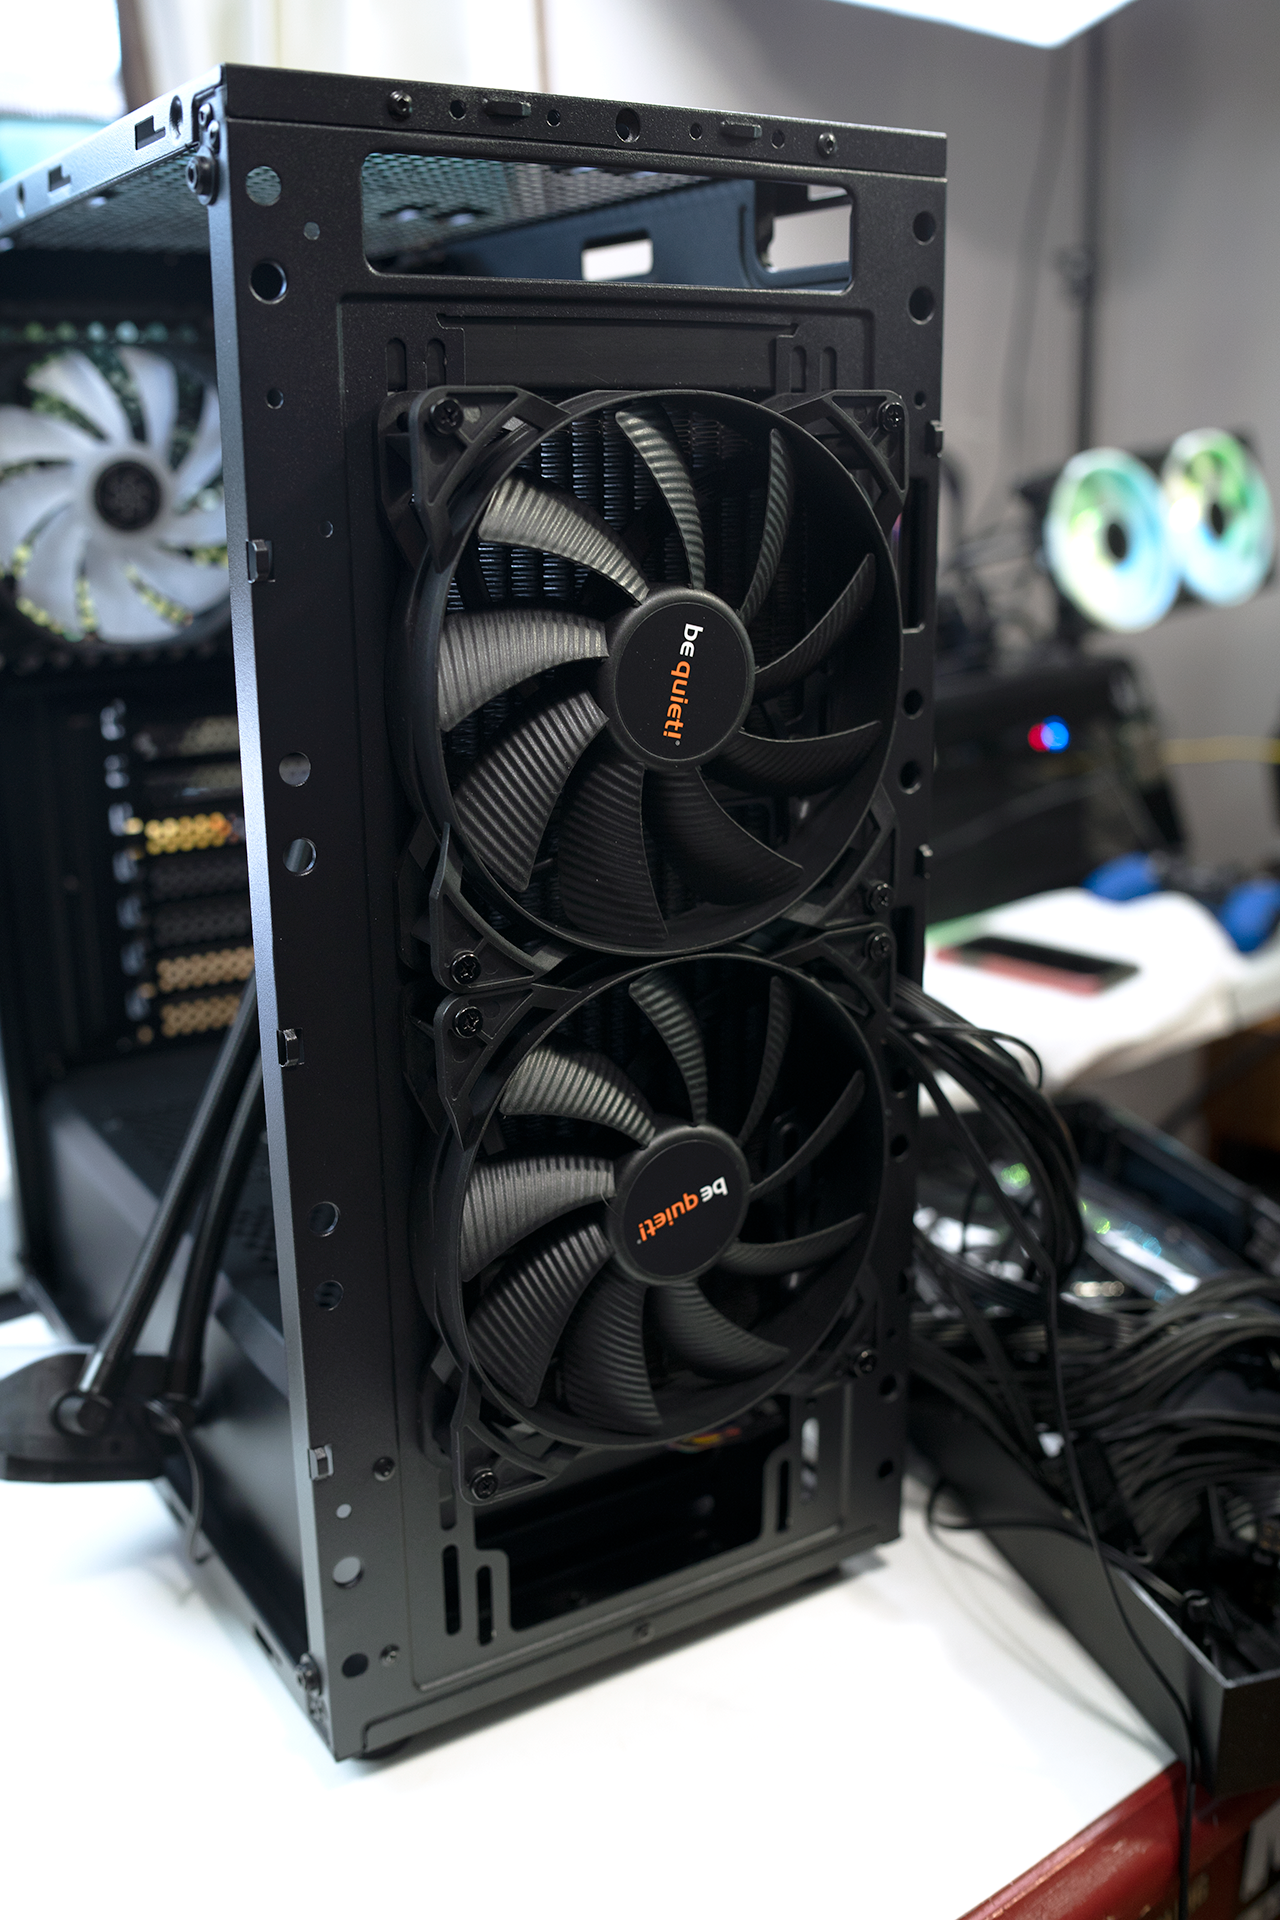
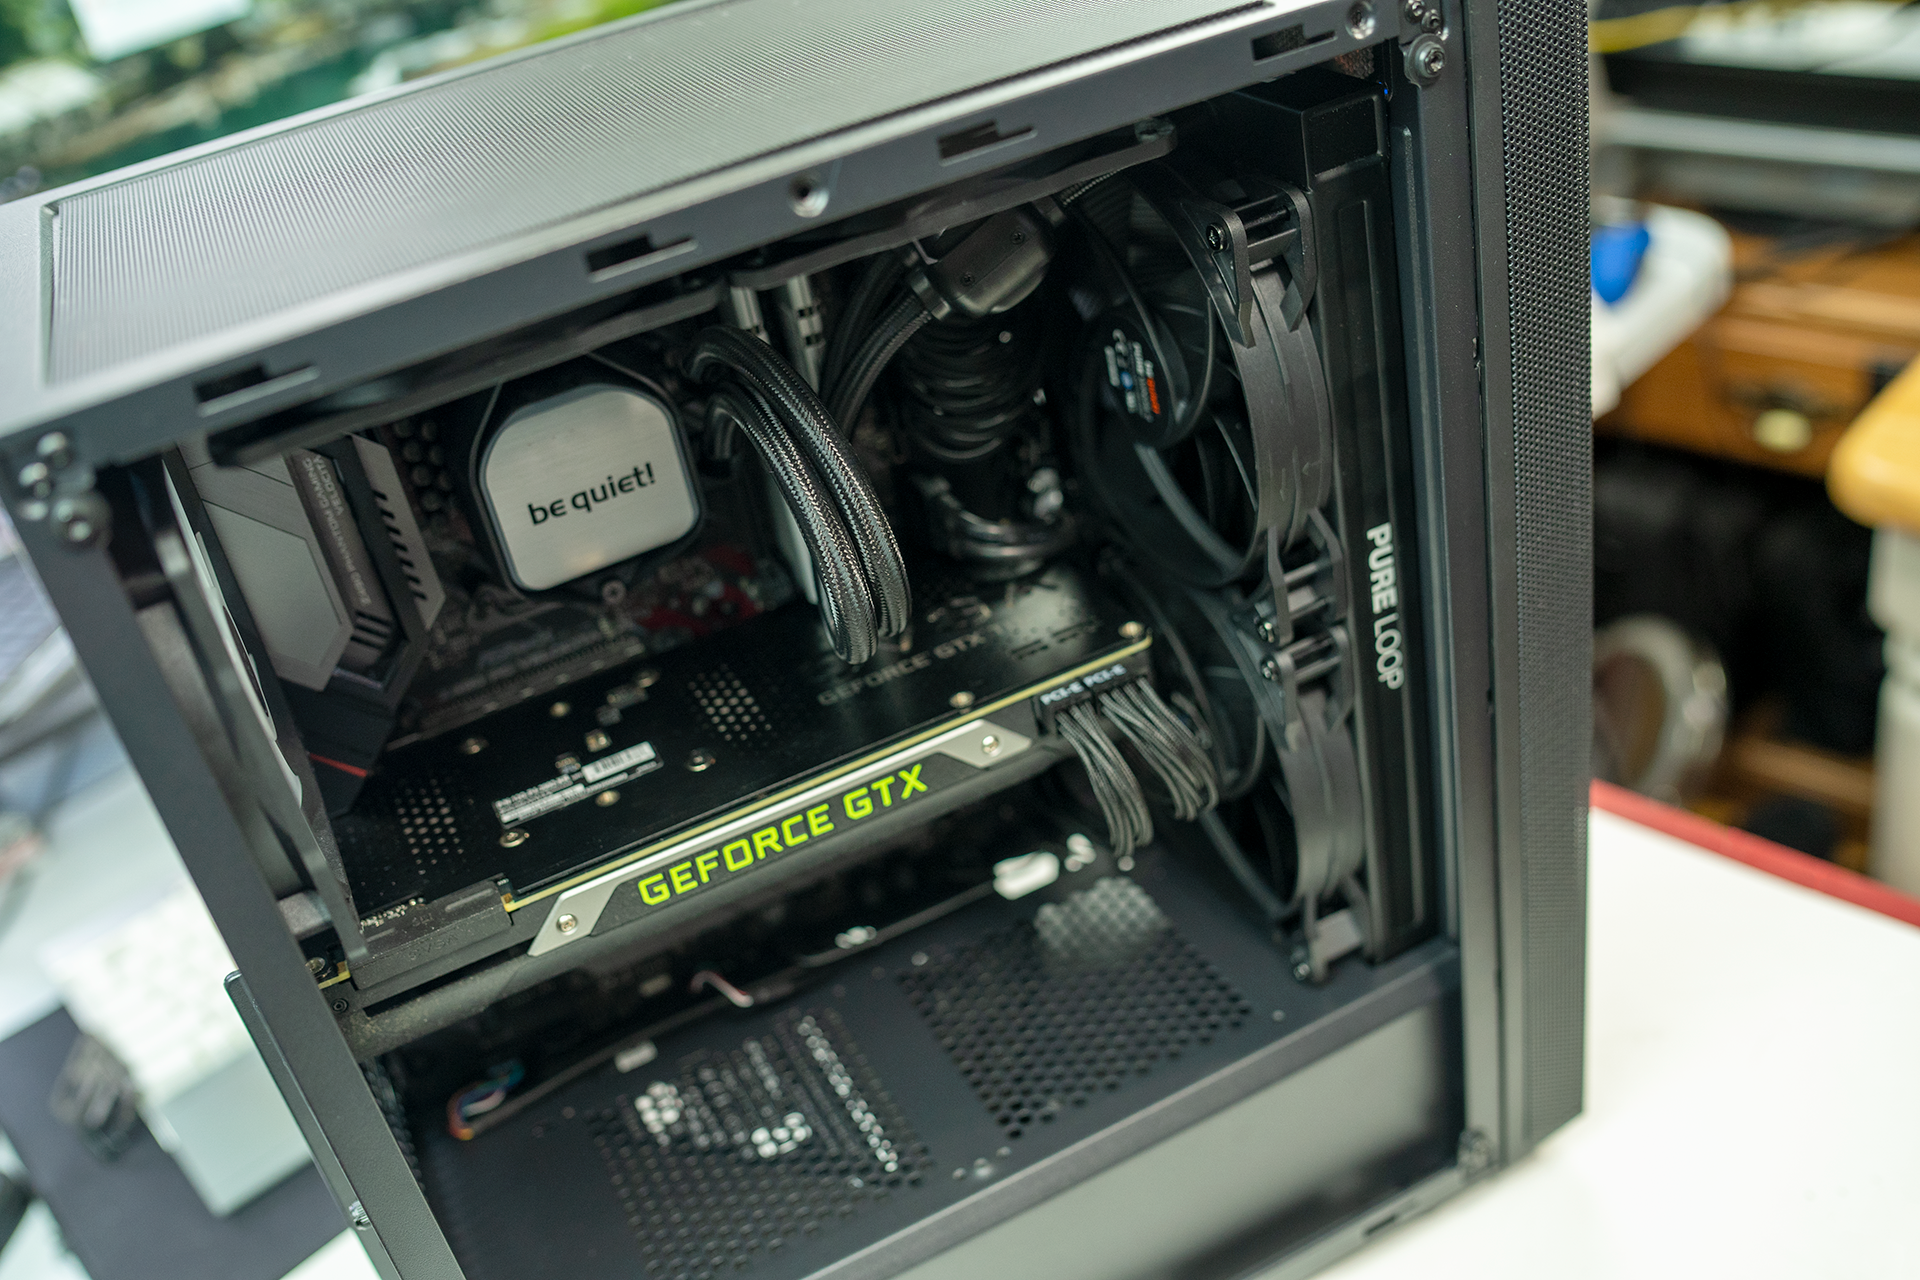
The next step in the building process in the Silverstone Fara R1 Pro was to install the included fans at the top of the case and fasten the block to the motherboard. Once the cooler was installed, it was time to install our graphics card, the Nvidia Maxwell Titan X. It’s a little outdated, but runs about as well as a GTX 1070.
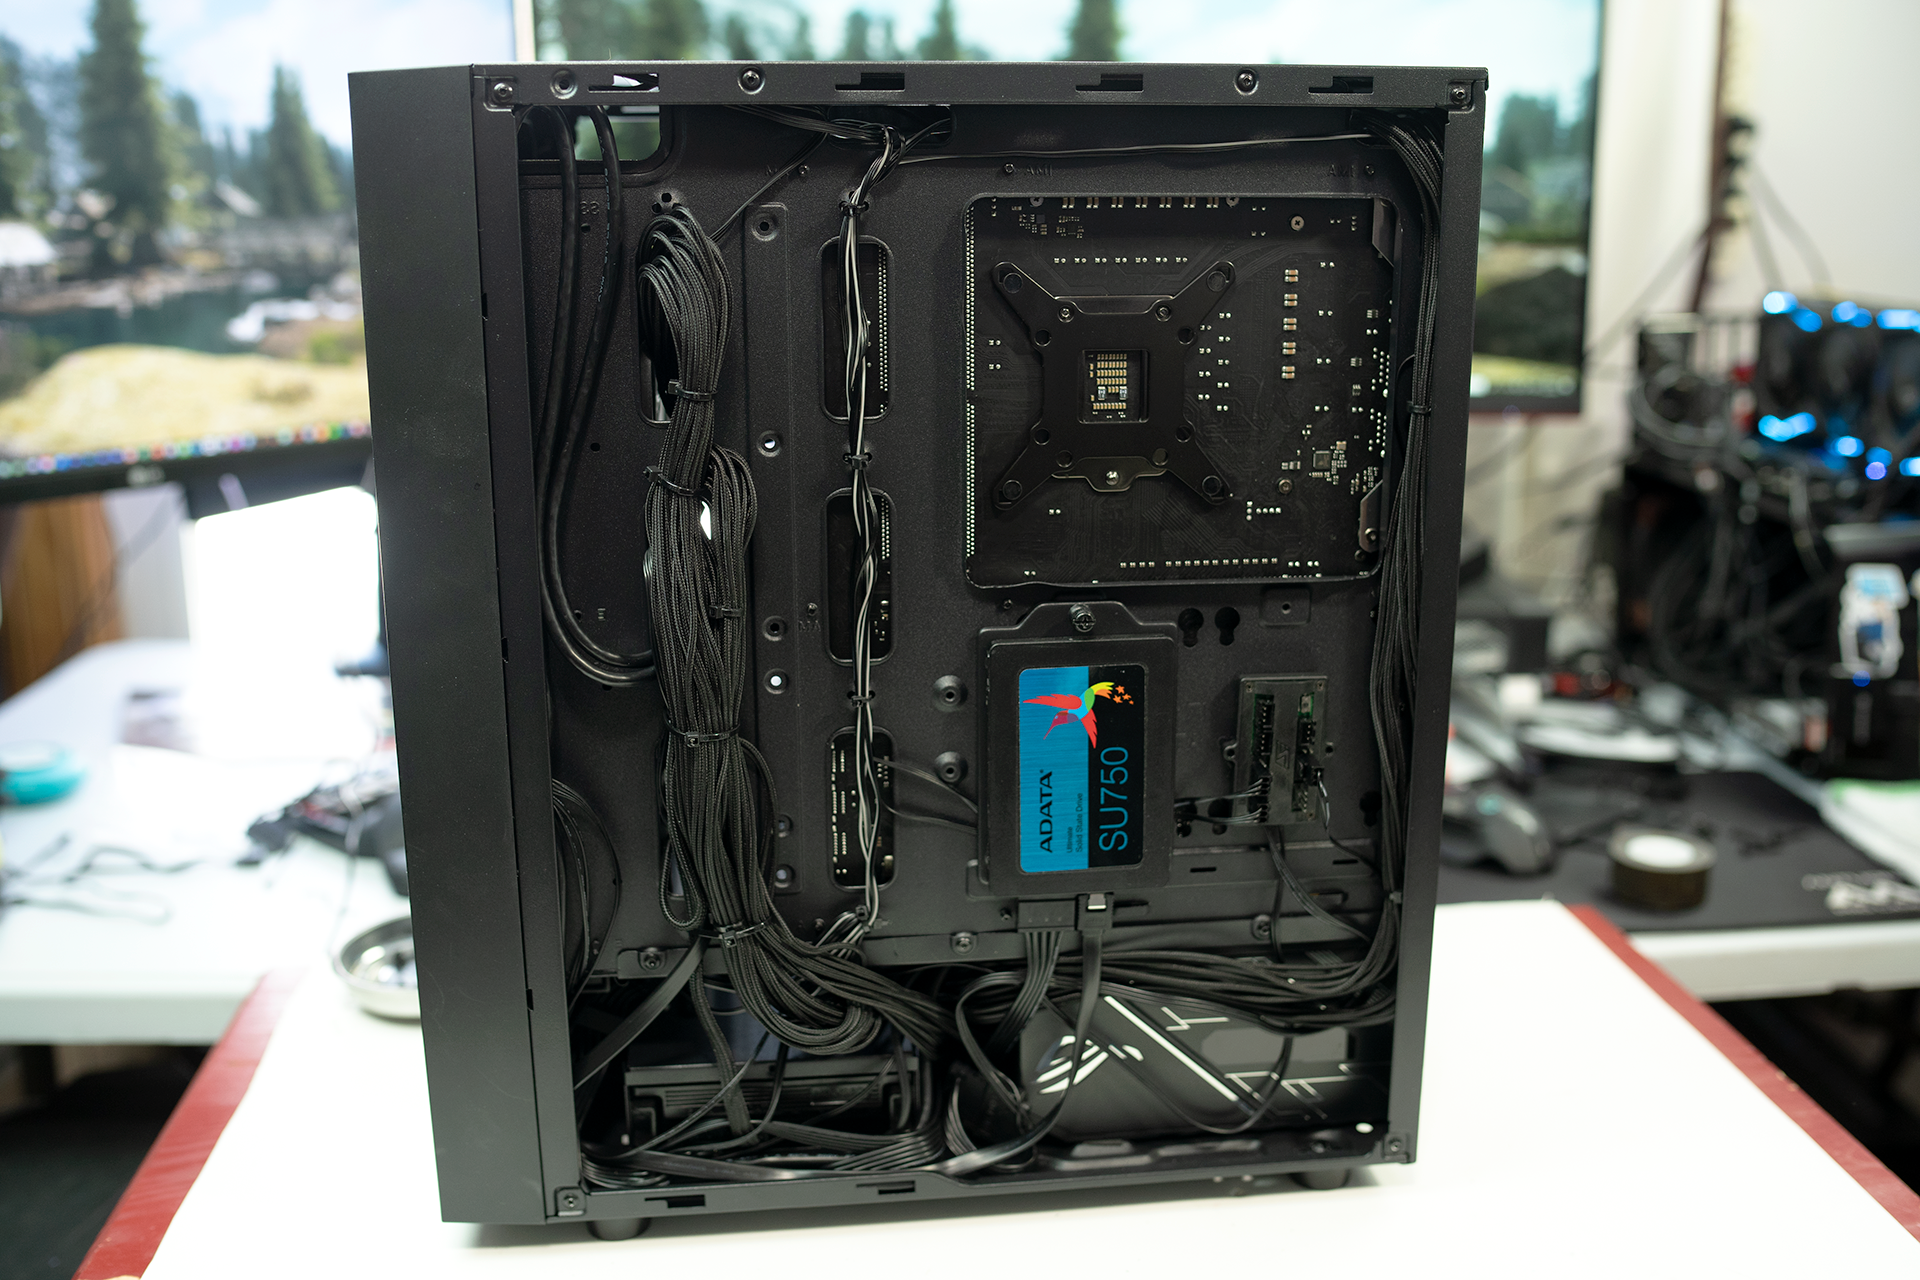
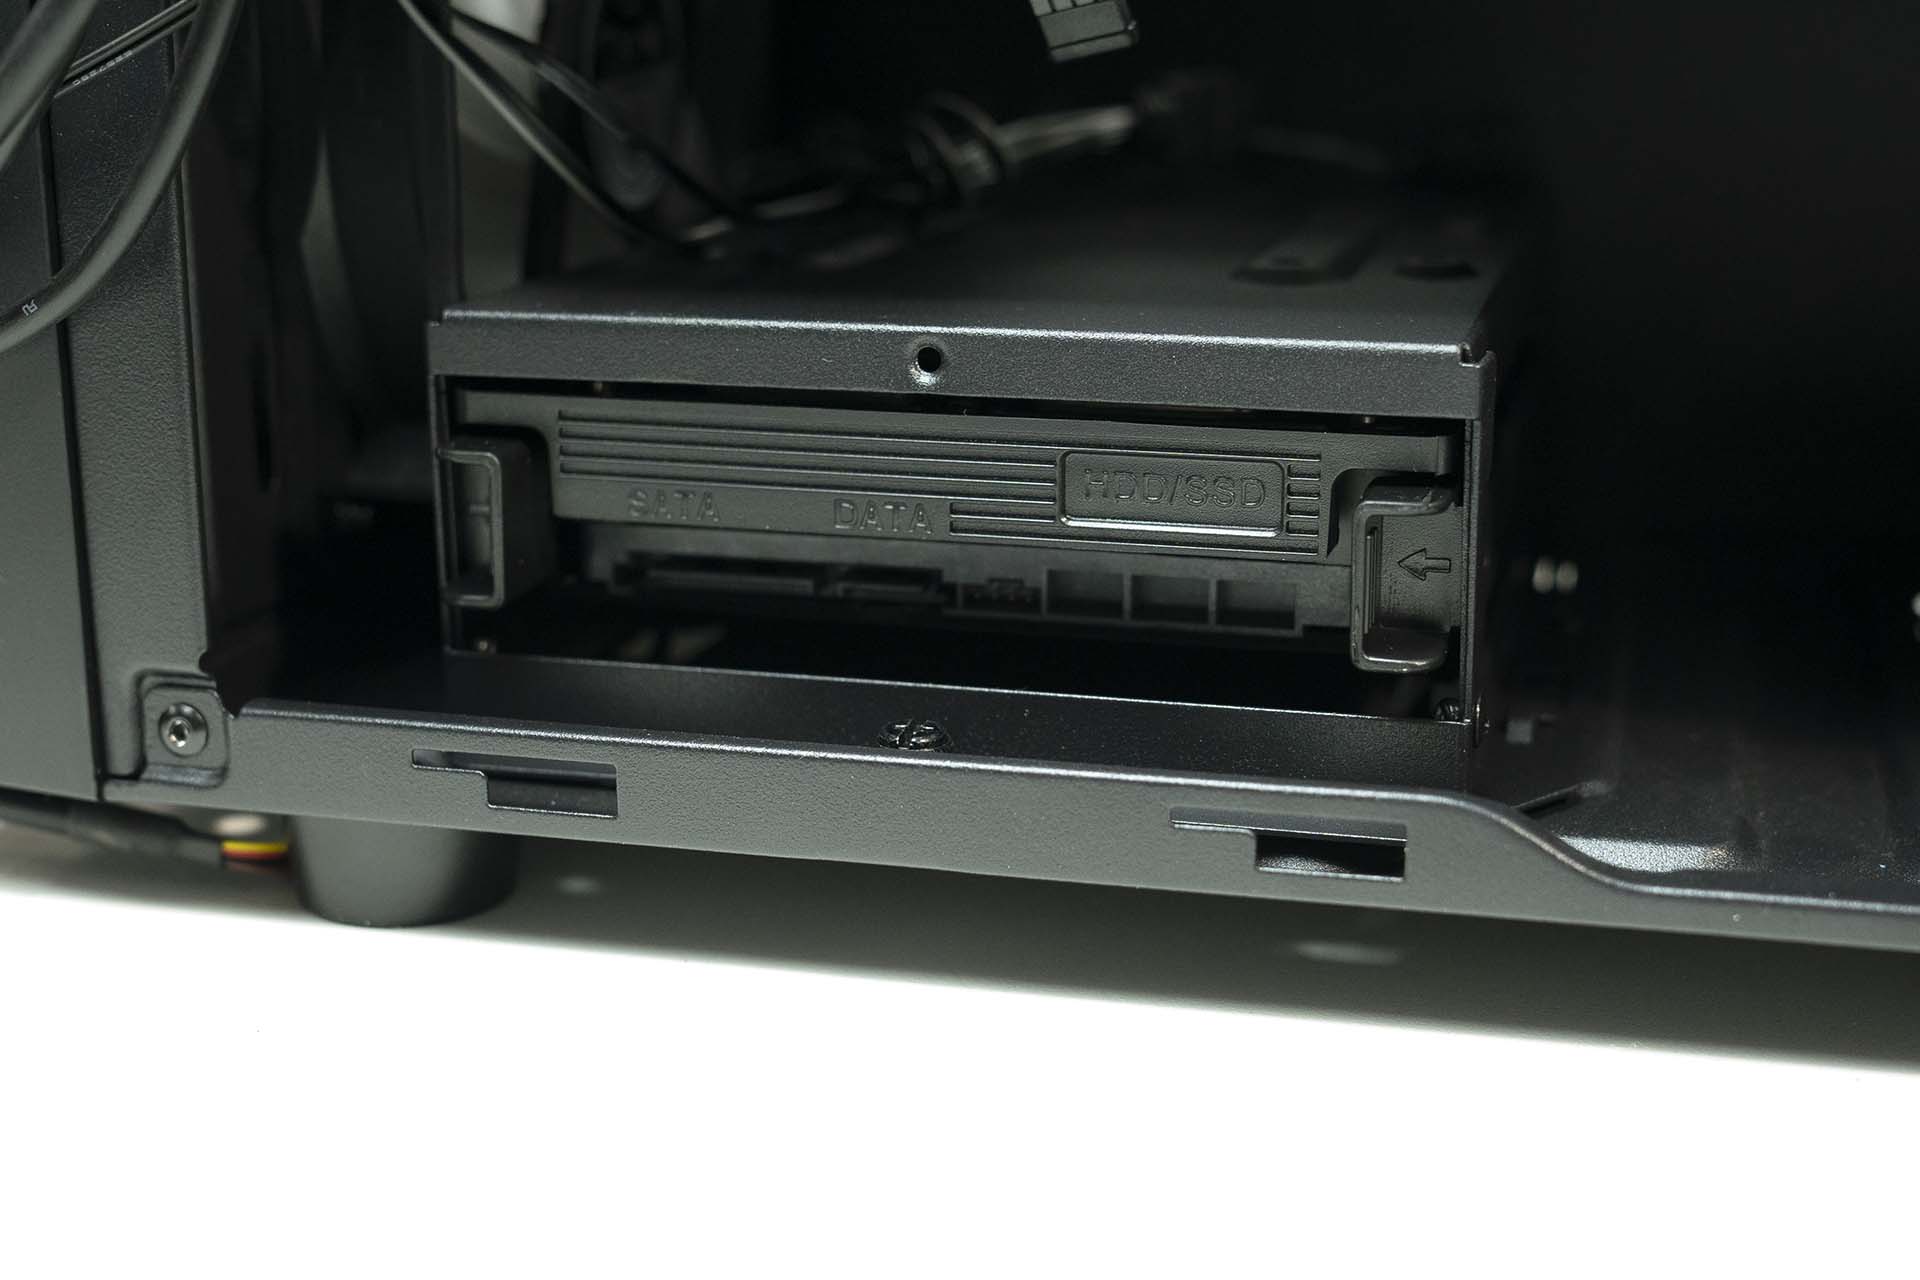
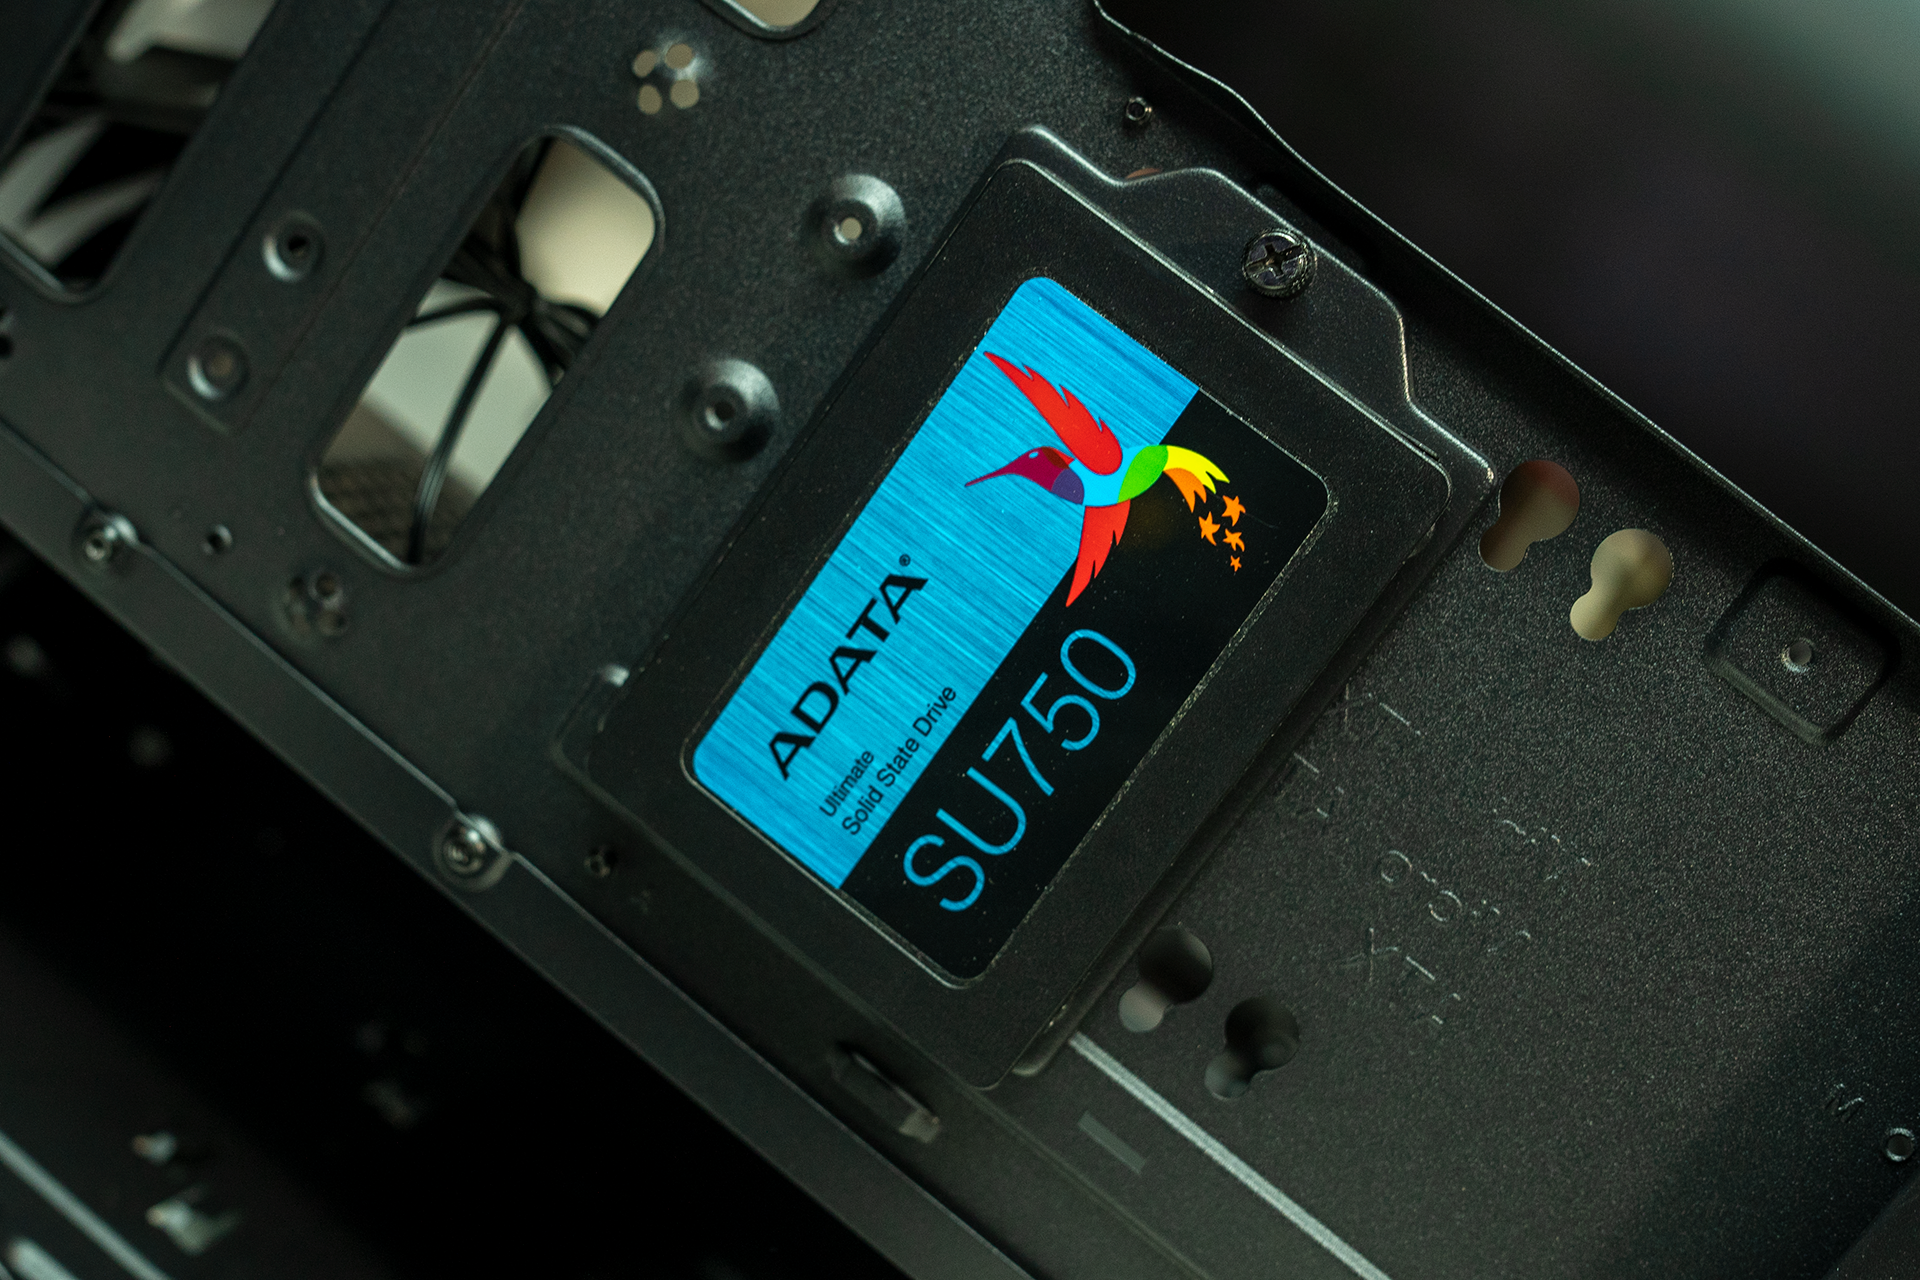
Now that the core components are installed in our Silverstone Fara R1, it’s time to install the storage. With the power supply installed, the 3.5″ drive cage simply slides into place and is held there by a single thumbscrew. We installed two 1 TB NVMe drive on the board itself, and a single 512 GB ADATA SU750 2.5″ SSD behind the motherboard tray. We’re almost done with the building process. All we have left is my favorite part, cable management.
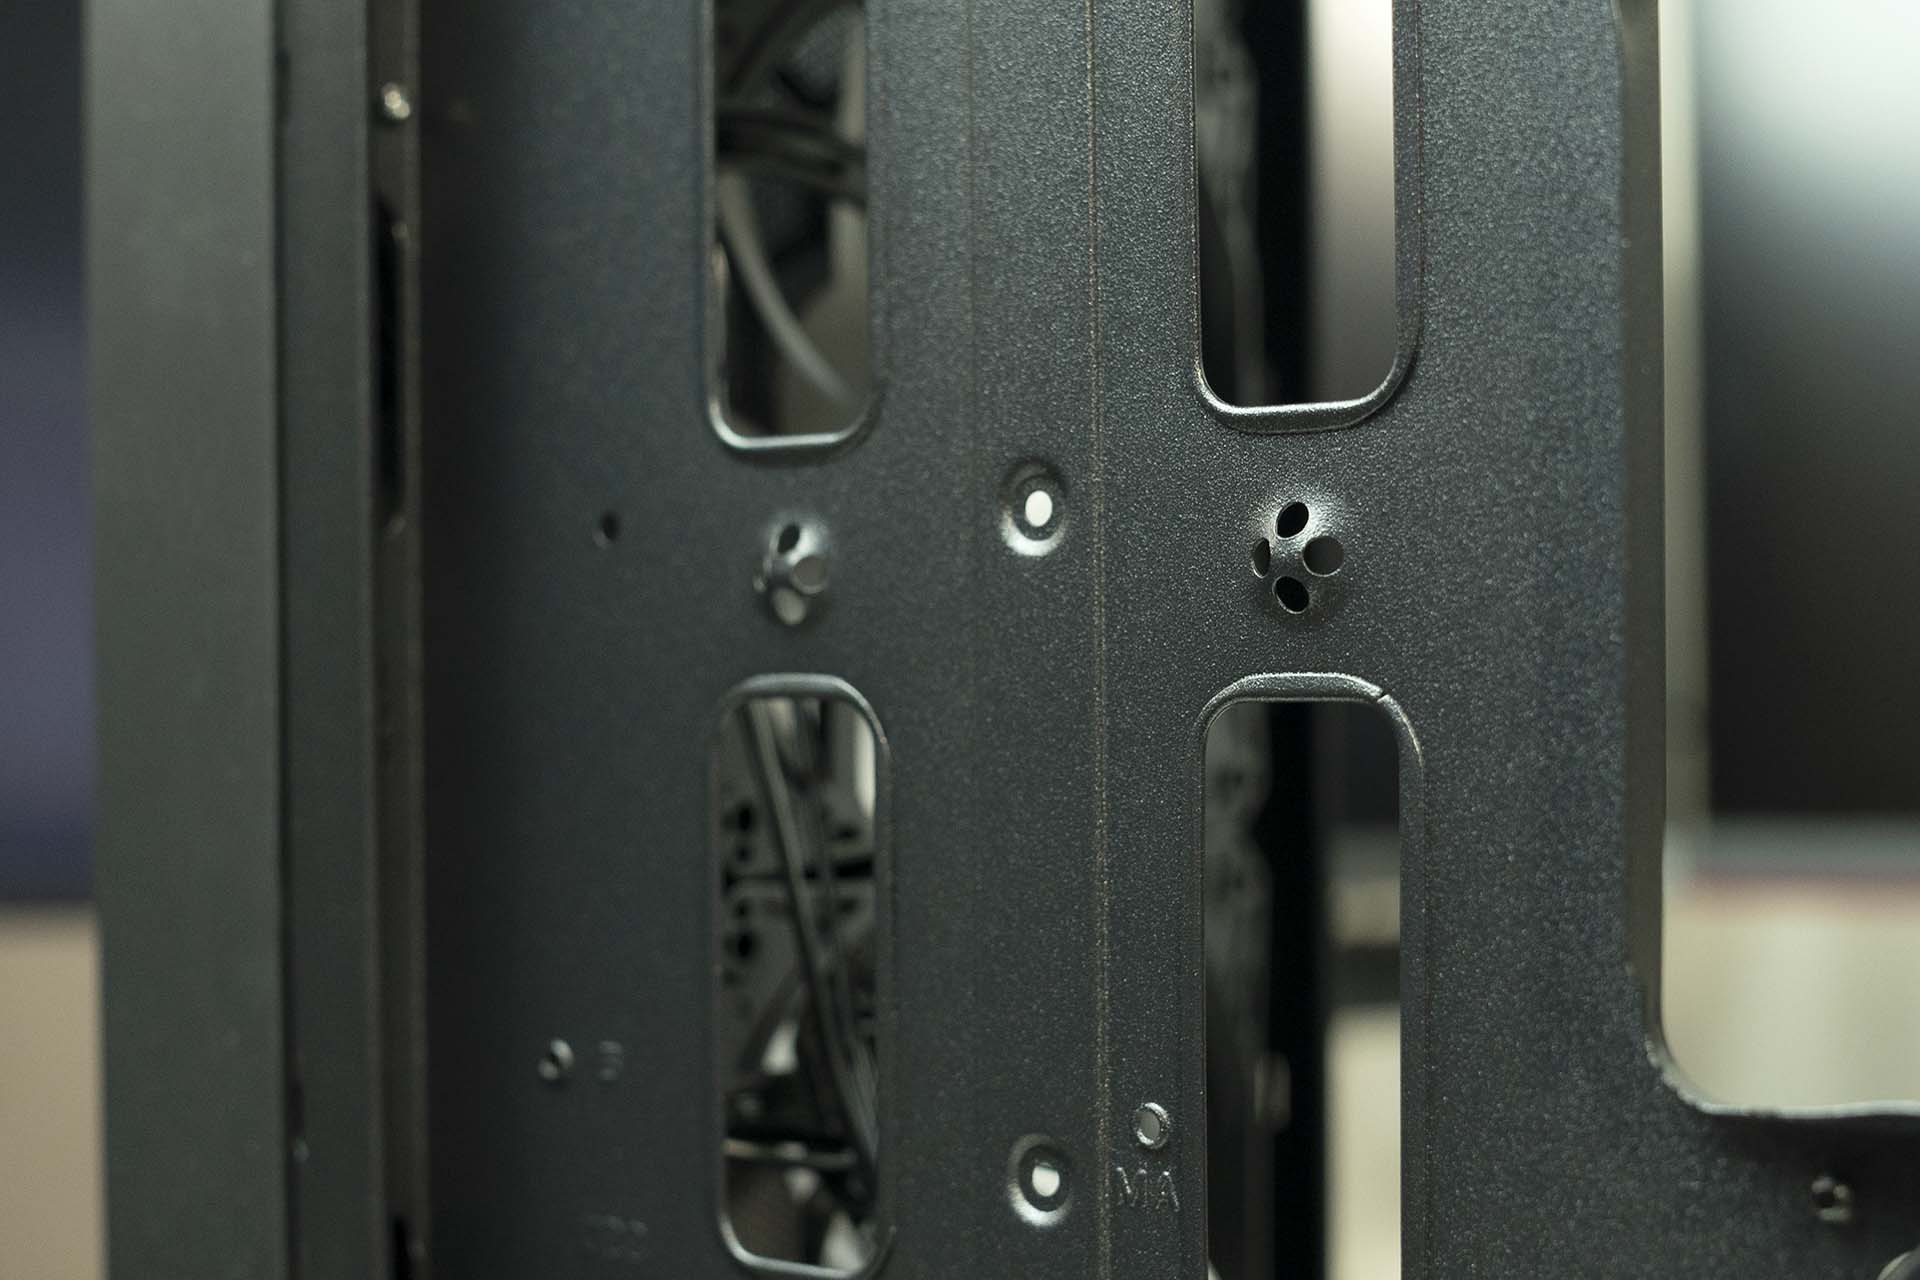
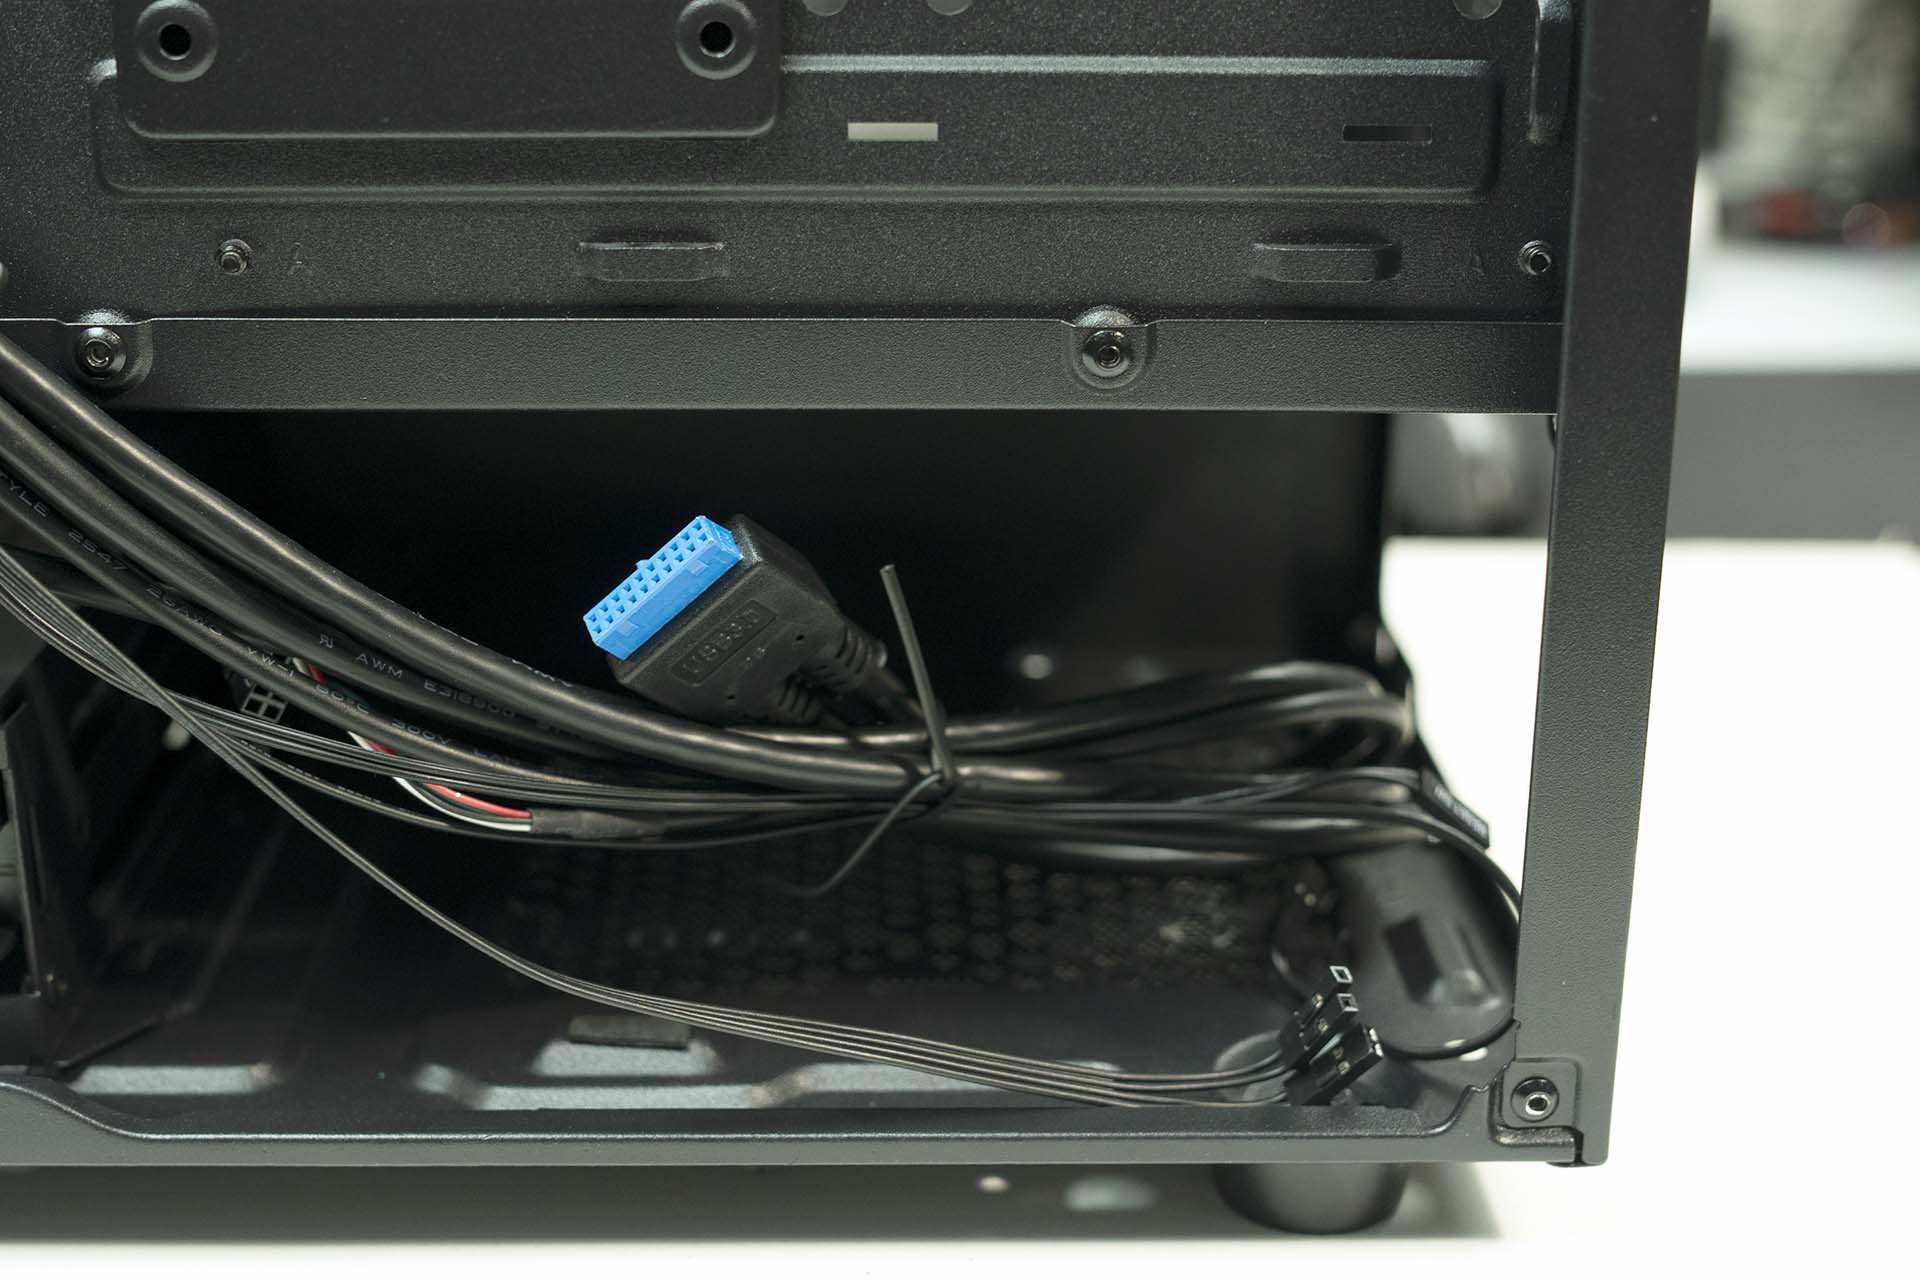
One of my favorite features of the Silverstone Fara R1 is the cable management loops on the back of the motherboard tray. They are little nipples, for lack of a better word, with four small holes. This design allows you to slide multiple zip ties in one spot, at different angles. This made cable management in the Silverstone Fara R1 far easier than I has expected. Now I’m terrible with cable management. However, I was very happy with how the cable management came out in the Silverstone Fara R1. It’s as neat and clean as I’ve personally ever been able to do without custom sleeved cables. Silverstone left plenty of room behind the motherboard tray to stuff cables. Generally, especially with more budget-oriented cases, I expect to have to use a little force to get the back panel on. However, this was not the case with the Silverstone Fara R1.