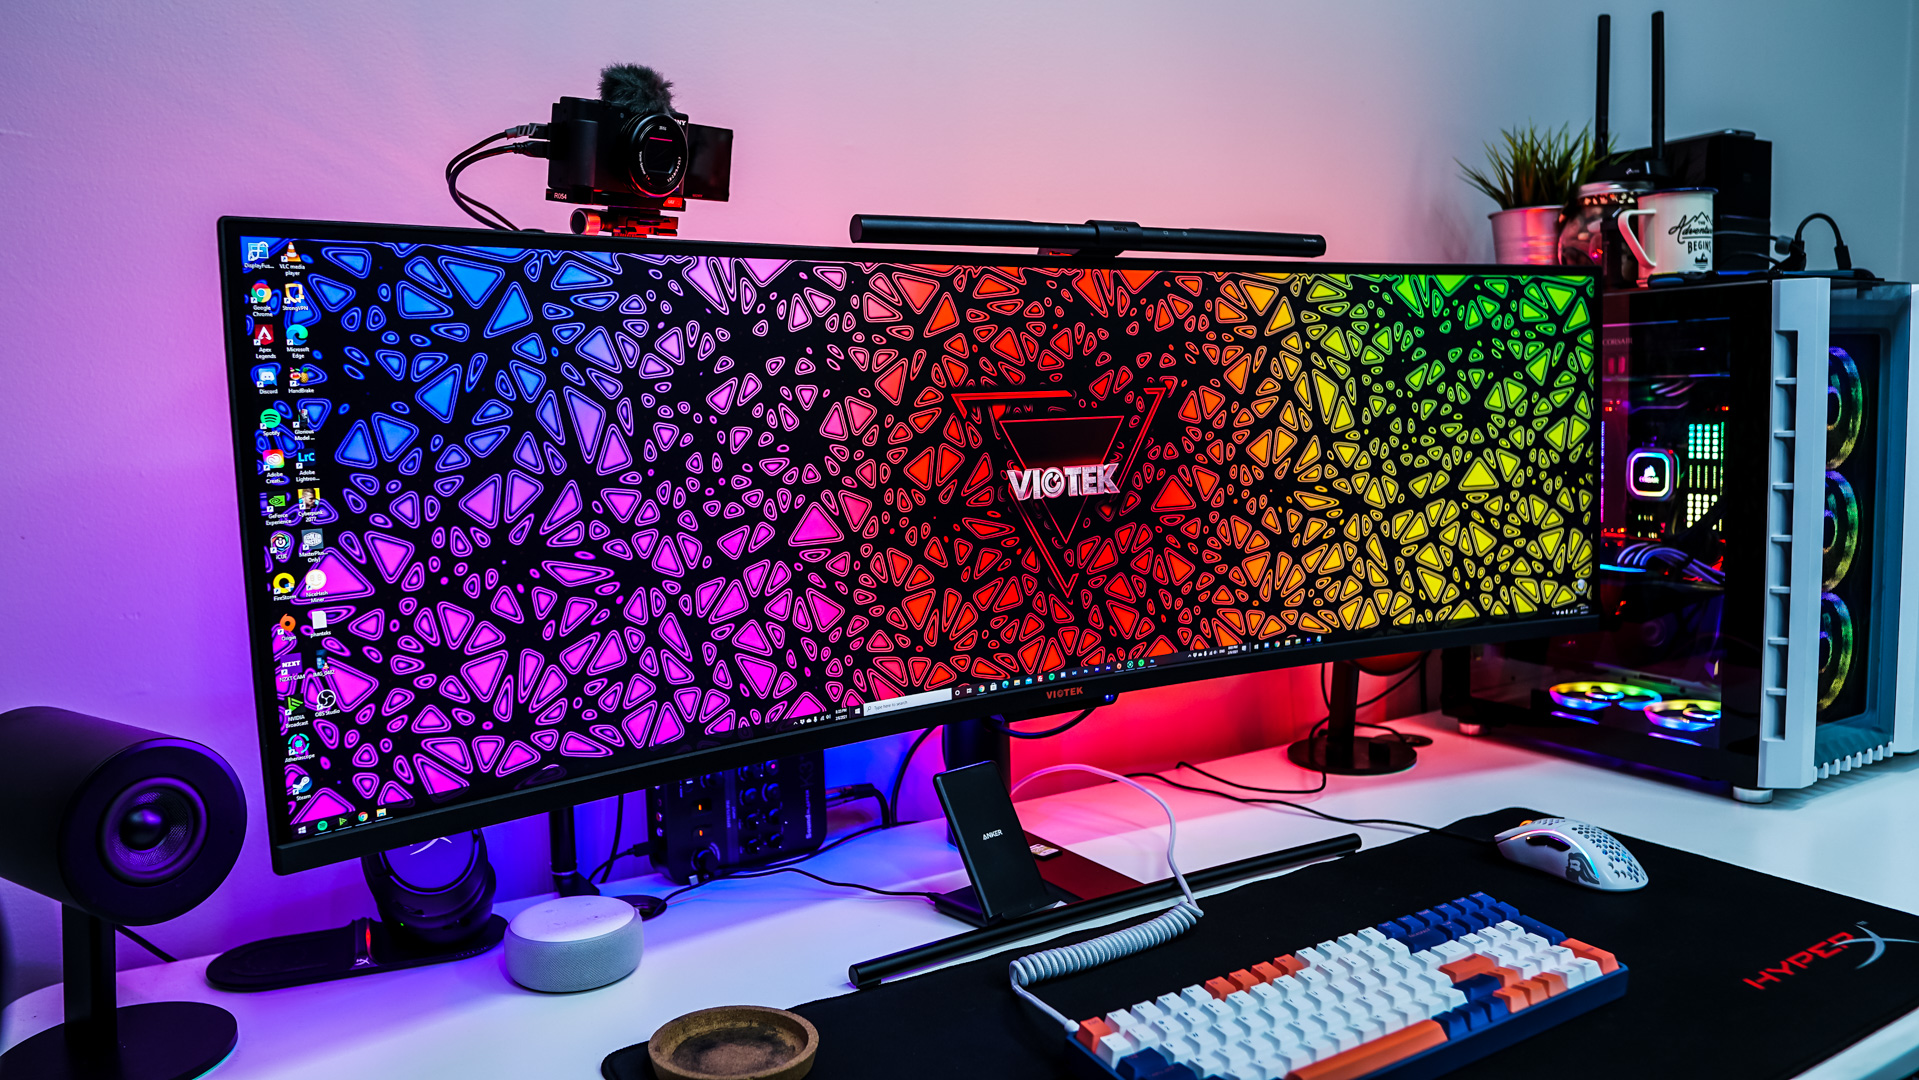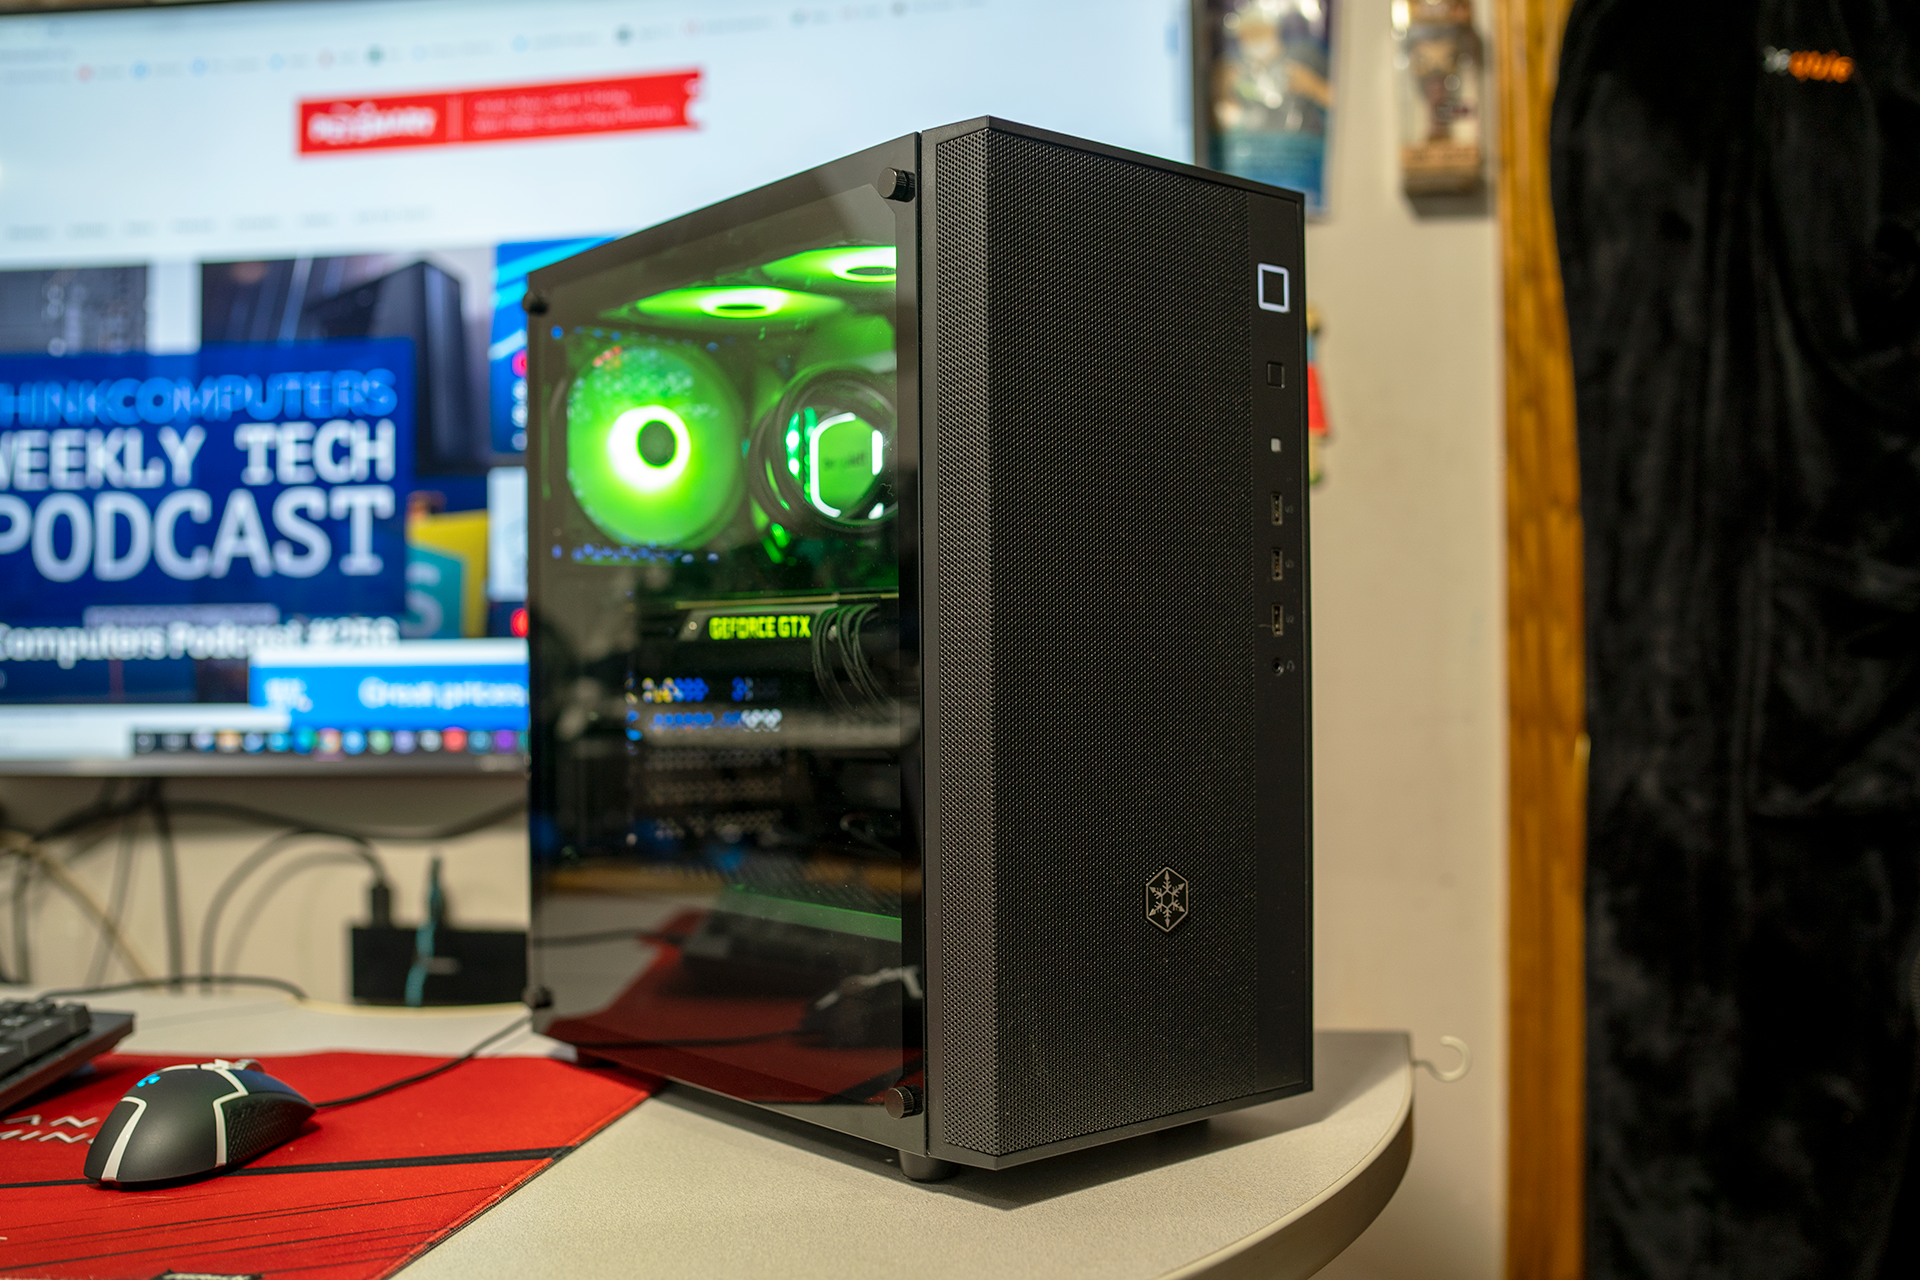
Inside the Silverstone Fara R1 Pro

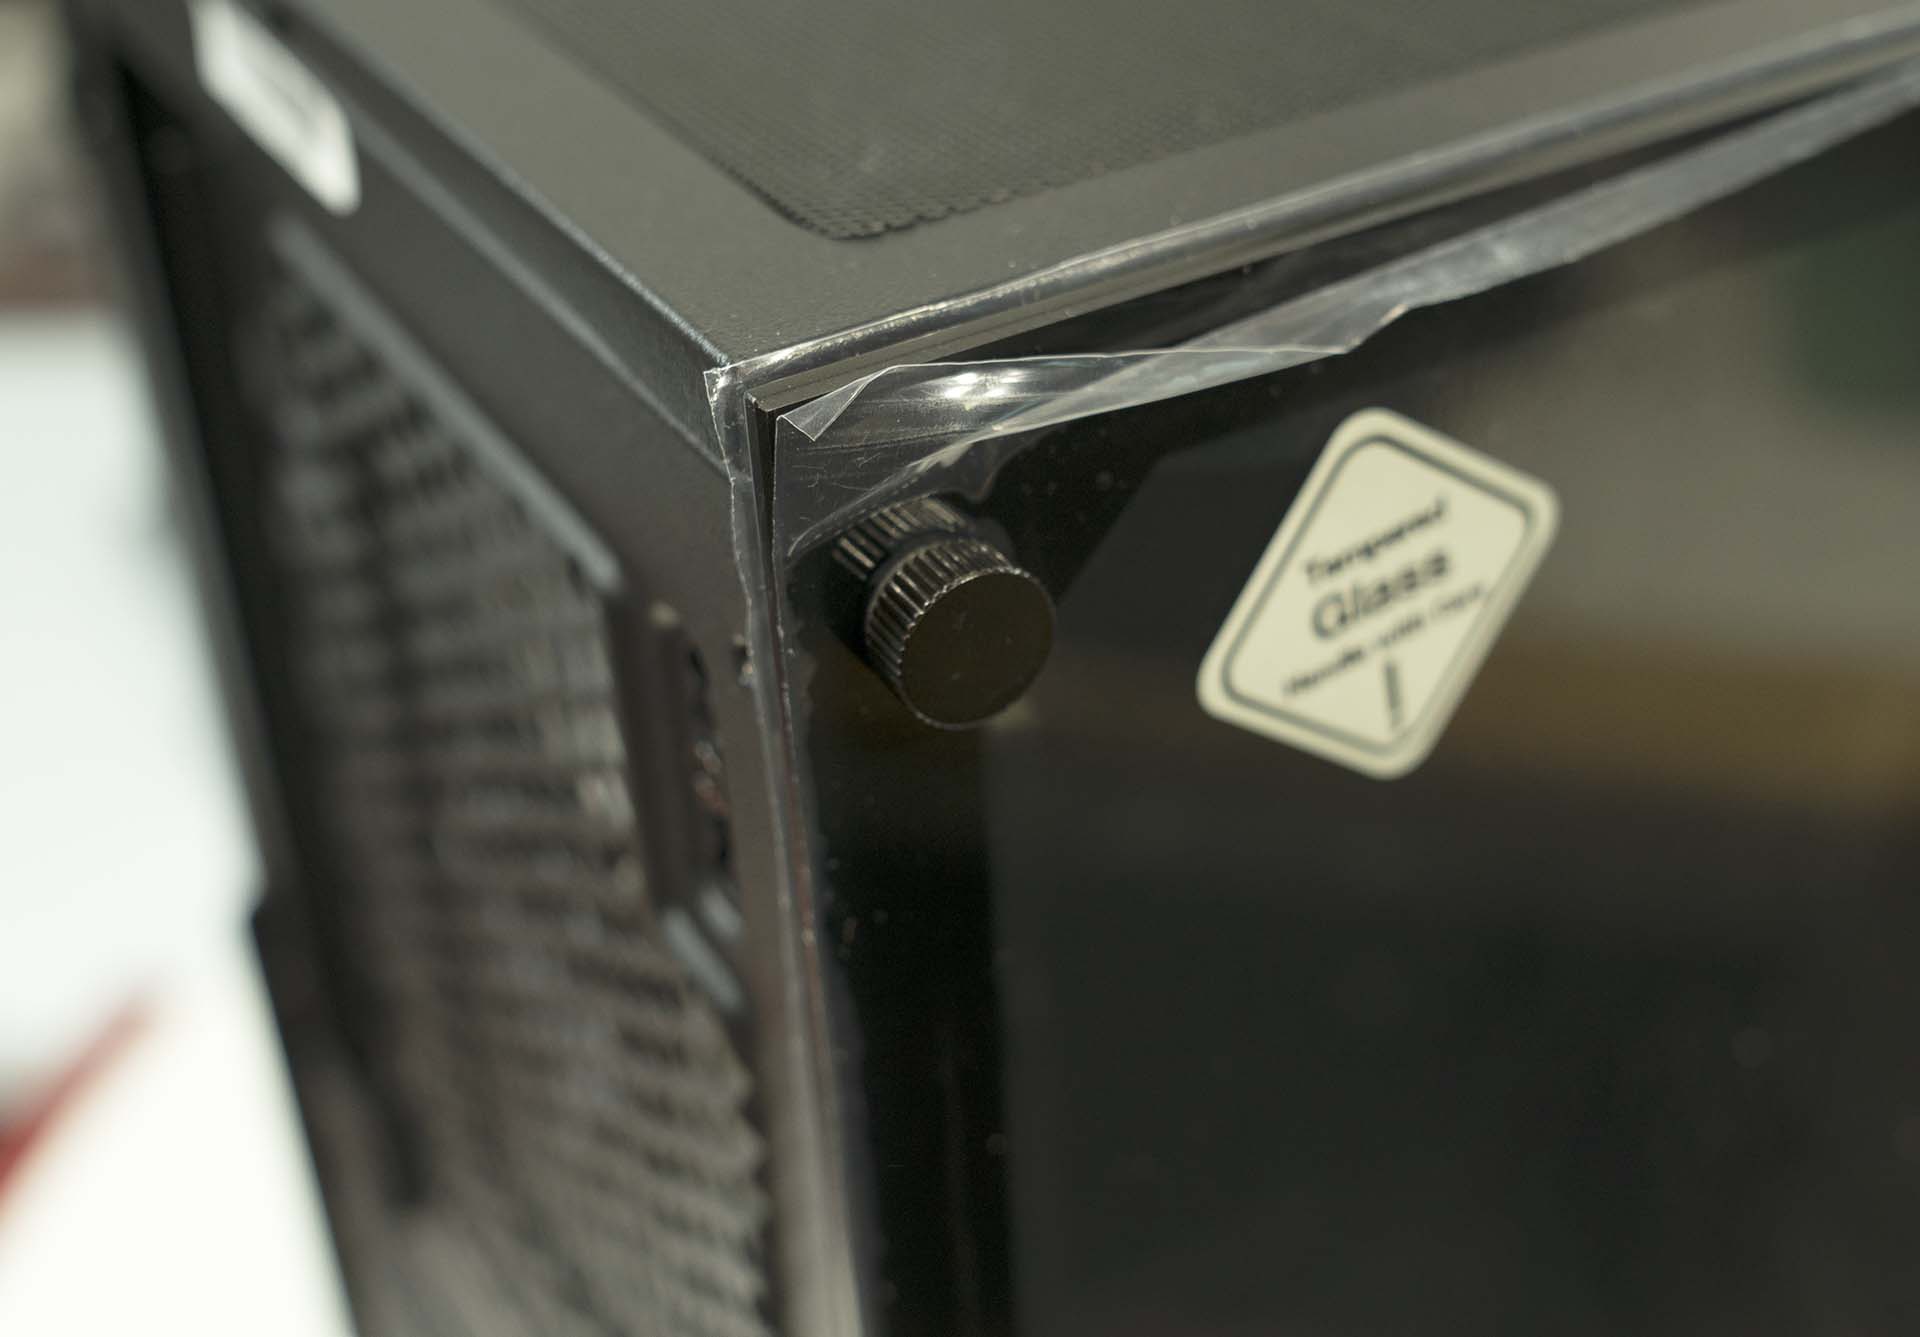
The first thing we need to do to look at the interior of the Silverstone Fara R1 is to remove the tempered glass side panel. This is held in place by four thumbscrews that have rubber grommets. The rubber grommets help to prevent over-tightening that can lead to breaking the glass. On the back, there are two more traditional thumb screws holding the rear panel in place.

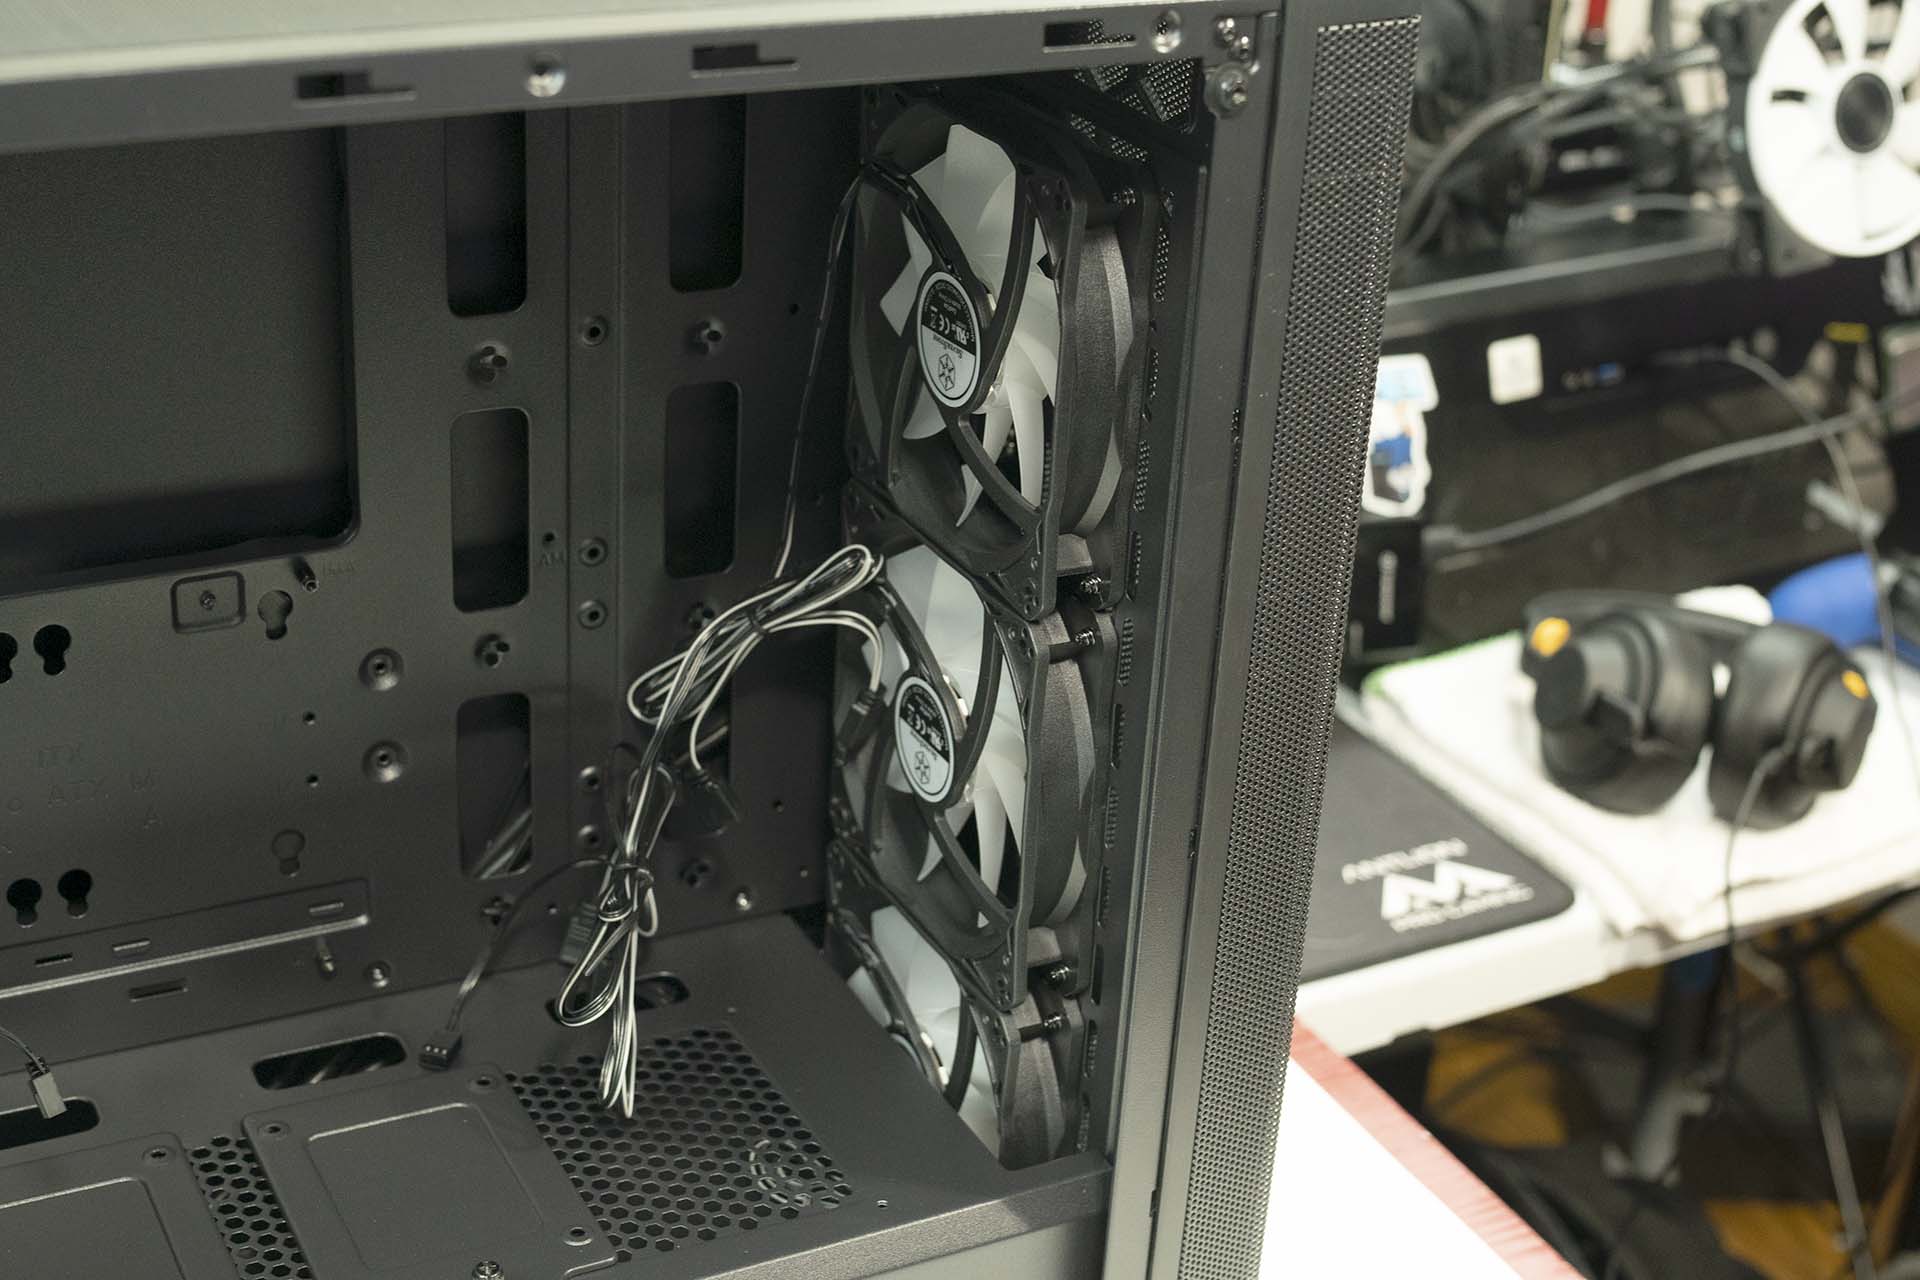
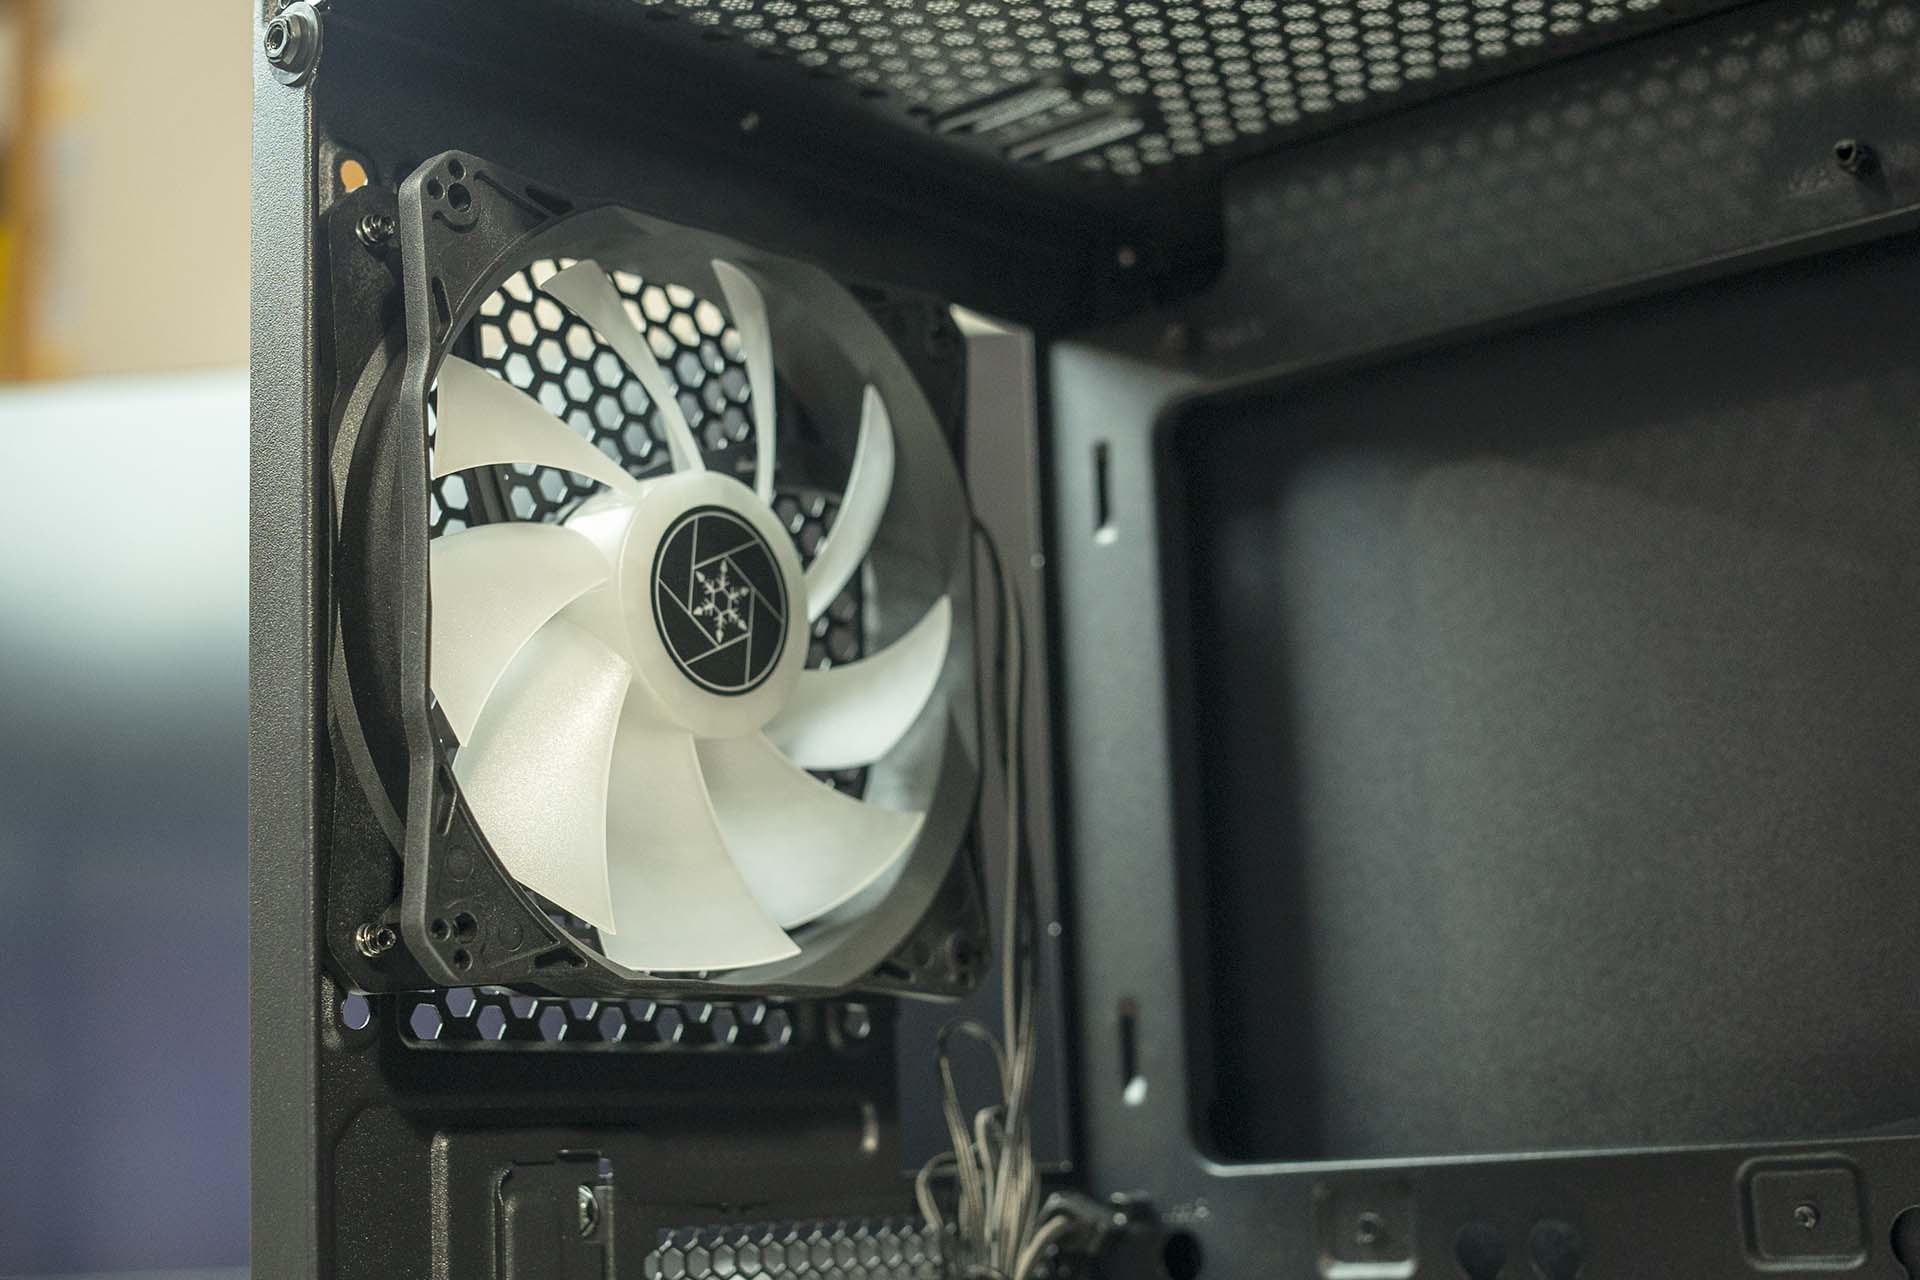
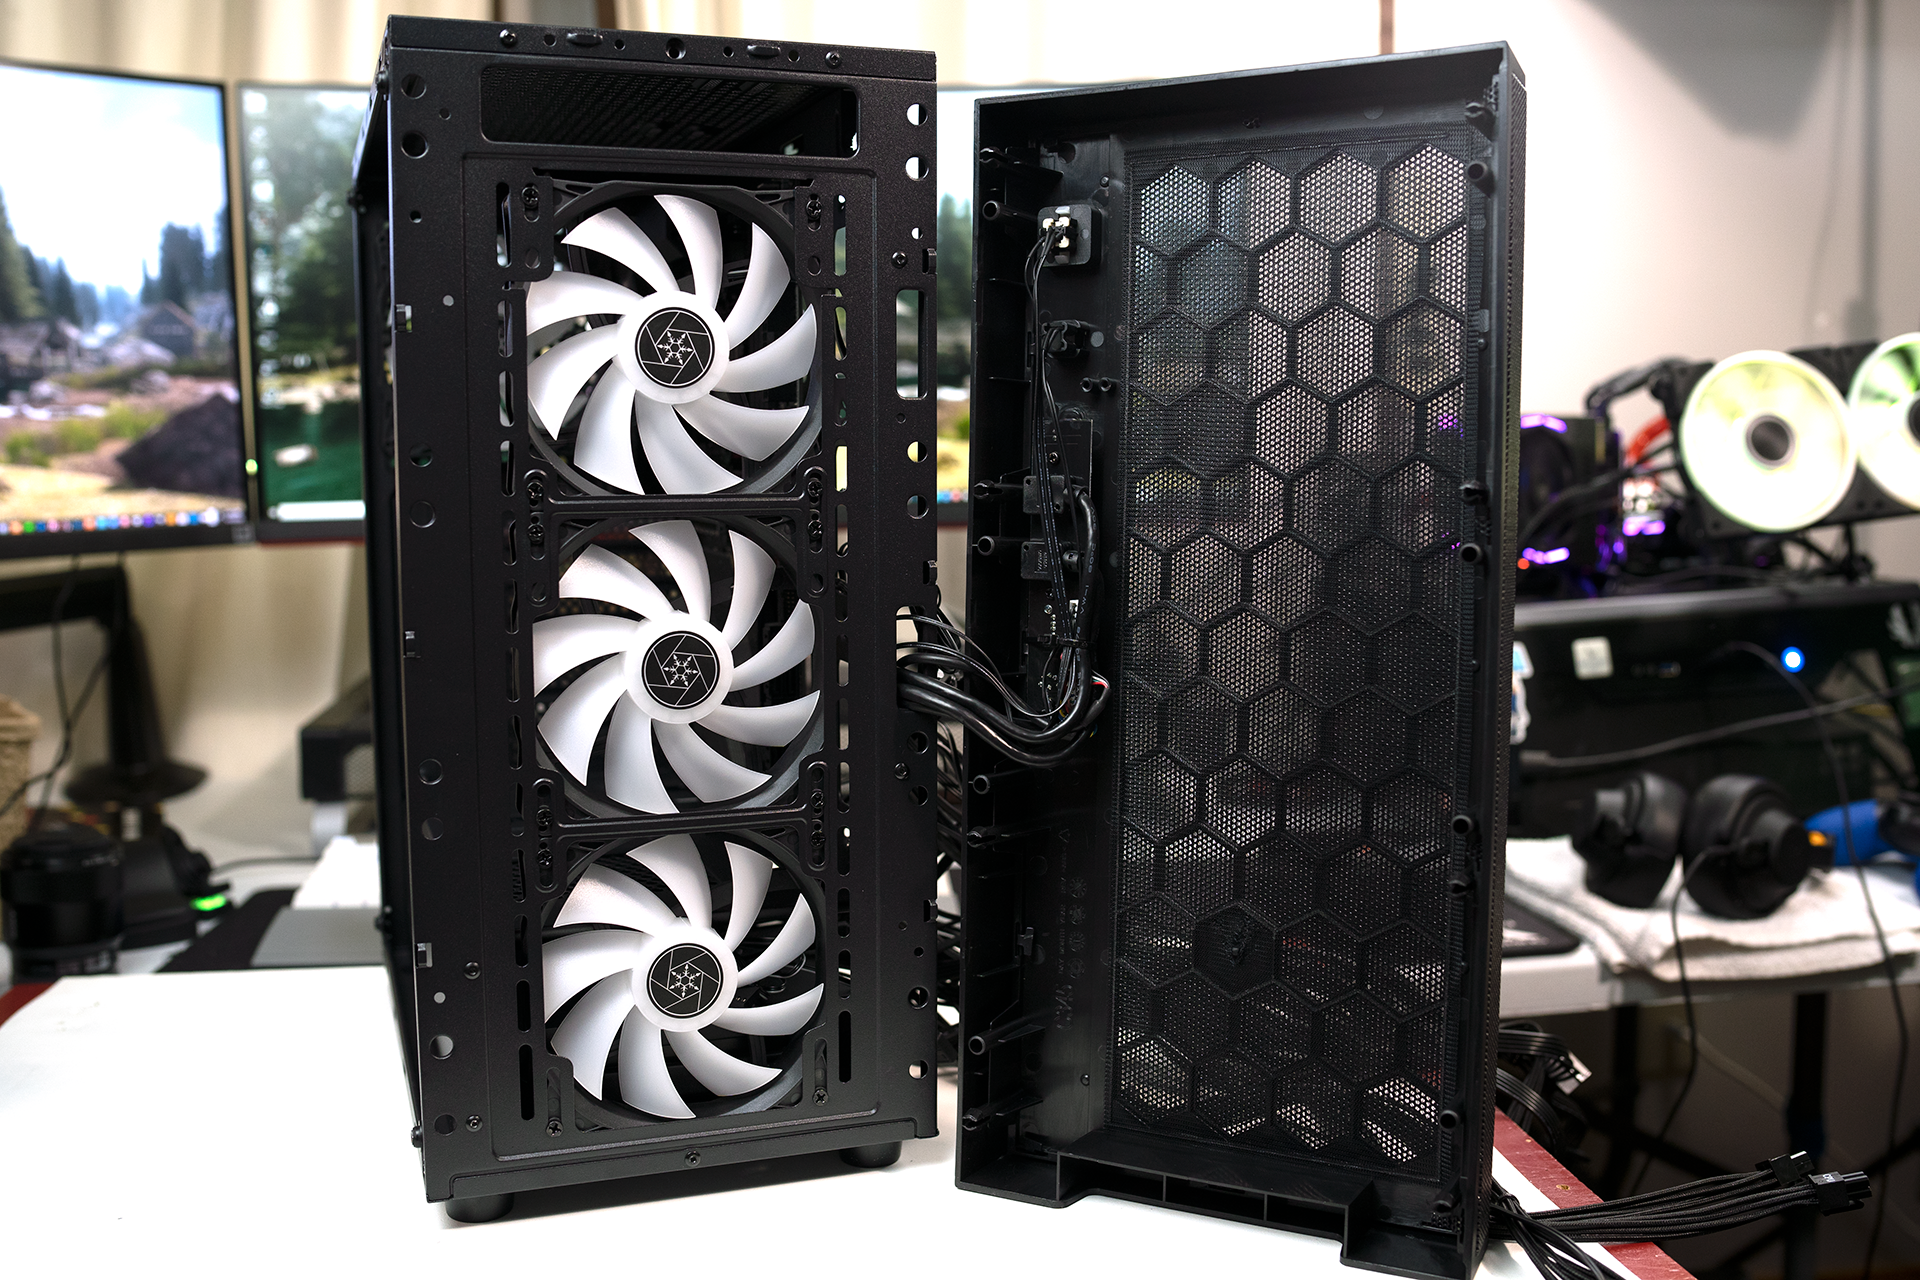
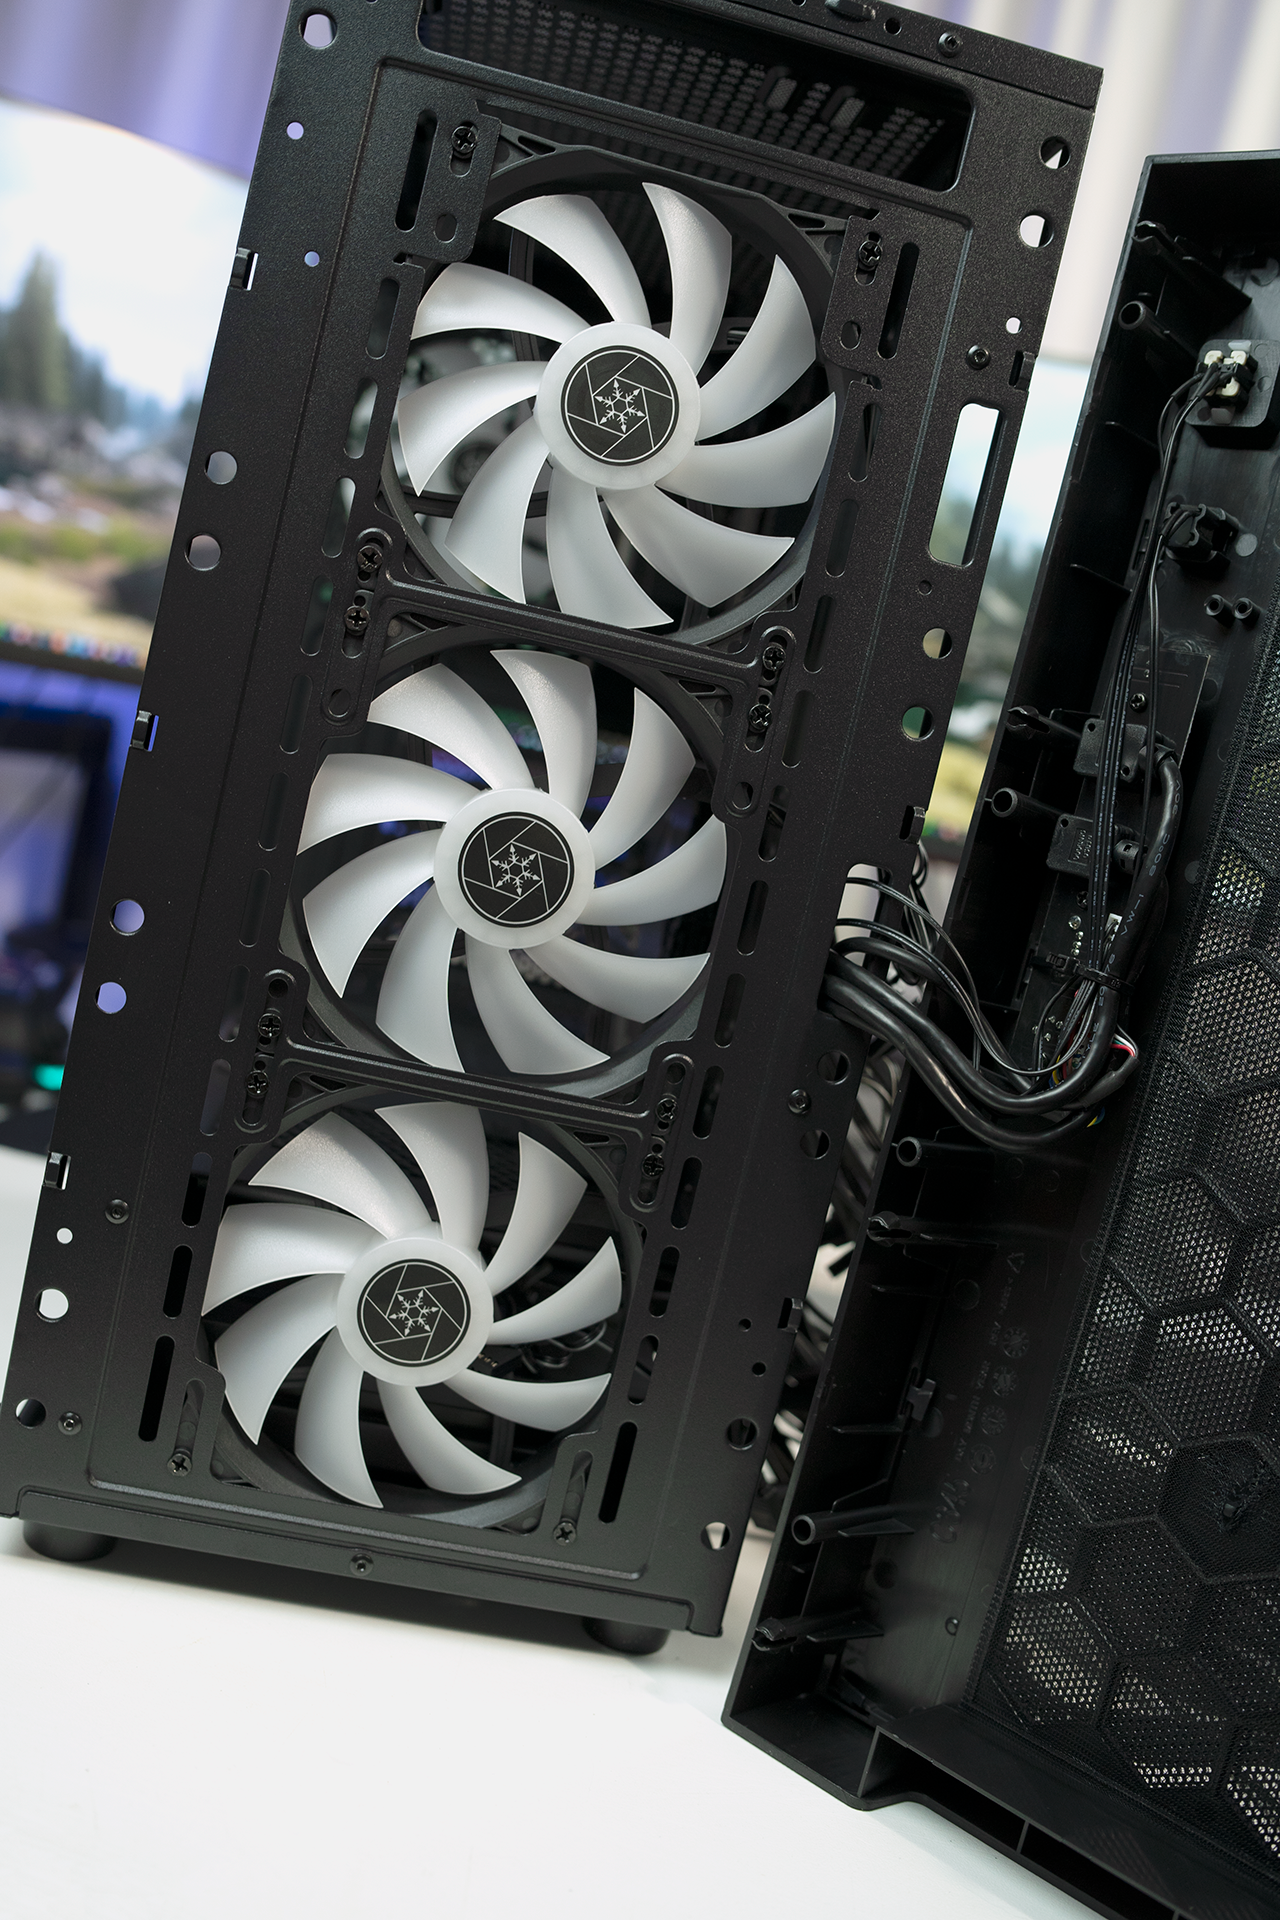
Once the front and rear panels are off, we can take a closer look at the Silverstone Fara R1. The Silverstone Fara R1 comes with three ARGB fans installed in the don’t of the case and one on the exhaust. The specifications for the Silverstone Fara R1 list a single black fan that comes installed in the exhaust of the case. So I’m not sure if the retail version will come with the ARGB fans or not. In total, there are six spots for mounting fans in the Silverstone Fara R1. For fan sizes, you can fit a single 1200 mm fan in the exhaust, either two 140 mm or two 120 mm fans on the top, and either two 140 mm fans or three 120 mm fans on the front.
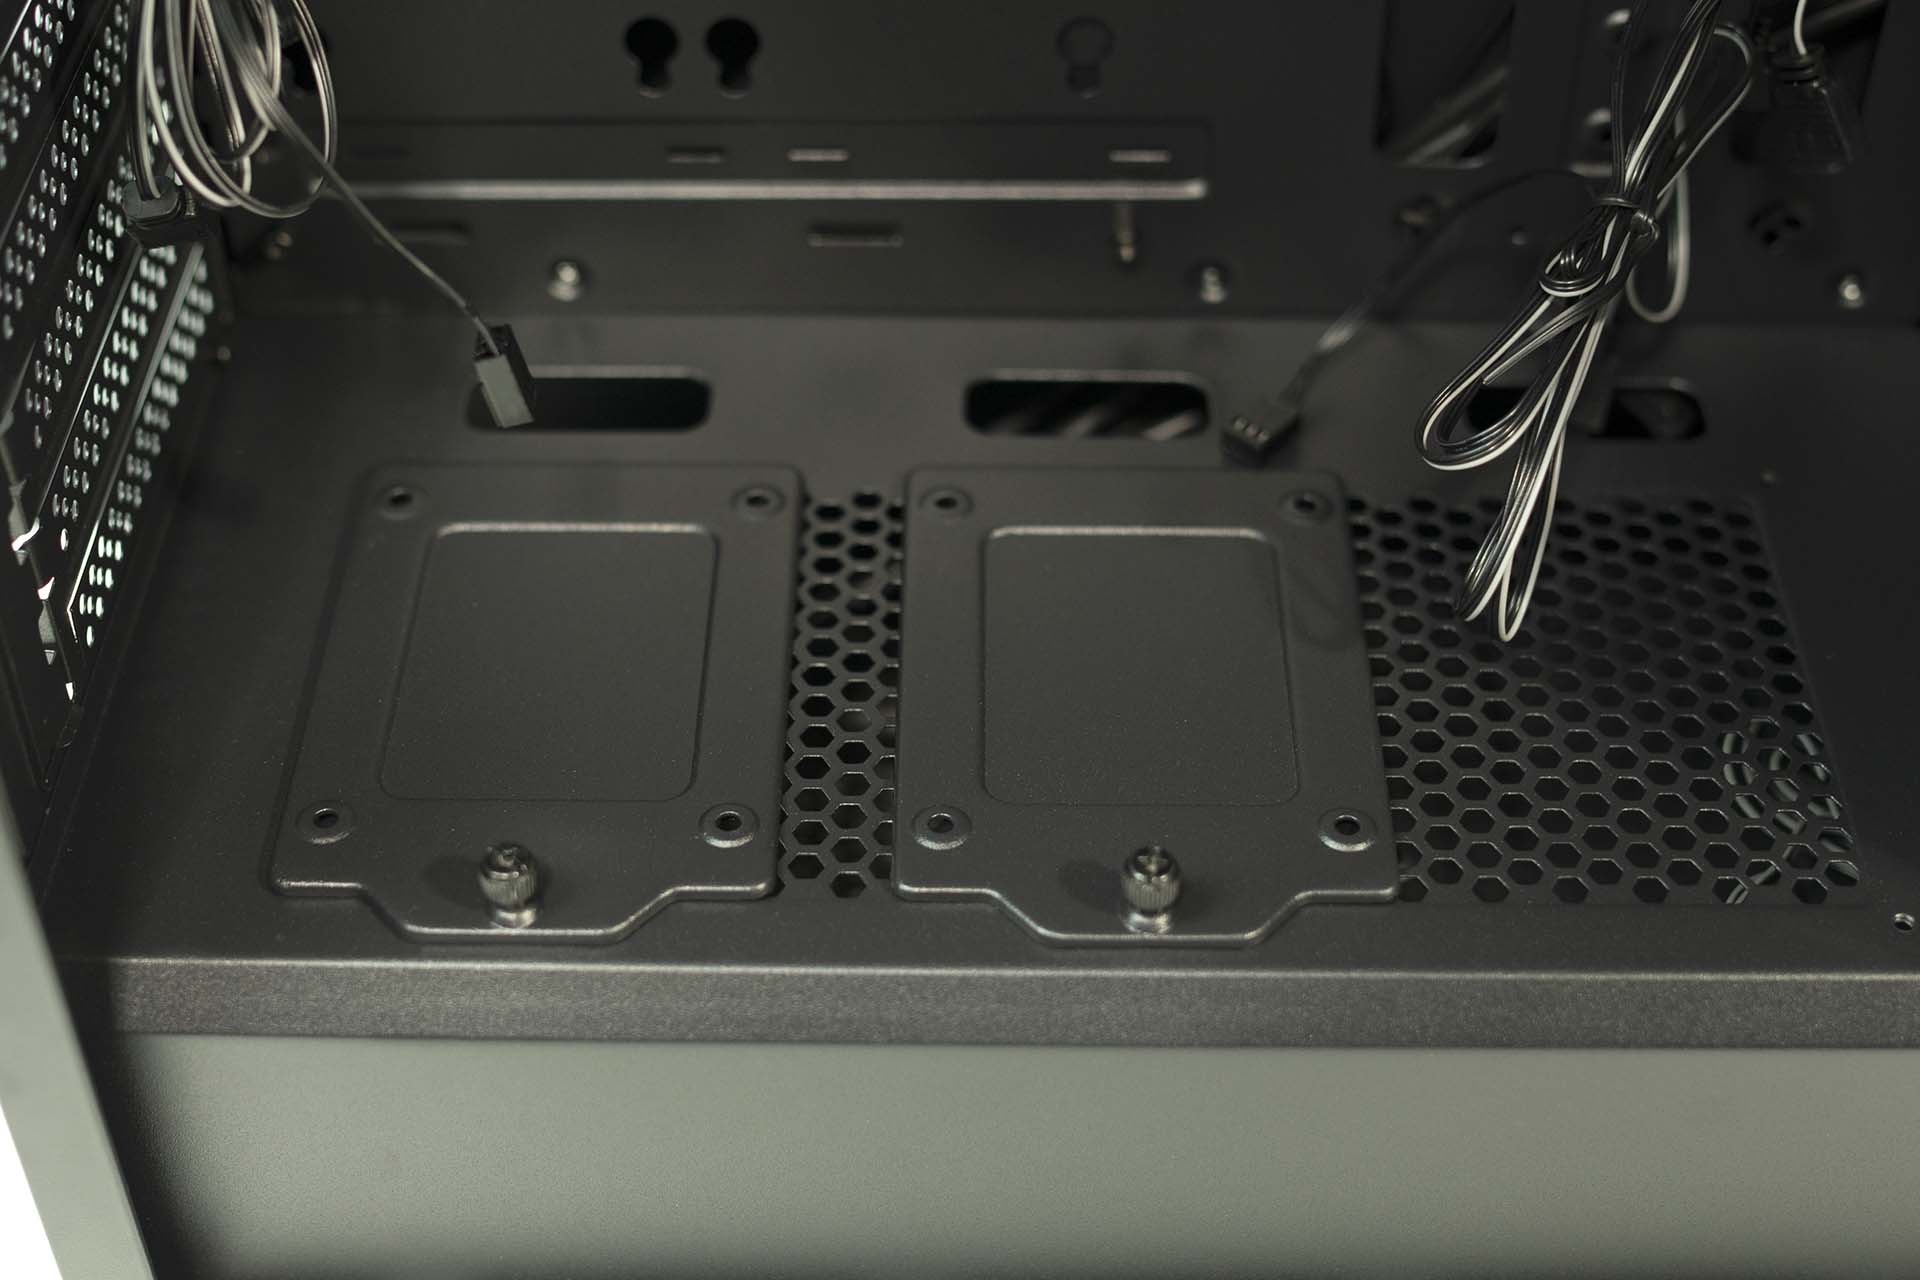
The Silverstone Fara R1 has a full cover power supply shroud that is not removable. The Silverstone Fara R1 there are two 2.5″ drive mounts on the power supply shroud. You can also remove the 2.5″ drive sleds and install two additional 120 mm fans. If you have the room, this can not only look good but also help with airflow directed at the graphics card.
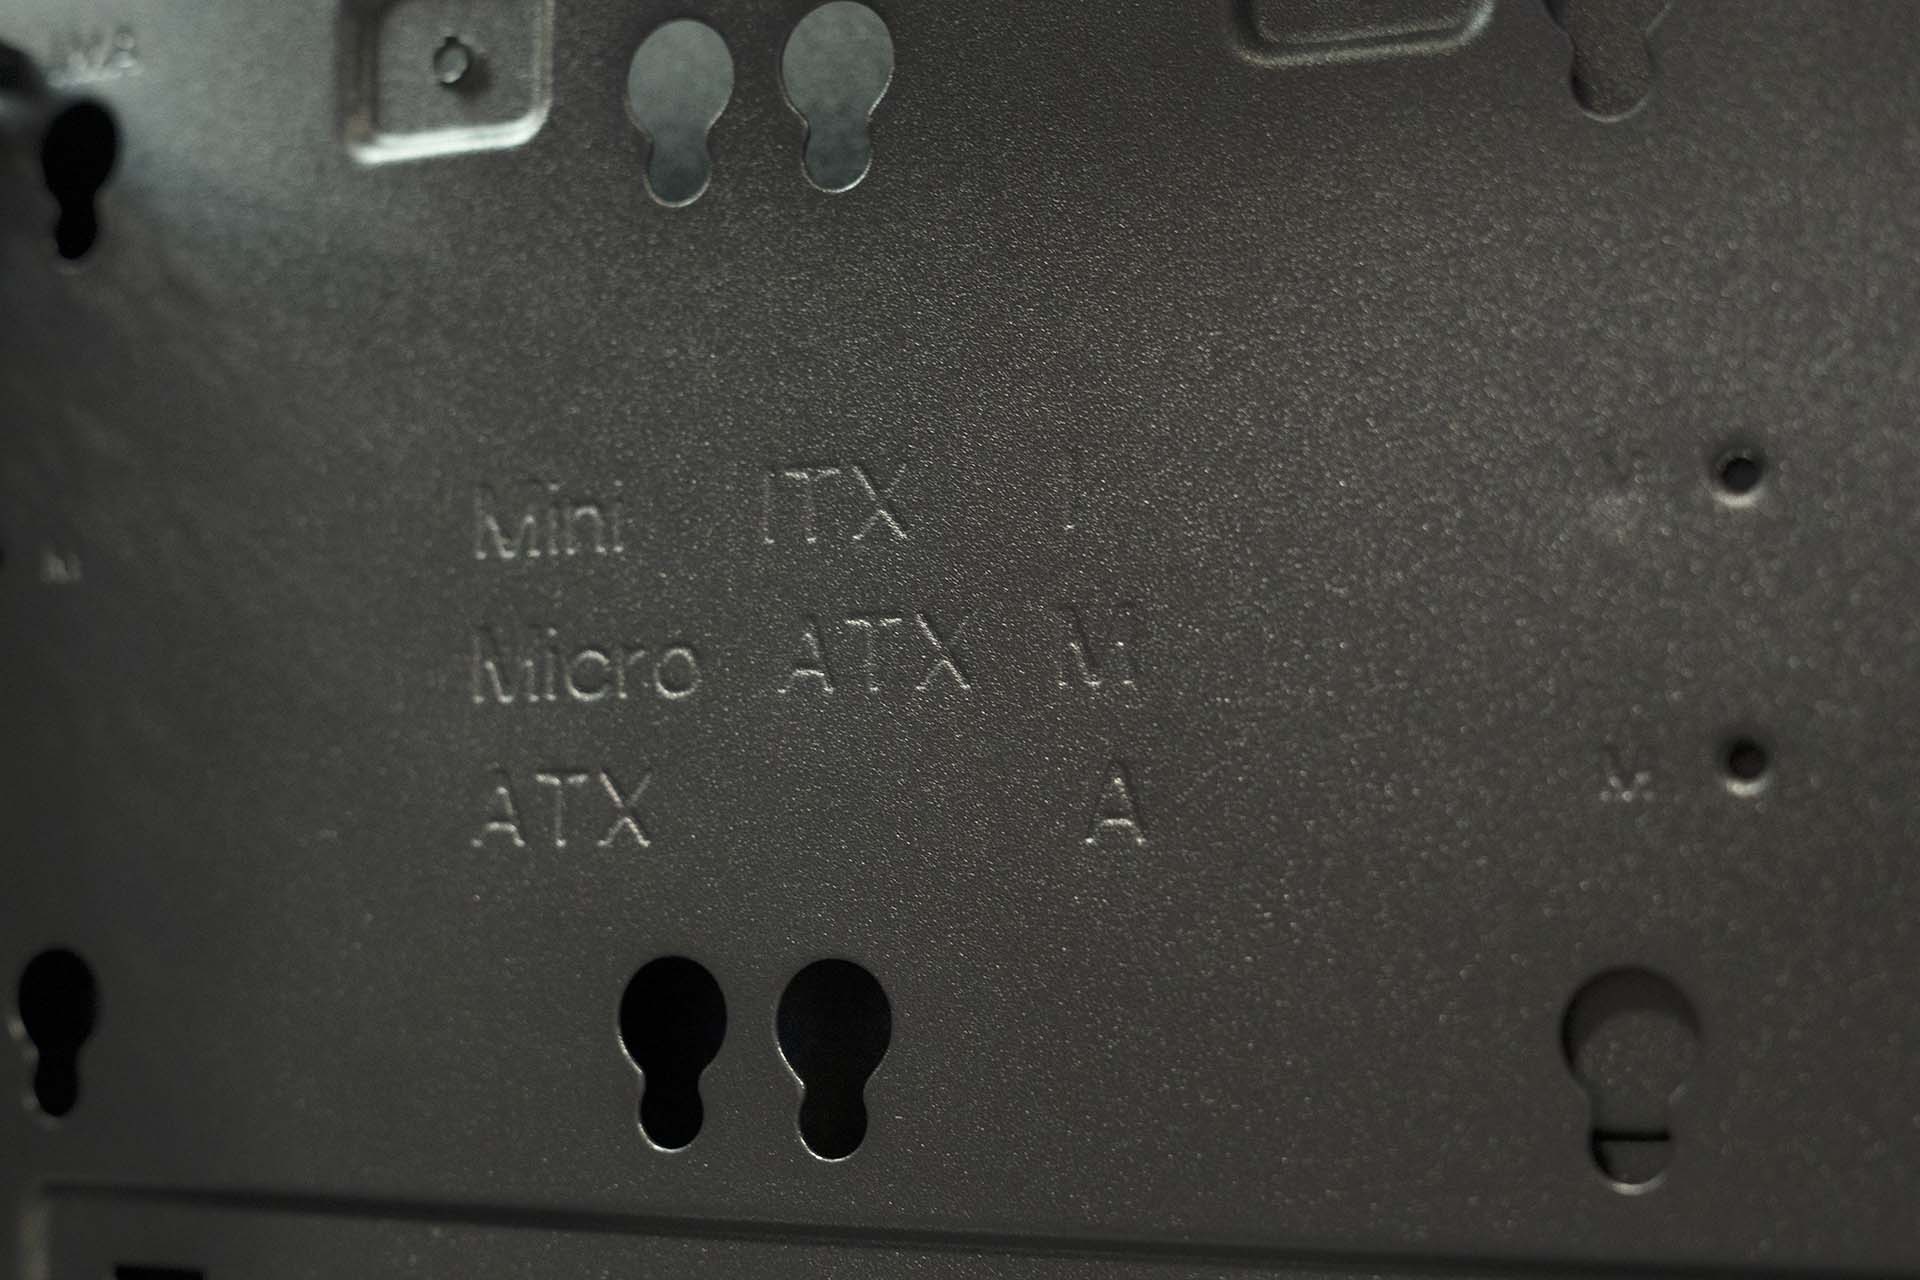
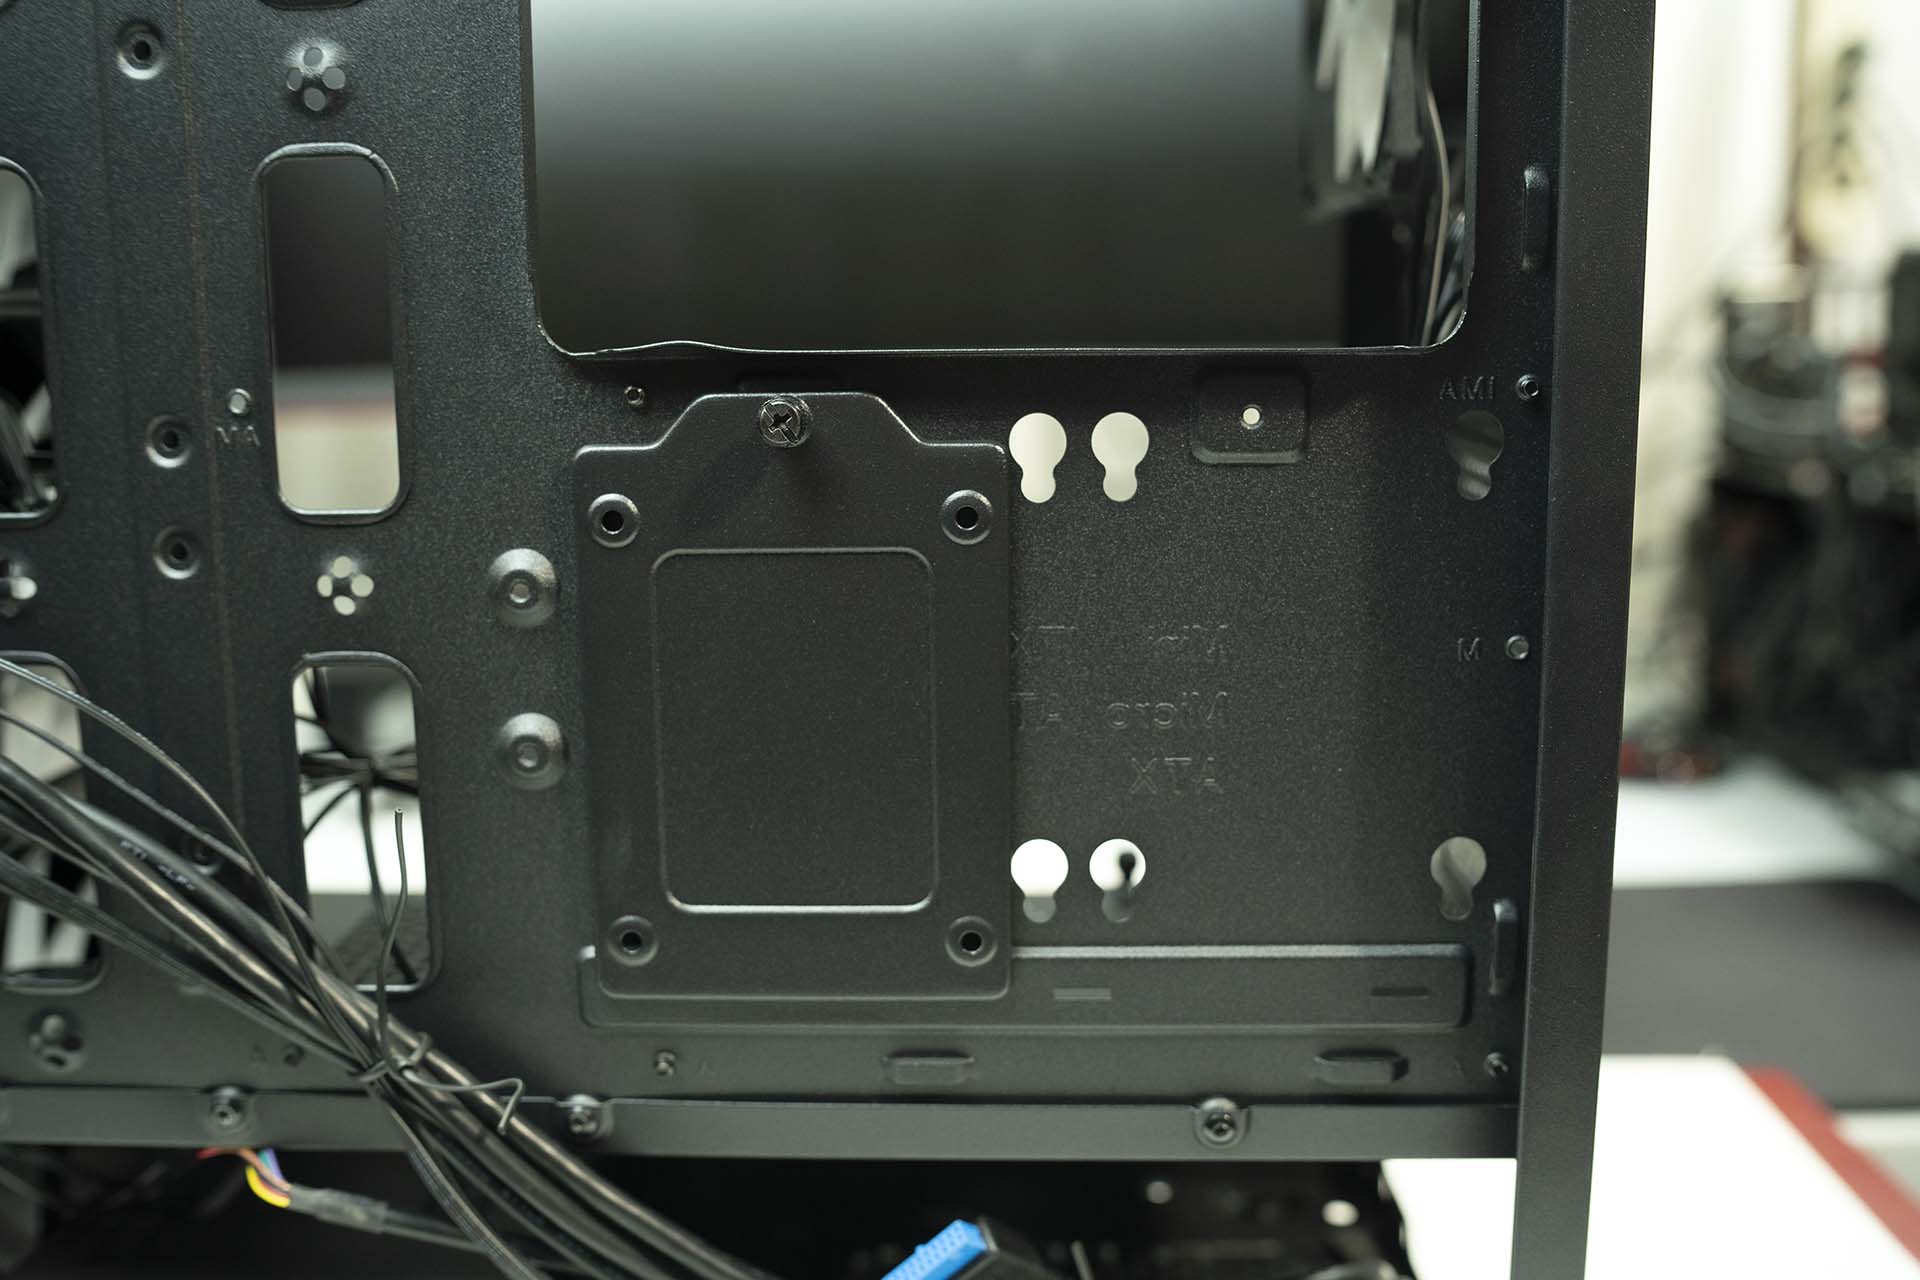
The Silverstone Fara R1 can support a variety of motherboards/ The Silverstone Fara R1 is an ATX case. This means it can support mini-ITX (6.7″ x 6.7″), Micro-ATX(9.6″ x 9.6″), and ATX(12″ x 9.6″) motherboards. On the motherboard tray, there are corresponding letters to each of the board sizes next to the standoff holes. This is so you know where to install the standoff when building your PC.
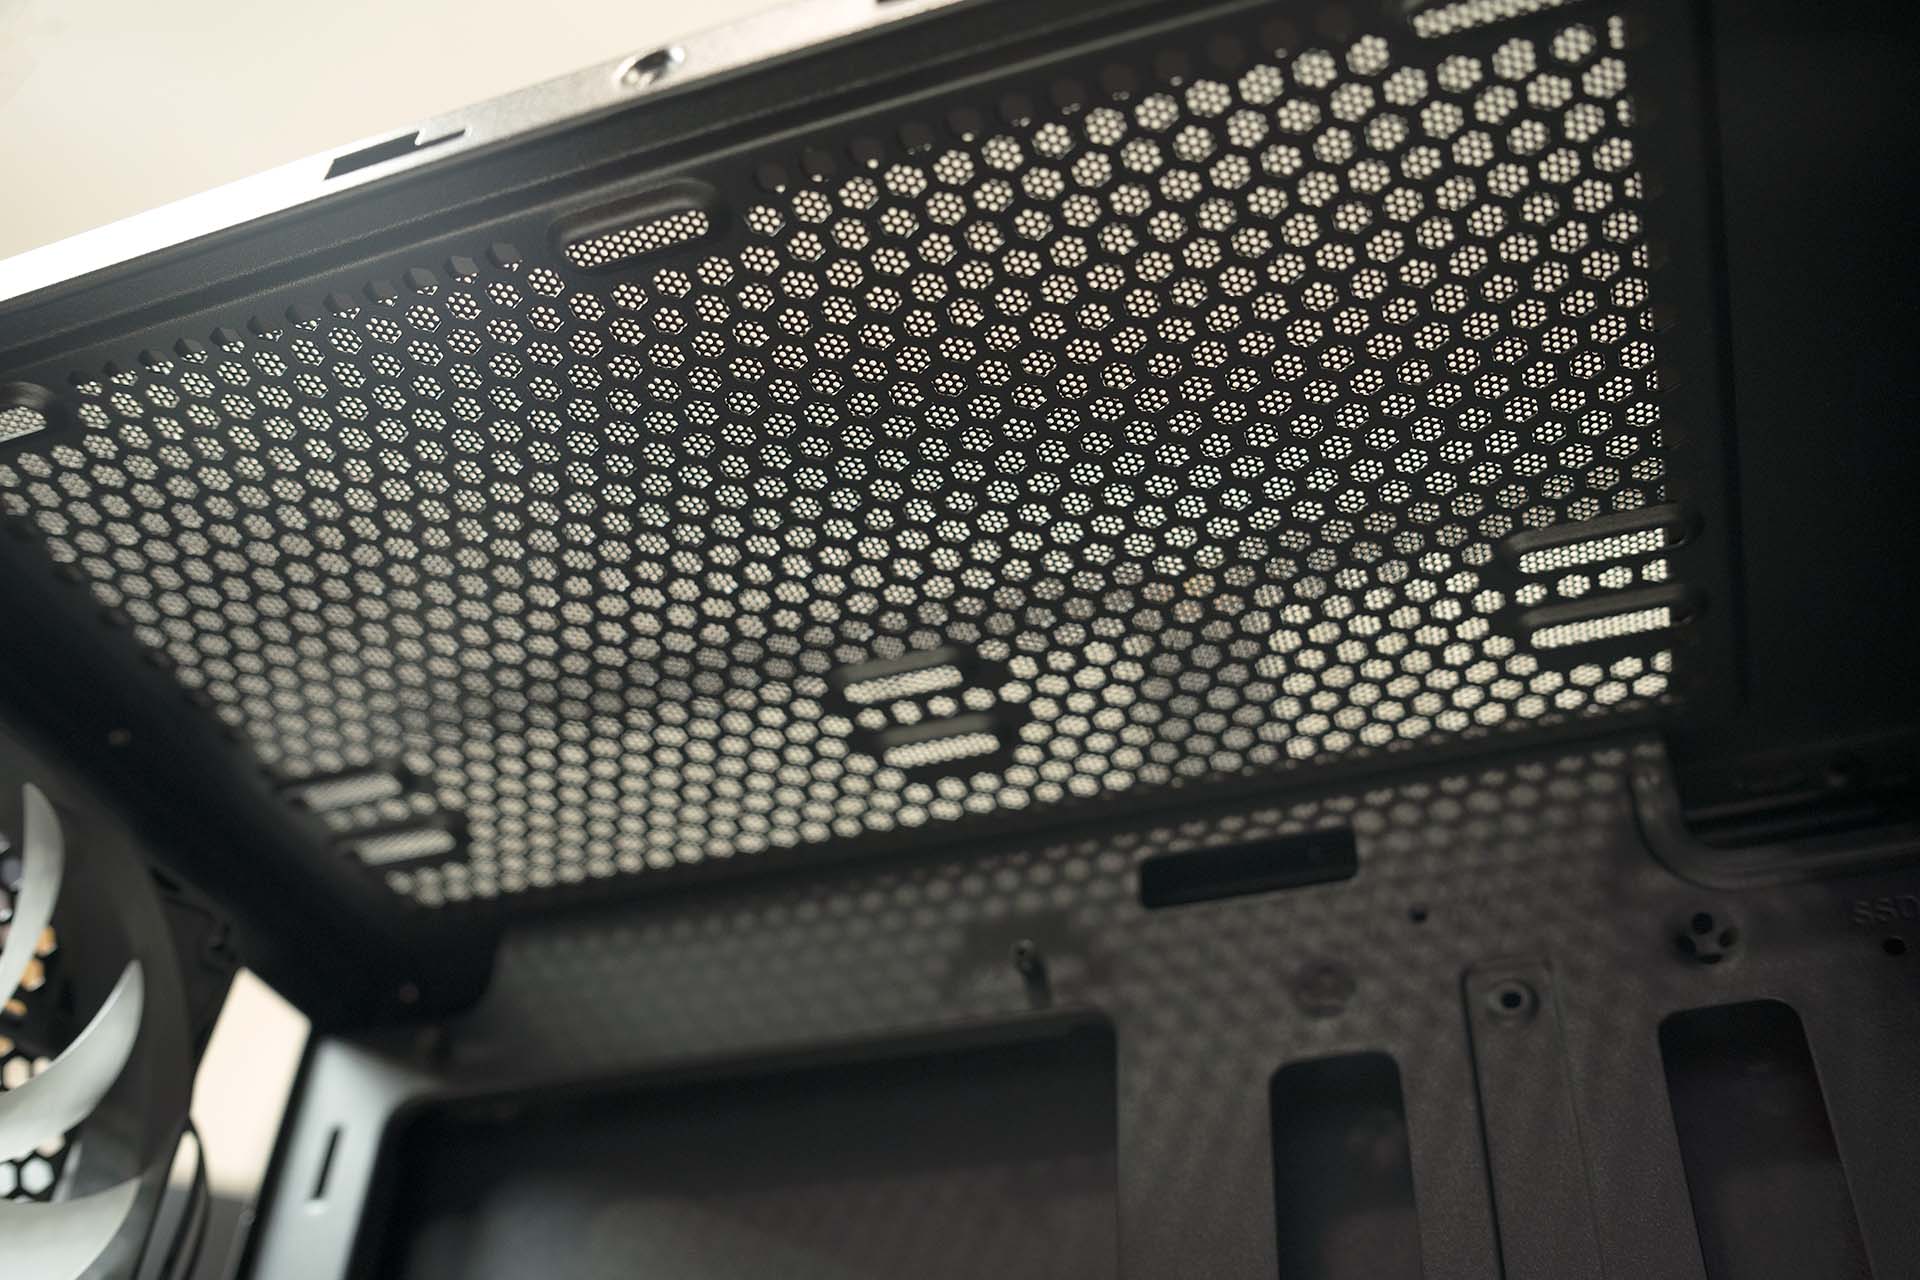
The front mesh panel on the Silverstone Fara R1 is very easy to remove. There are no screws holding it in place. To remove the panel, just grab the bottom of the mesh panel and pull. It will pop right off. Once the panel is off, we see the three fans that came installed in the front of the case. We can also see where the cables for the front IO are routed through. The Silverstone Fara R1 allows you to install either three 120 mm fans or two 140 mm fans behind the front mesh panel.
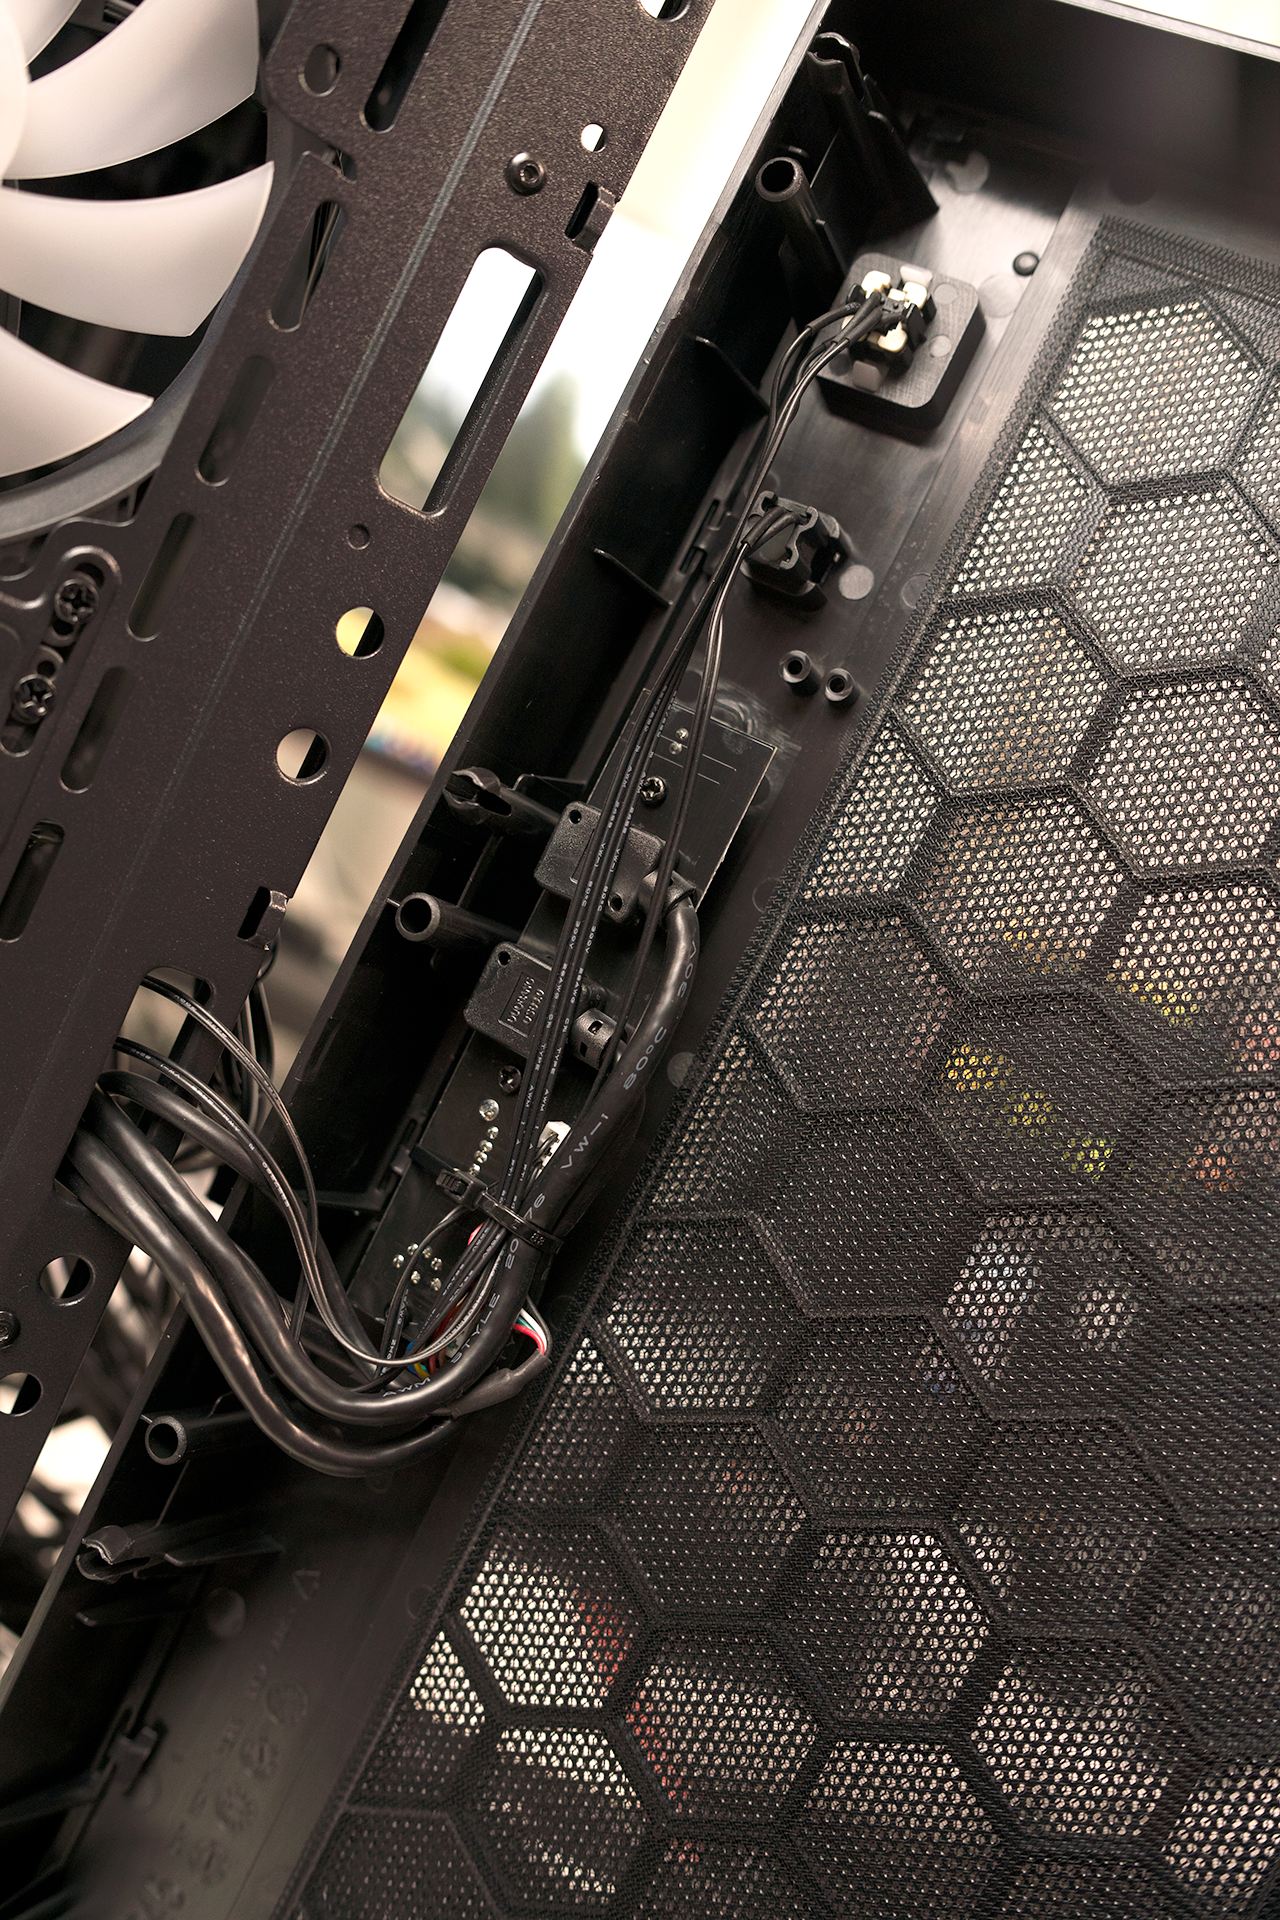
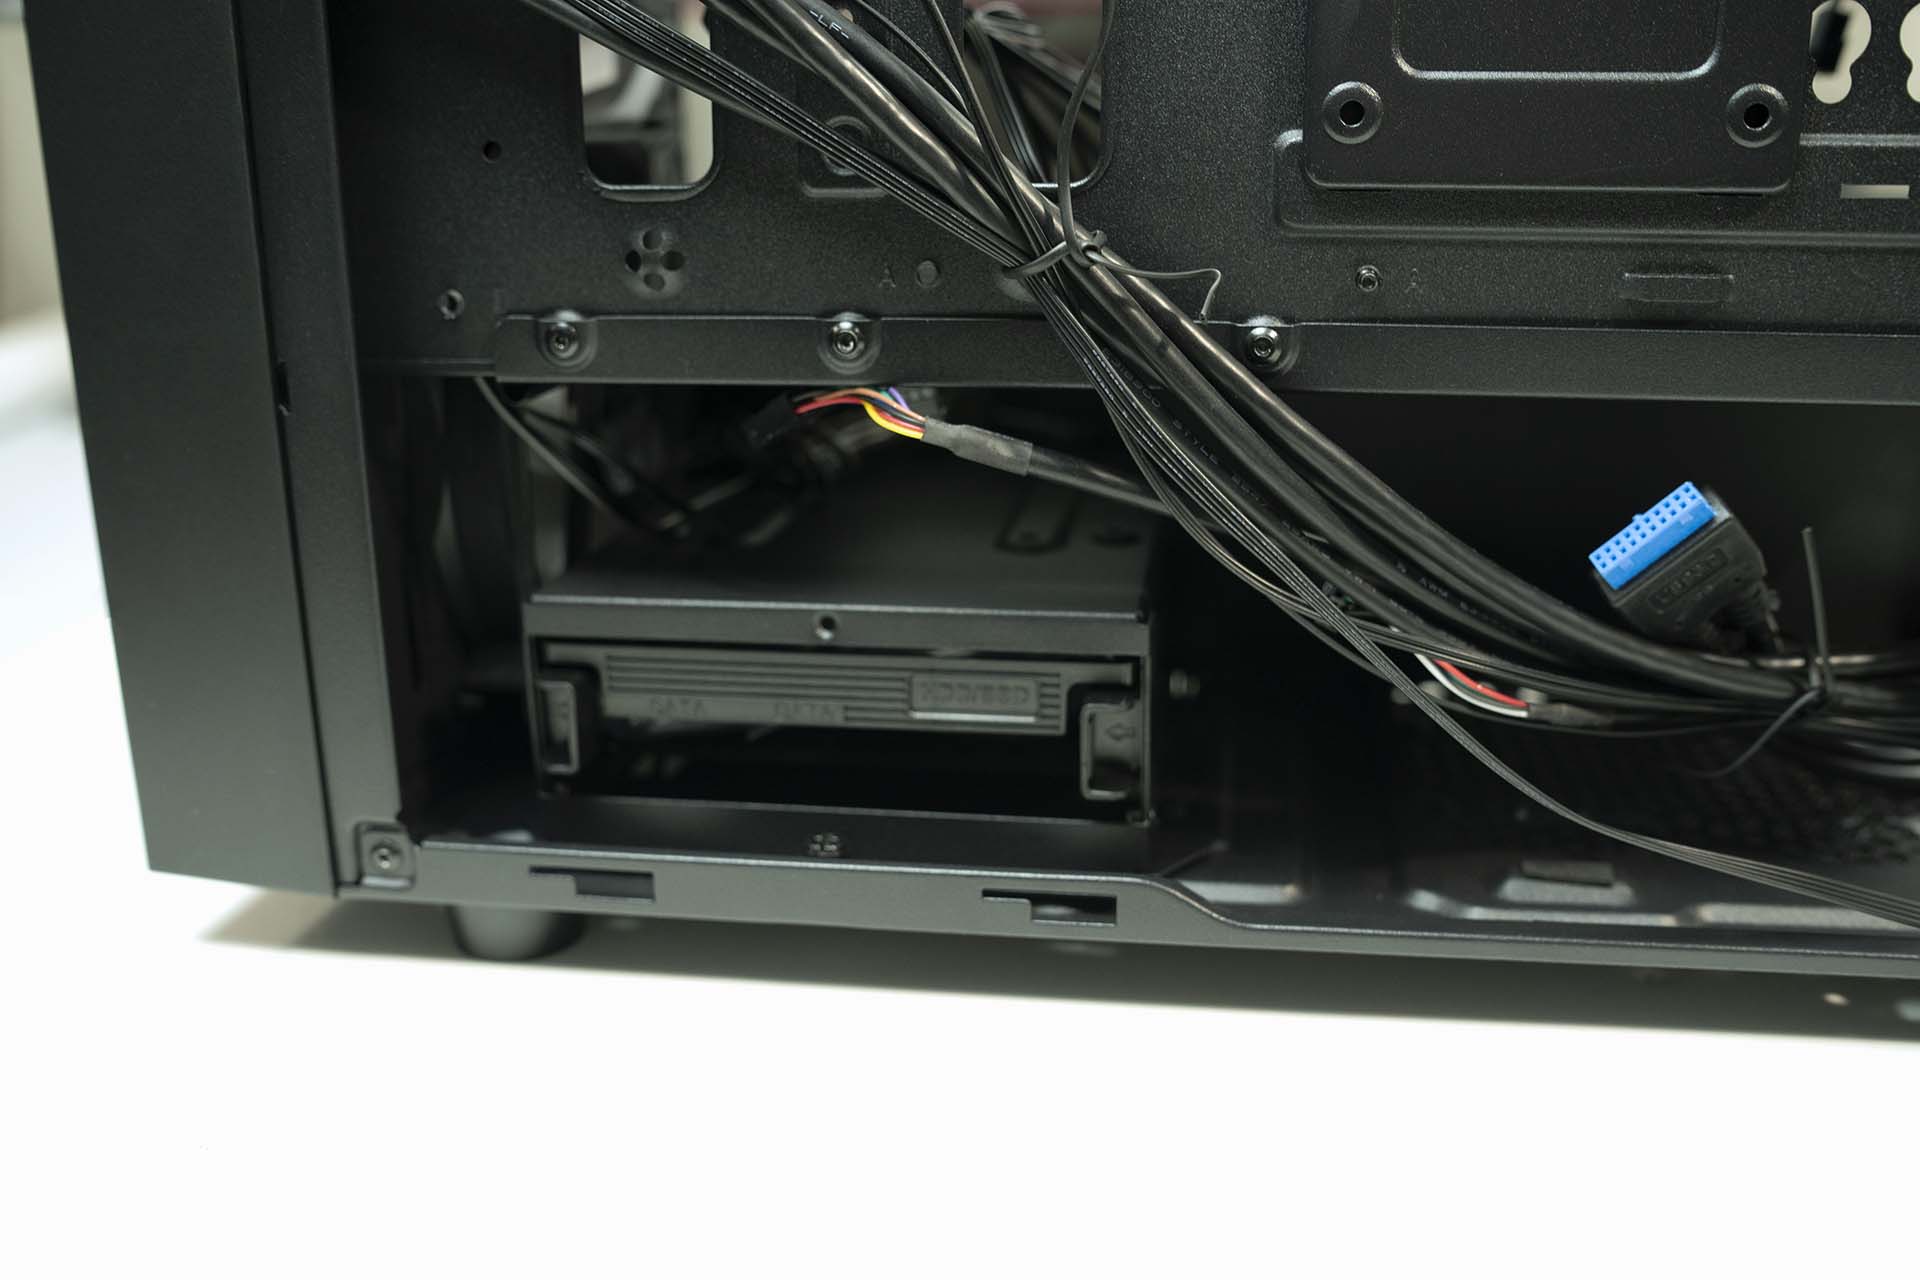
Now, let’s make our way to the rear of the Silverstone Fara R1 Pro. The first thing that stuck out to me when I first removed the rear panel was the placement of the front panel IO cables. In most cases, the cables are routed from the top down. However, due to the placement of the front IO, the cables are routed just below the midpoint of the height of the case. I liked this right off as I thought, or hoped it may make cable management easier. Also, behind the motherboard tray, there is another 2.5′ sled for either a 2.5″ hard drive or an SSD.
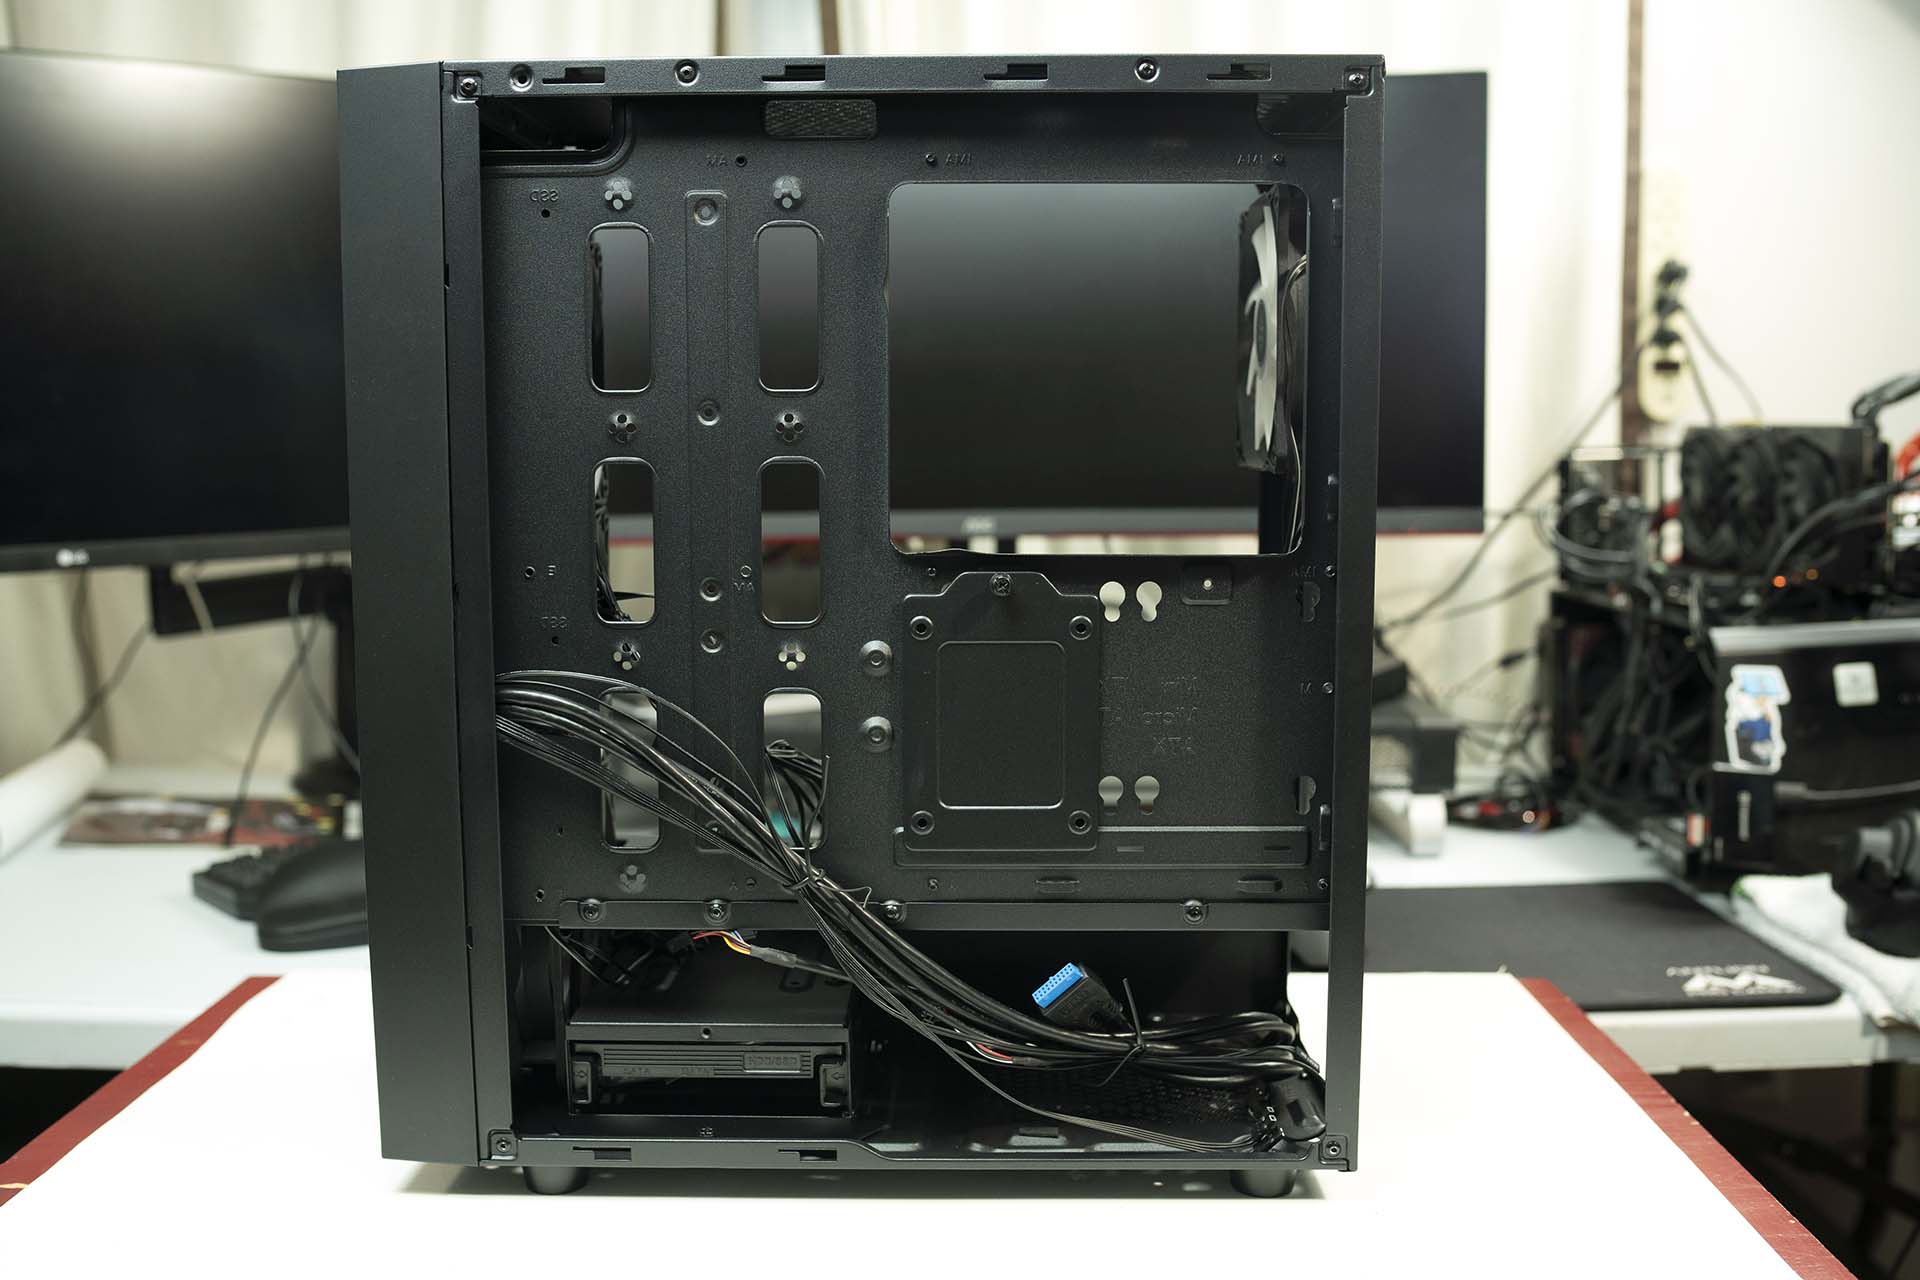
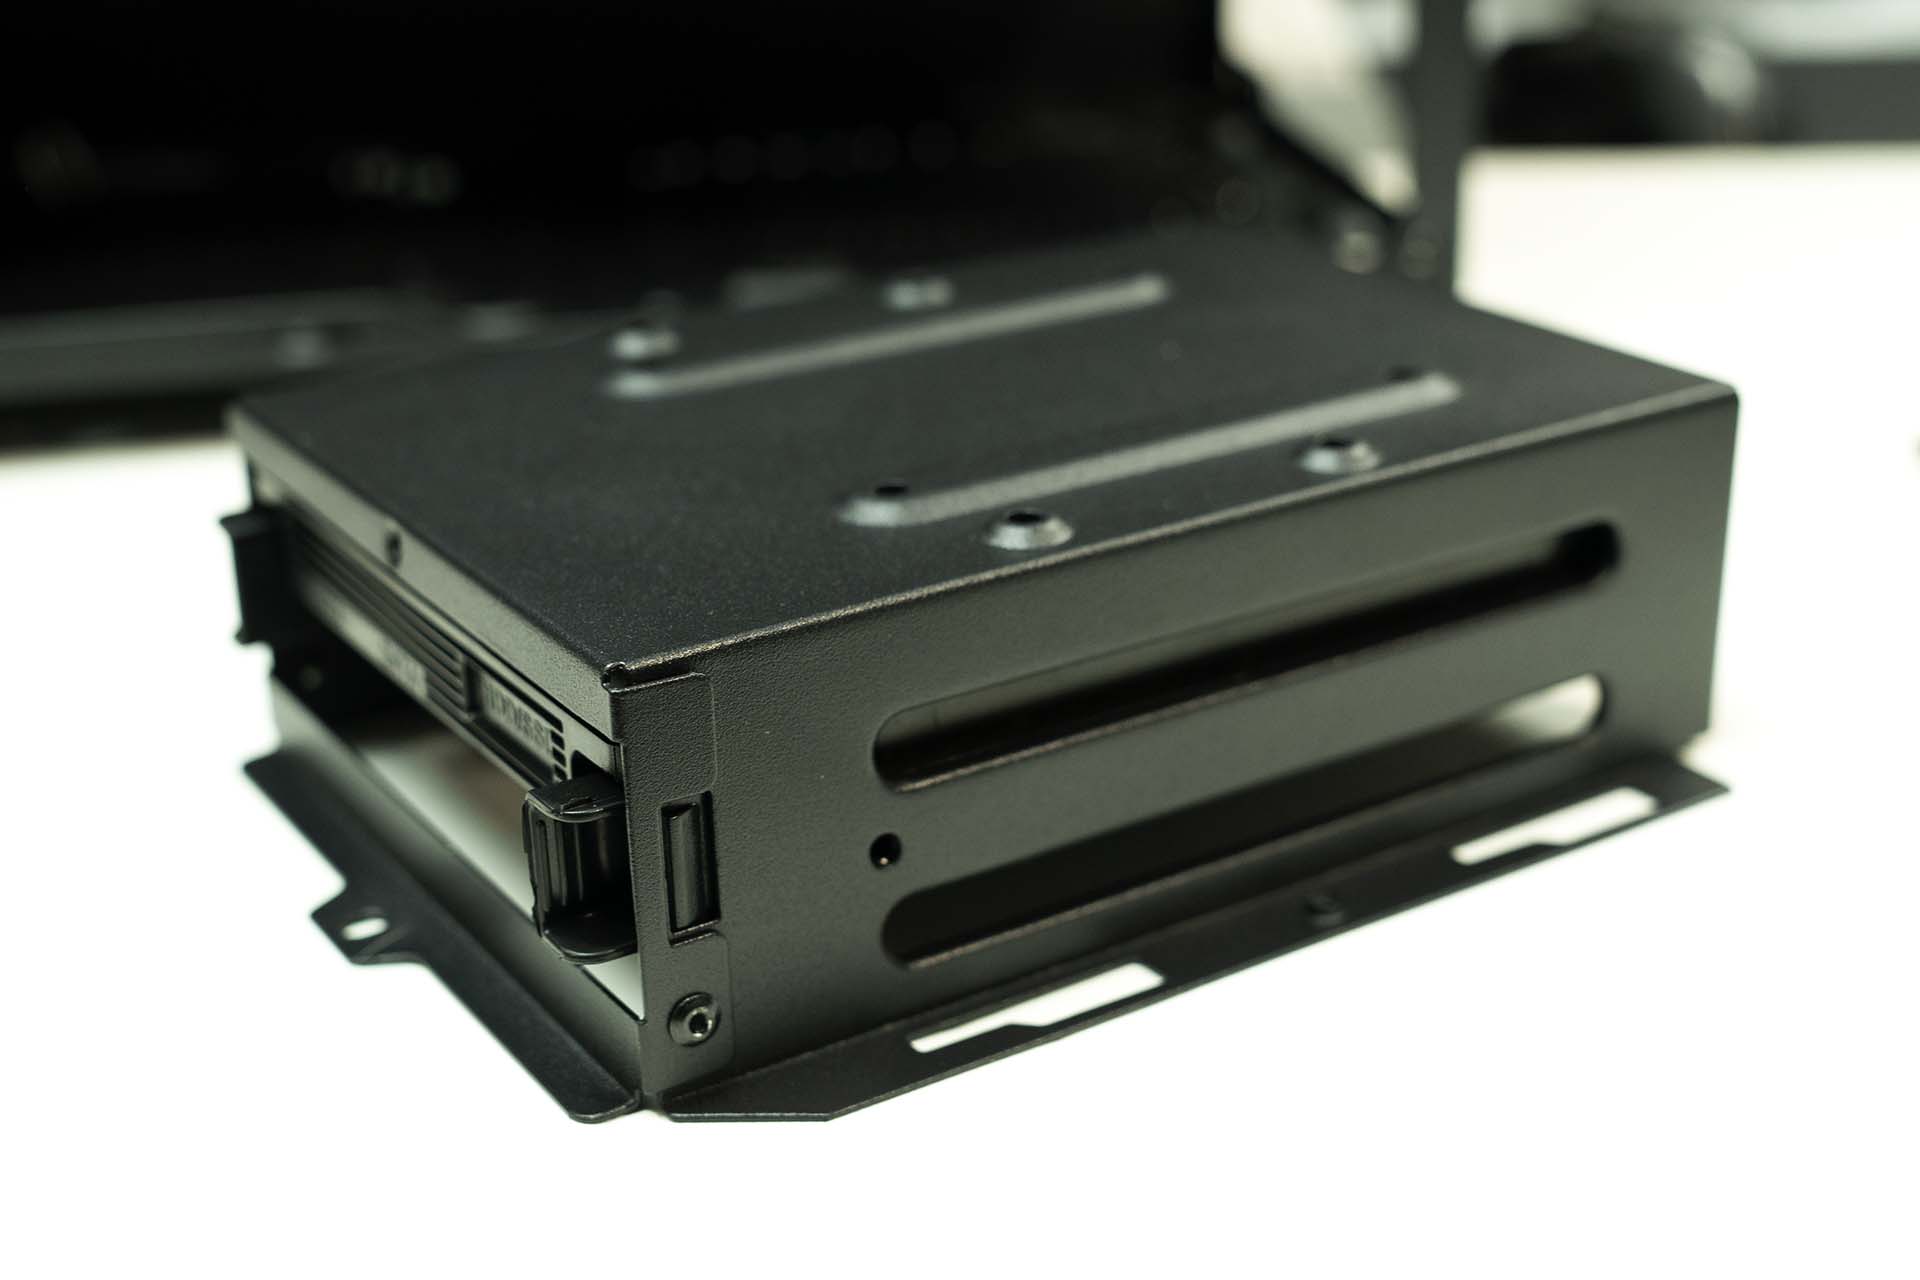
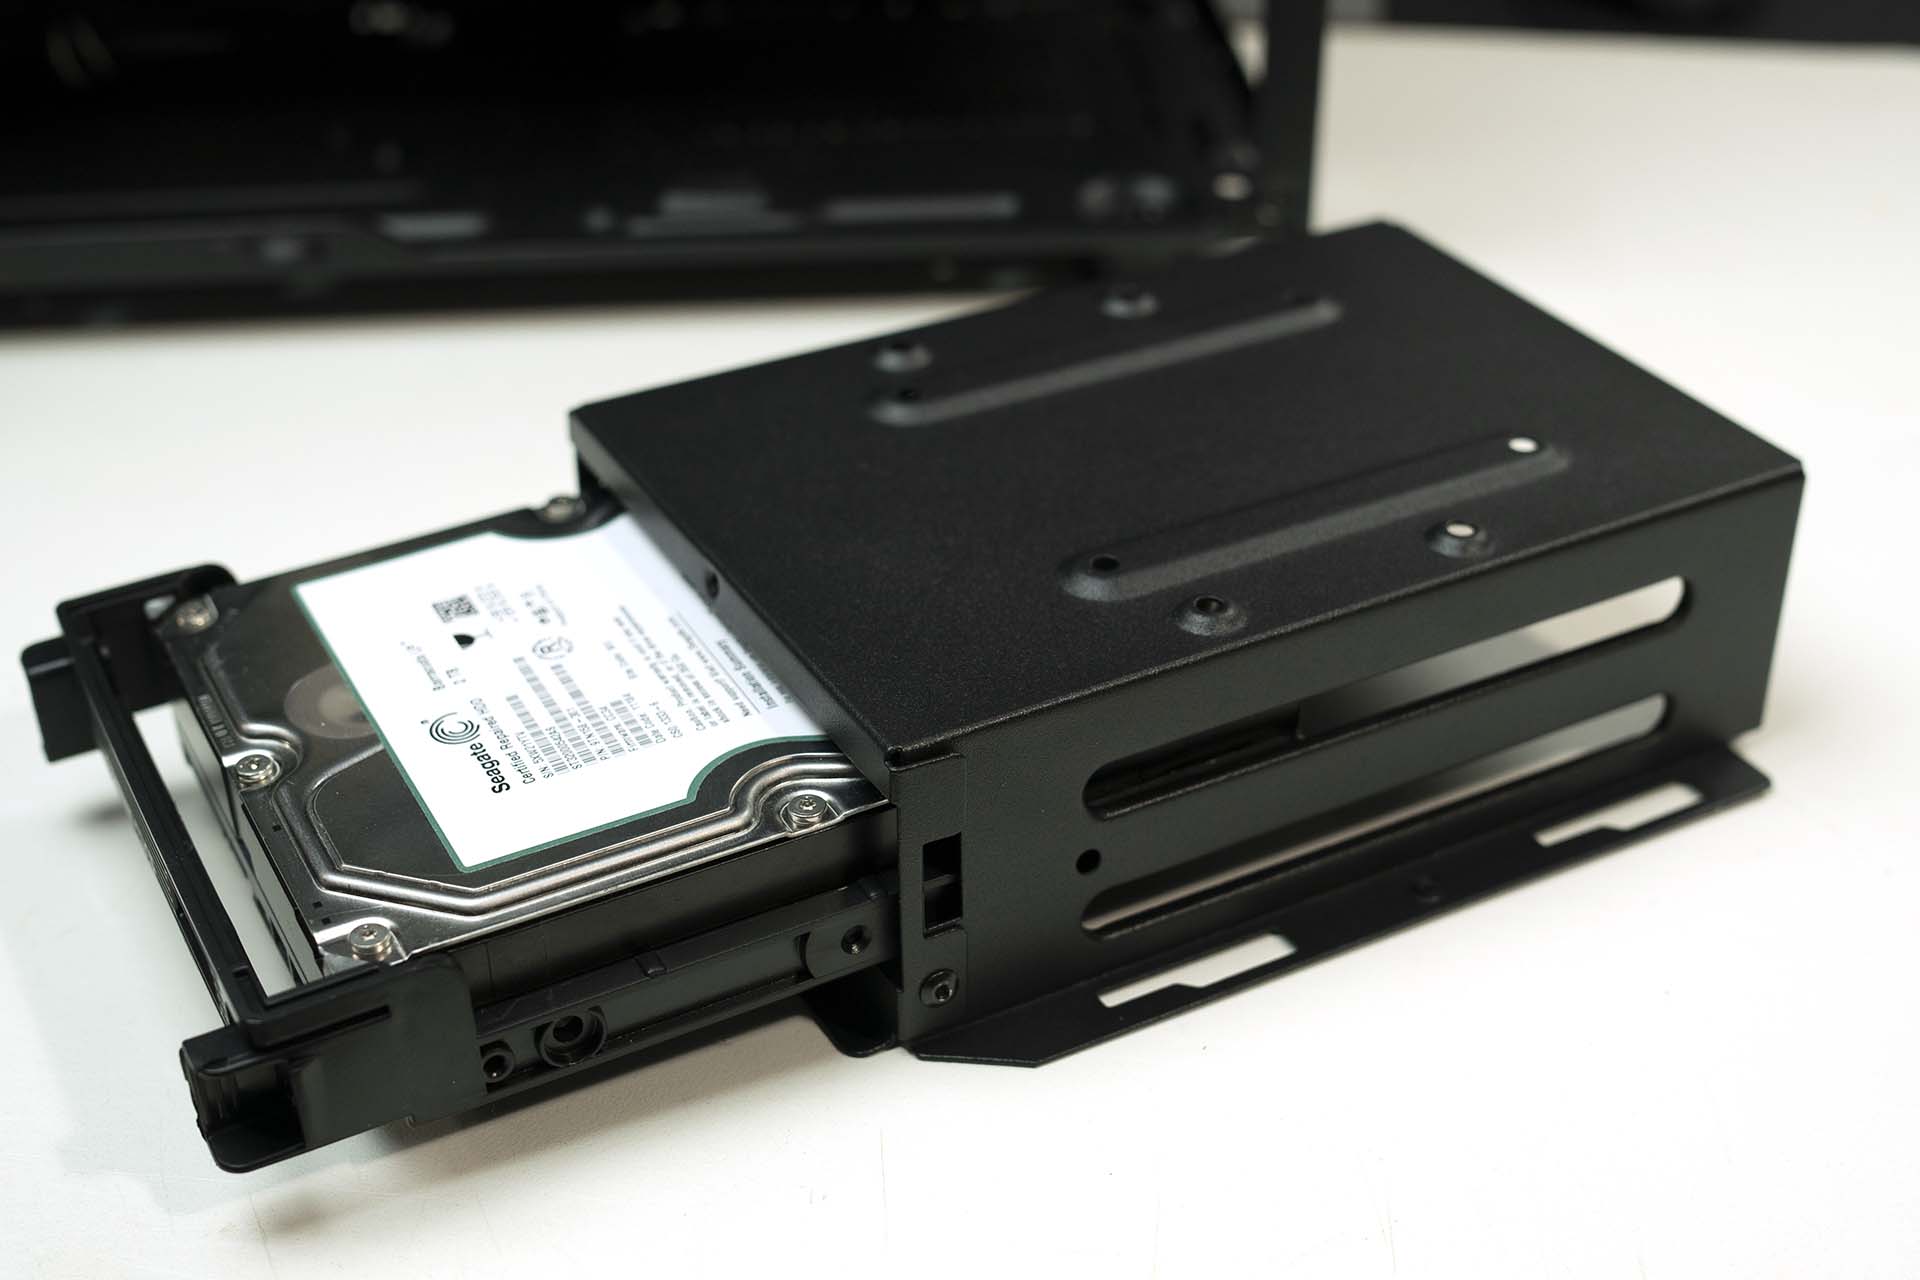
The Silverstone Fara R1 also comes with a removable 3.5″ drive cage. This 3.5″ drive cage also has a spot to mount for another 2.5″ drive on the top of the cage giving you a total of four 2.5″ drives and a single 3.5″ drive that can be installed in the Silverstone Fara R1.
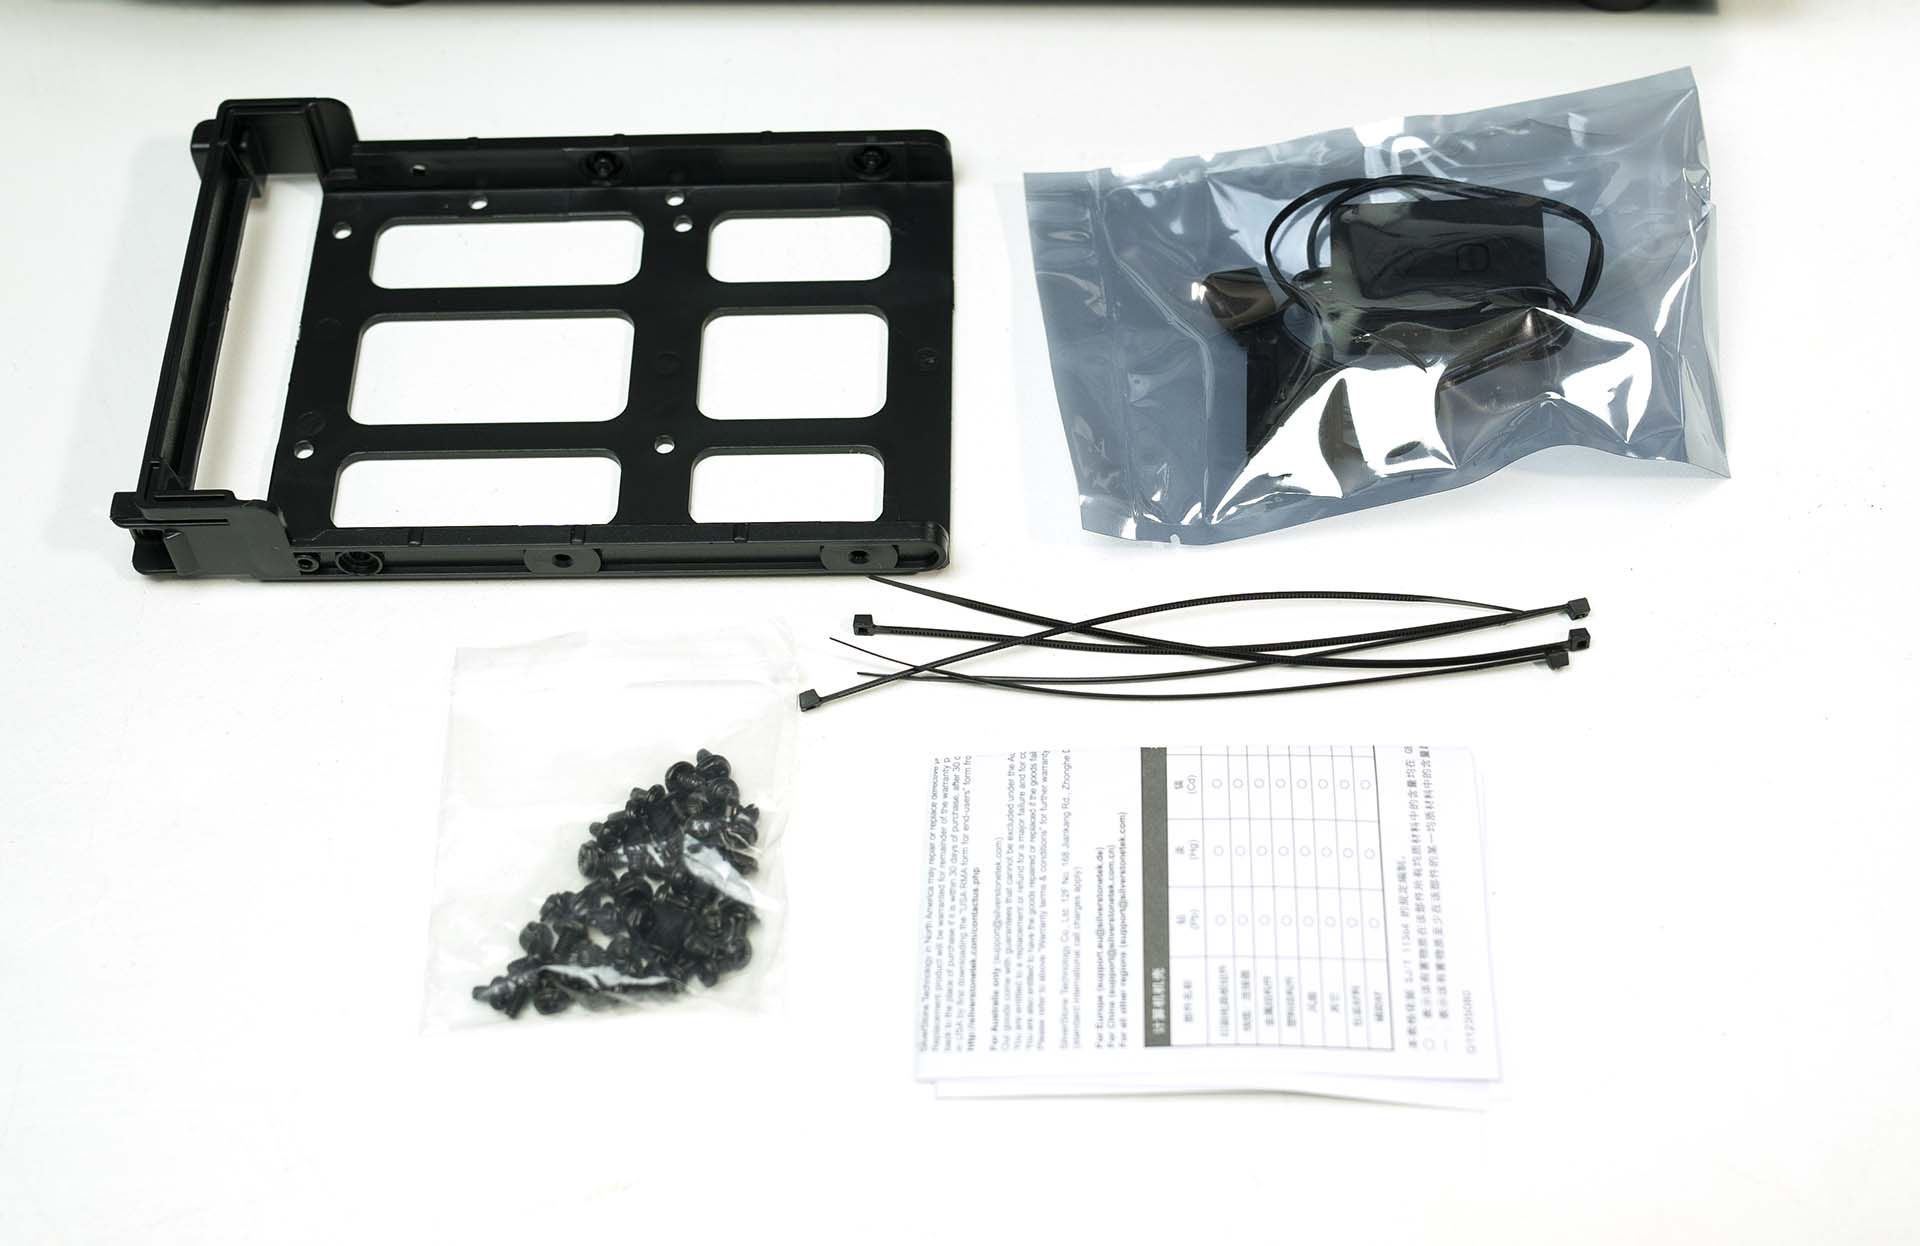
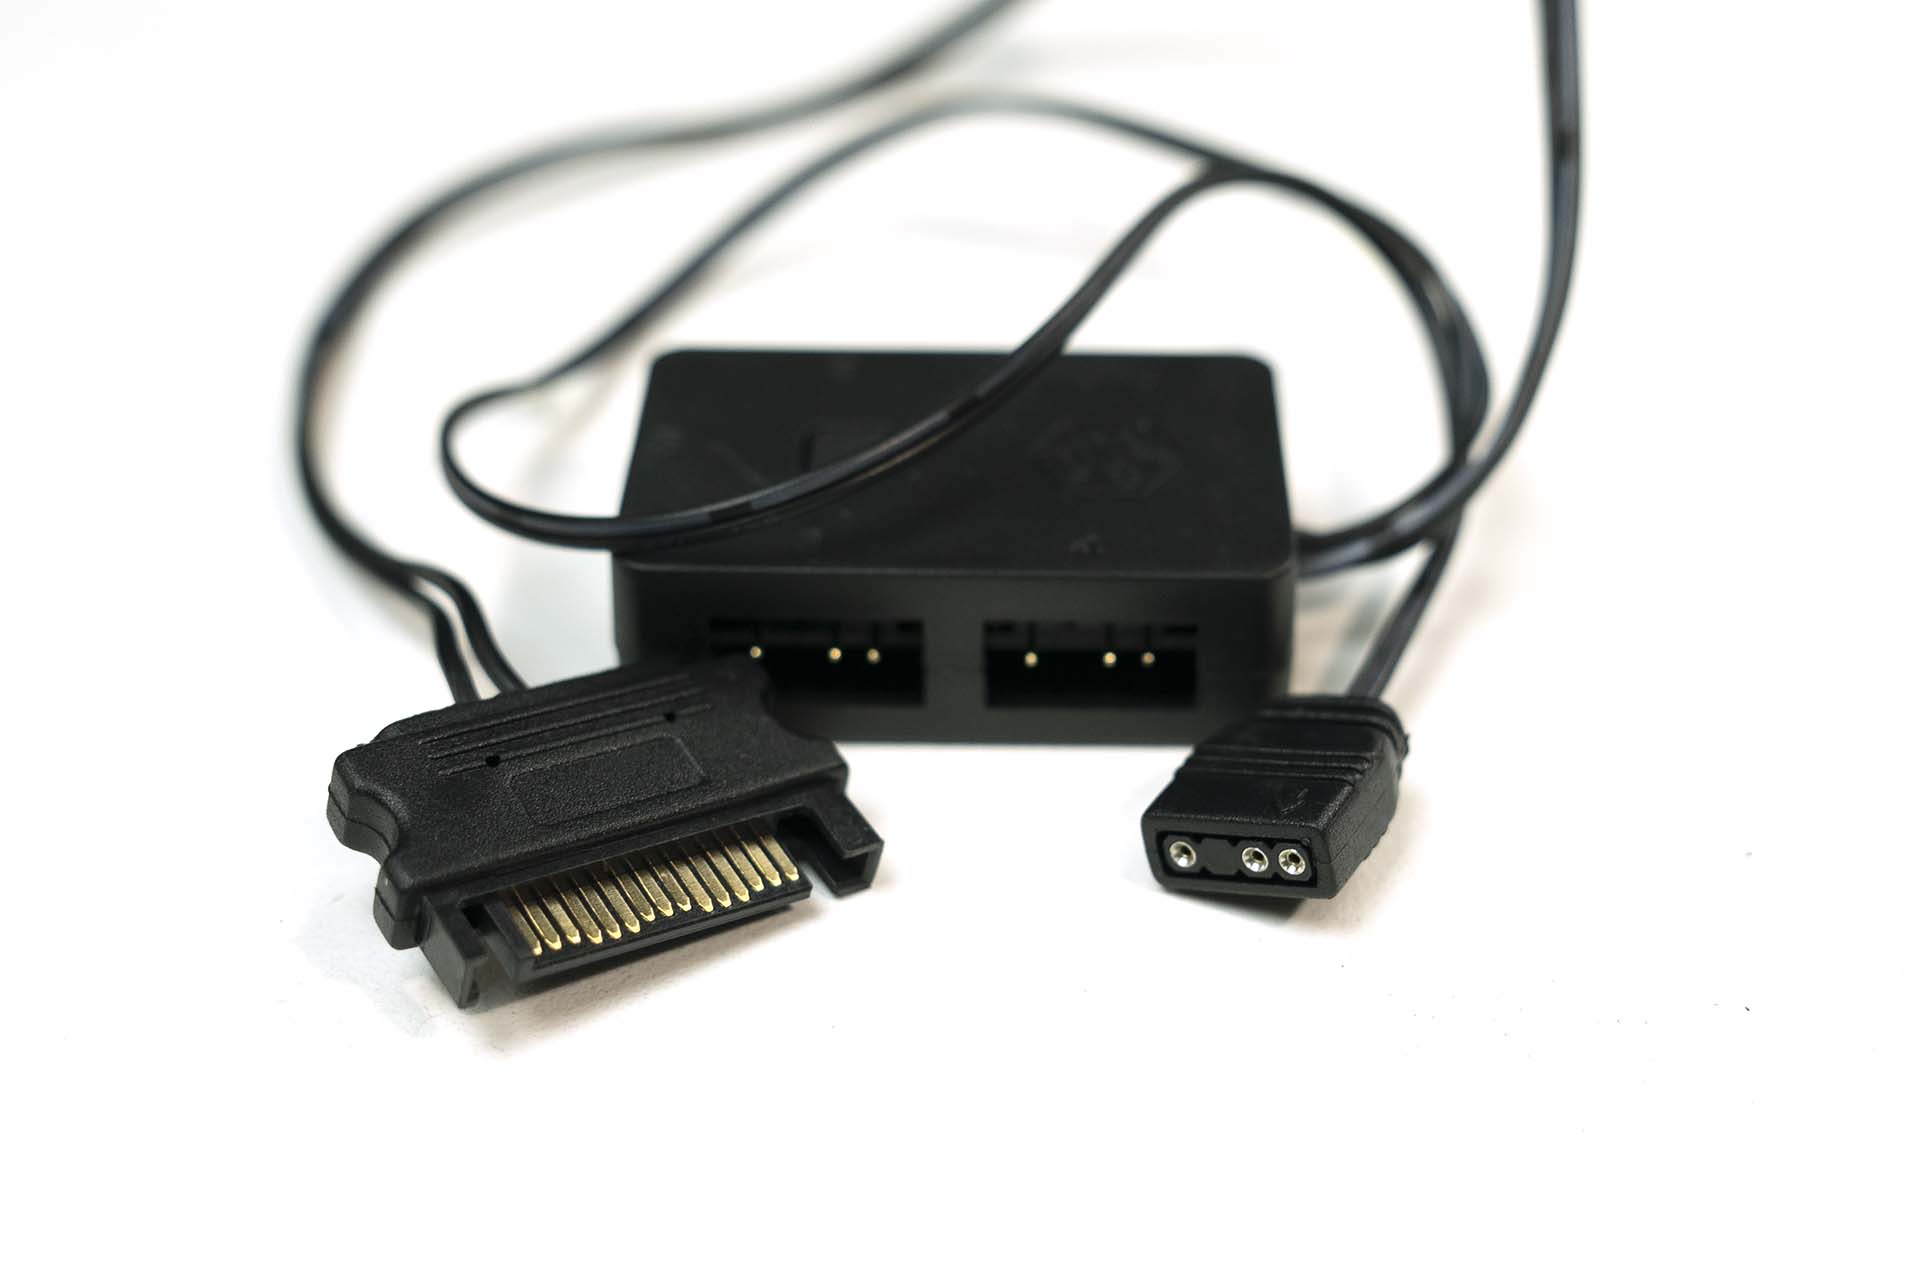
The Silverstone Fara R1 came is a few accessories. First was a small bag of screws and some Zip Ties. There was also an extra hard drove sled included that can hold either a 2.5″ or 3.5″ drive. But my favorite accessory that came with the Silverstone Fara R1 had to the ARGB splitter. This split the one header on the board into 4 headers.