Installation
Installing the PF240-ARGB is a pretty painless process, thankfully. Many first-time PC builders can get intimidated by the thought of adding any type of liquid to their system or by the complexity that an AIO might imply, when compared to a standard heatsink. We are here to say that that definitely isn’t the case with this AIO, and SilverStone provides everything you need to get the kit installed, save for one item: the manual. SilverStone has opted for providing a digital copy of their installation manual, which we applaud in many ways, and disagree with in one way. We appreciate the materials reduction that a digital manual provides, saving resources, and hopefully reducing the overall cost for the kit. Additionally, any edits or updates to the manual can be easily updated in a digital copy, while a printed version is outdated the second something changes. That being said, it is nice to reference a printed manual or installation guide in the middle of a build, and it takes the fear and hassle out of making sure you have the right guide for your product.
Moving on to the installation itself, in our AMD-based test system, we needed to outfit the CPU block with the appropriate mounting hardware. This required us to slide the AMD bracket onto the block, which then provided us a place to install the latches, screws and springs for installation on our AM4 mounting hardware. As seen below, once the AMD bracket was in place on the block, the included AM3/AM4 clips simply attached to the bracket with the included screws and springs. With our block ready with its AMD mounting hardware, the protective plastic cover removed, and a small application of the included thermal paste applied to our CPU heatspreader, we were ready to install.

Mounting the CPU block to our motherboard was a breeze, as the AMD installation method doesn’t require you to modify the motherboard in any way. We really appreciate that we didn’t have to remove the factory-installed motherboard backplate, and we could simply attach the cooler to the included motherboard hardware. Installation is as easy as any AMD cooler, and by mating up the clips to the mounting brackets on the motherboard, we were able to easily line up the cooler. A few twists of the mounting screws later and our CPU block was secure and ready for action.

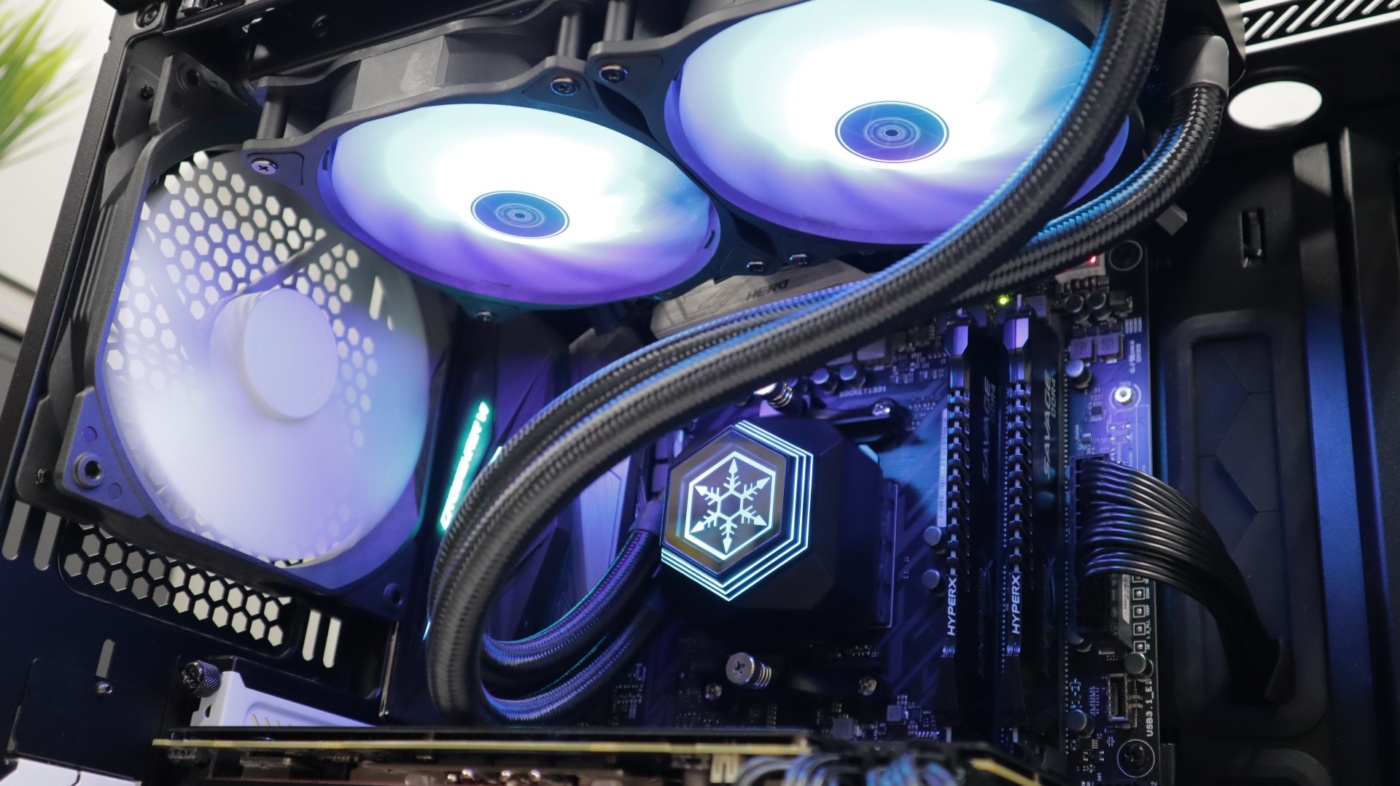
In our test system, we will be mounting the radiator at the top of our case so that we can exhaust hot air up and out of the system. That means we need to install the fans in a push configuration in order to achieve proper airflow, and to show off the ARGB lighting of said fans. Using the included hardware, we were able to attach the fans to the radiator, and we worked to wire the ARGB wiring for the fans into a tidy bundle of cables for connection to the CPU block and lighting controller.

Attaching the radiator to our test case is as easy as holding the radiator in the desired location and inserting the eight included screws. This is a fairly easy process, as you are simply holding the radiator in place with one hand and installing screws with the other. We will say that we definitely recommend a magnetic-tip screwdriver for this process, as it make screw installation that much easier, especially on the first few when you only have one hand to work with.

With the hardware components mounted, we could then connect the pump’s PWM plug to our motherboard’s AIO header, and the ARGB cabling to the included lighting controller. Power for the lighting controller comes from a SATA plug, which we really appreciate. There is nothing worse than having to connect a 4-pin MOLEX cable to your modular power supply just to plug in one item.