Gigabyte Z890 Eagle WiFi7 Motherboard Overview
Taking a first look at the Z890 Eagle WiFi7 it has a black PCB with the heatsinks being a dark grey. Overall the board looks pretty good.
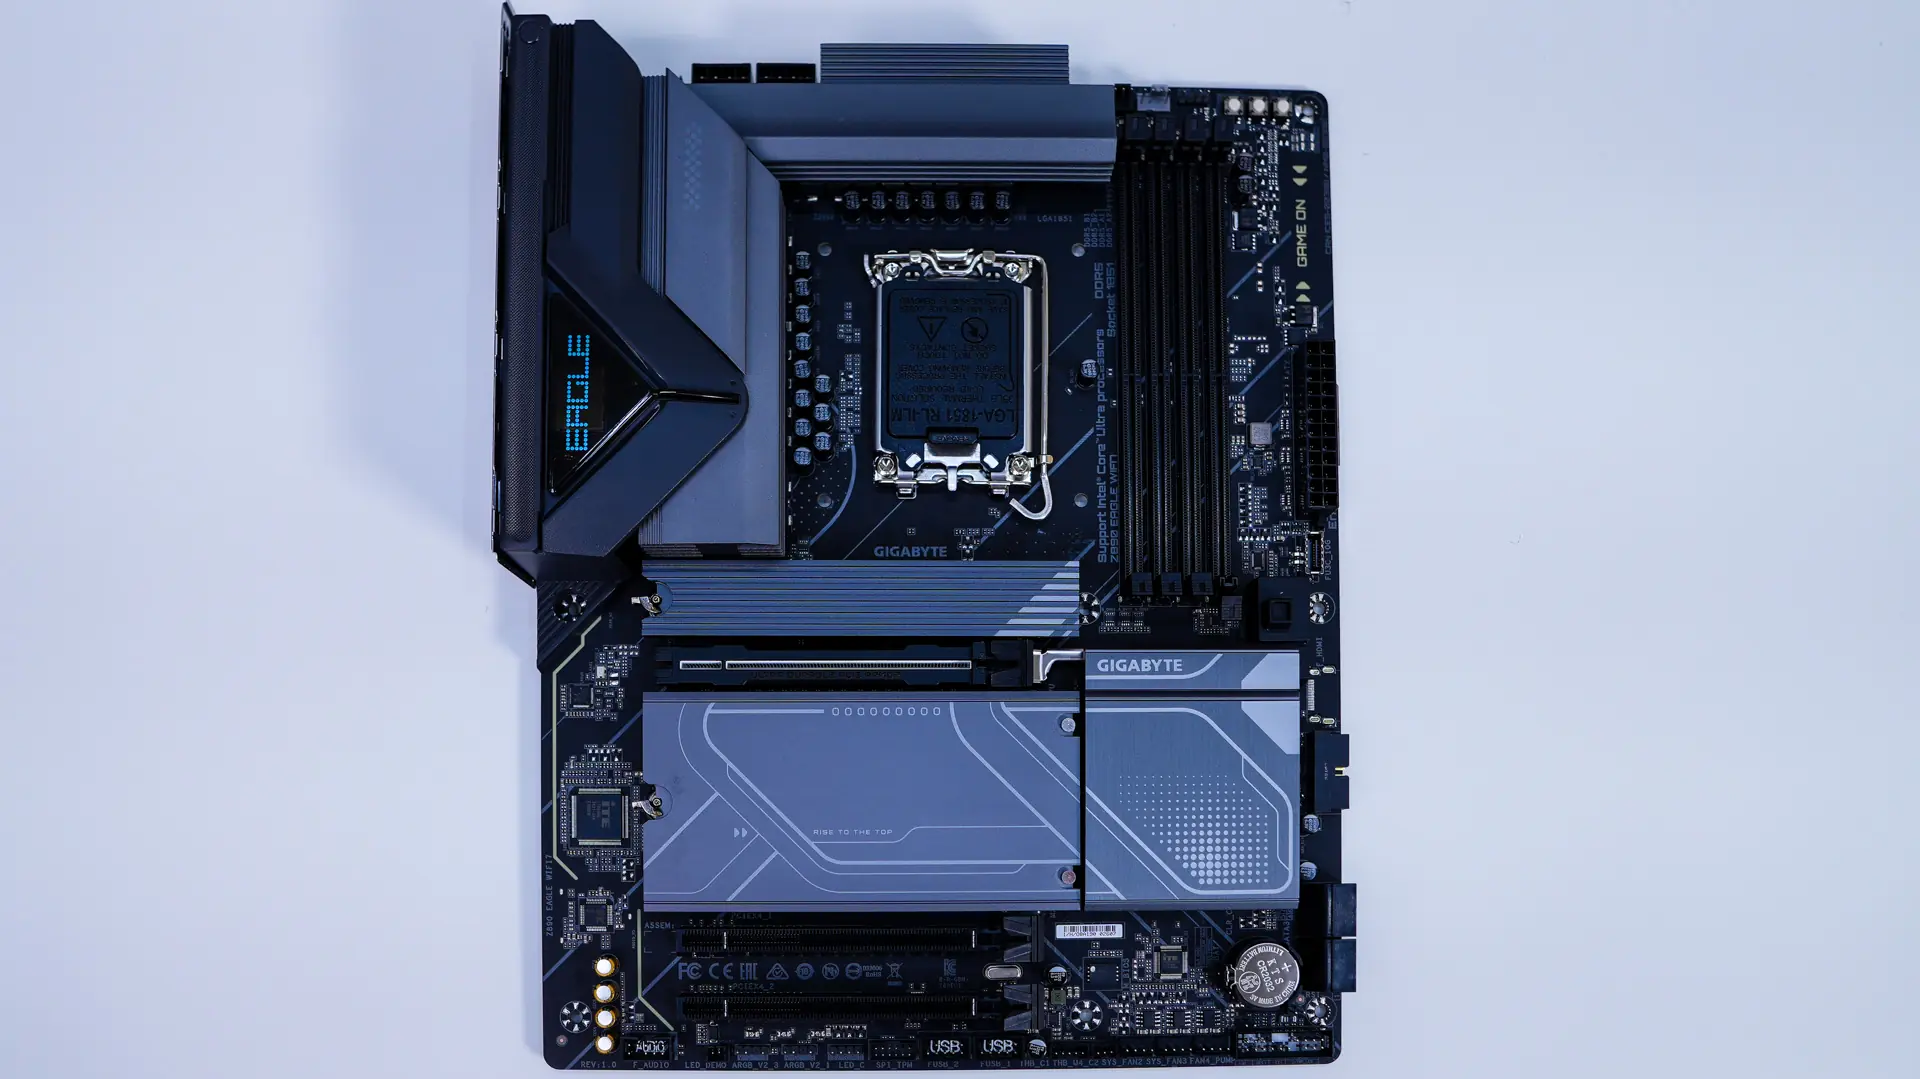
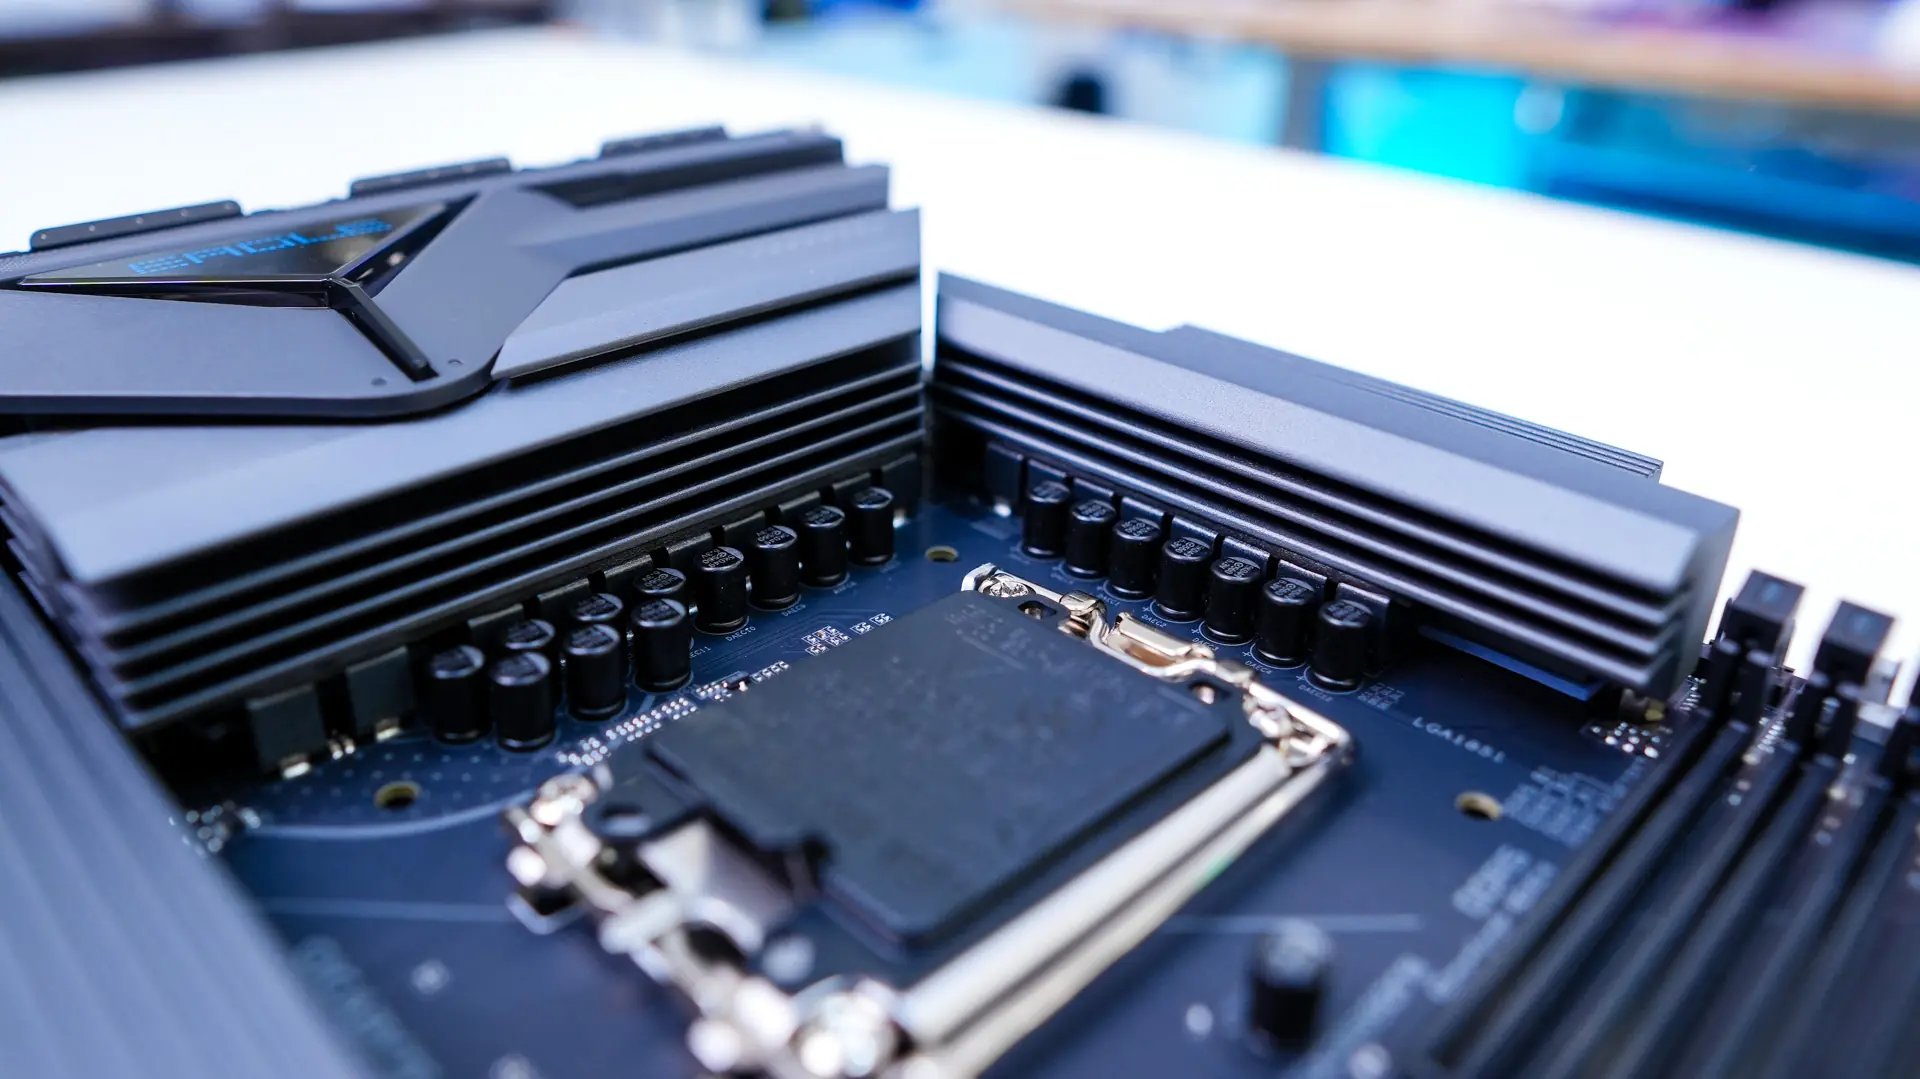
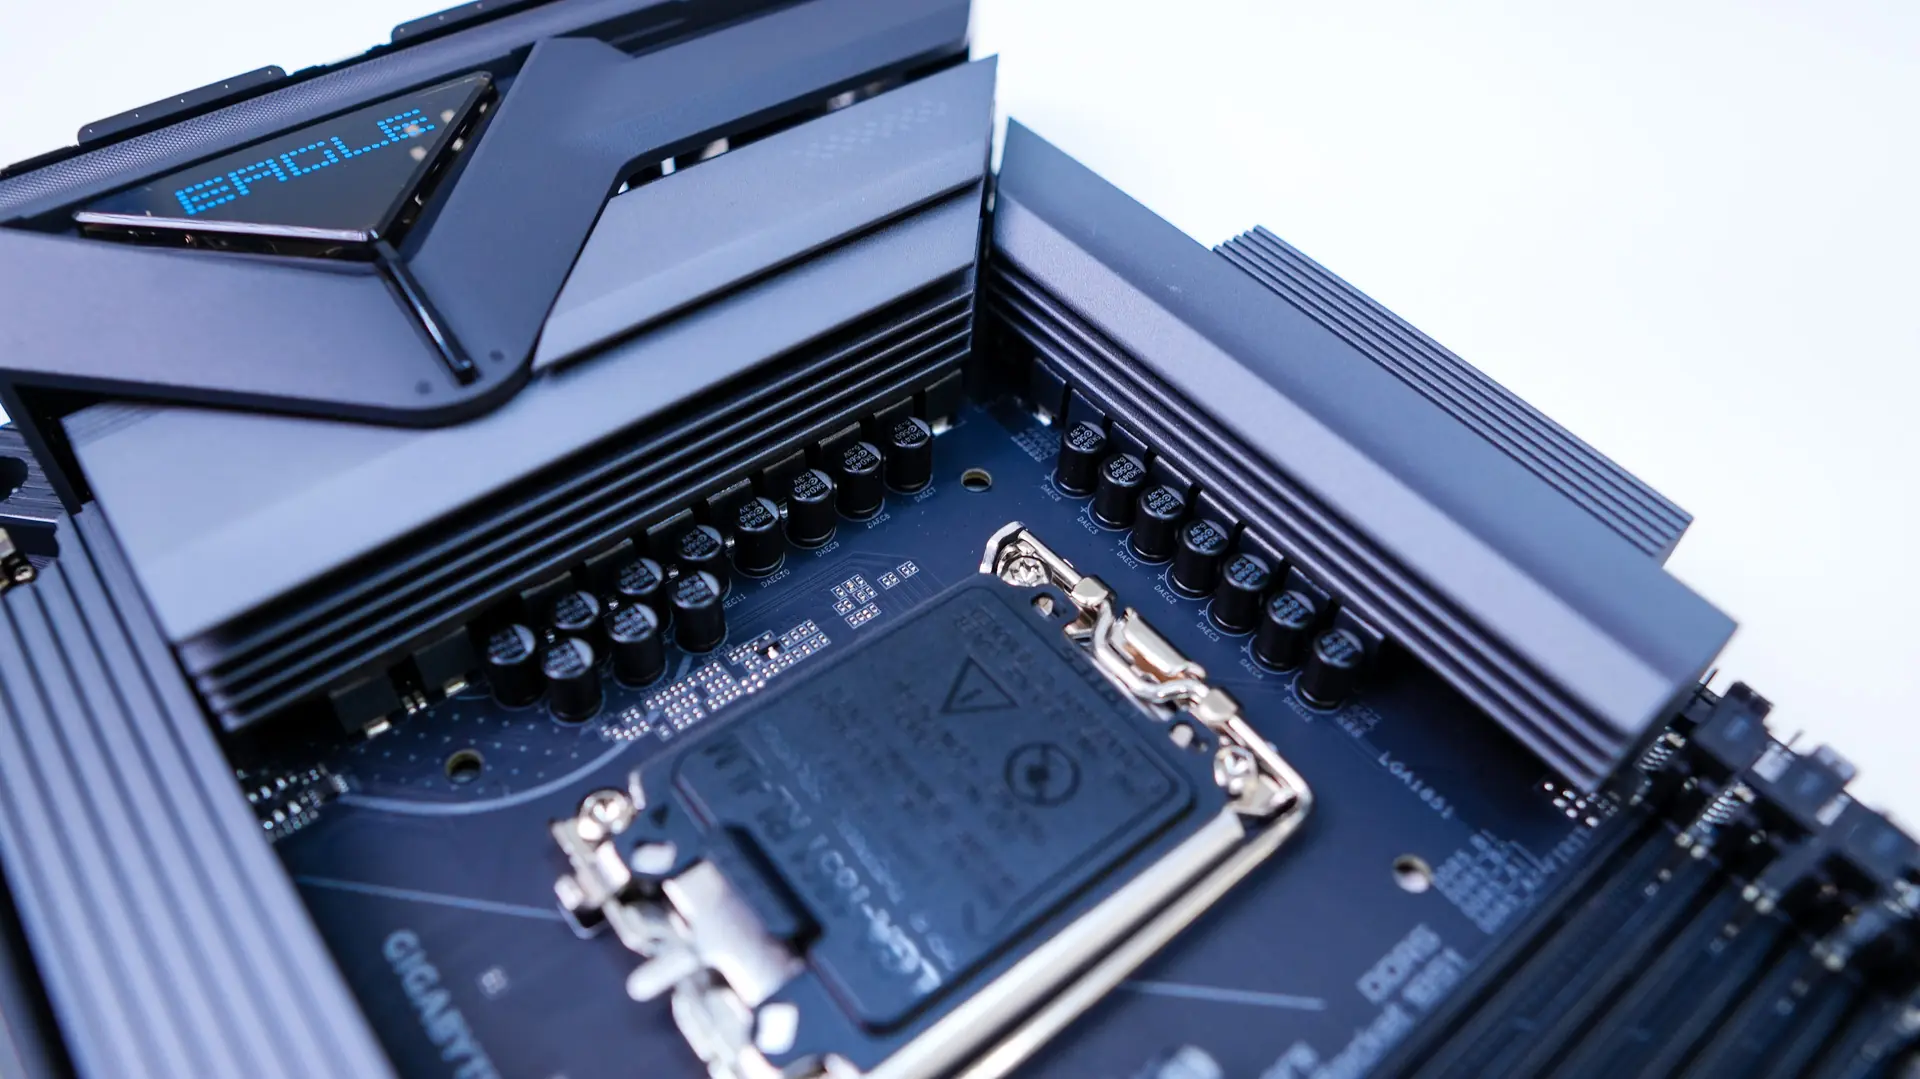
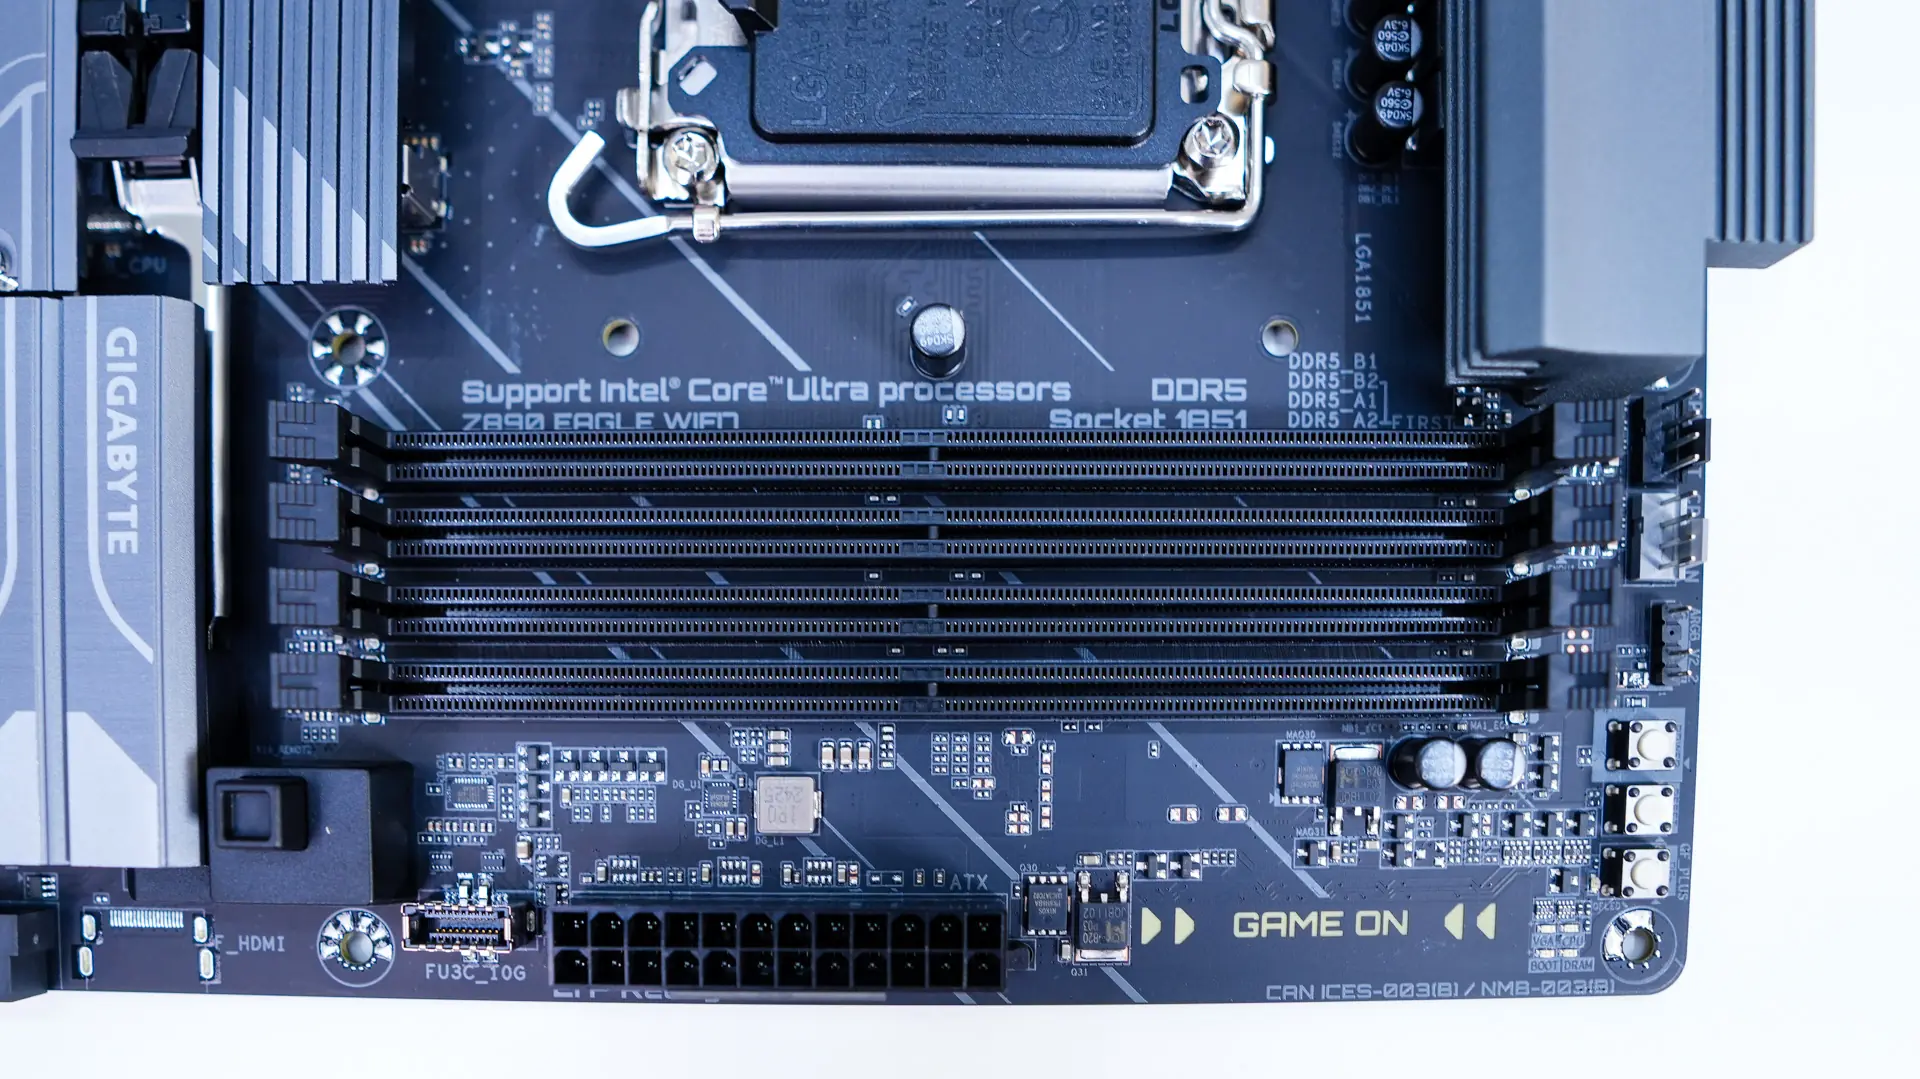
Starting at the CPU socket we have the new LGA 1851 socket, which currently only supports the new Core Ultra processors. This socket has the same dimensions and the same center-to-center distance for the mounting holes as LGA 1700, so LGA 1700-compatible CPU coolers will work on this socket. It is worth noting that the release latch on the socket is flat, which makes it easier to press down.

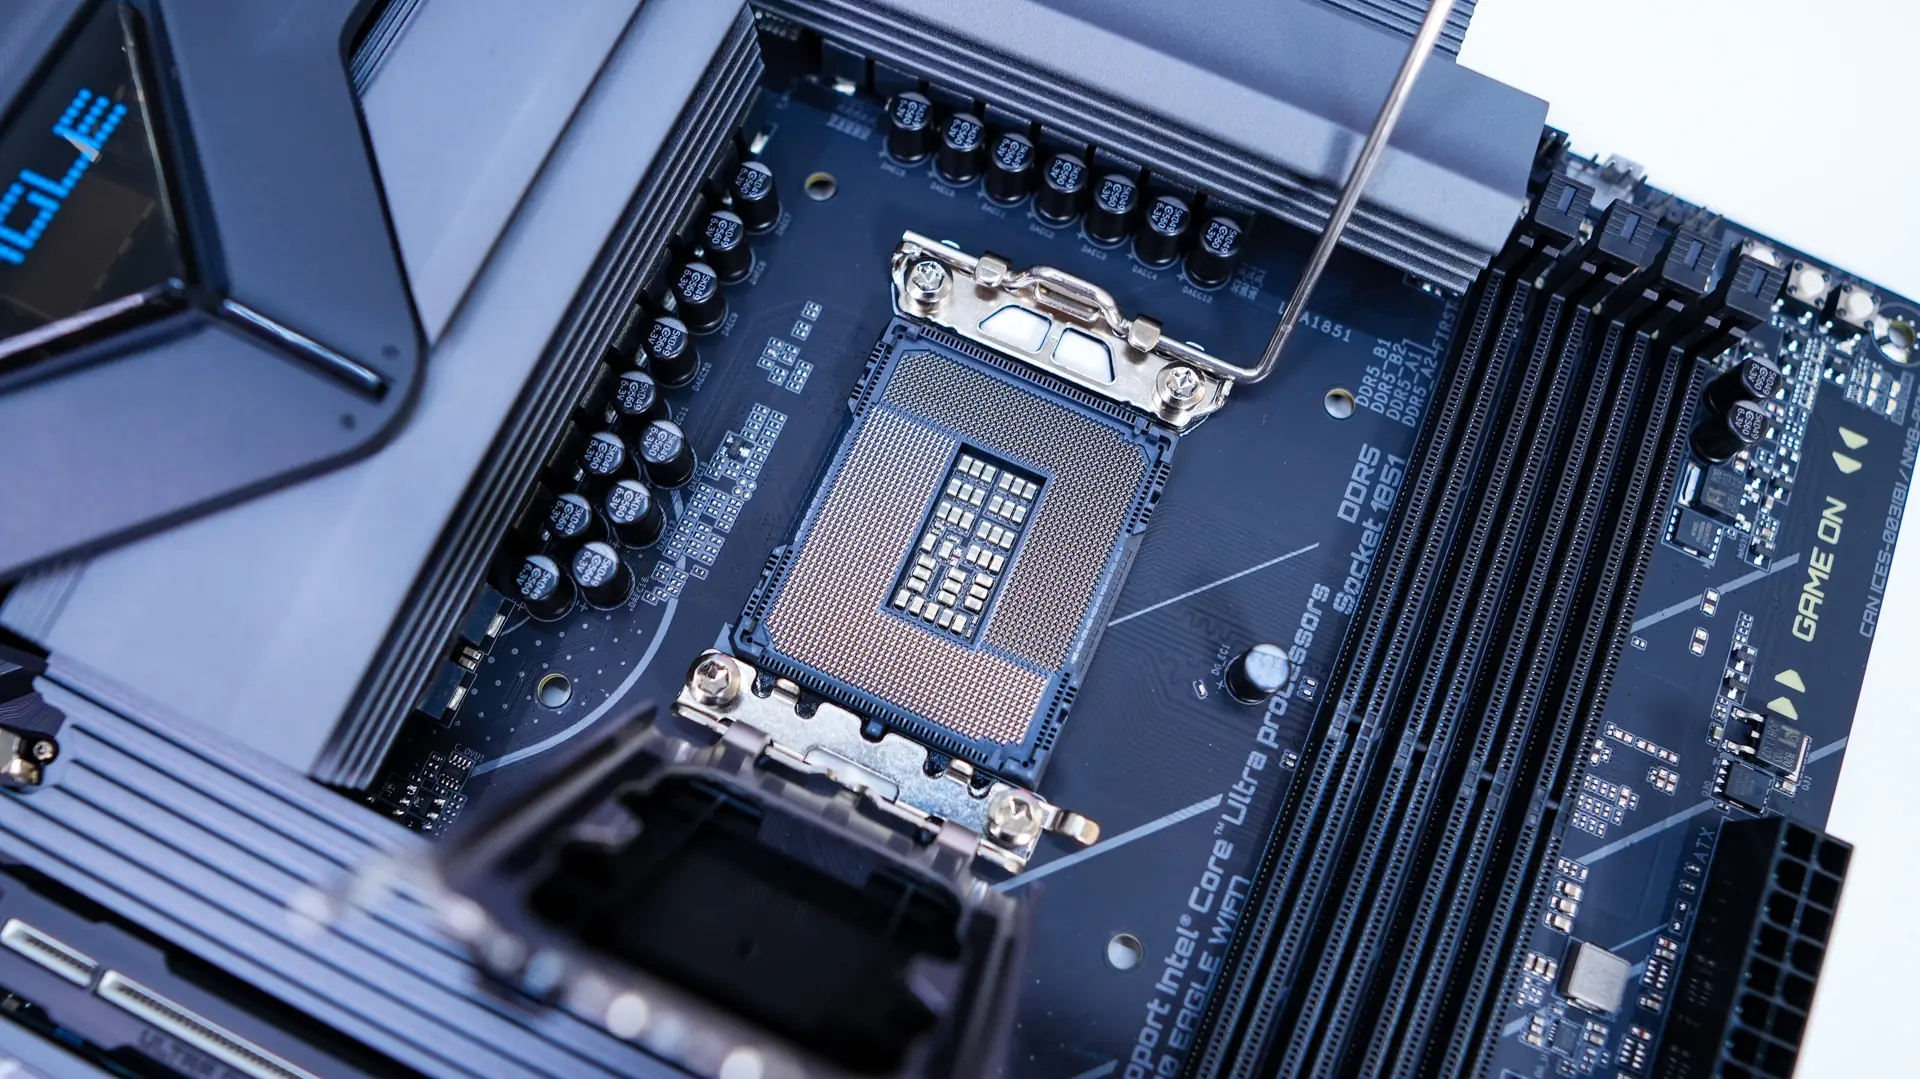
Surrounding the CPU socket we have our power delivery components. Gigabyte is making use of a 14+1+2 power phase design with the VCORE phases being 60A. The power delivery components are covered by two large heatsinks, which will keep your temperatures in check.
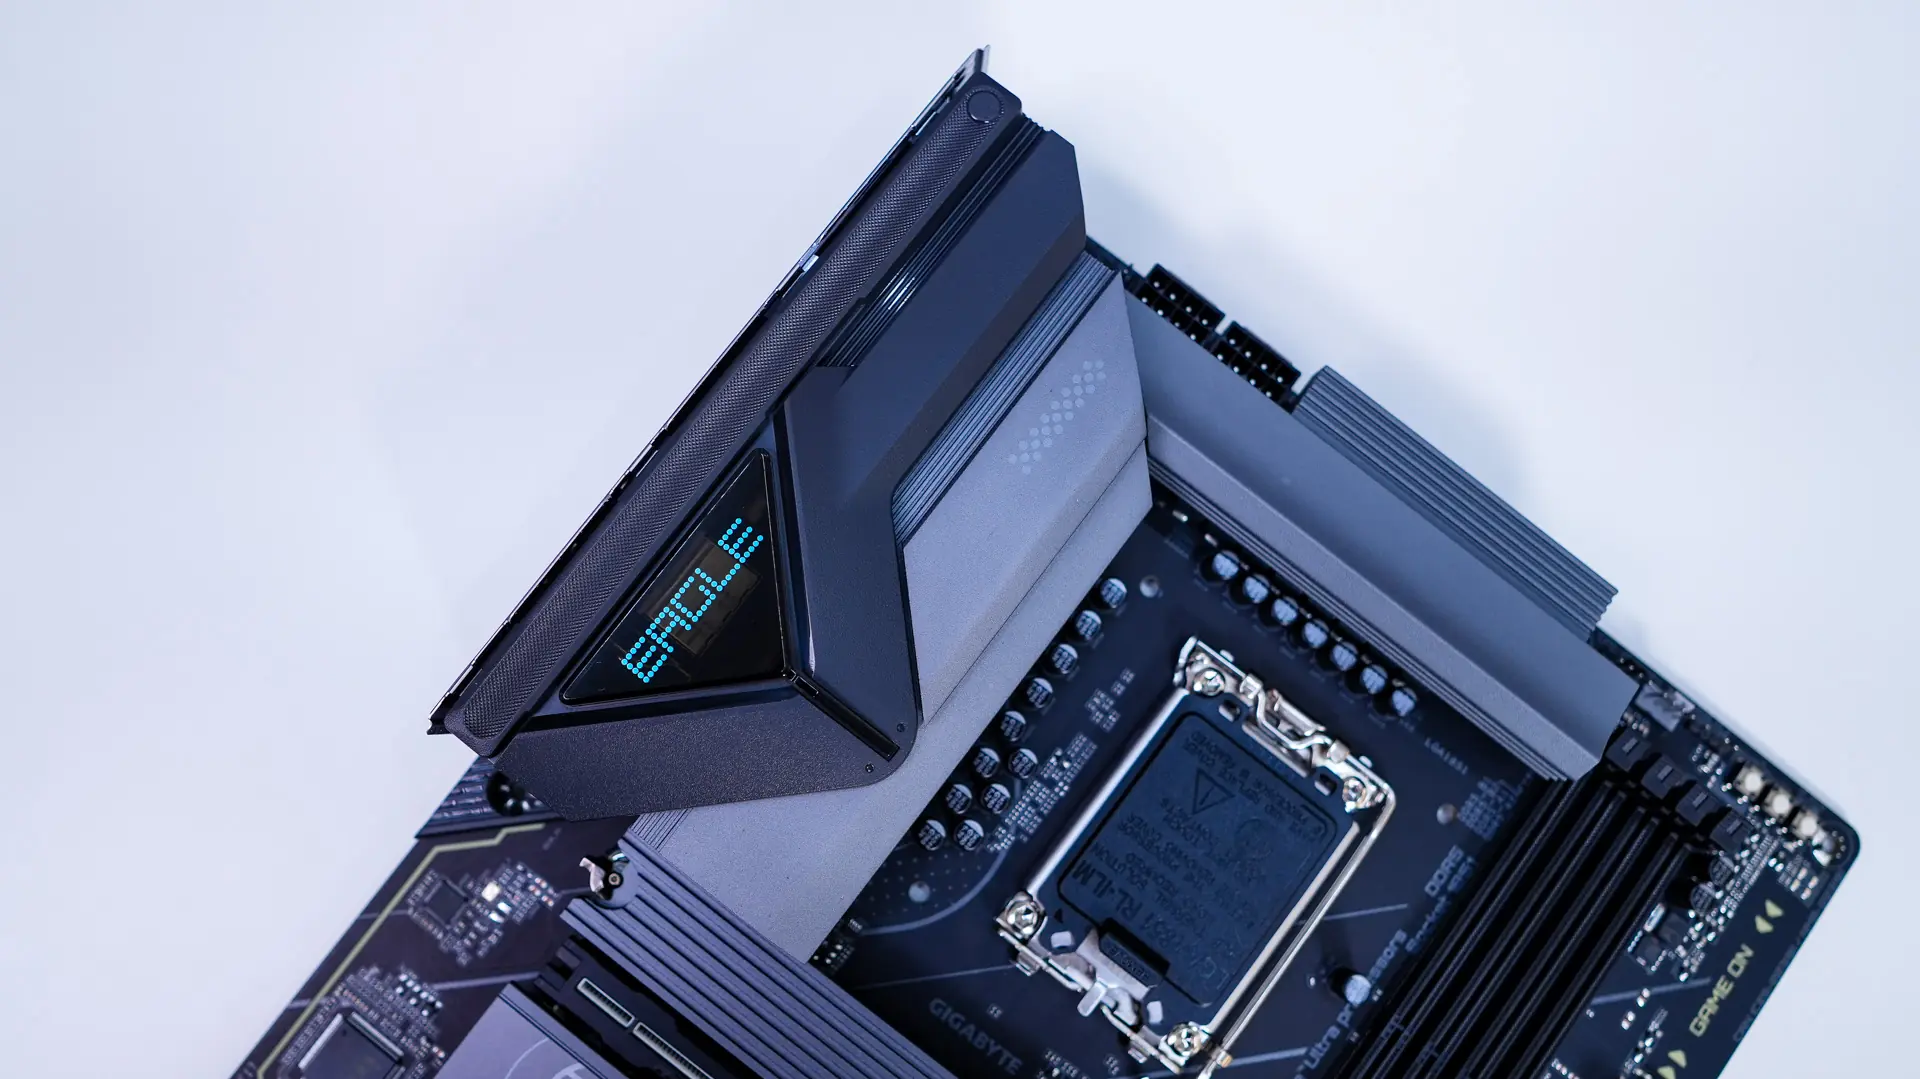
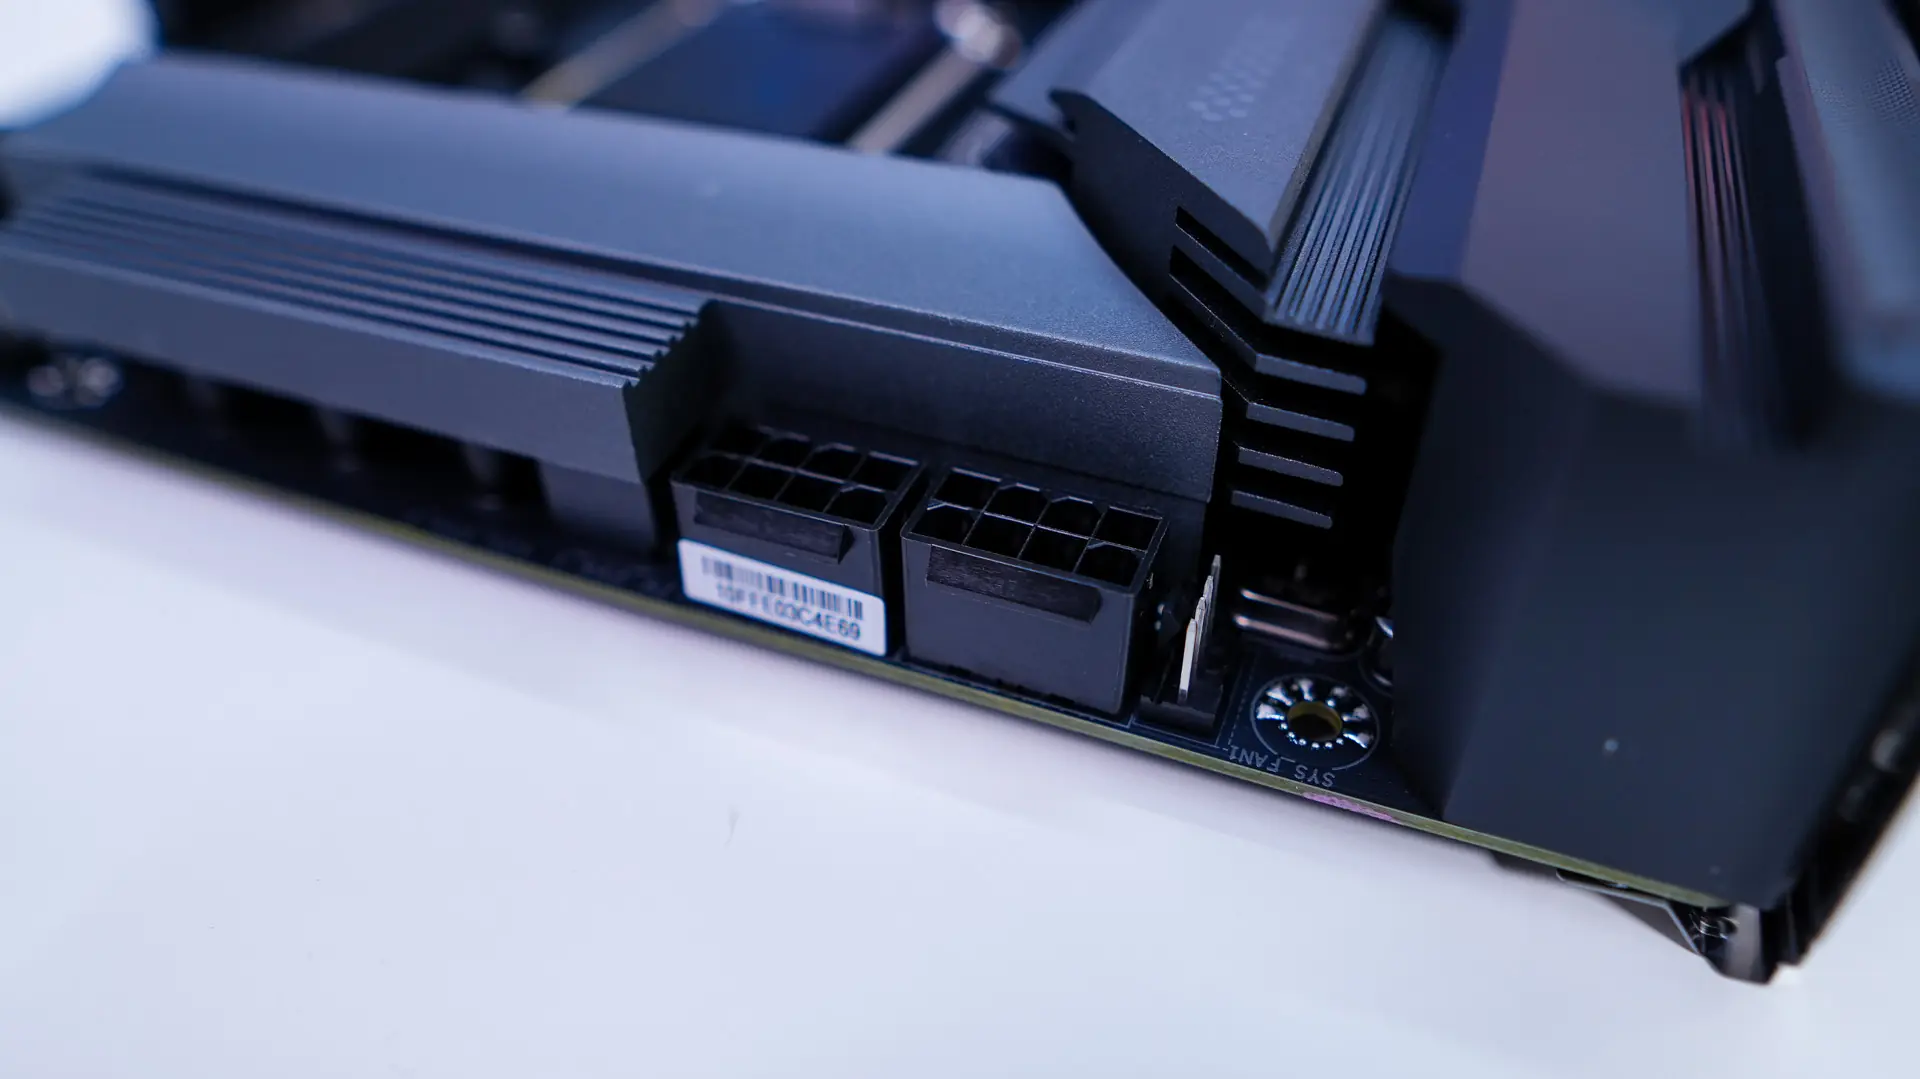
The top corner of the board comes together with the rear I/O cover, which says “EAGLE” on it. Hiding in the top corner of the board are your two 8-pin EPS connectors and a single 4-pin fan header. This would be perfect for a rear or top fan in your case.
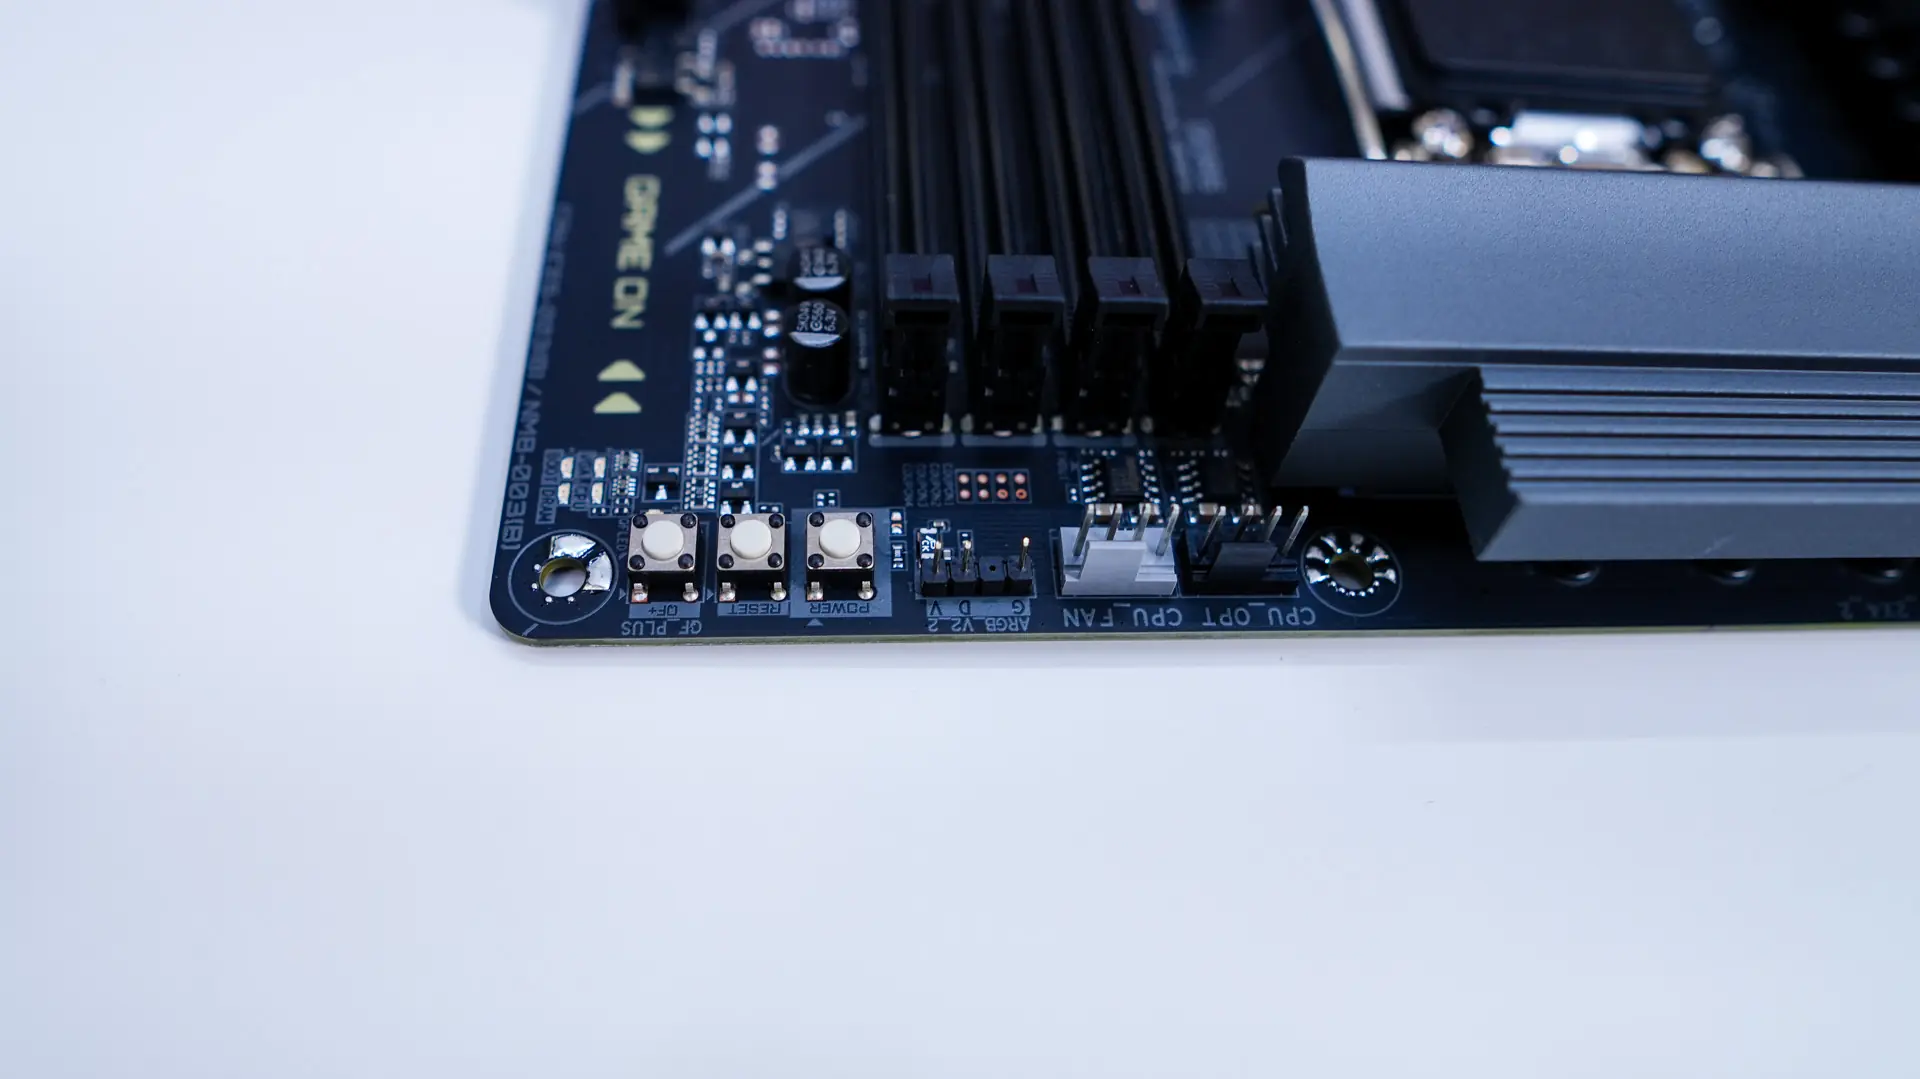
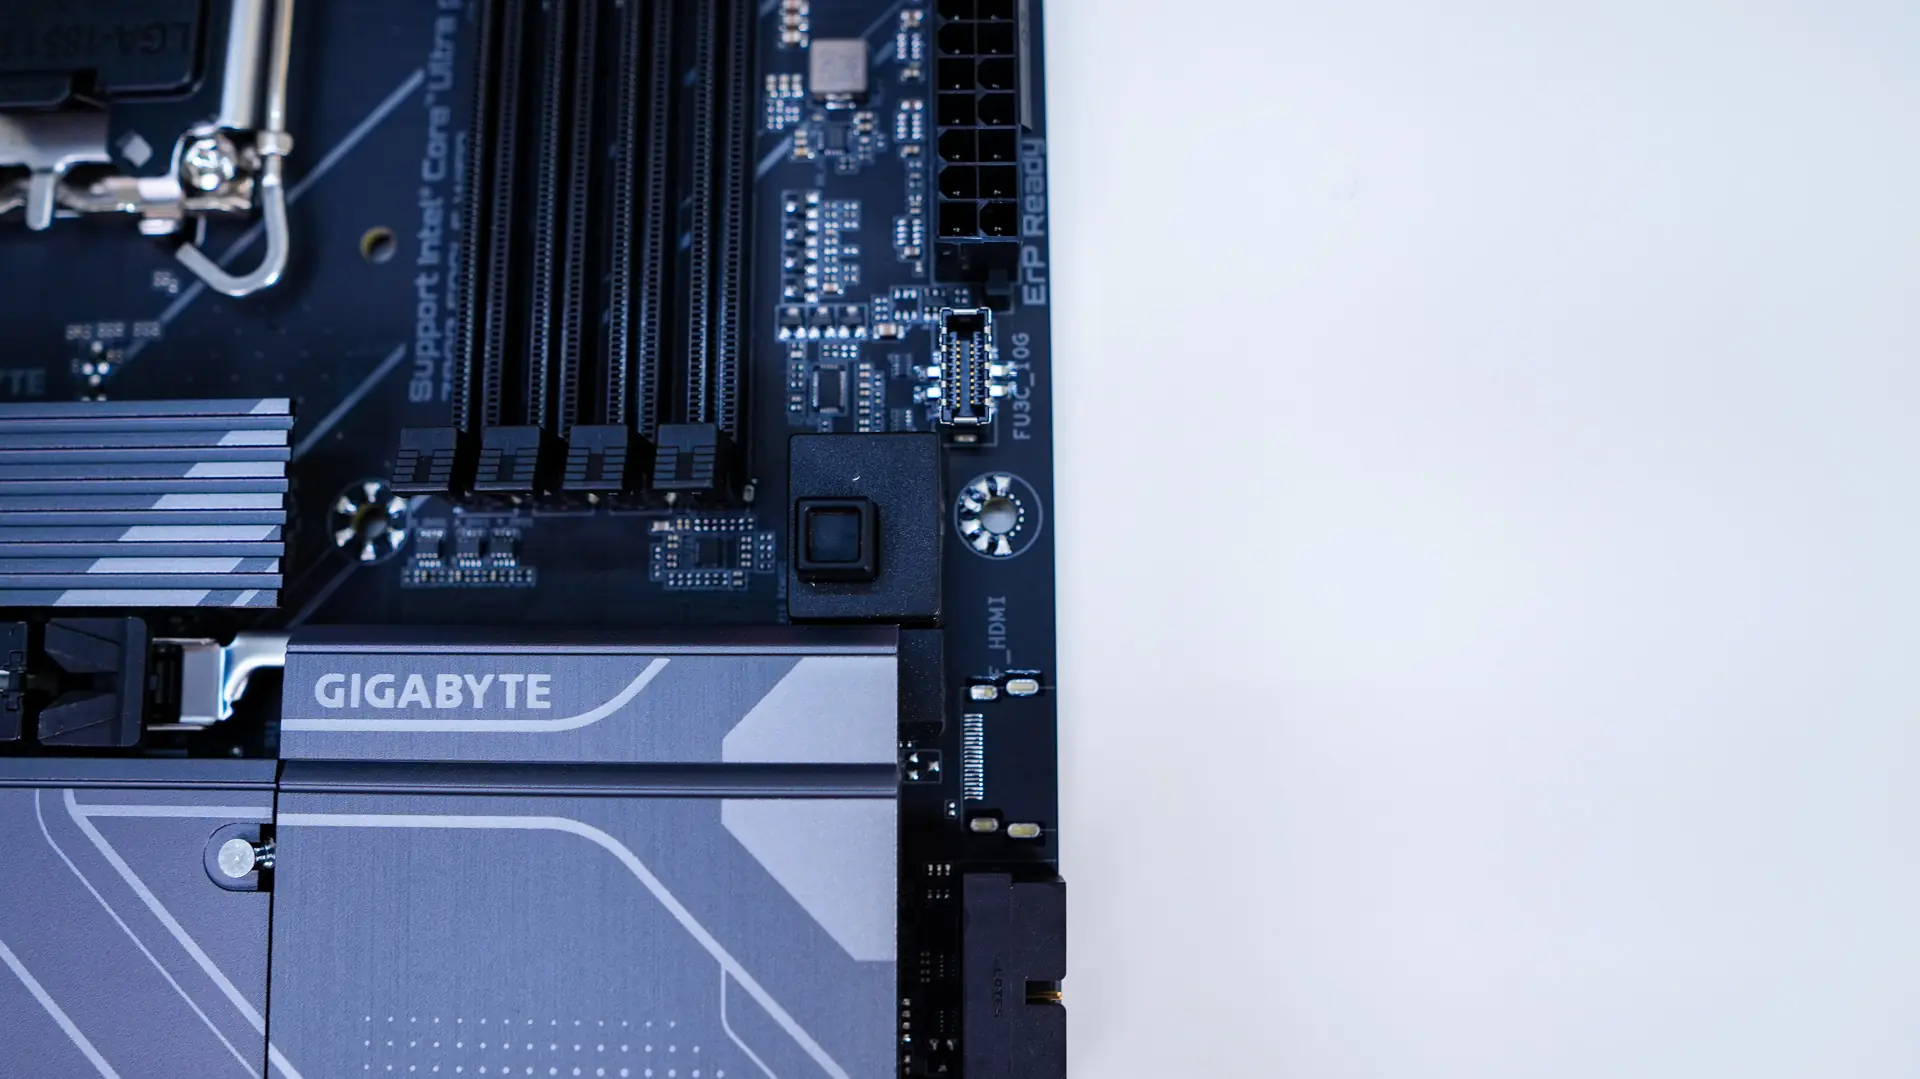
Moving across the board you’ll find your CPU fan header, optional CPU fan header, 3-pin addressable RGB header, and three small buttons which include power, reset, and QF+. QF+ is of course Q-Flash Plus which allows users to update the BIOS without having to install a CPU, RAM, or video card. It is great to see dedicated buttons on an entry-level board like this. Below the CPU fan headers you’ll find your DDR5 DIMM slots which do support up to 256GB of DDR5-9200 memory.
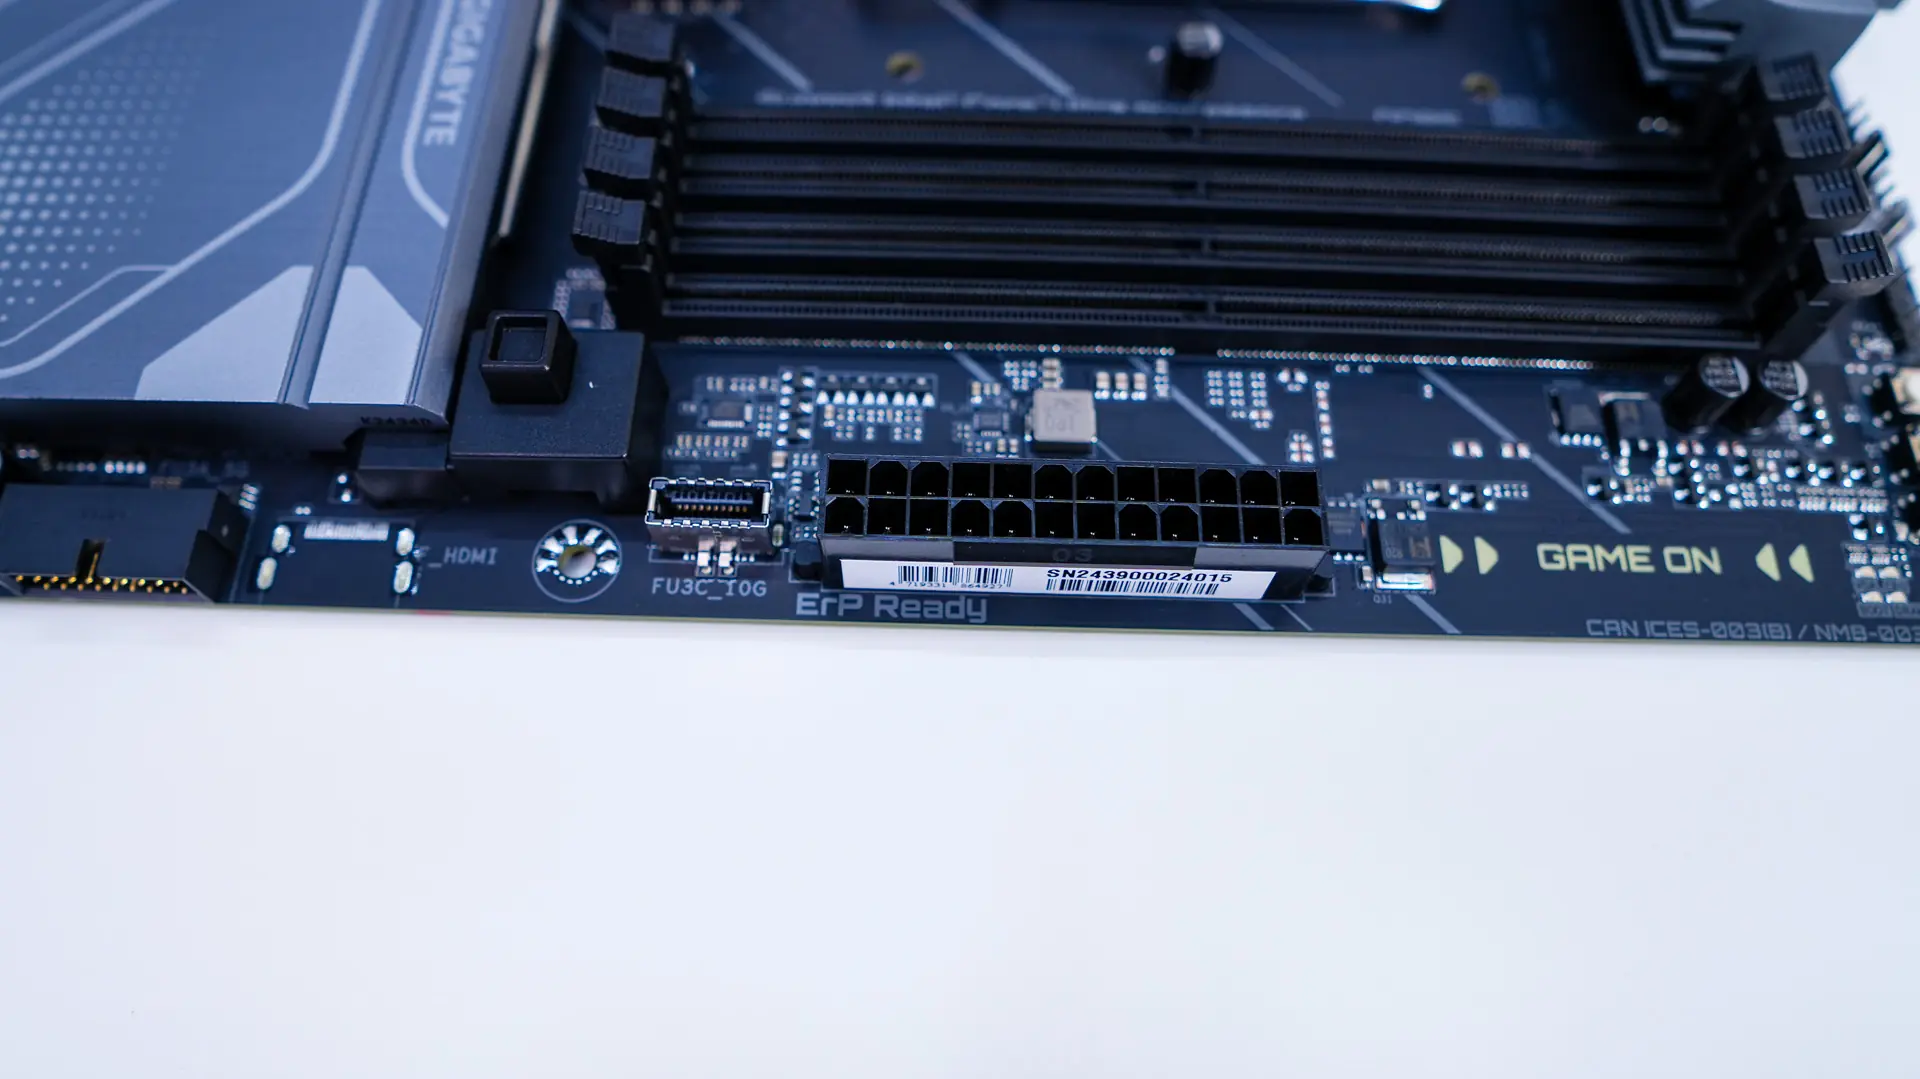
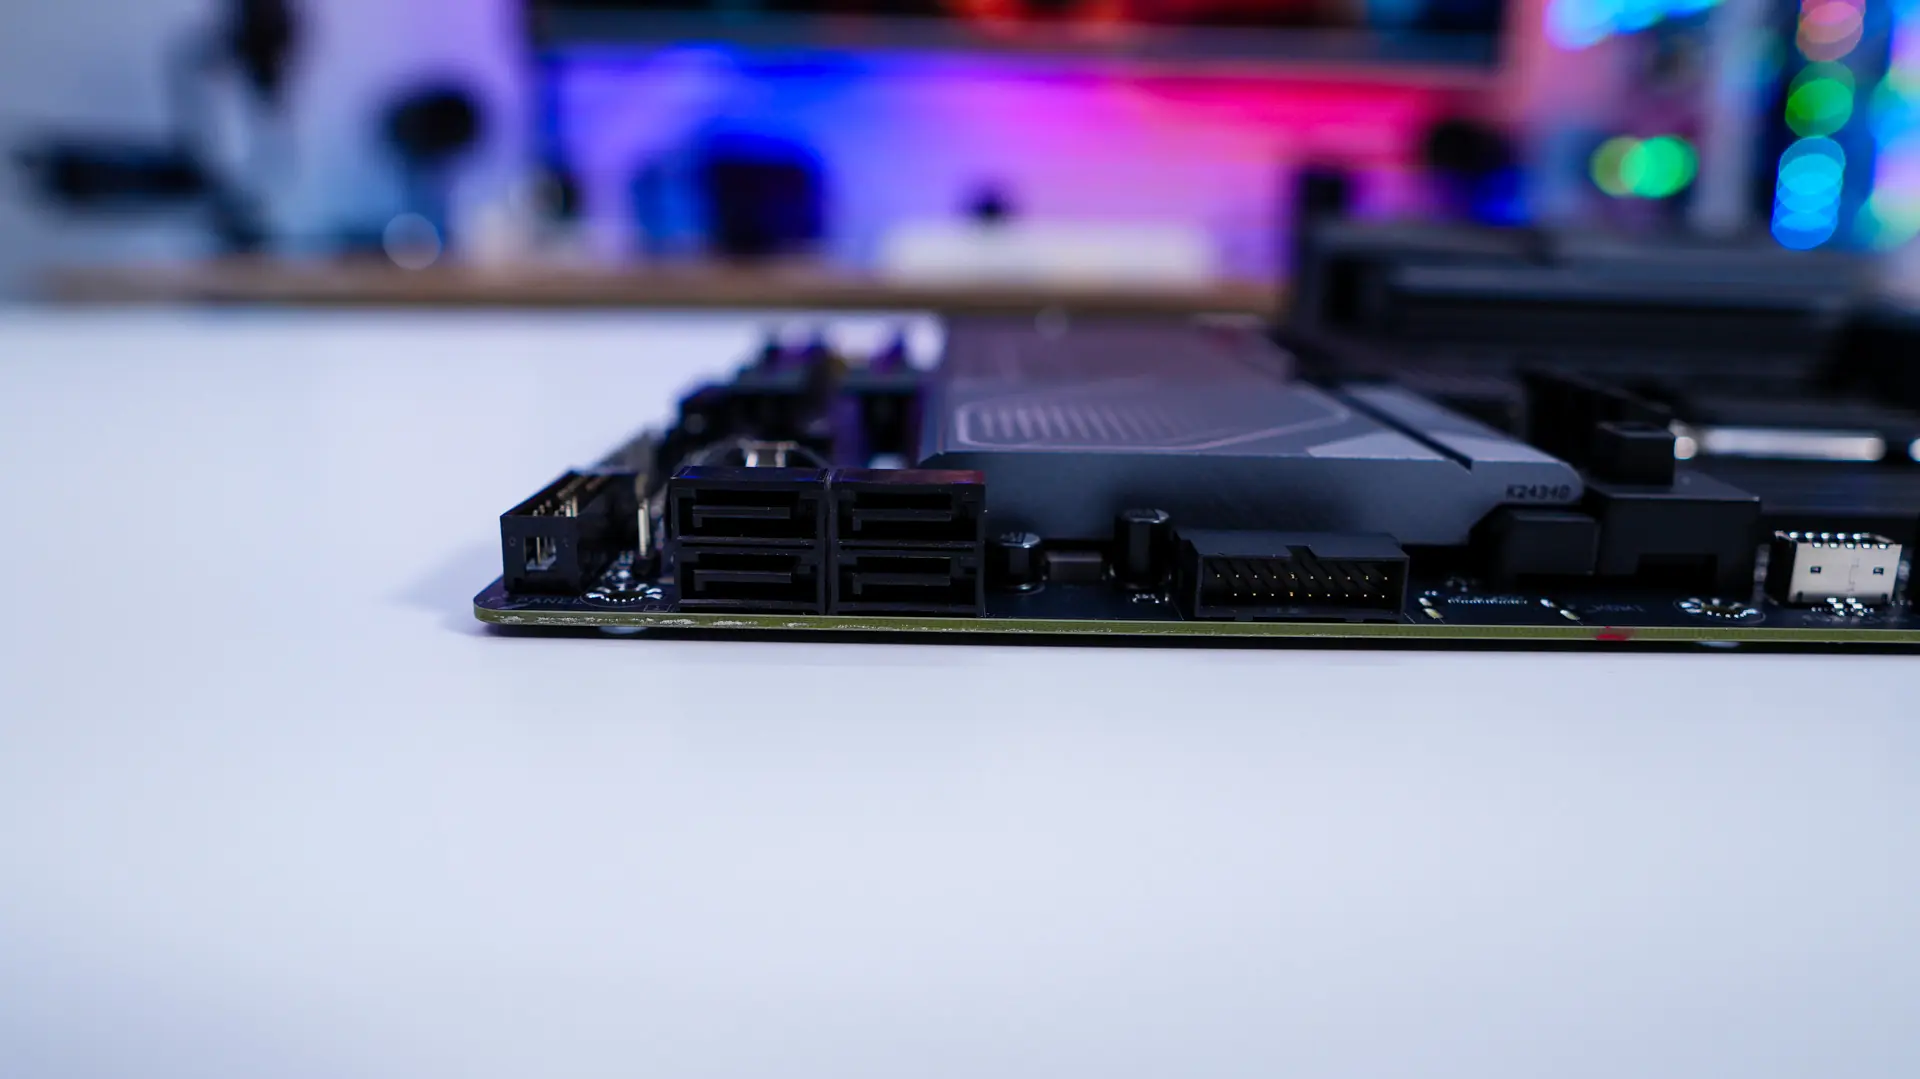
Coming to the edge of the board you’ll find your 24-pin ATX power connector, a USB 3.2 gen 2 header, USB 3.2 gen 1 header, and four SATA 6GB/s ports. The SATA ports and USB 3.2 gen 1 header are at a 90-degree angle so they don’t get in the way of your expansion cards.
At the bottom of the board you’ll find the rest of your headers and connections. From left to right you have your front panel audio header, LED demo header, two 3-pin addressable RGB headers, a 4-pin standard RGB header, TPM header, two USB 2.0 headers, Thunderbolt header, three 4-pin fan headers, and the front panel headers.
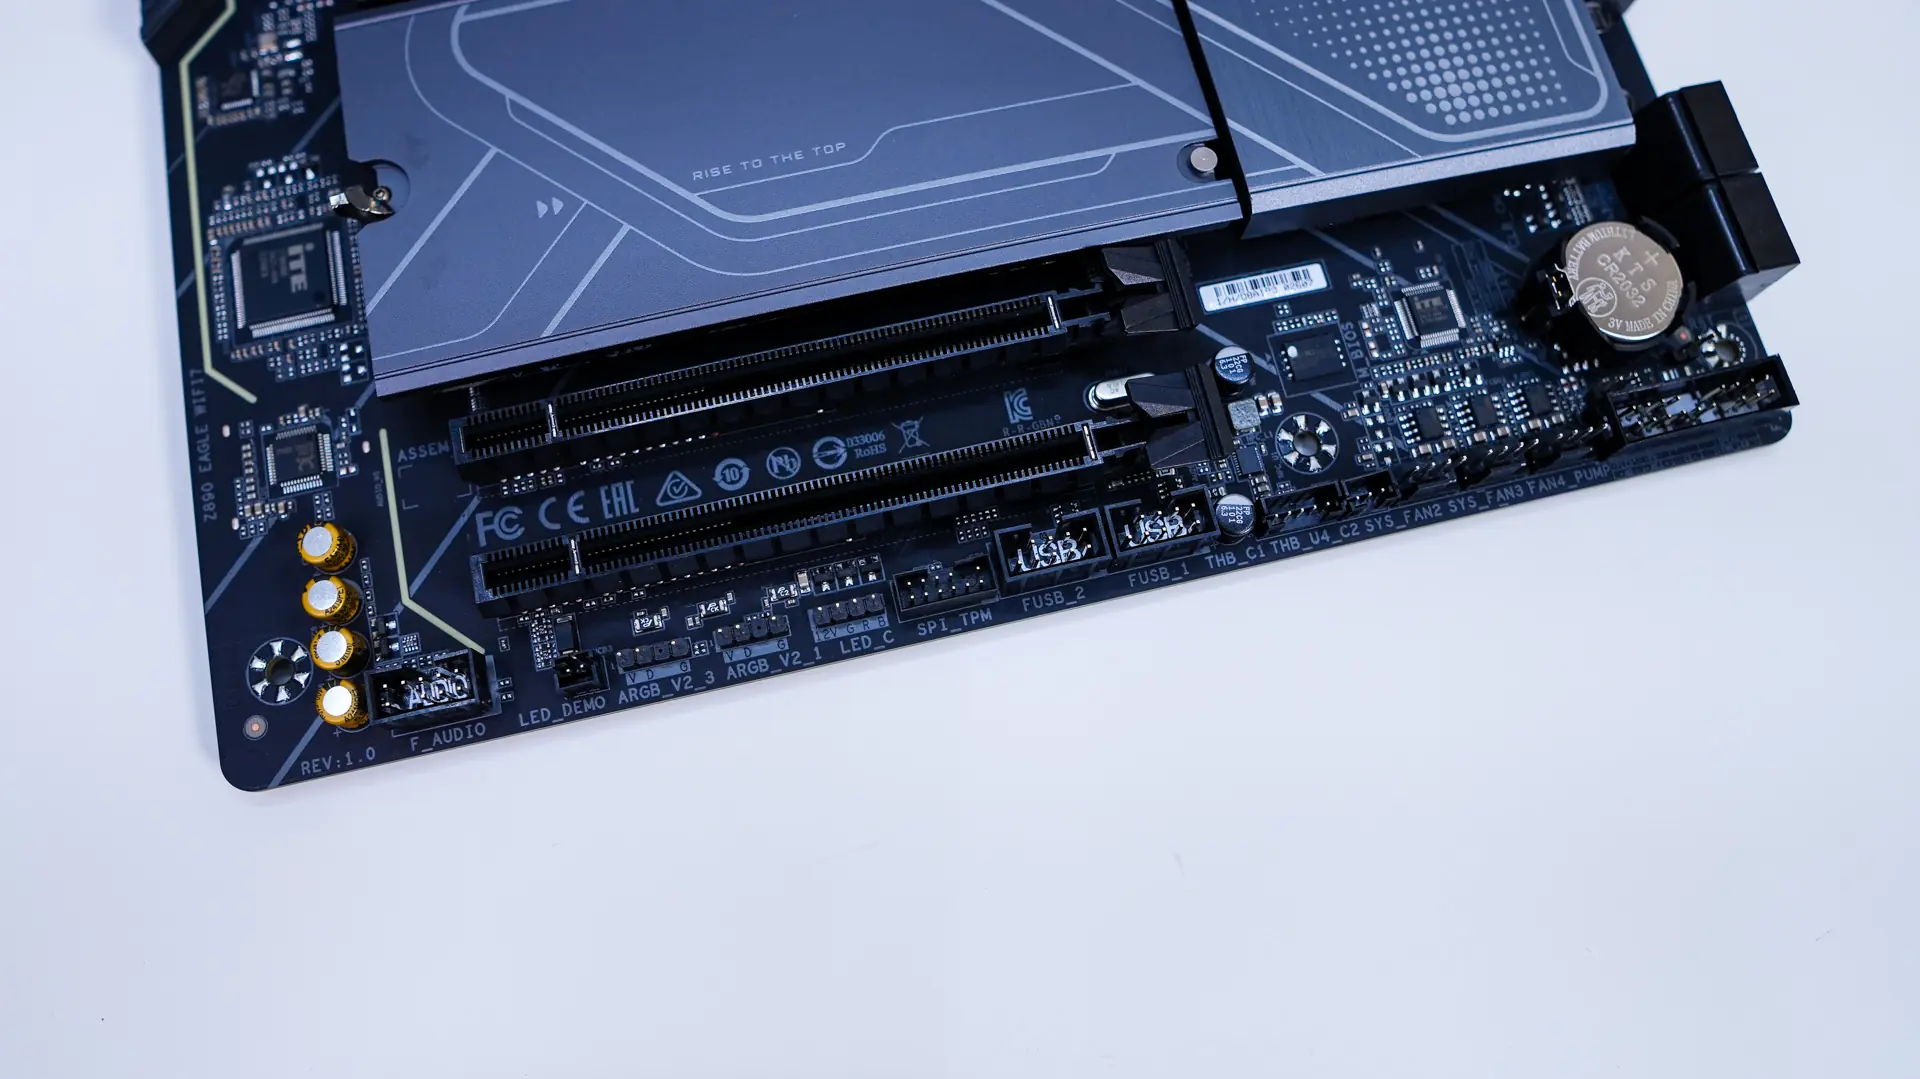
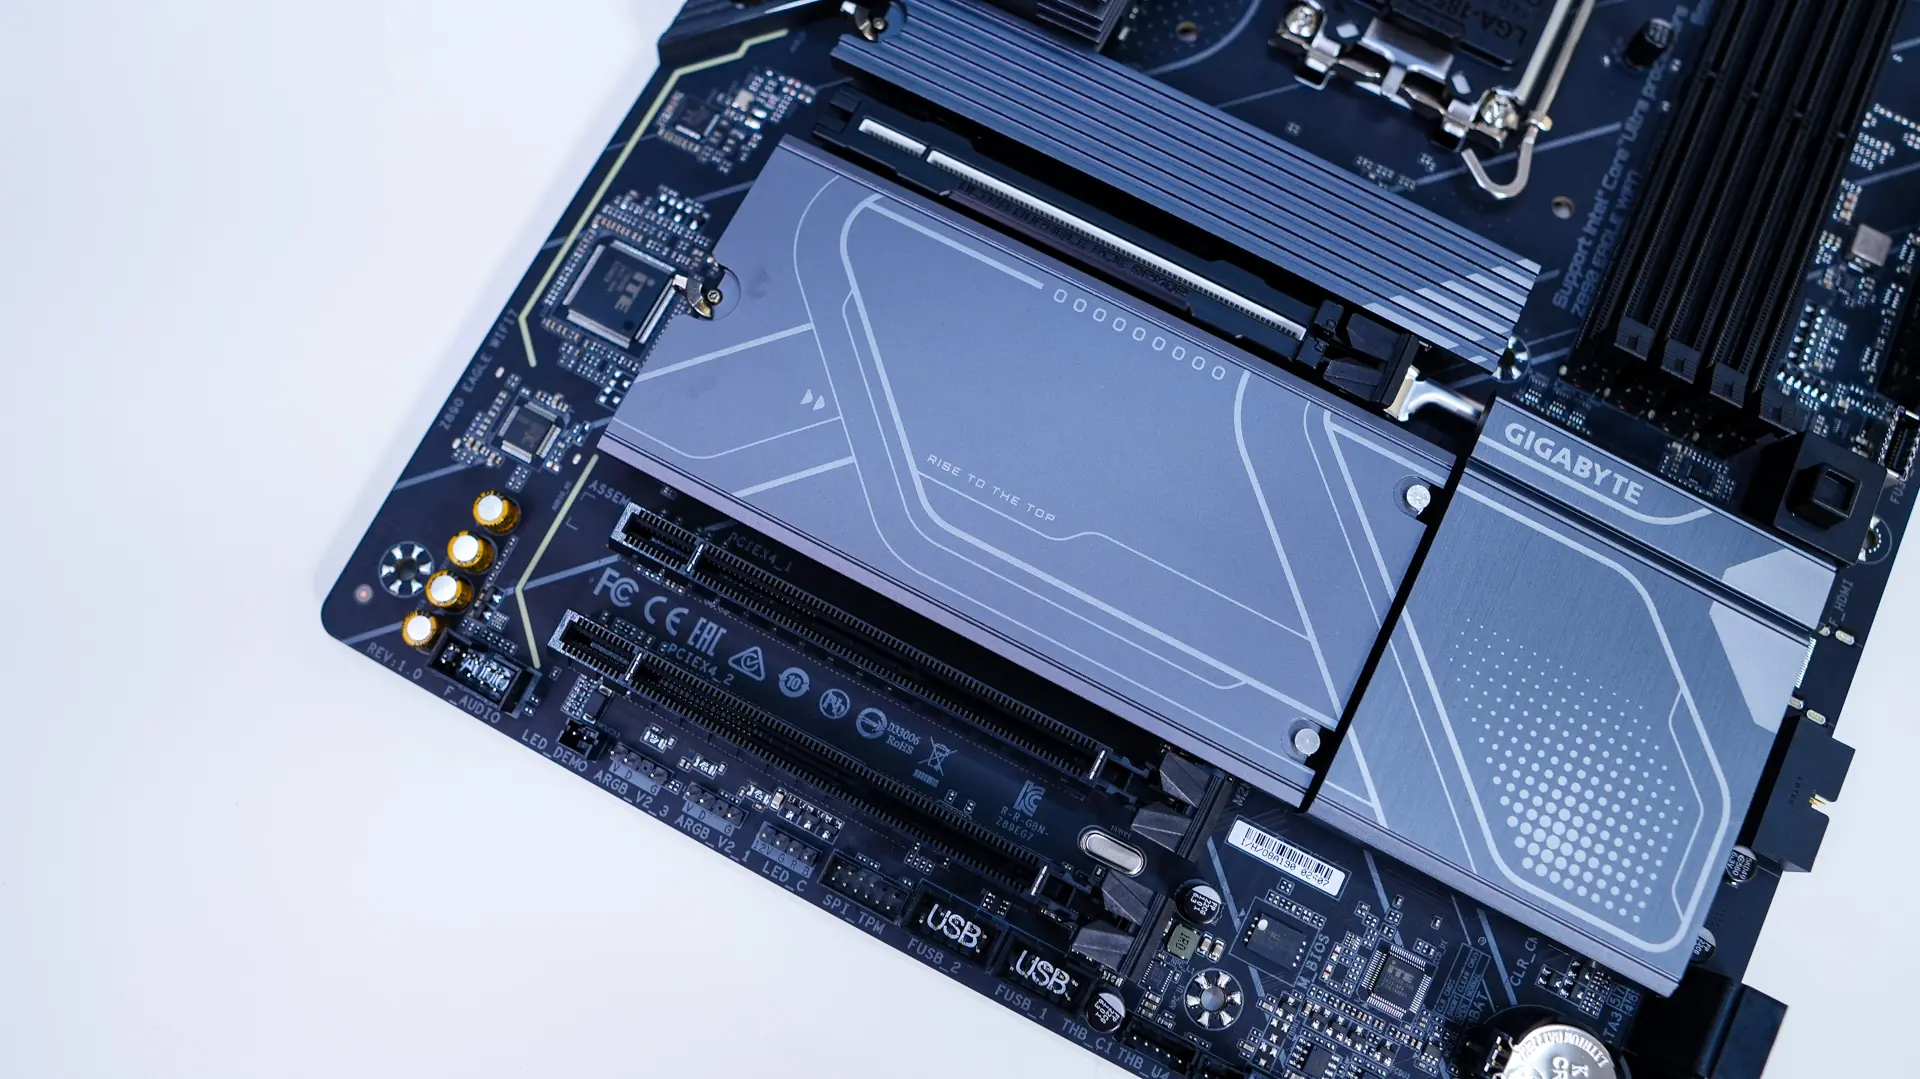
Like most motherboards these days the bottom half of this board is characterized by heatsinks. Both of the removable heatsinks feature Gigabyte’s EZ-Latch Plus system which includes a simple latch to remove the heatsinks, so they are completely tool-less.
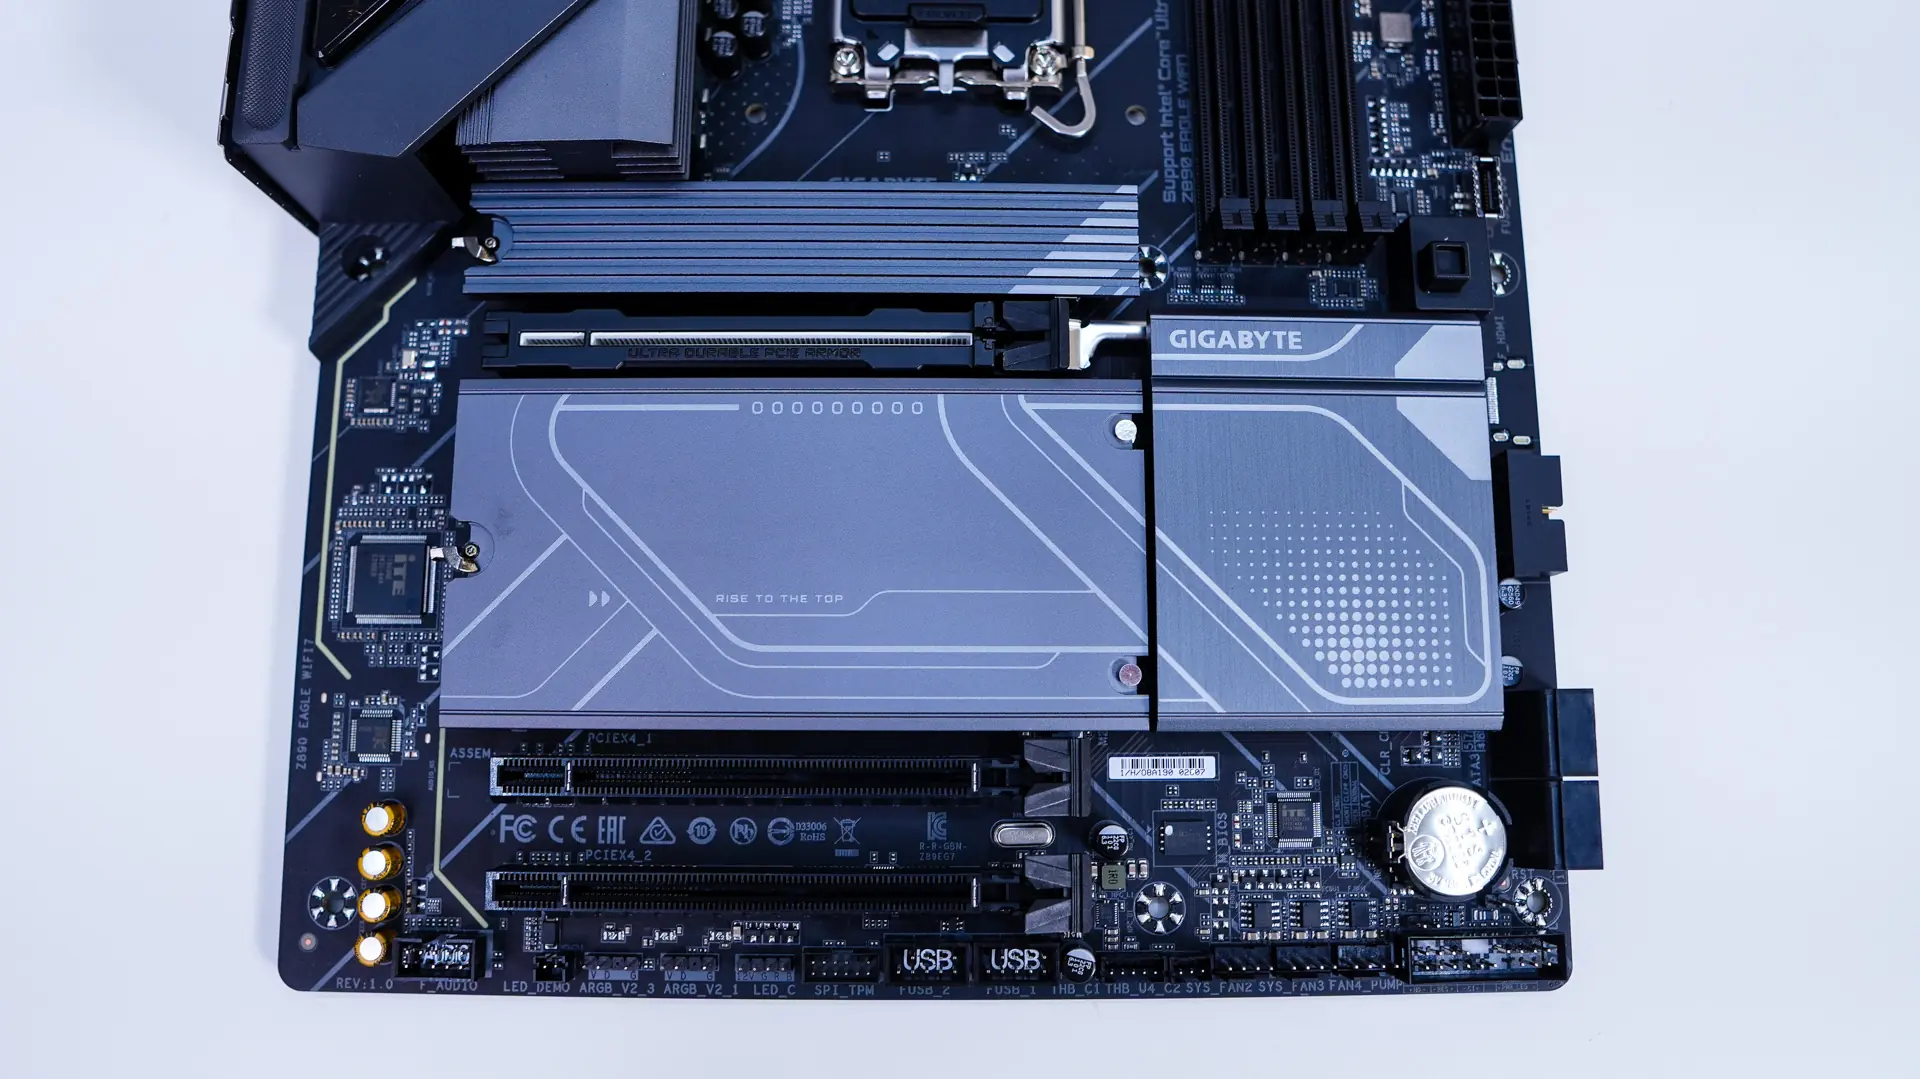
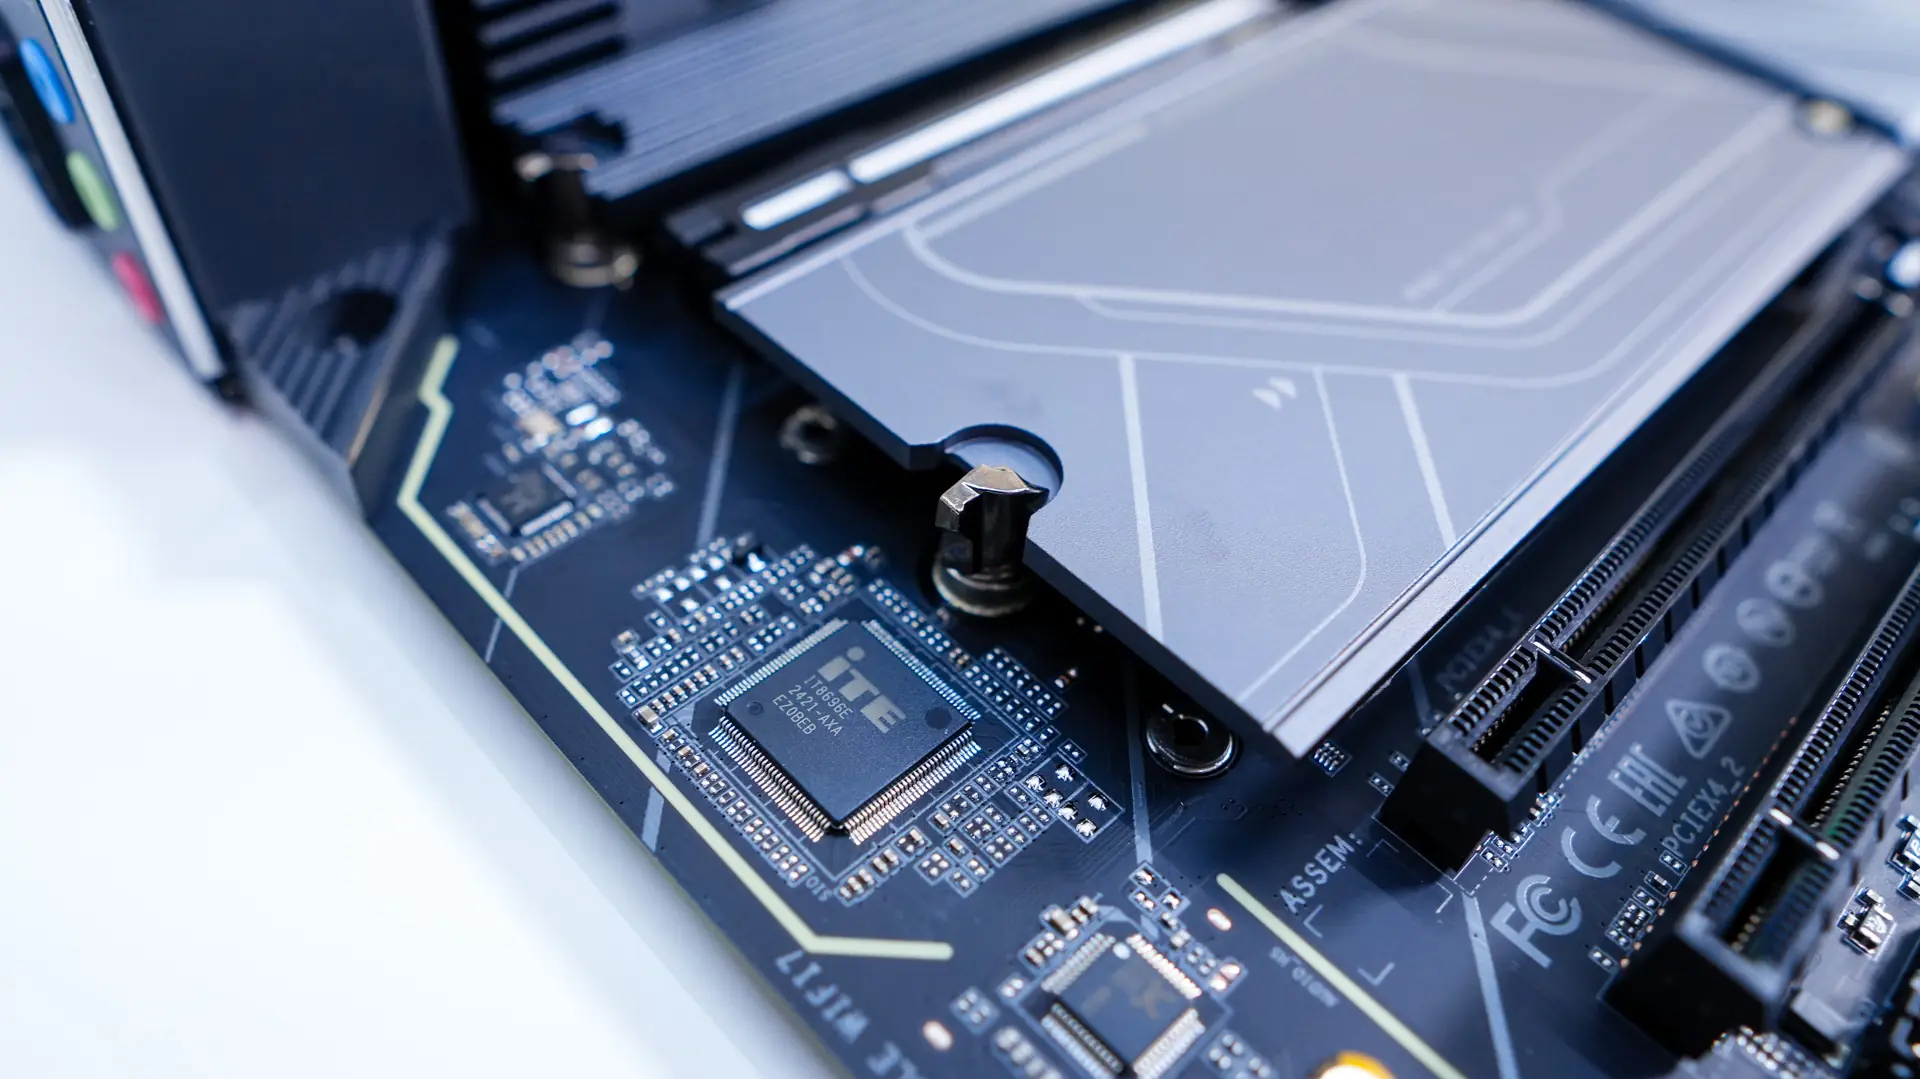
Removing the top heatsink we find the first M.2 slot (M2A_CPU) which is a PCI-Express 5.0 slot. The heatsink for this thicker as it is made to cool off the hotter PCI-Express 5.0 drives. Removing the larger heatsink we find three more M.2 slots. All three of these are PCI-Express 4.0 with the bottom slot also supporting SATA M.2 drives. We can also see that all the slots feature the EZ-Latch Click system which is another tool-less system that allows you to “click” in your M.2 drives to secure them.
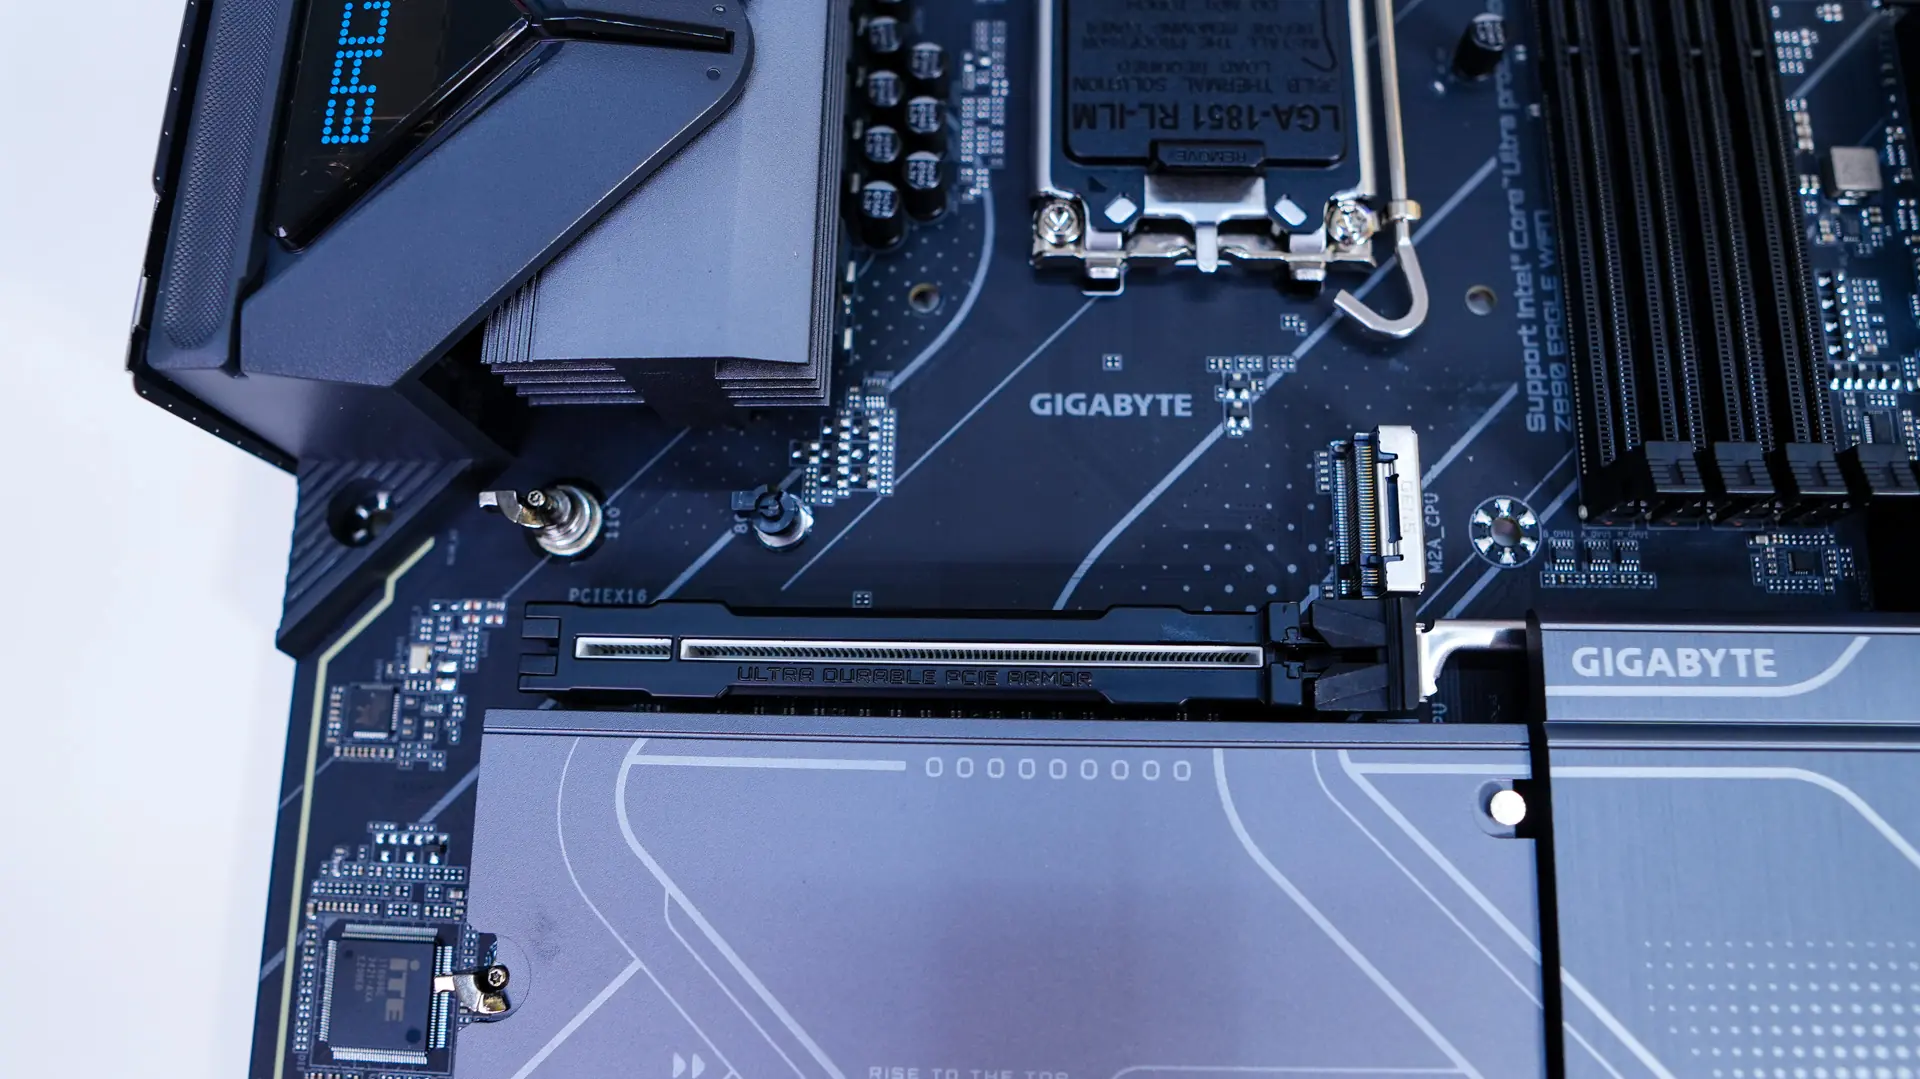
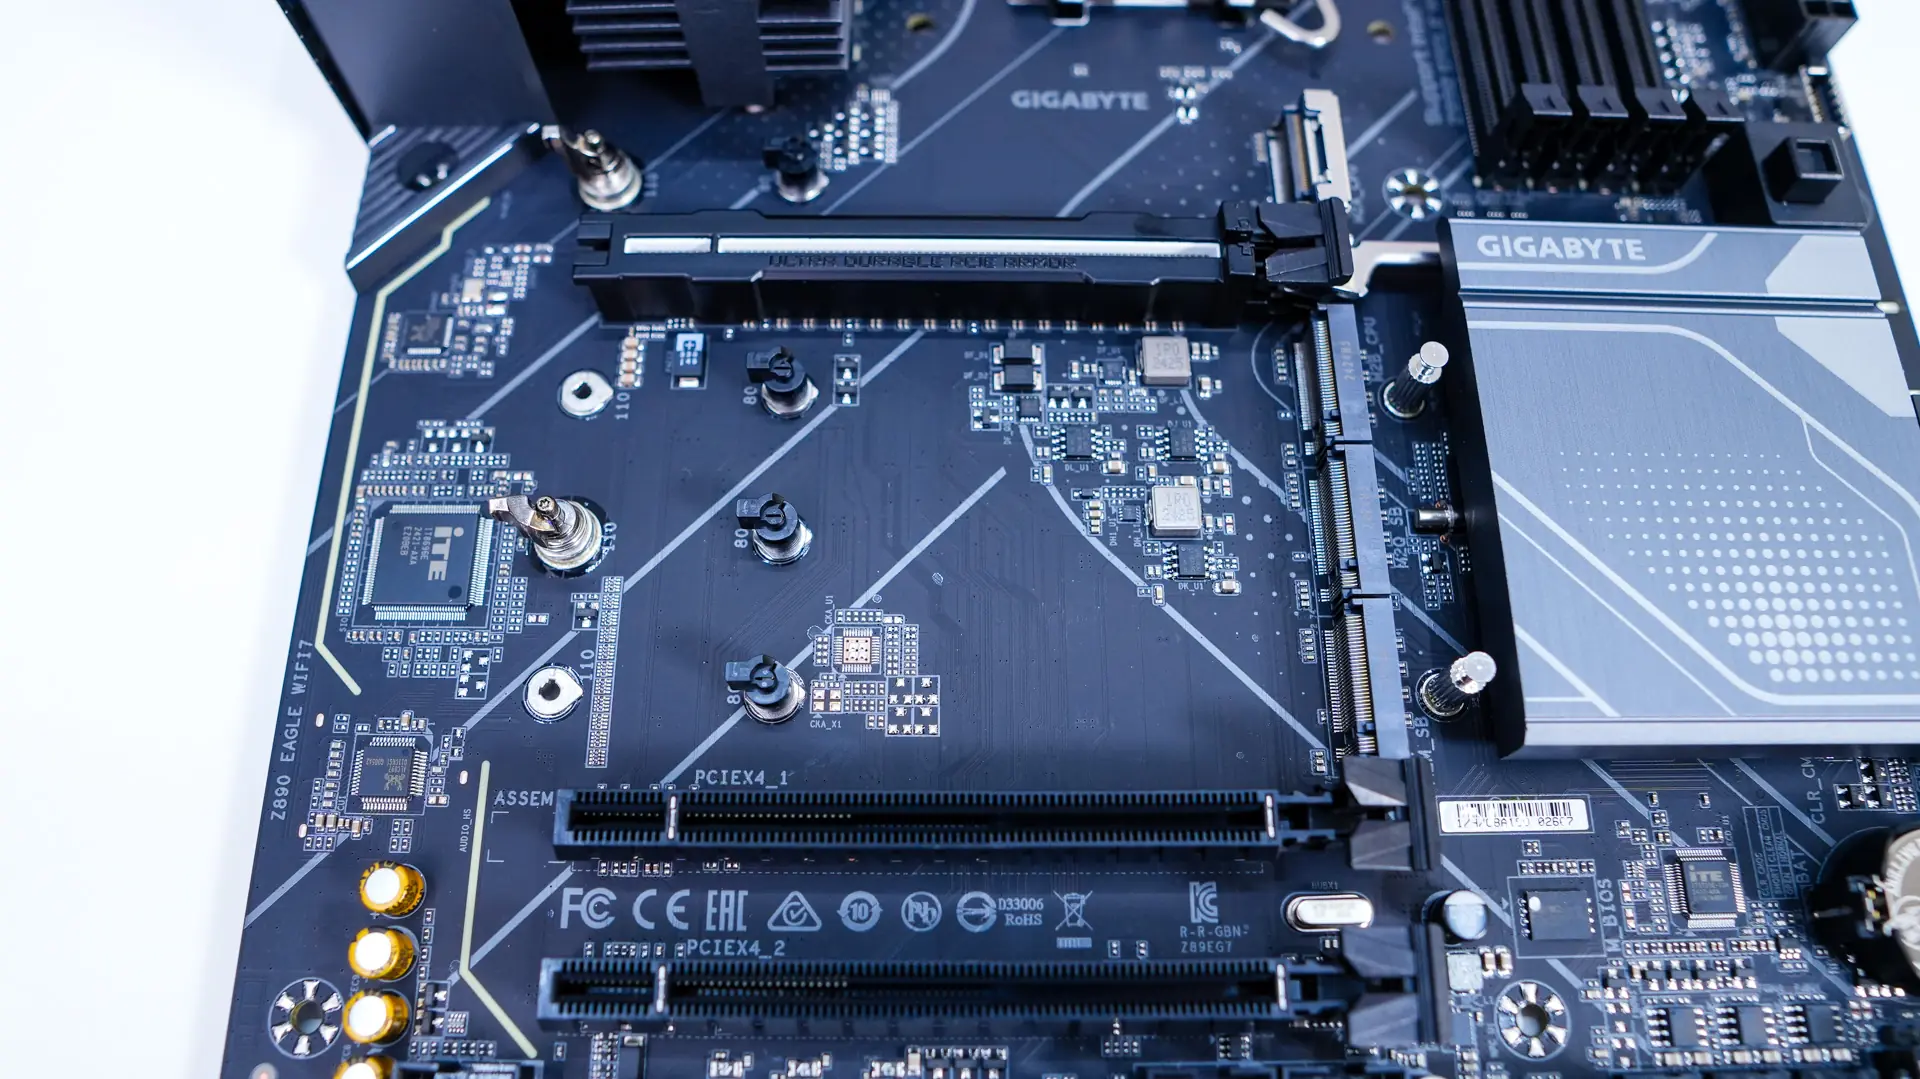
For expansion slots we have three PCI-Express x16 slots. The top slot is PCI-Express 5.0 and runs at full x16 speed, while the bottom two are PCI-Express 4.0 and run at x4 speeds. The top slot is metal reinforced and Gigabyte calls this their PCIe UD Slot X, which offers 10X load bearing capacity and a zinc alloy design. There is also a button towards the edge of the board that will release your graphics card. This makes removing your card so much easier.
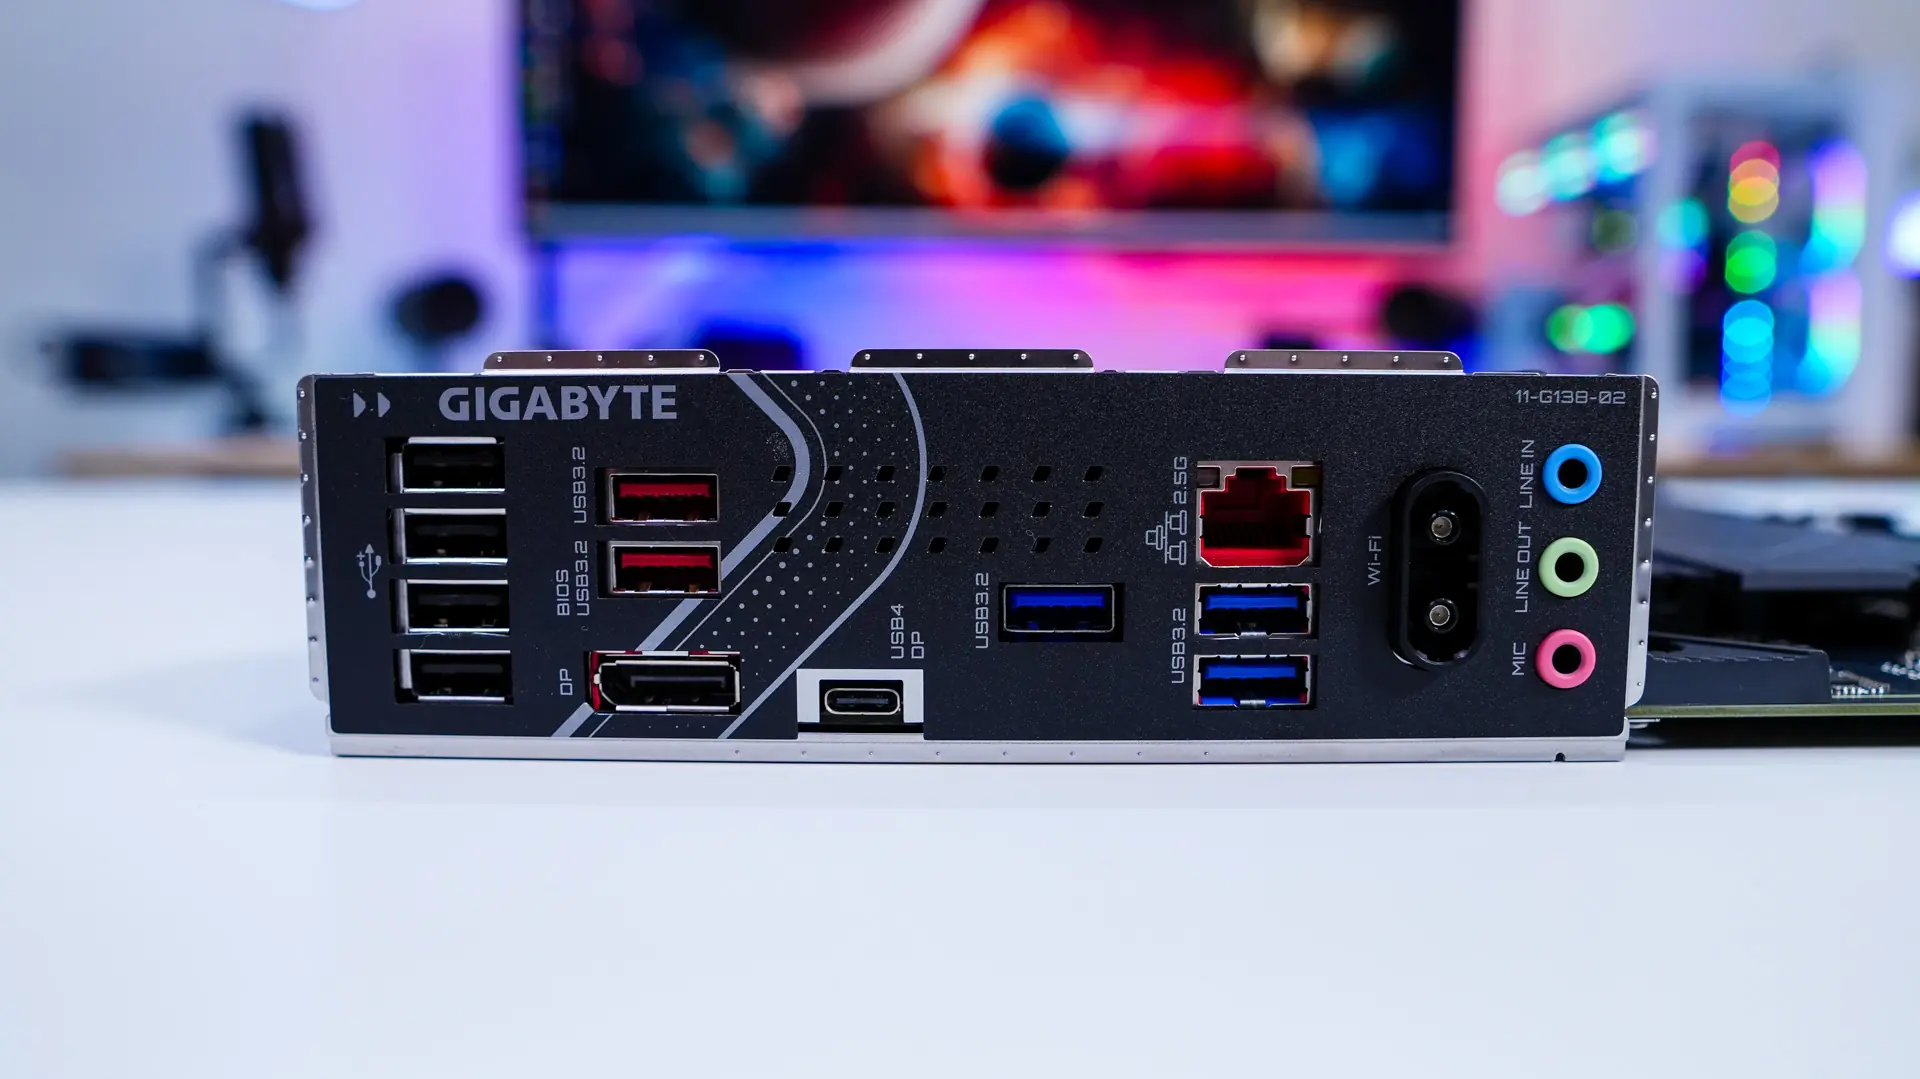
Like most motherboards these days the the rear I/O has an integrated I/O shield. When it comes to connections we have four USB 2.0 ports, two USB 3.2 gen 2 ports, DisplayPort, a USB4 Type-C port (which does support DP-Alt mode), three USN 3.2 gen 1 ports, 2.5G LAN, WiFi EZ-Plug, and your audio connections. The WiFi EZ-Plug as the name suggests makes it really easy to plug in the included WiFi 7 antenna.