Installation
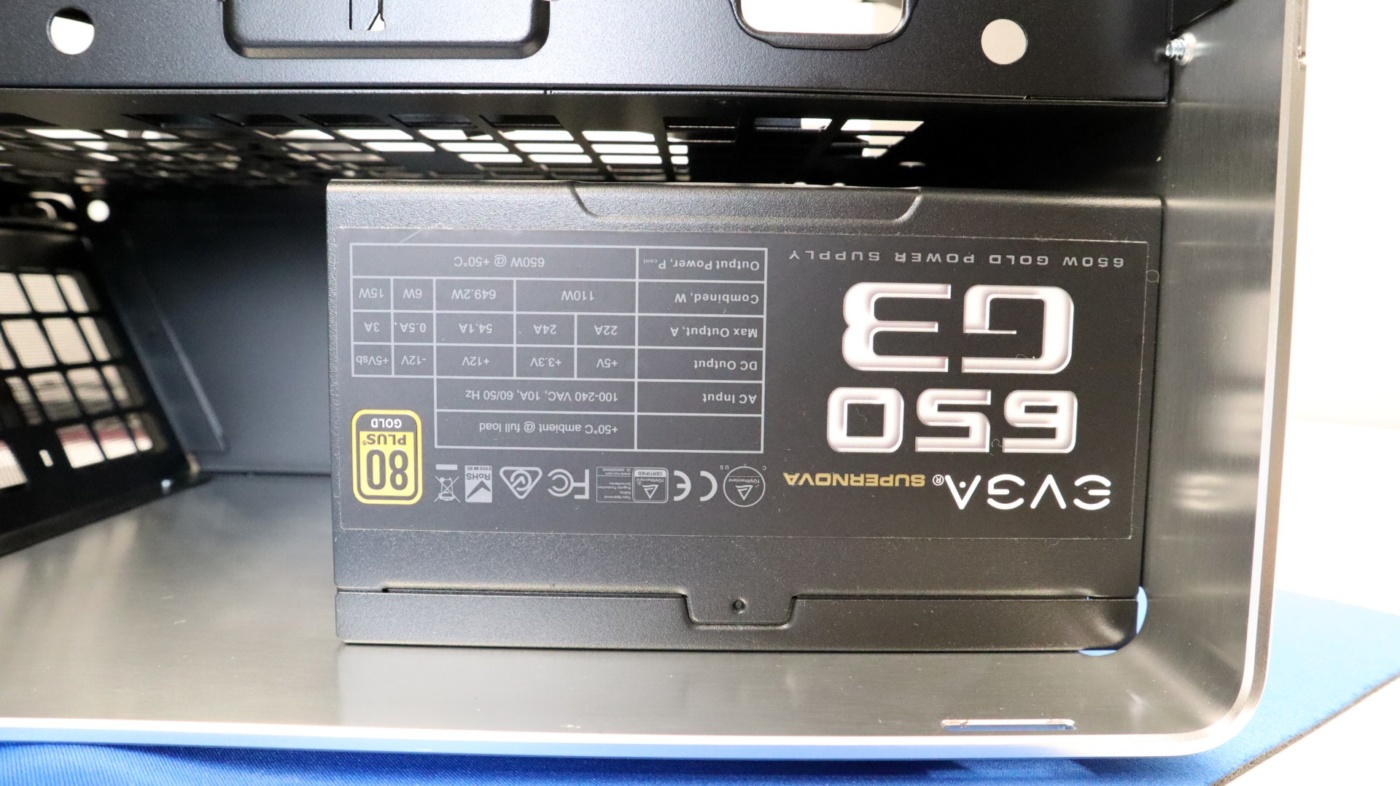
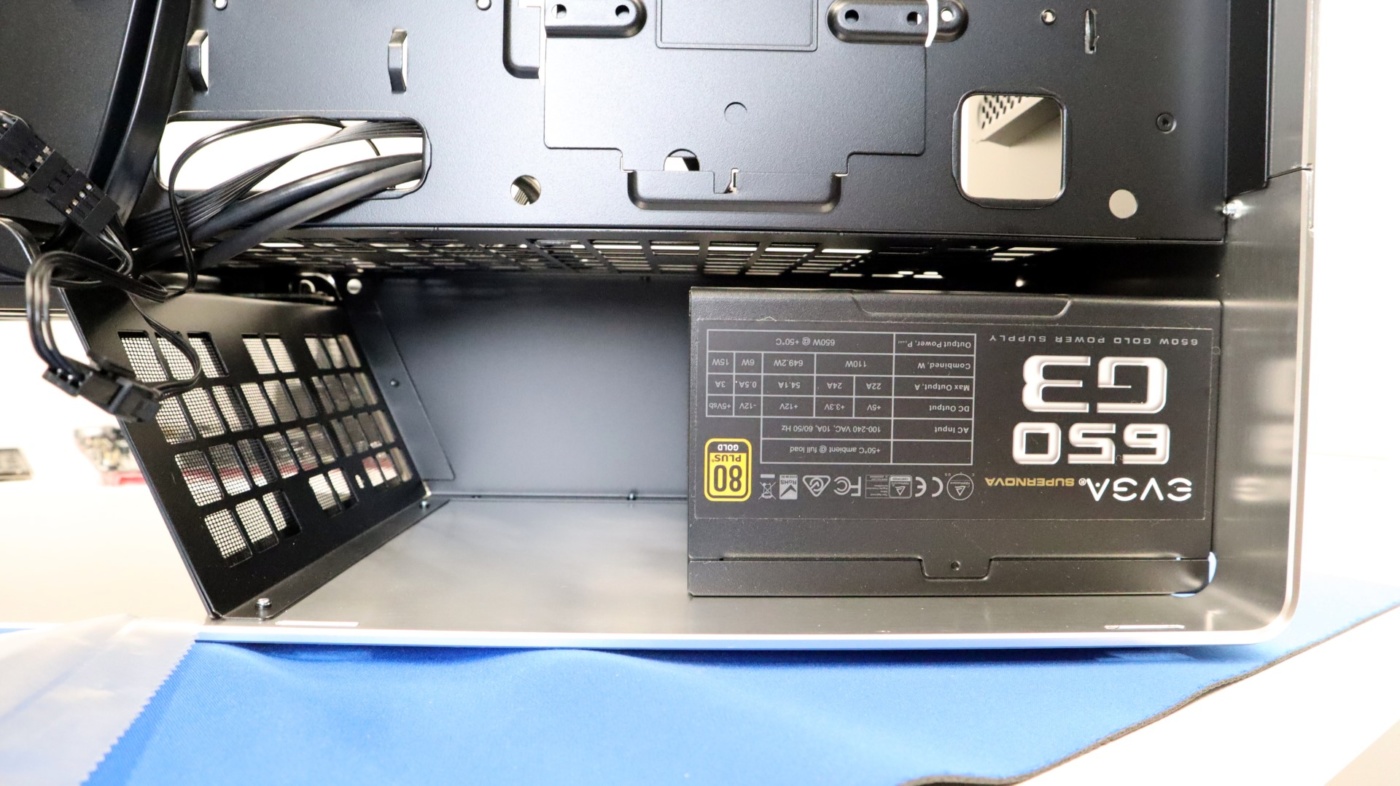
The first component to be installed in the 905 was our power supply. InWin reminds users to place the power supply fan facing up in the 905 via a small sticker inside the power supply chamber, and this is pretty much the only option, as there is only a single set of mounting holes at the back of the case.
Three screw holes are all that is provided to keep the power supply in place, which should be plenty. We really liked the flat-style screws InWin included for this installation. They match the look of the 905 much better than the standard screws that are typically used.

As you can see, there is plenty of room for extra cabling down below, especially if using a modular power supply.
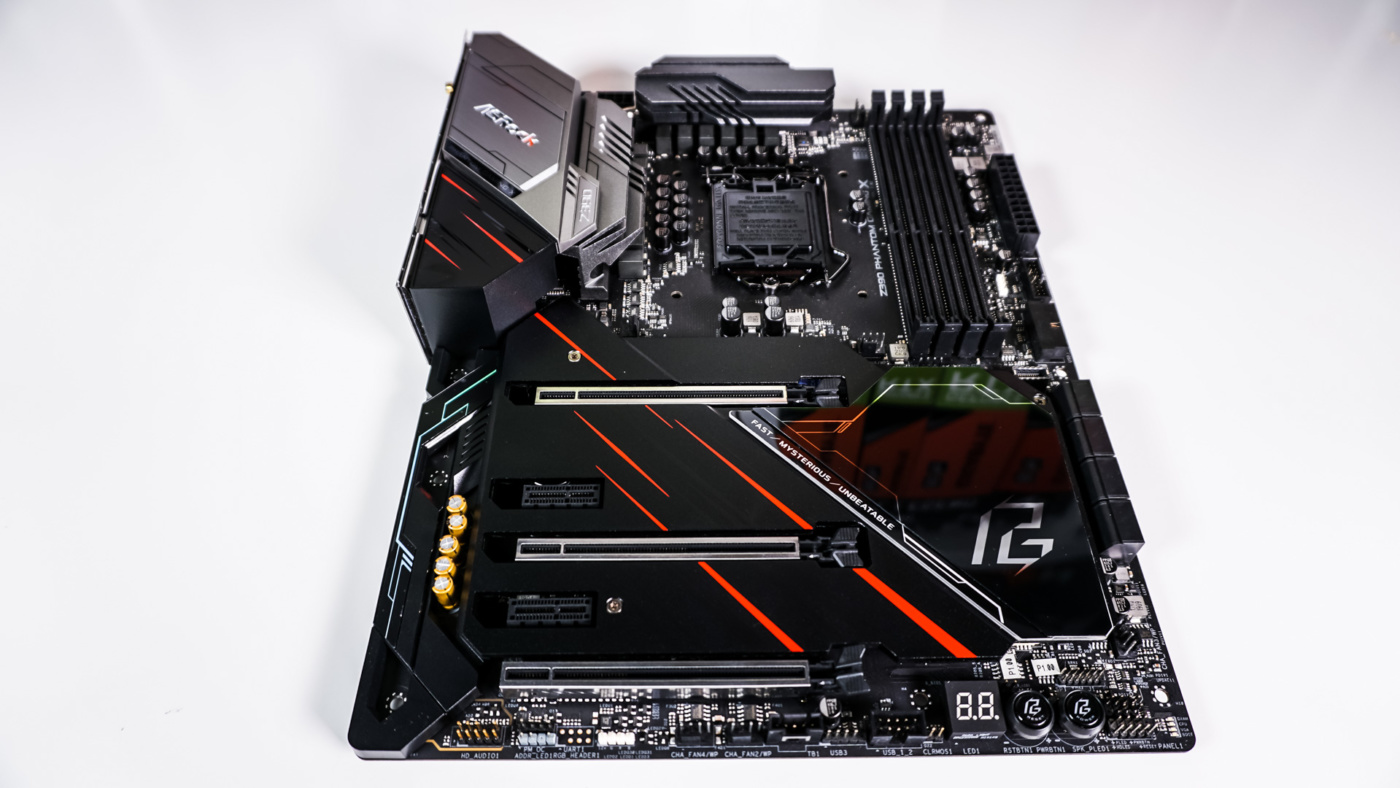
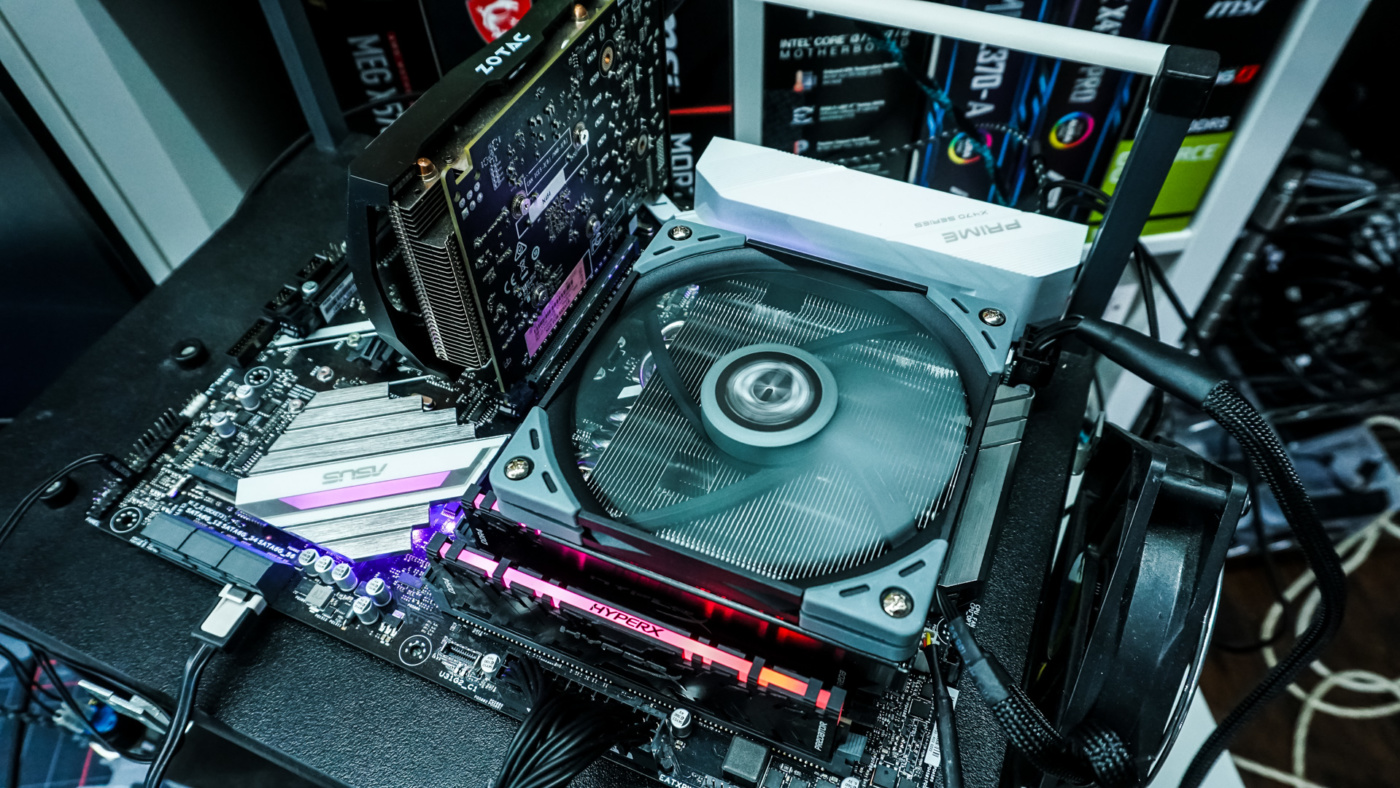
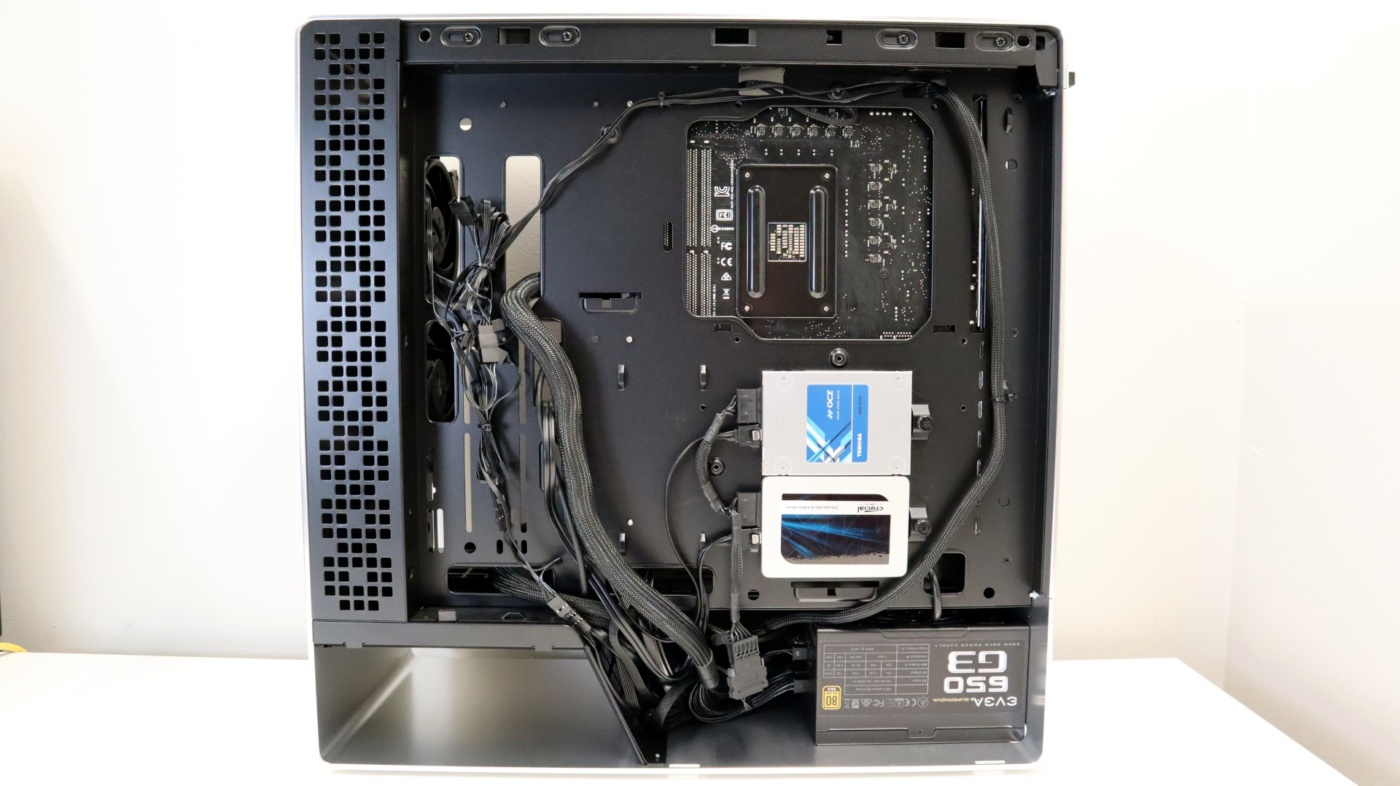
Next up was our motherboard installation, which went great, thanks to the roomy interior of the 905. There is a good amount of room both above and below the motherboard, which not only allows for easier installation, but offers larger cable routing cutouts as well. As there are no drive trays at the front of the case, there is plenty of room to work with during component installation.
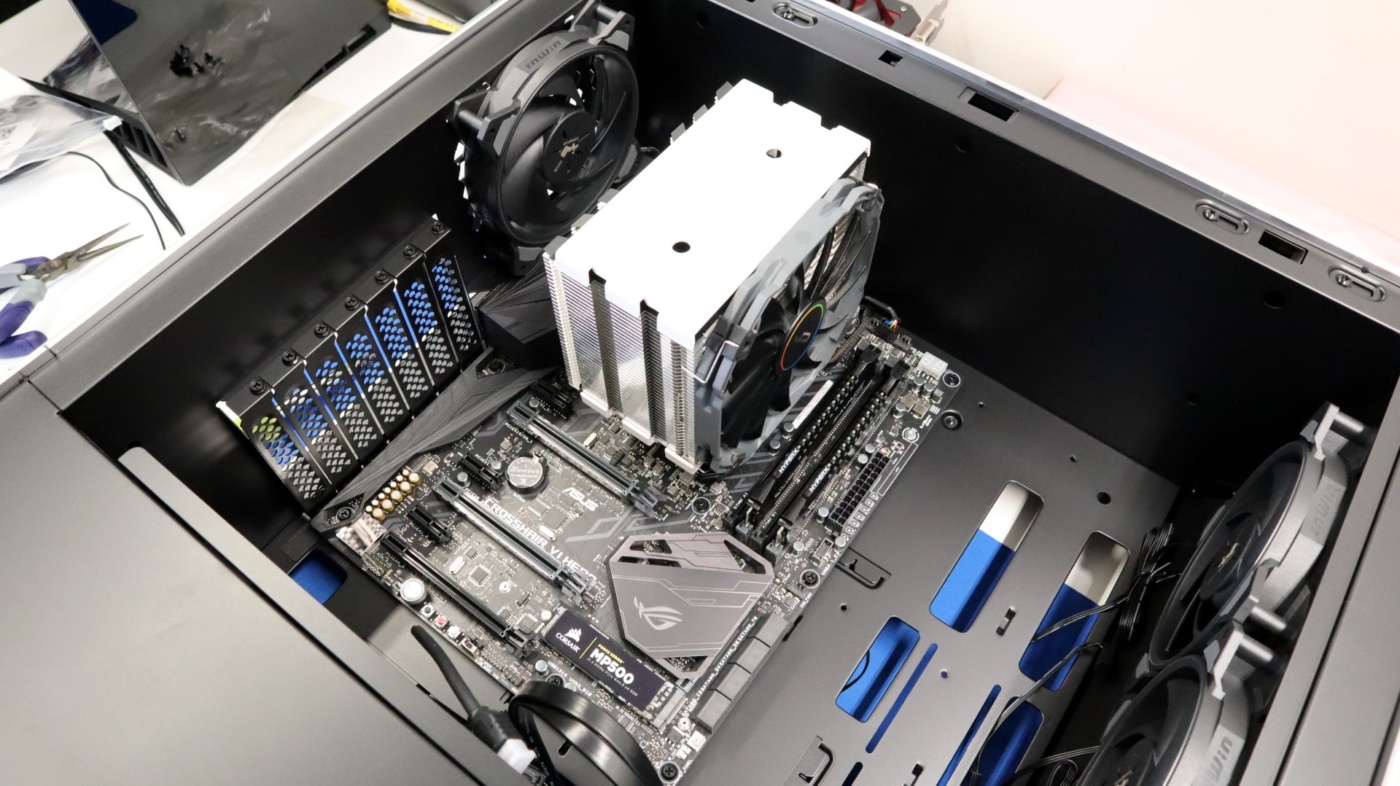
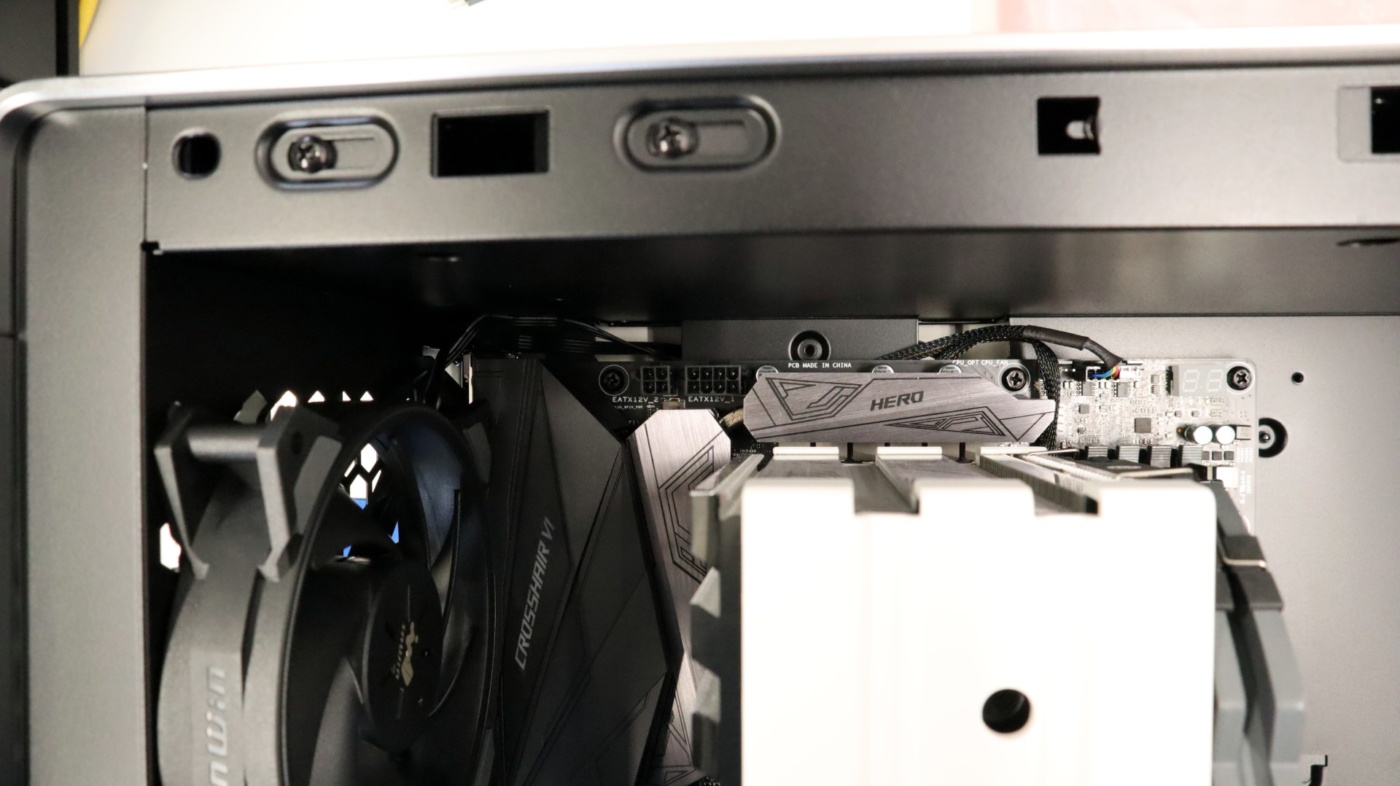
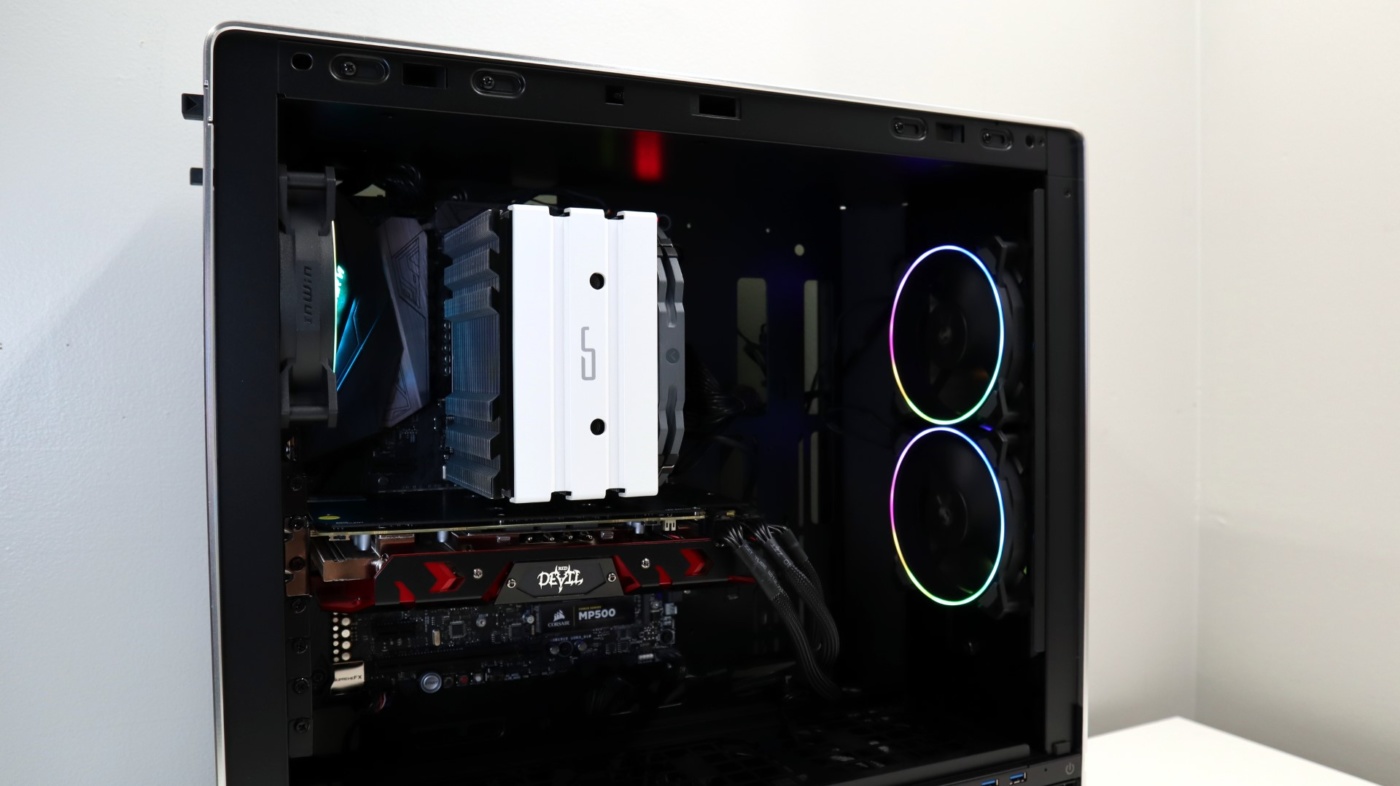
We did get a little nervous with regards to CPU cooler height, as the InWin 905 supports tower coolers up to 160mm in height, and our Cryorig H5 Universal is right at 160mm. Thankfully there is a small gap between the cooler and glass panel, but this is definitely something to keep in mind.

Cutouts above the motherboard allow for easy routing of power, fan, and ARGB cabling.
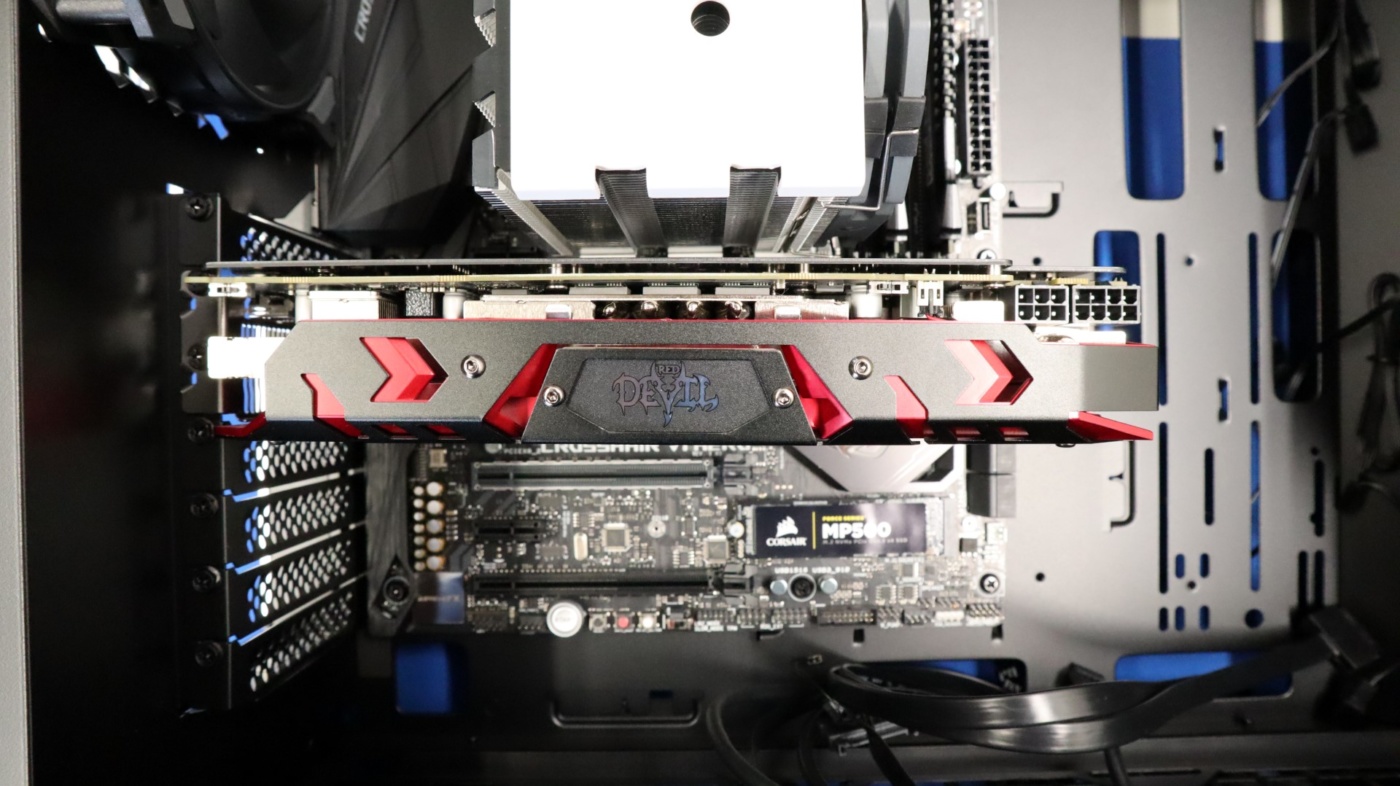
Our video card was installed next, and the interior screw access for the expansion slots gave us plenty of room to work with. No issues were encountered in this installation, and the 905 did a good job of keeping the card level though some cards might be able to take advantage of the included video card support bracket.

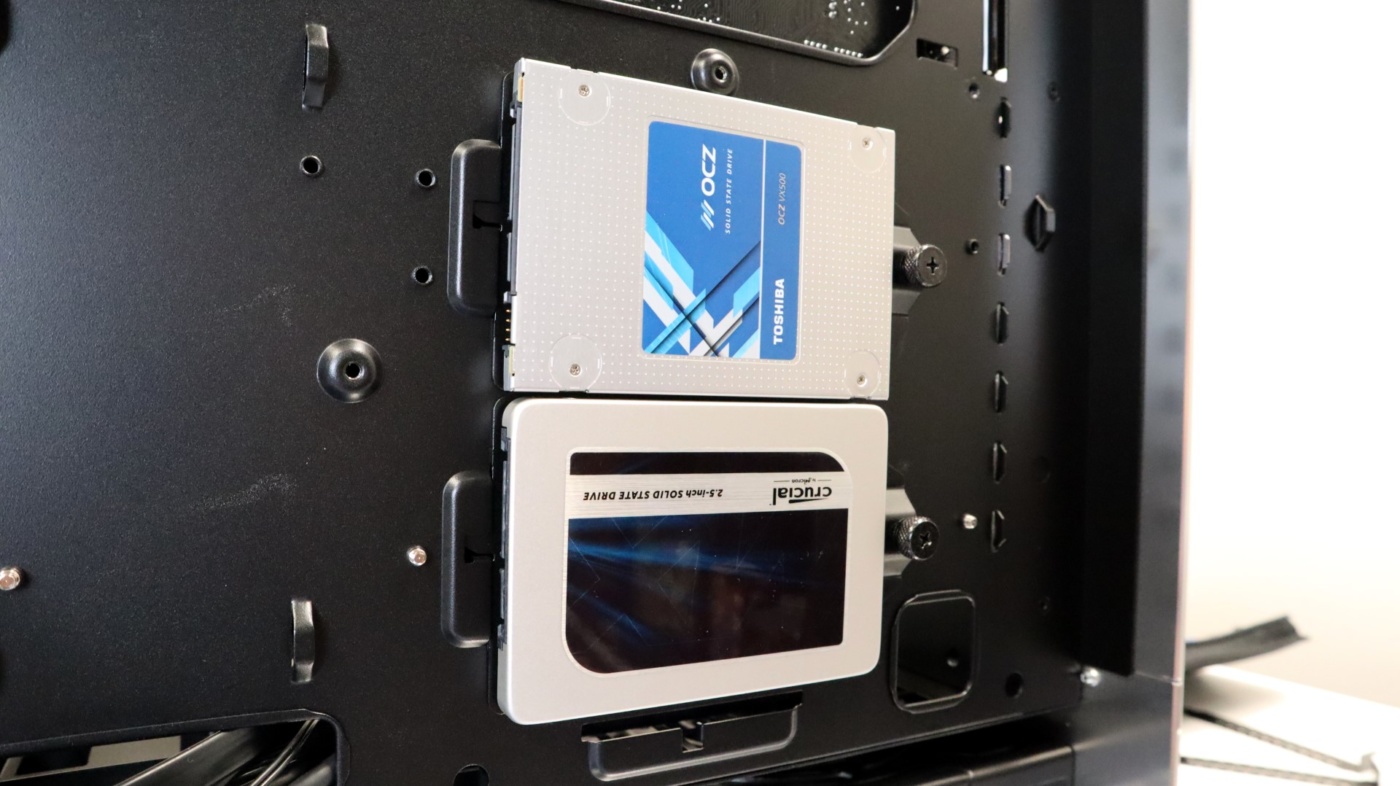
Drive installation was up next, and after removing the included 2.5″ drive trays, out SSDs were mounted to them using the included screws.

We chose to remove the 3.5″ drive tray altogether, and opted to use that location for both of our 2.5″ drives for the sake of cable management and ease of installation.
With all of our major components in their places, our next task was to install all of our power cables, connect all of our fan cables to each other and the motherboard, and run cables SATA for our SSDs. Now that all of our components were connected, we went about cleaning up the cabling as best as we could with the included zip ties, taking full advantage of the available tie down loops on the motherboard tray.
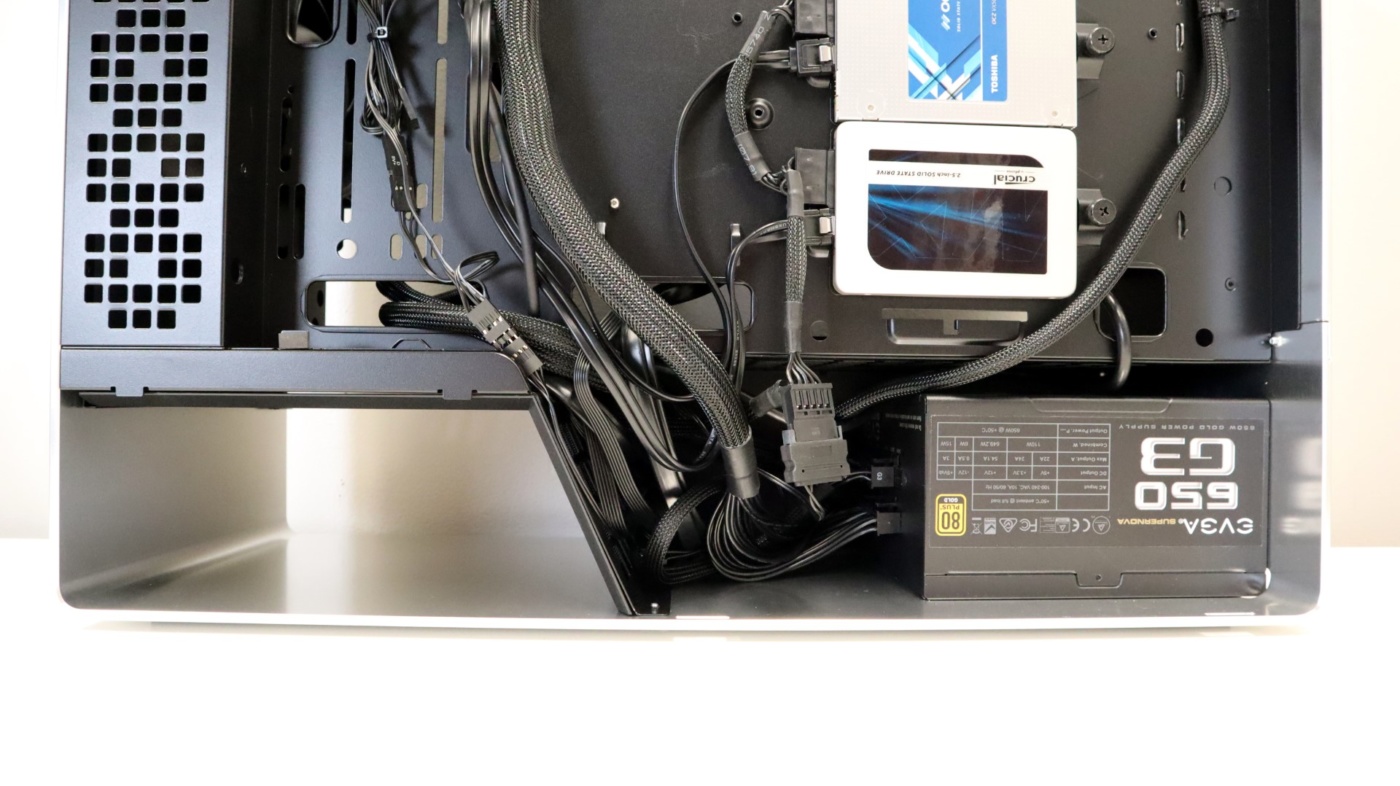
The large amount of open space for running cables was almost harder to work with than some cases with tight clearances, as it really made us have to choose a spot for our cabling to sit. Many times you are forced to route cabling through certain openings or channels, but the 905 gives you the freedom to place cables pretty much wherever you would like. Keep in mind that this side also has a tempered glass side panel, so leaving a mess of cables isn’t our recommendation, for both looks and maintenance.
From the left side, we are again reminded that the 905 doesn’t offer any rubber grommets or other methods of hiding the large cutouts for cabling. In our opinion, this just looks a bit sloppy, and we would have loved to see some sort of panel here to clean things up a bit. Overall though, the ample number of cutouts allowed us to run our cables however we wanted.

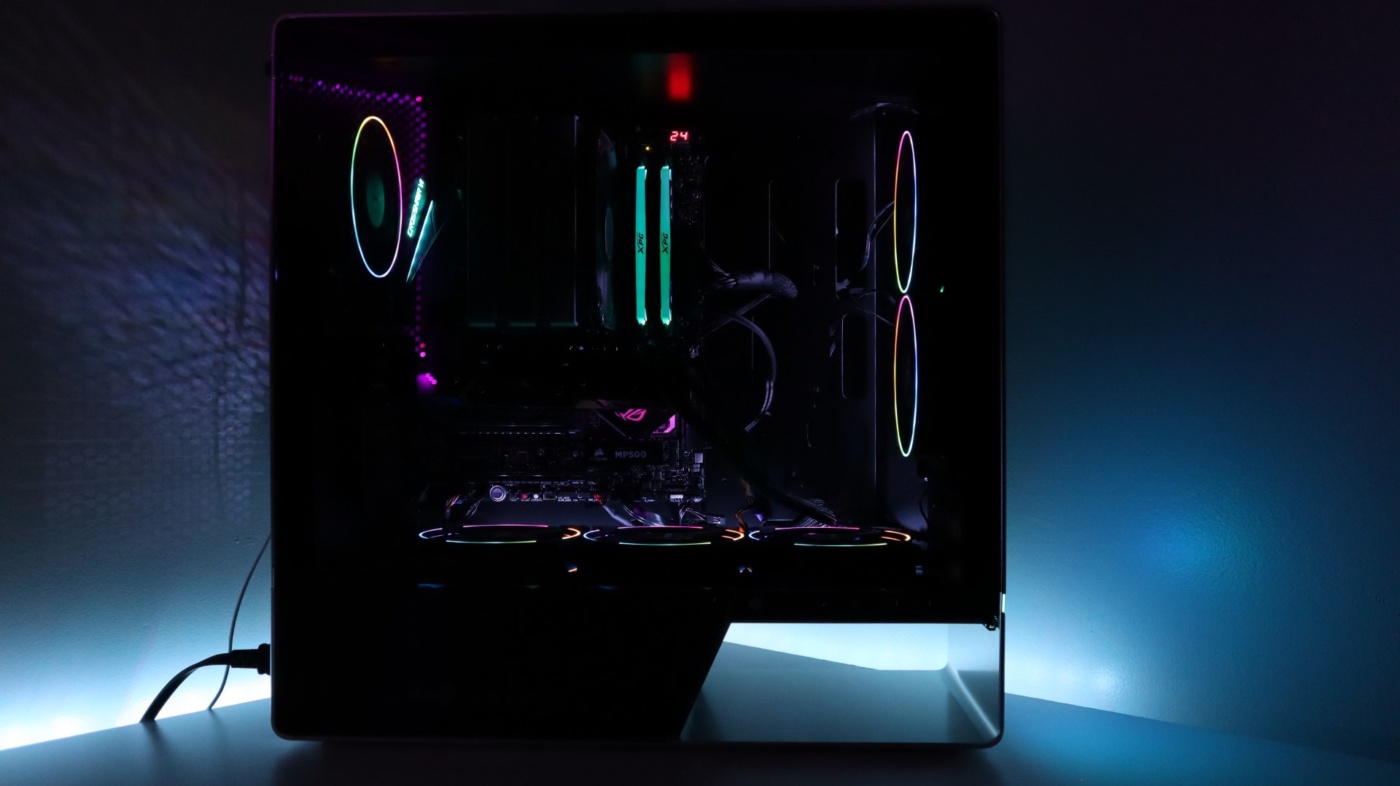
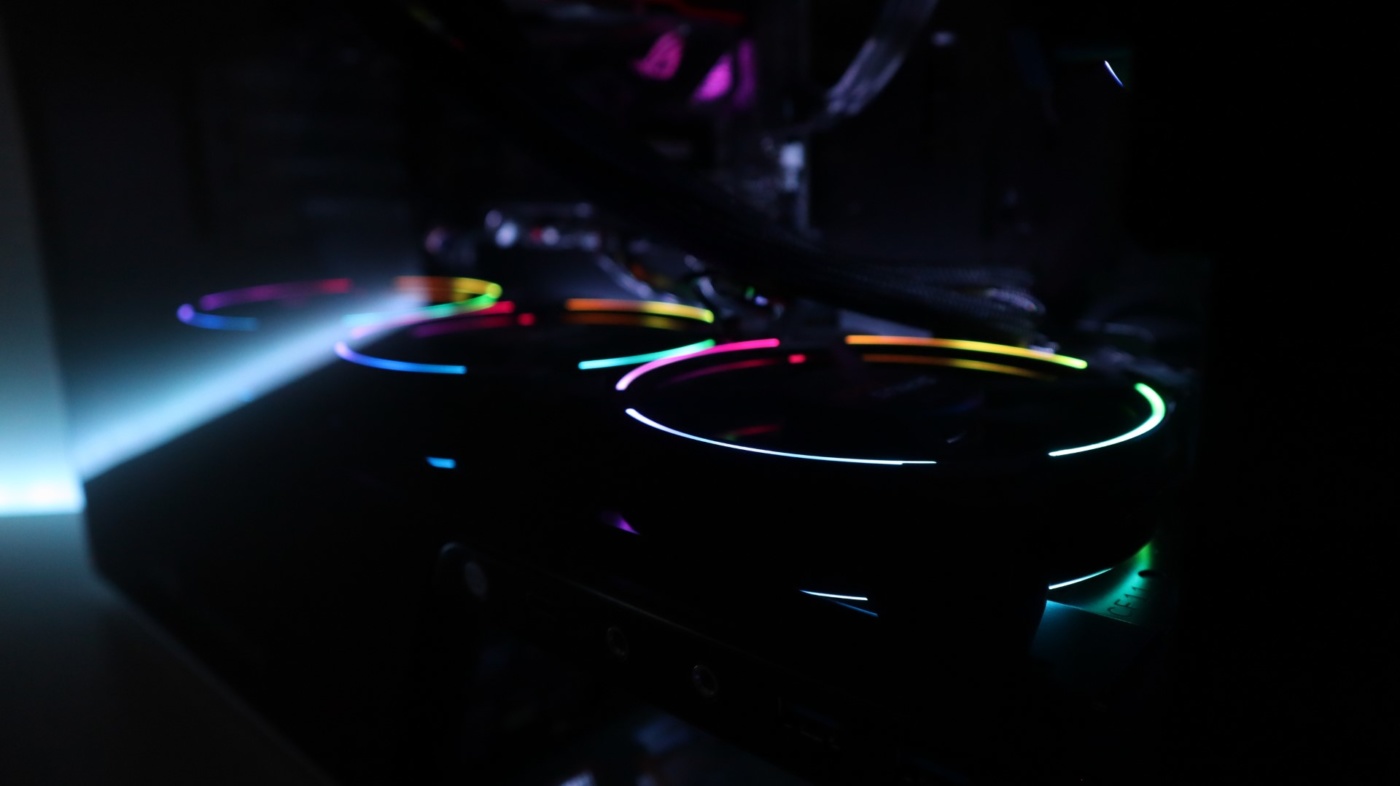
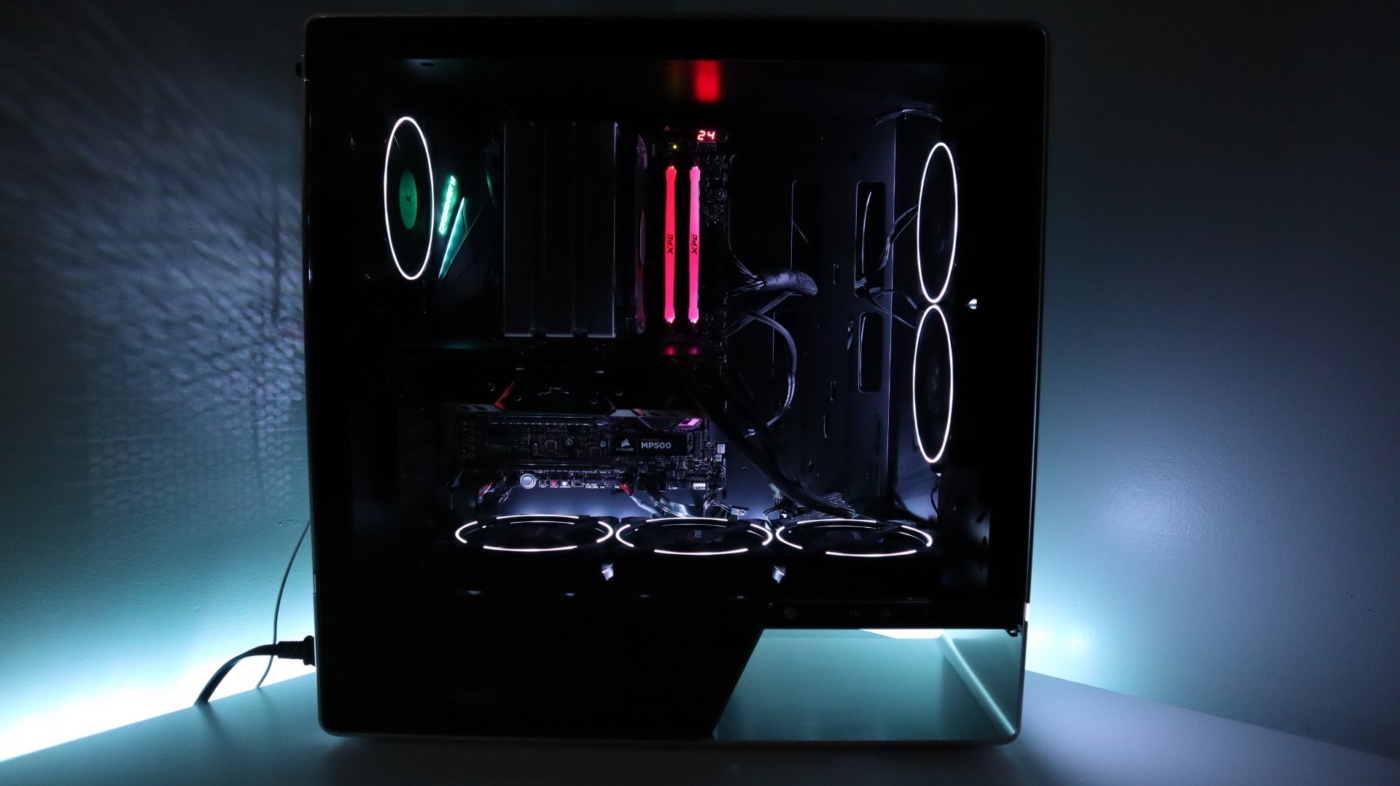
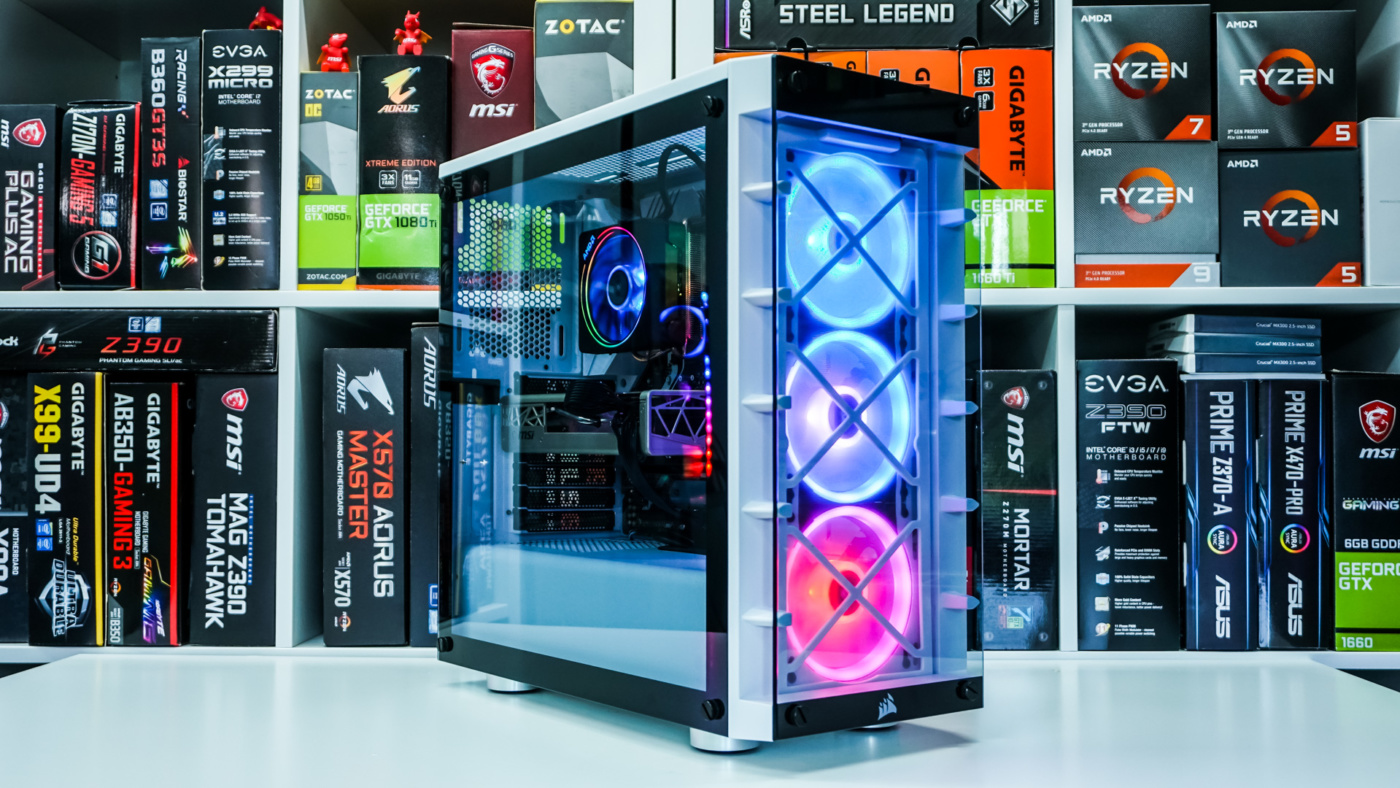
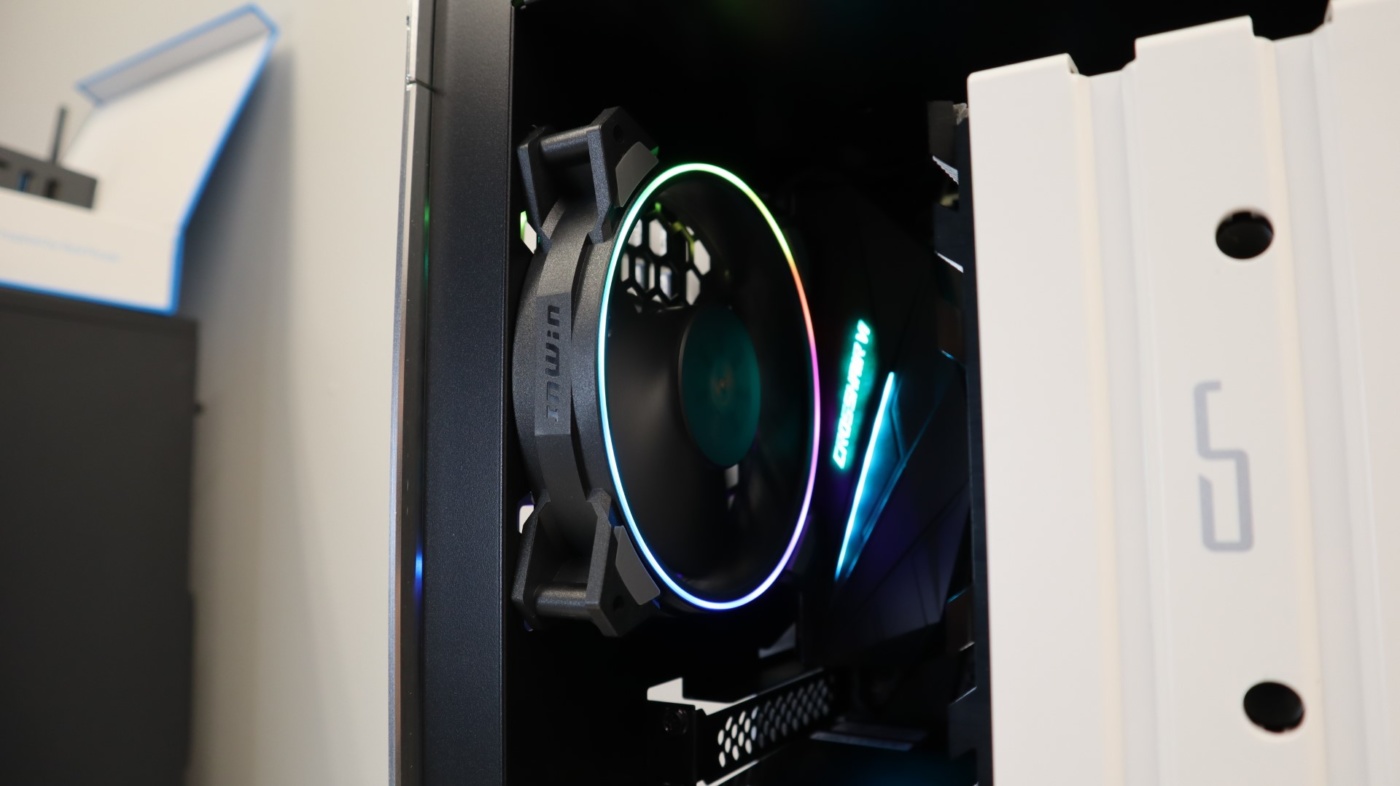
Now that the system was fully built, we were ready to power it up and see how the included lighting features of the case looked. And while we had seen the Sirius Loop fans previously, we were once again surprised at how good they look in person. The colors are bright and vivid, and the thin ring on each side of the fans provides a clean and subtle lighting accent to the case. These fans definitely aren’t designed to light up your case interior, but they do a great job of offering color accents.

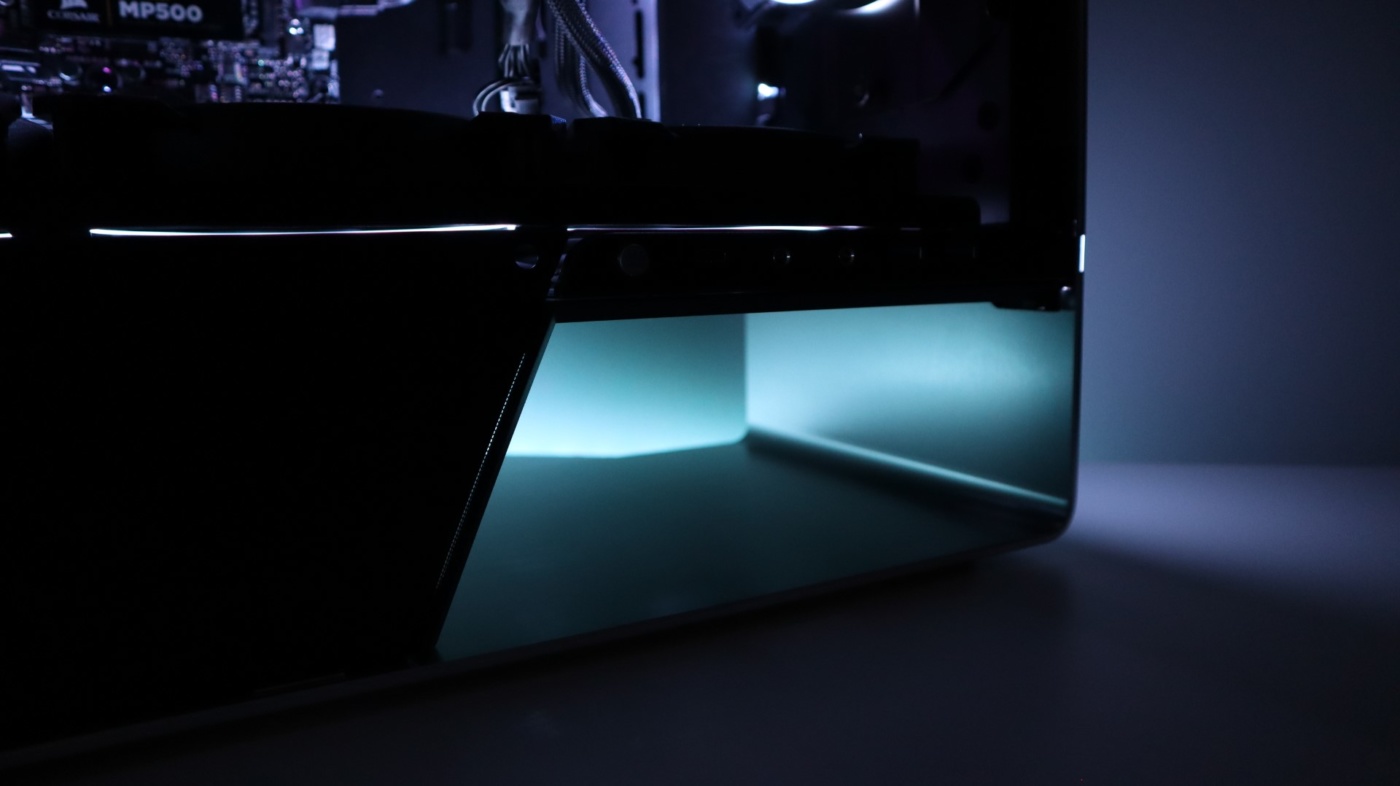
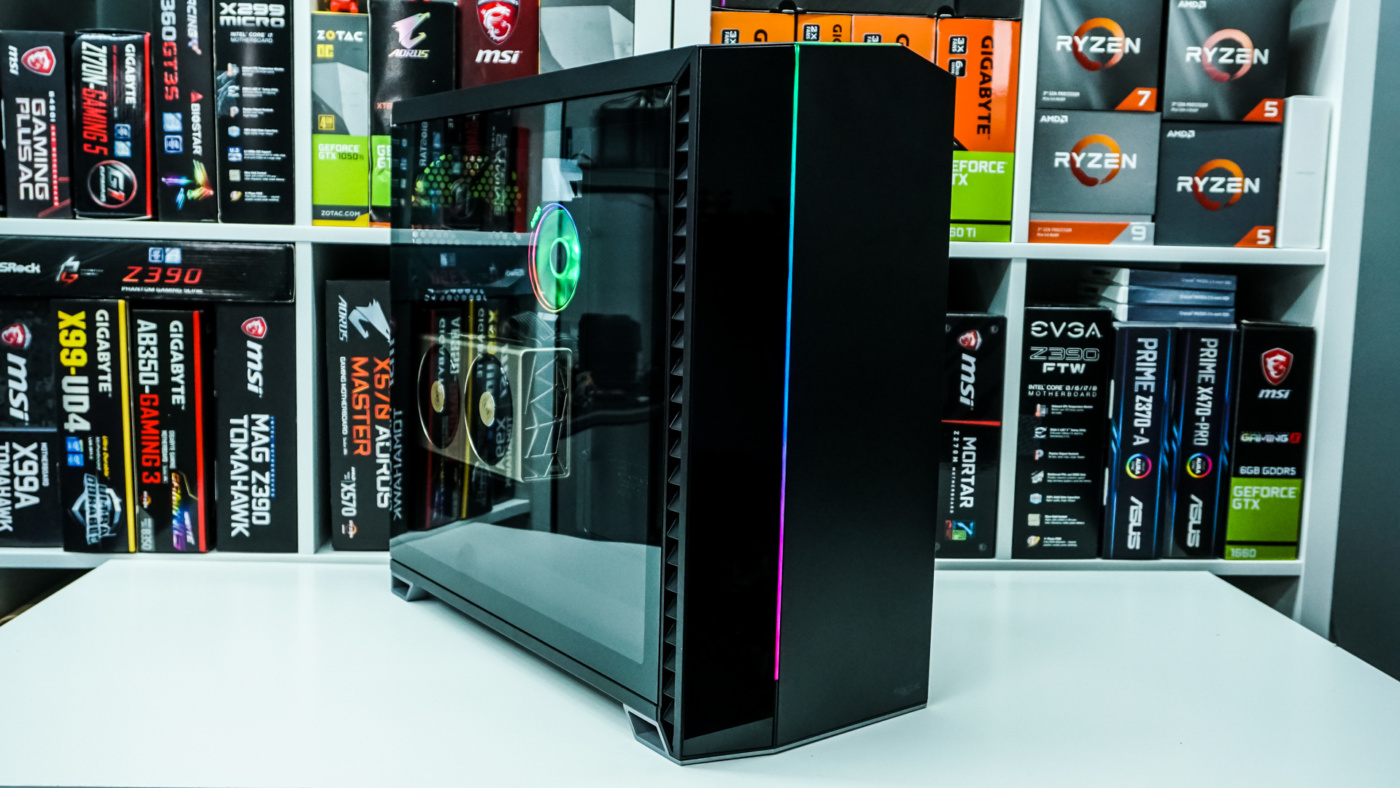
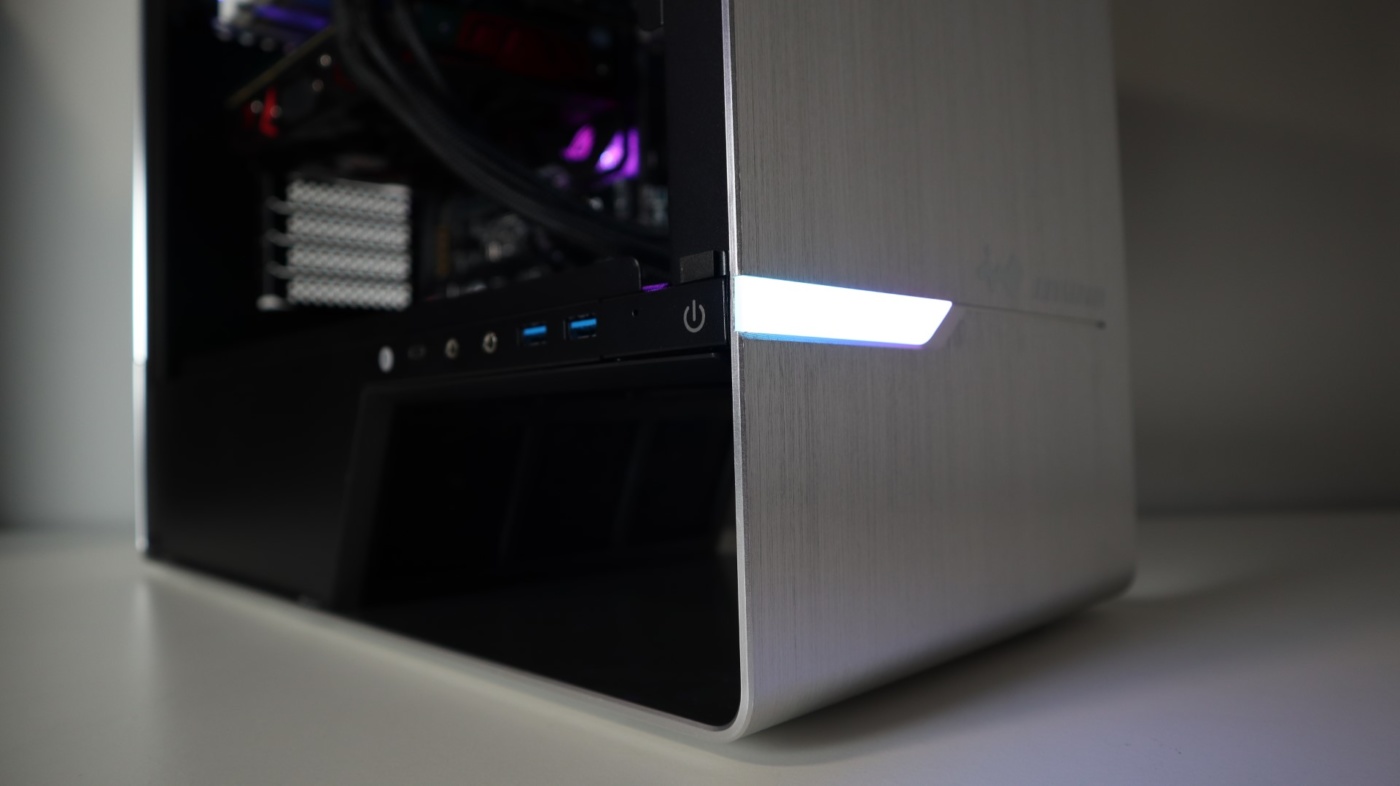
We also really like how the front lighting feature of the InWin 905 looks. The frosted plastic piece that covers the ARGB LEDs behind it does a great job of masking the lights, and color transitions between the individual LEDs is pretty much seamless.

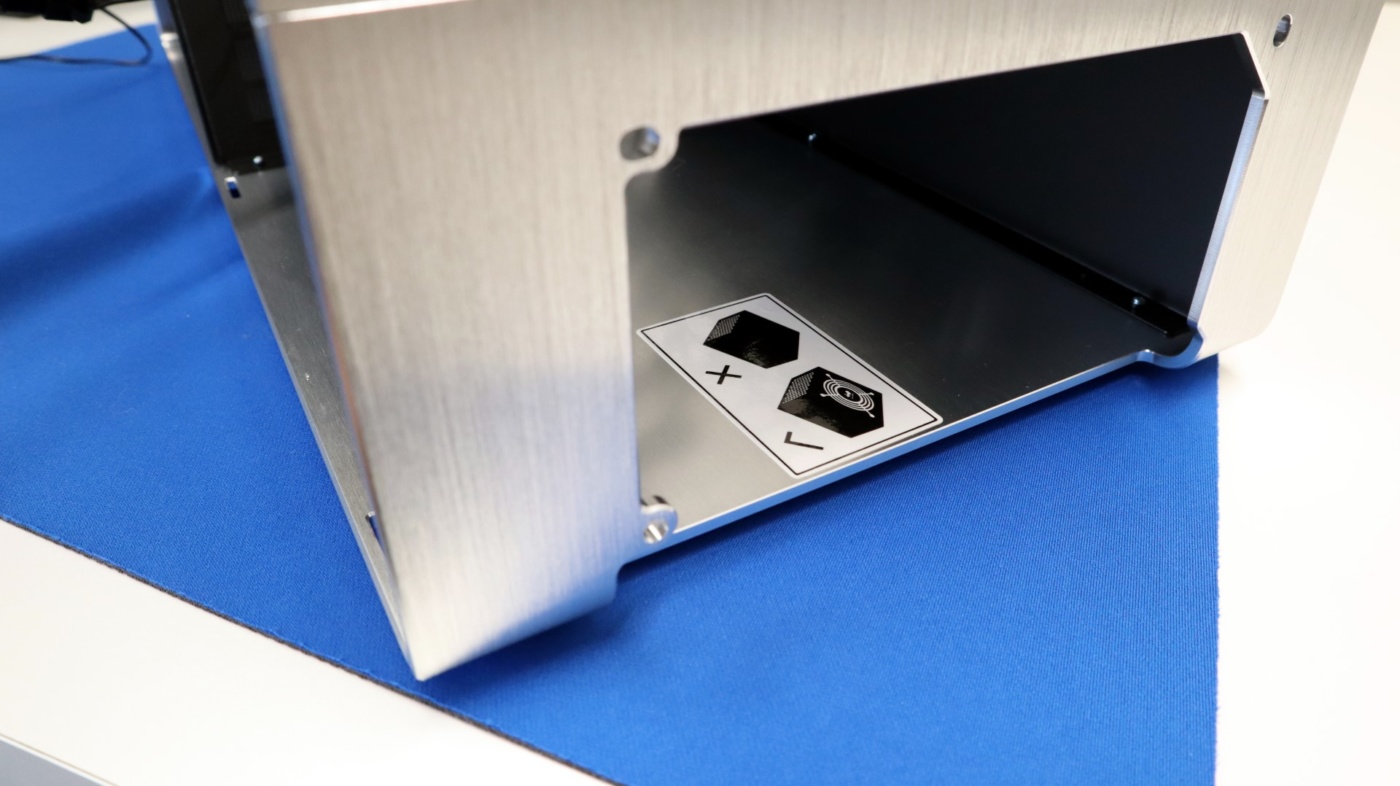
Adjusting the lighting of the case is very easy, and the button on the side of the case cycles through the 905’s 17 lighting options. These options include static colors, fading static colors, rainbow effects, and more.
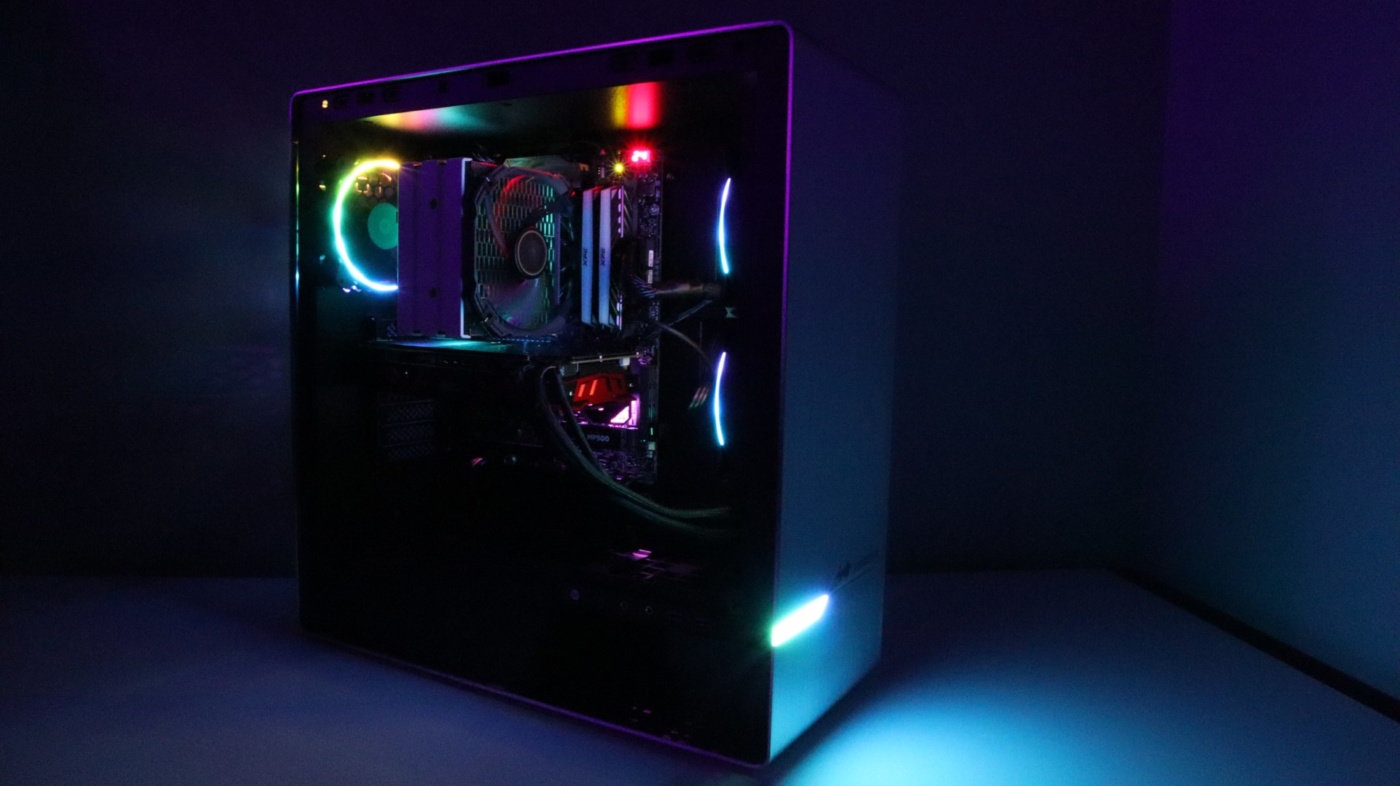
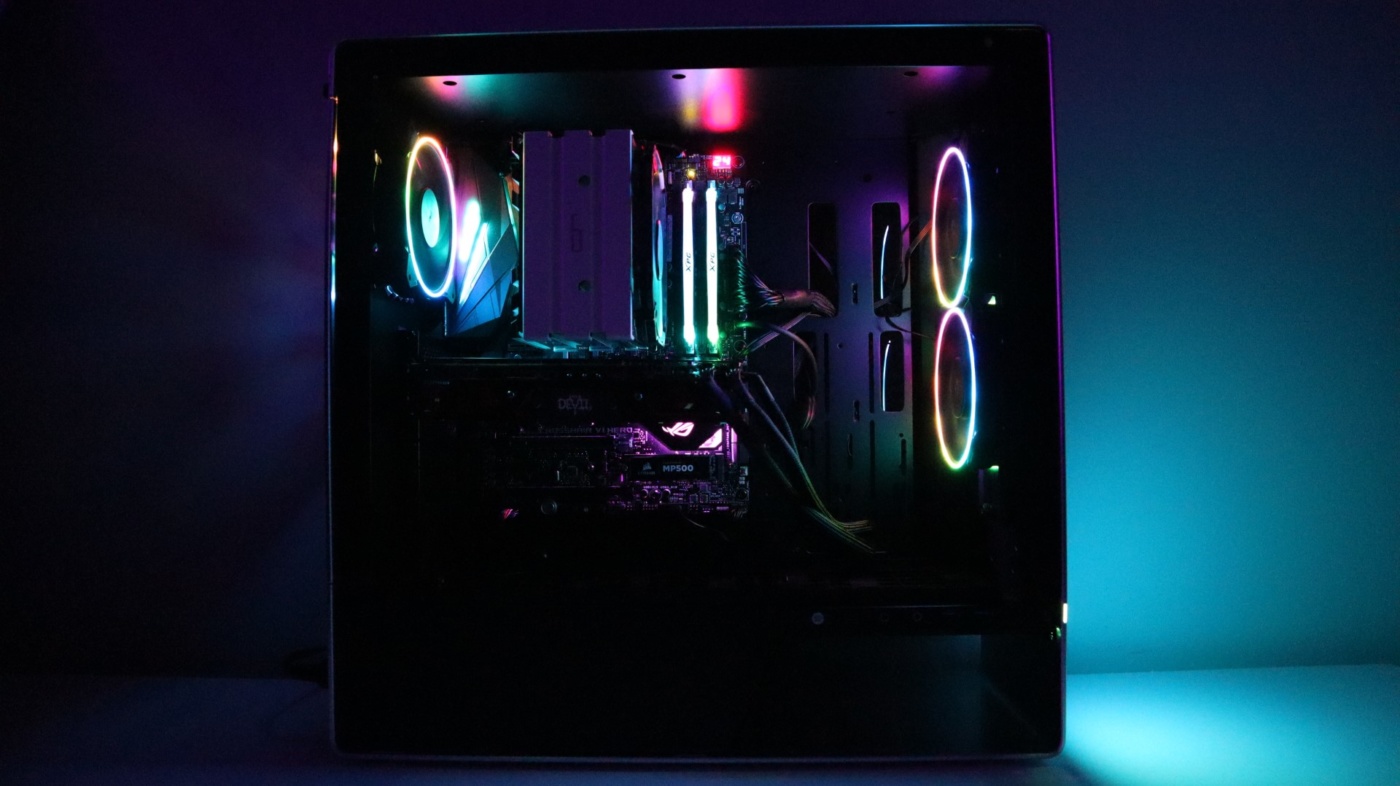
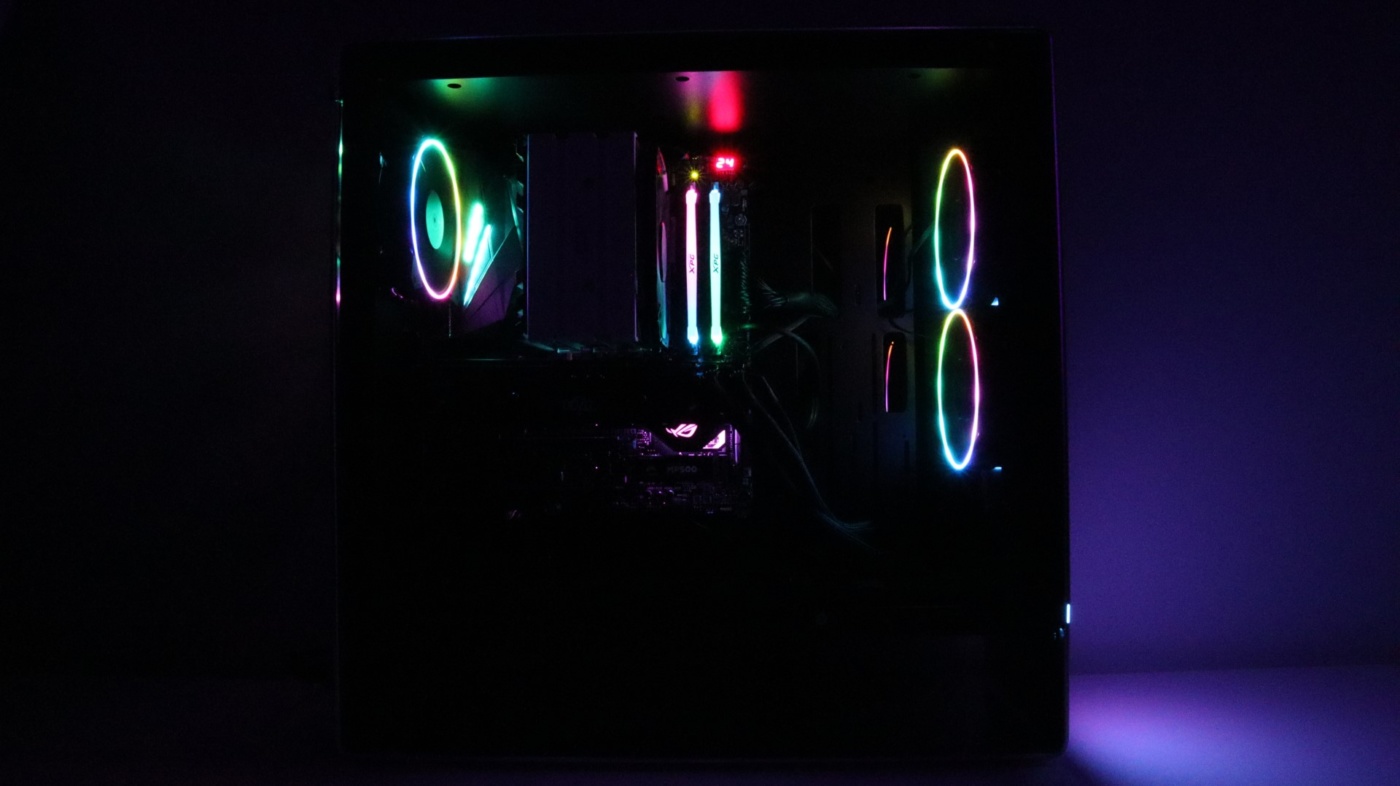
We do wish there were an integrated lighting strip or two in the case, as it would really help light up the interior. Fortunately, we found a good deal on an ARGB lighting kit and took advantage of the opportunity to add a bit more lighting to the case. We also picked up a three-pack of InWin Sirius Loop fans and installed them on the bottom fan tray, for a total of six ARGB fans. Not only did this improve the look of the case, but it also added additional air intake for the case to assist with the included system fans.
Take a look at some of the enhanced lighting pictures below.