Build Up
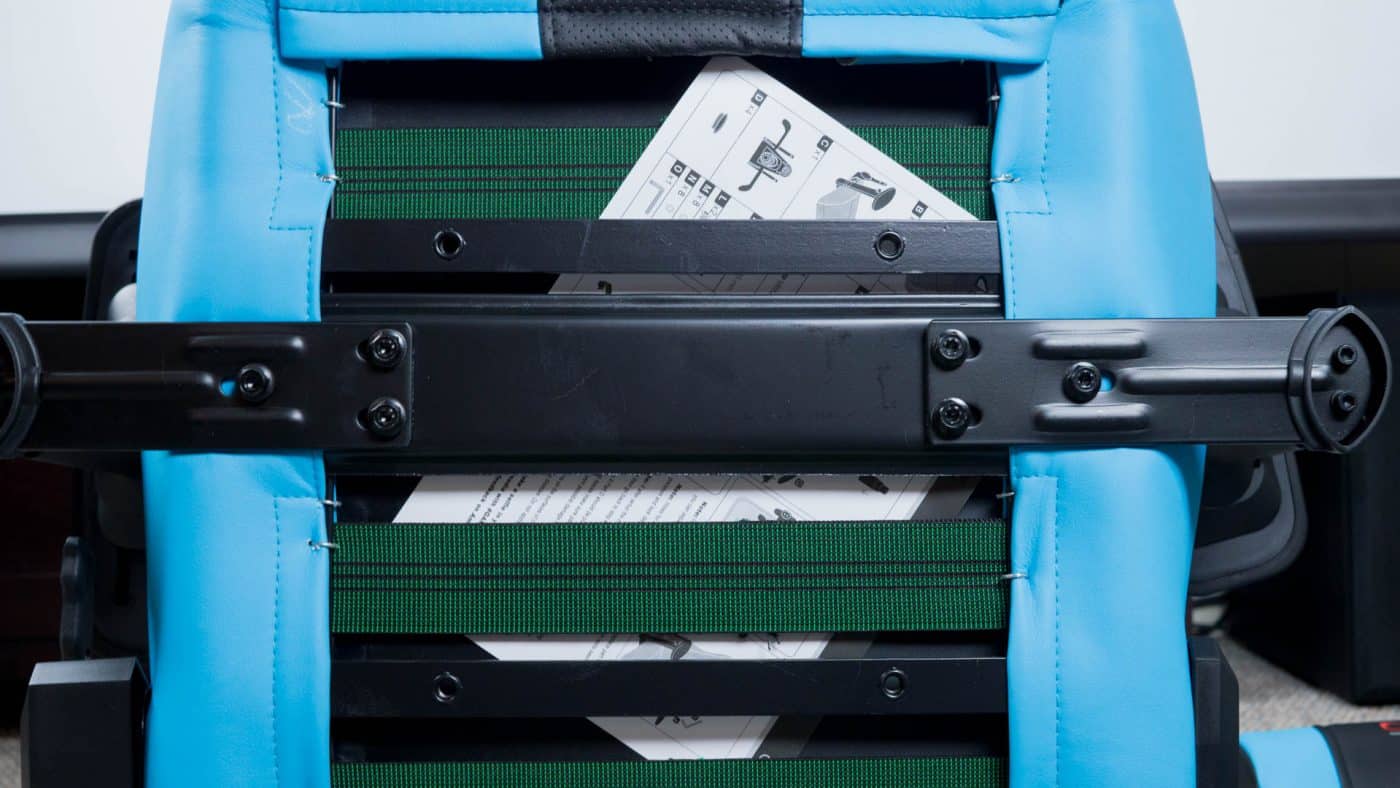
Building these chairs is not too difficult. The instructions are hidden in the base of the seat and once found provide pretty good detail. We’ll do a quick run through and provide some tips where you might need them.
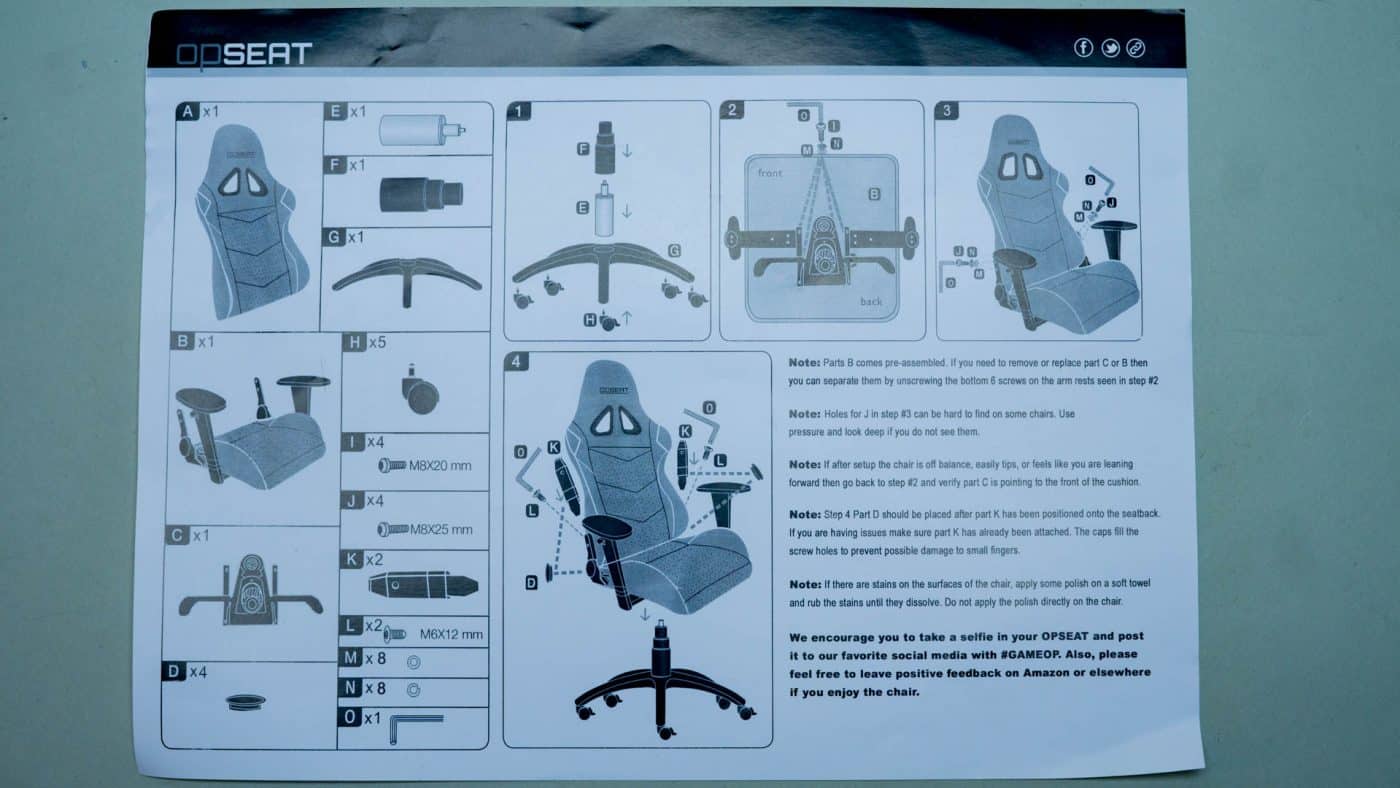
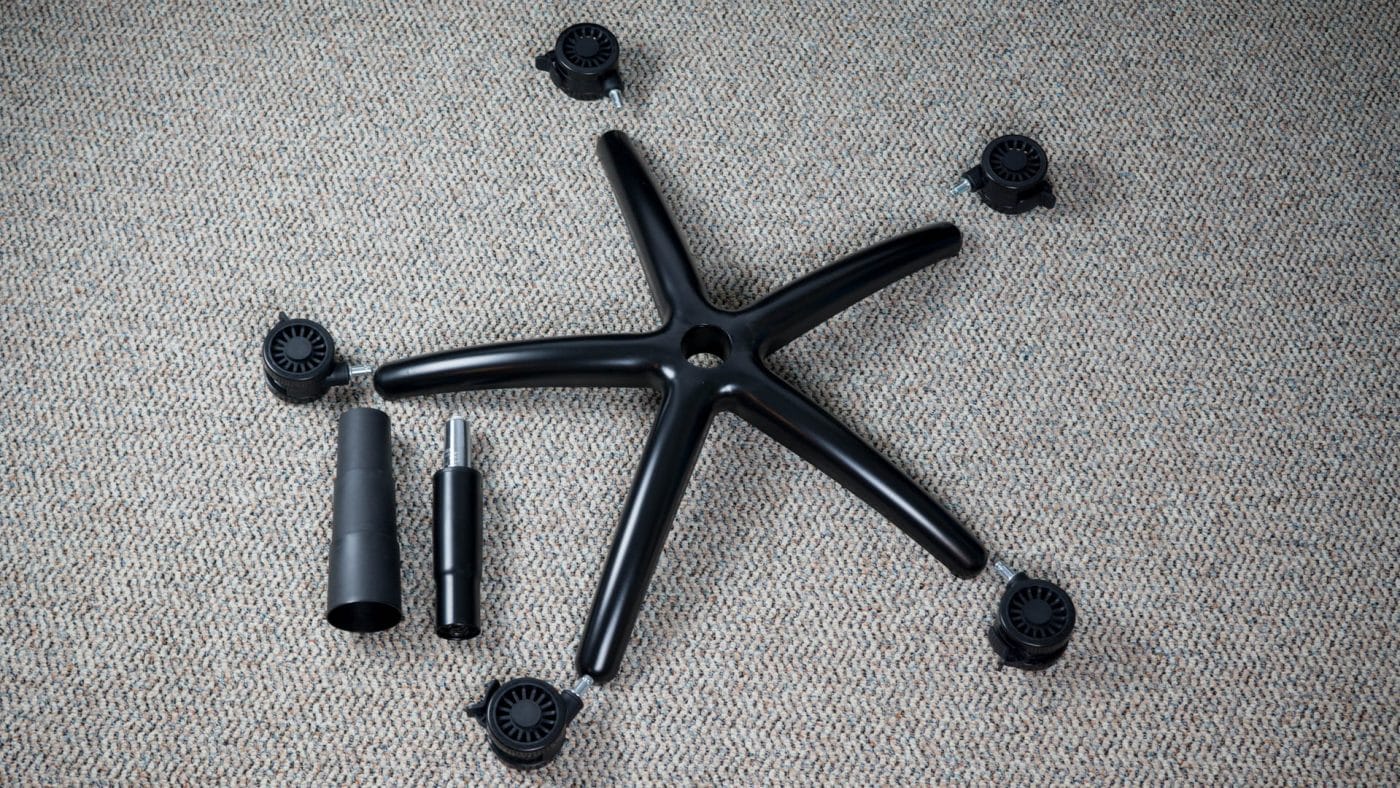
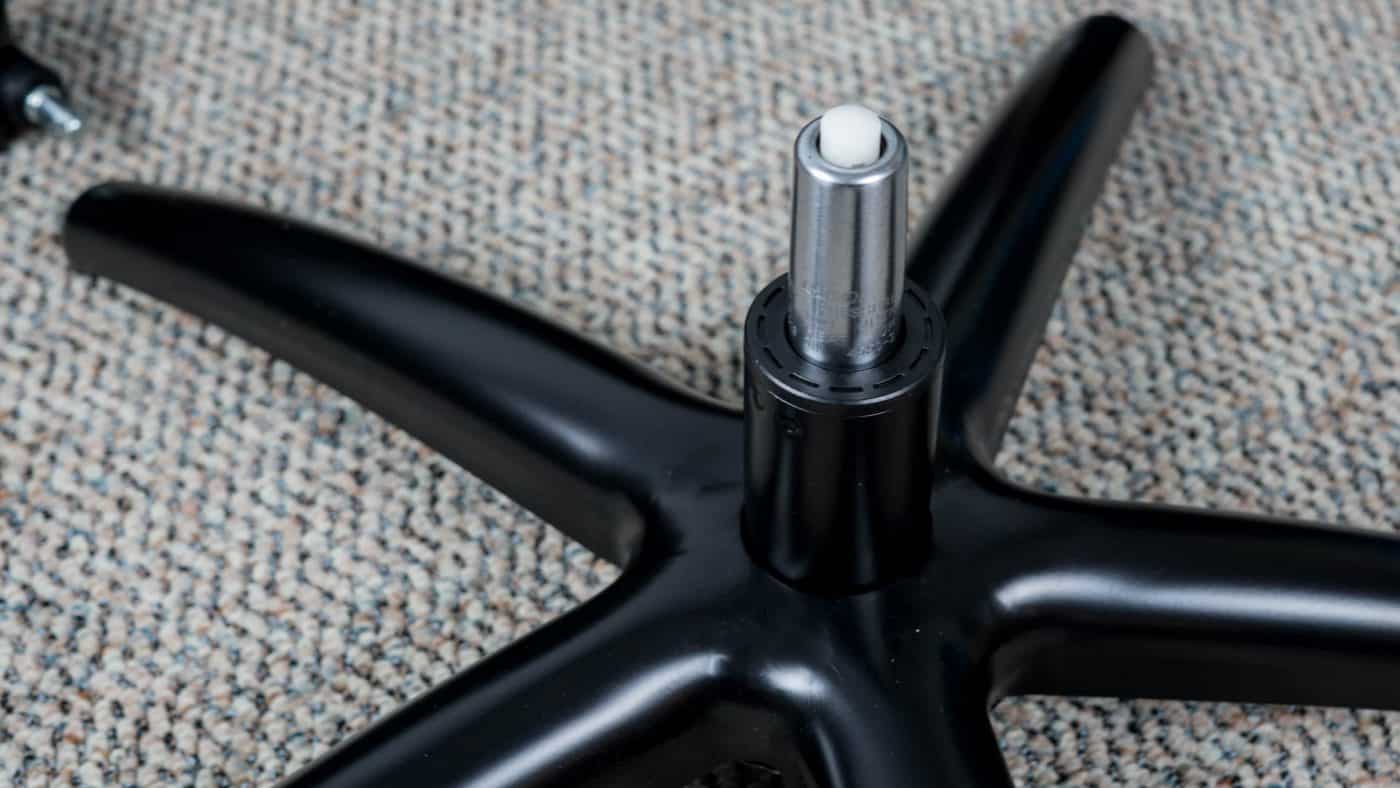
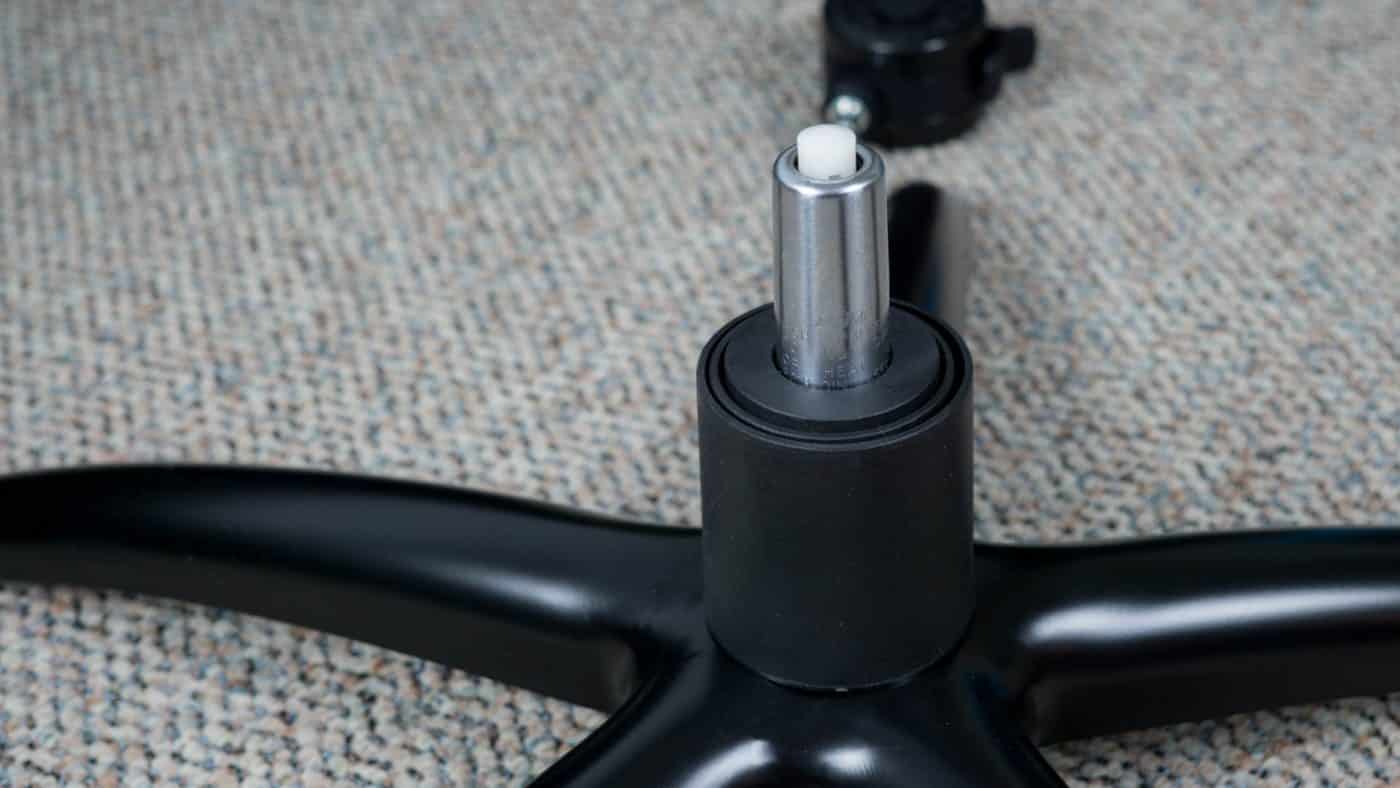
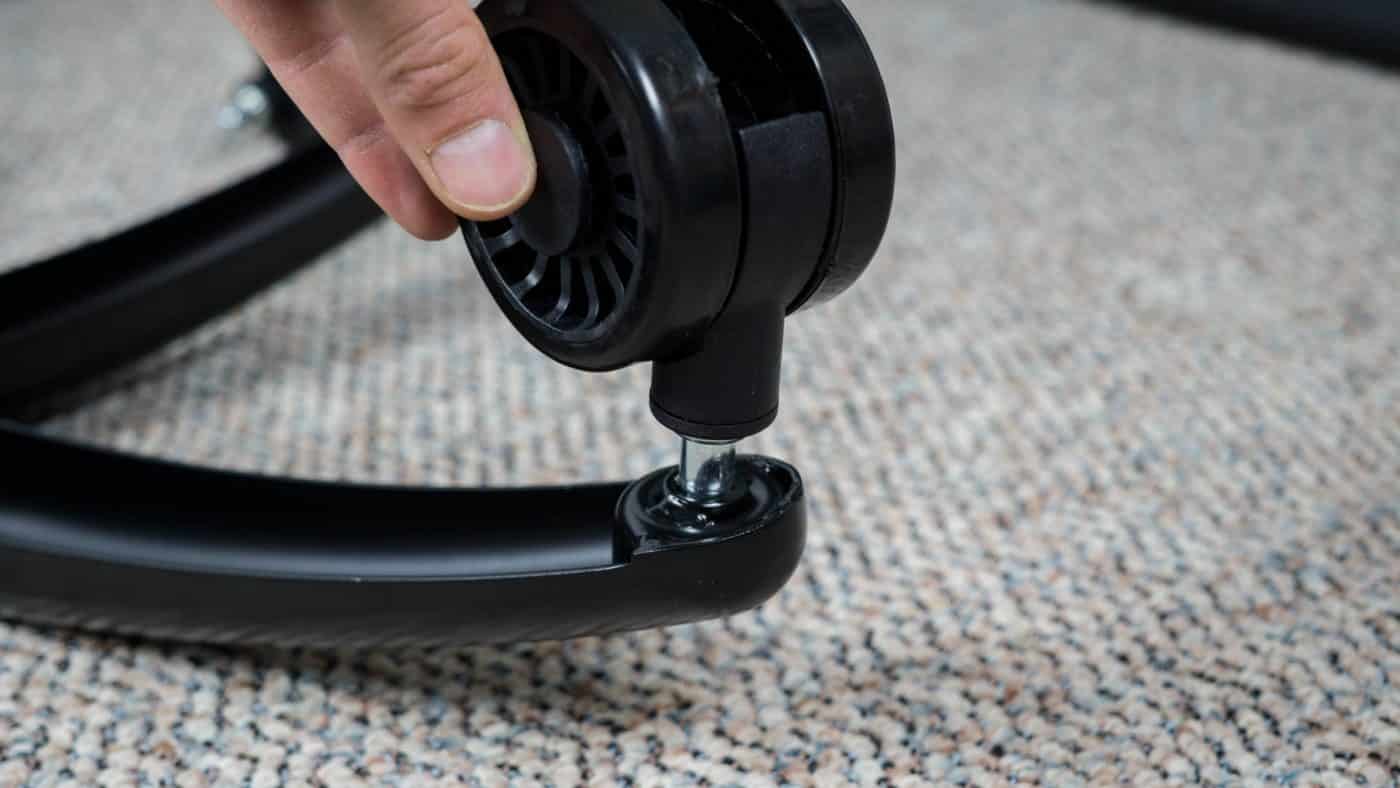
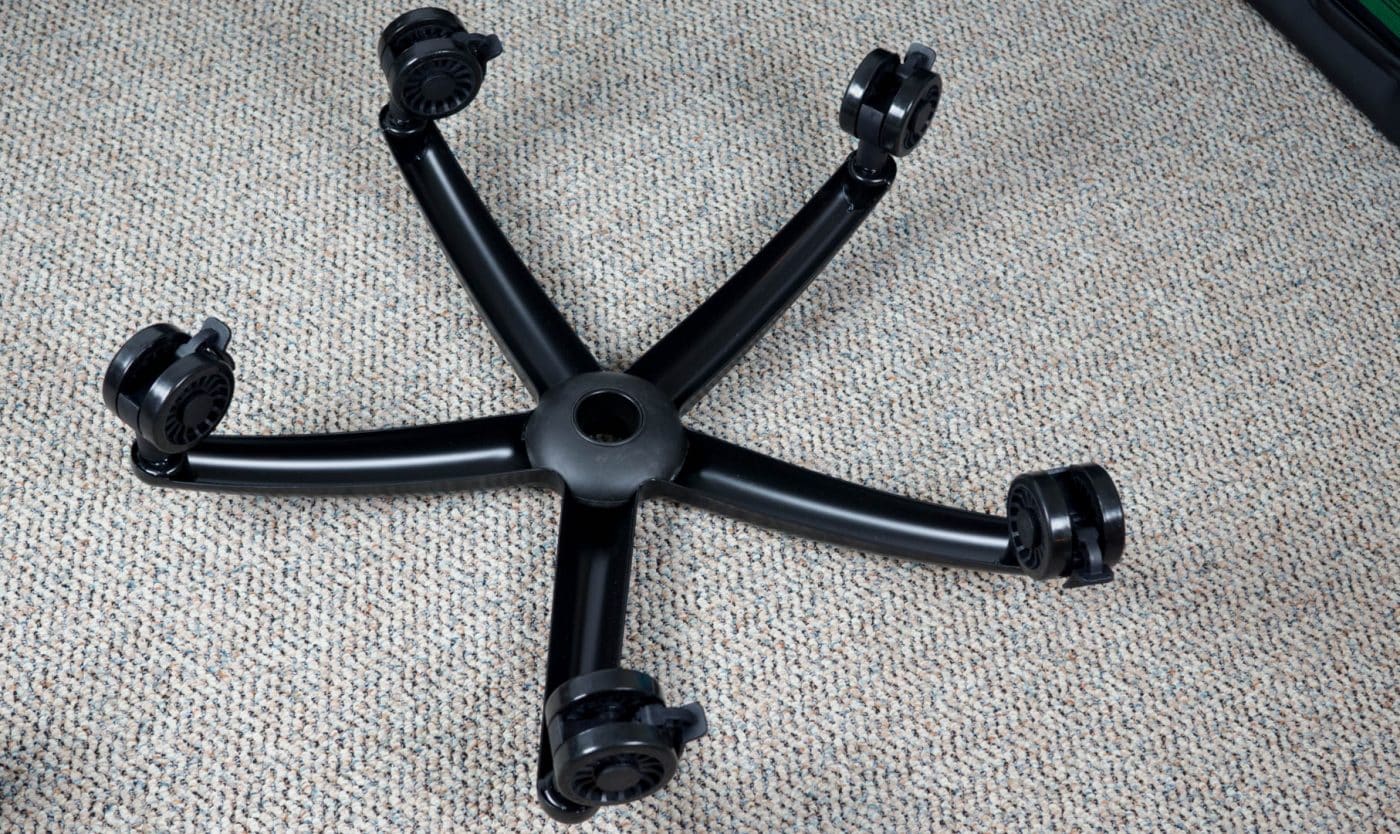
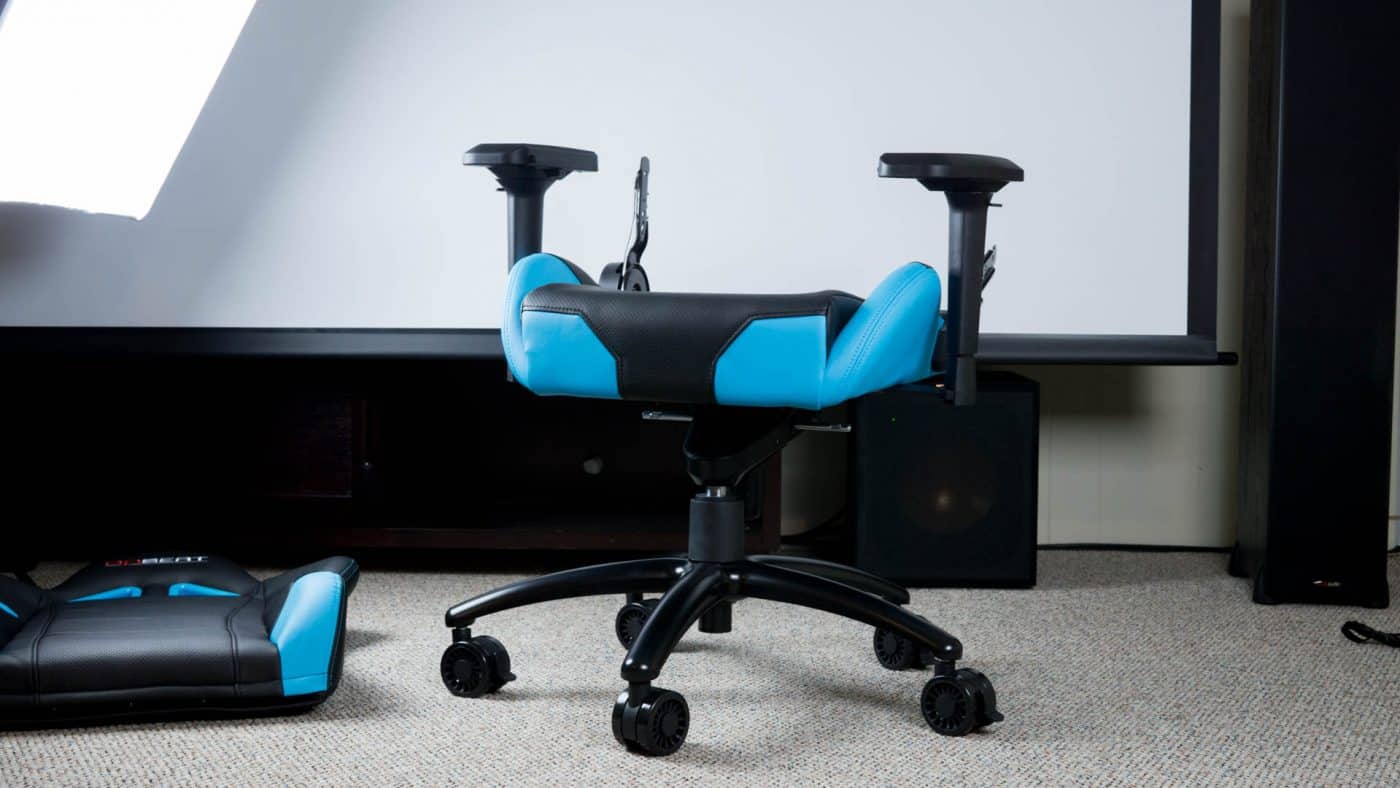
Start at the bottom putting the five wheels and pneumatic cylinder on the base.
With the base ready, move to the seat portion and attach the large recline mechanism. The photo in the instructions is a bit unclear (maybe wrong). You want to orient the hole which the base attaches to towards the back of the seat. The photo below is actually backwards so go opposite that and you’ll have it correct. You’ll know if you’ve got it wrong as the chair will tilt the wrong way and won’t balance well.
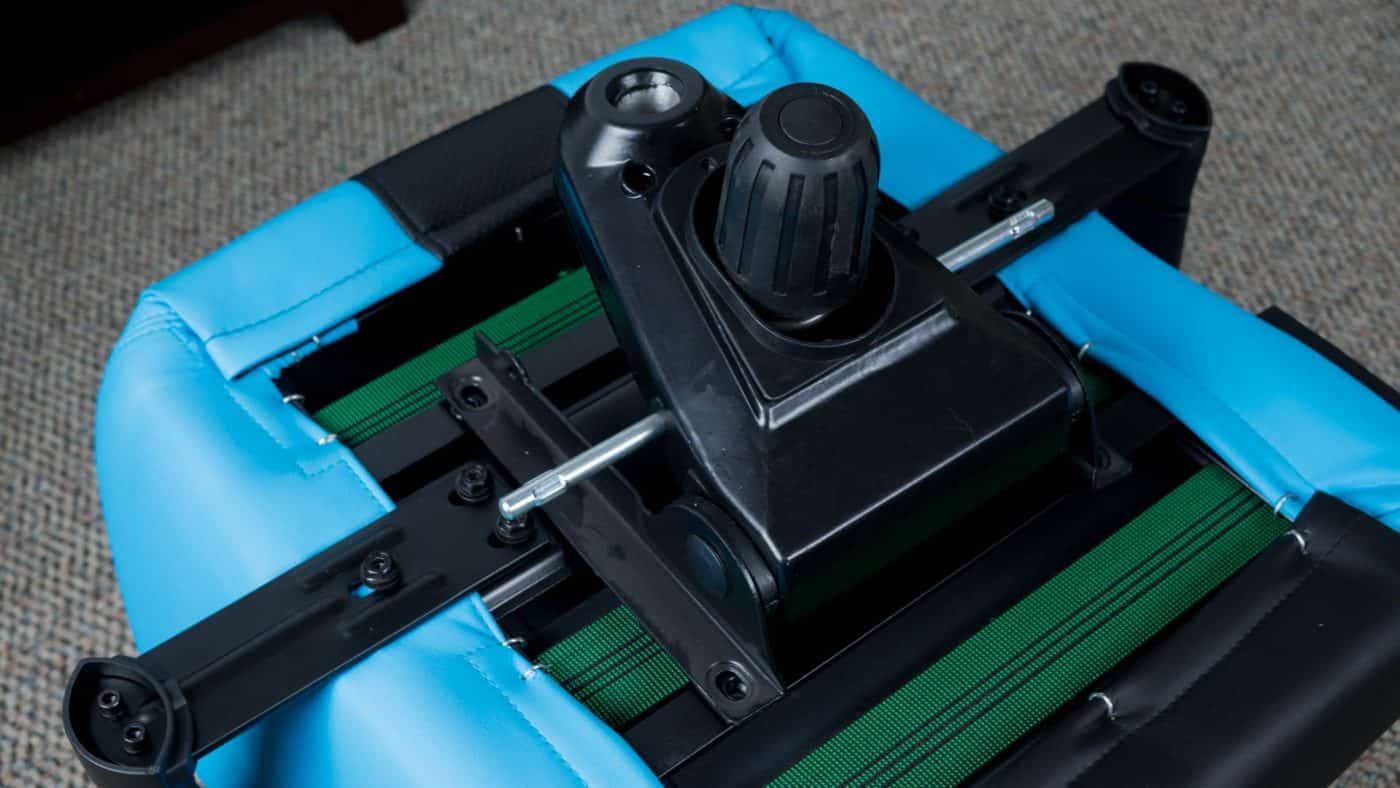
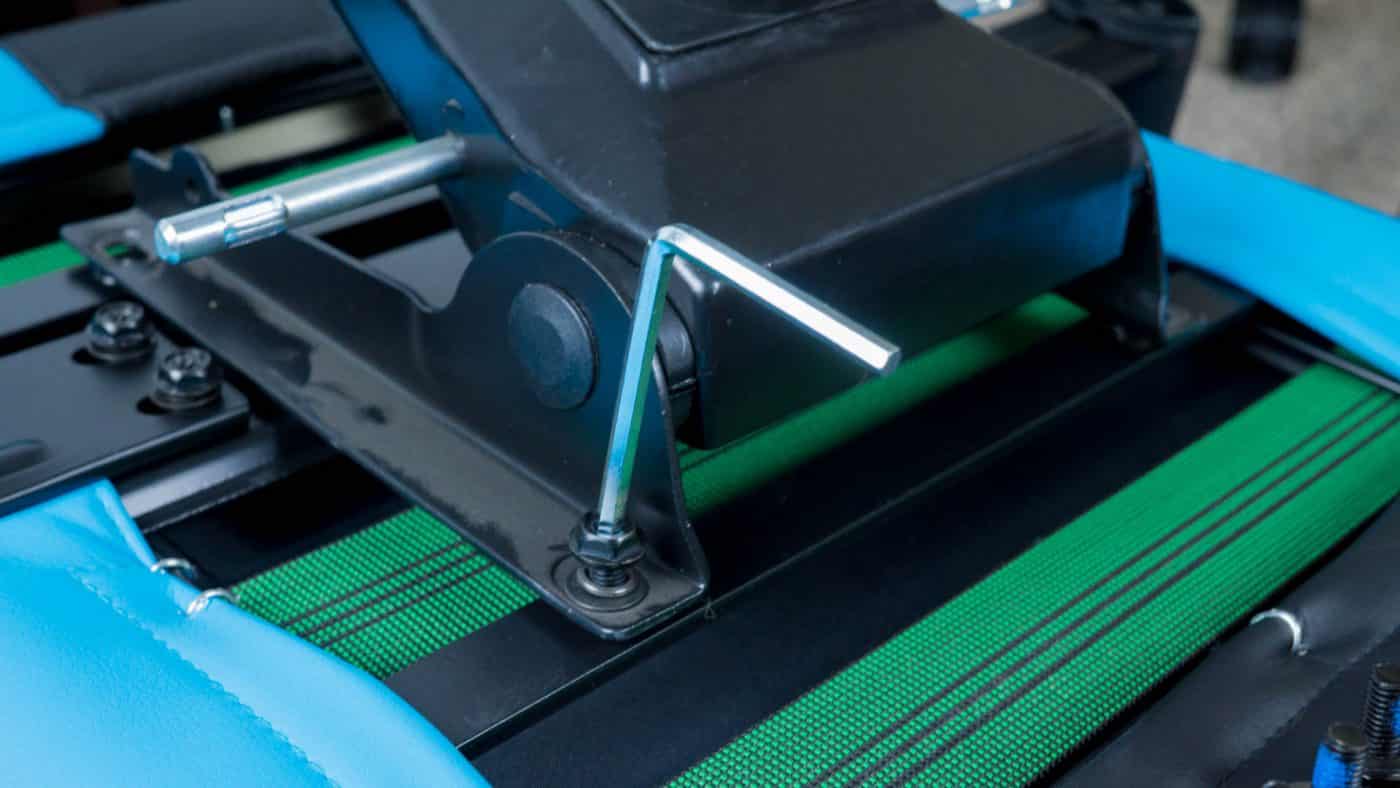
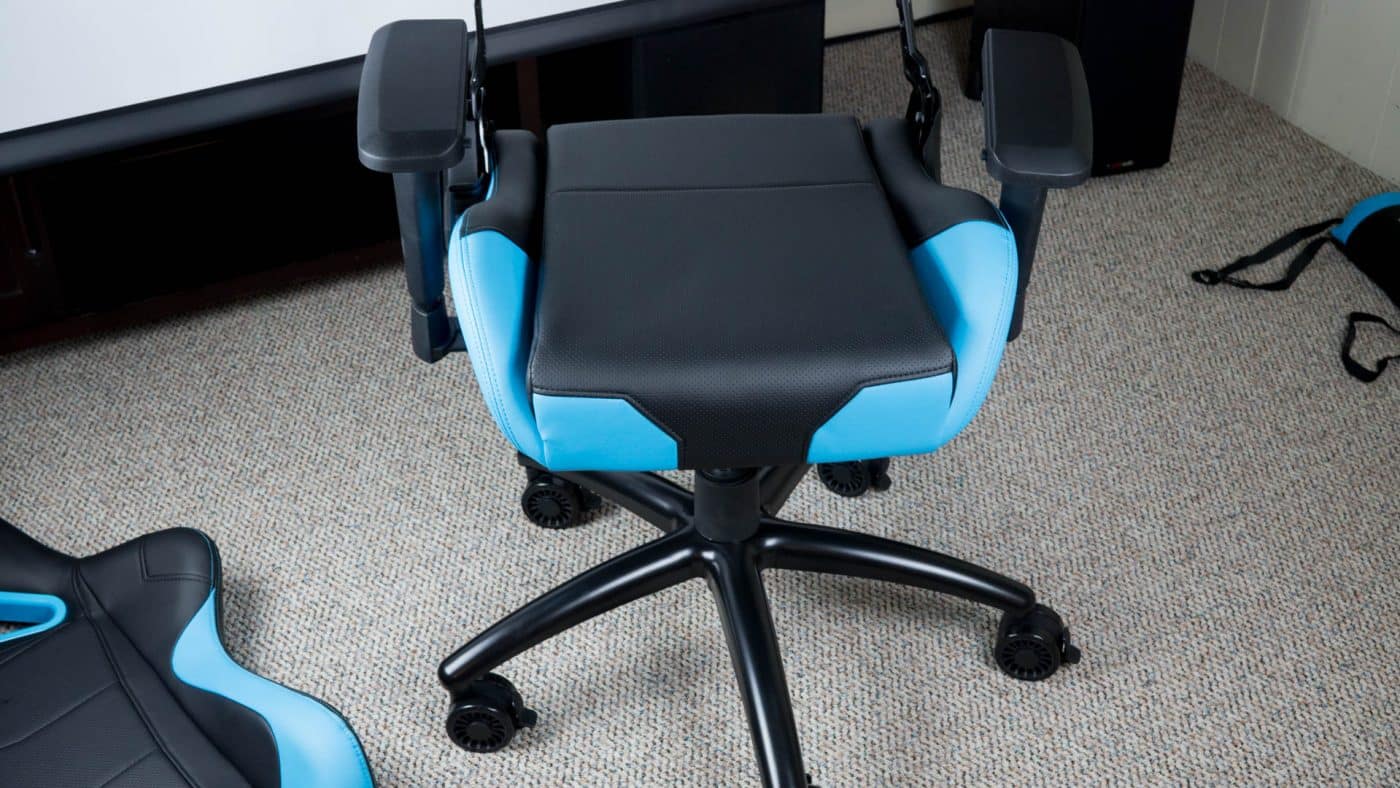
Attach the top to the base by simply sliding the end of the hydraulic into the hole of the mechanism you just installed.
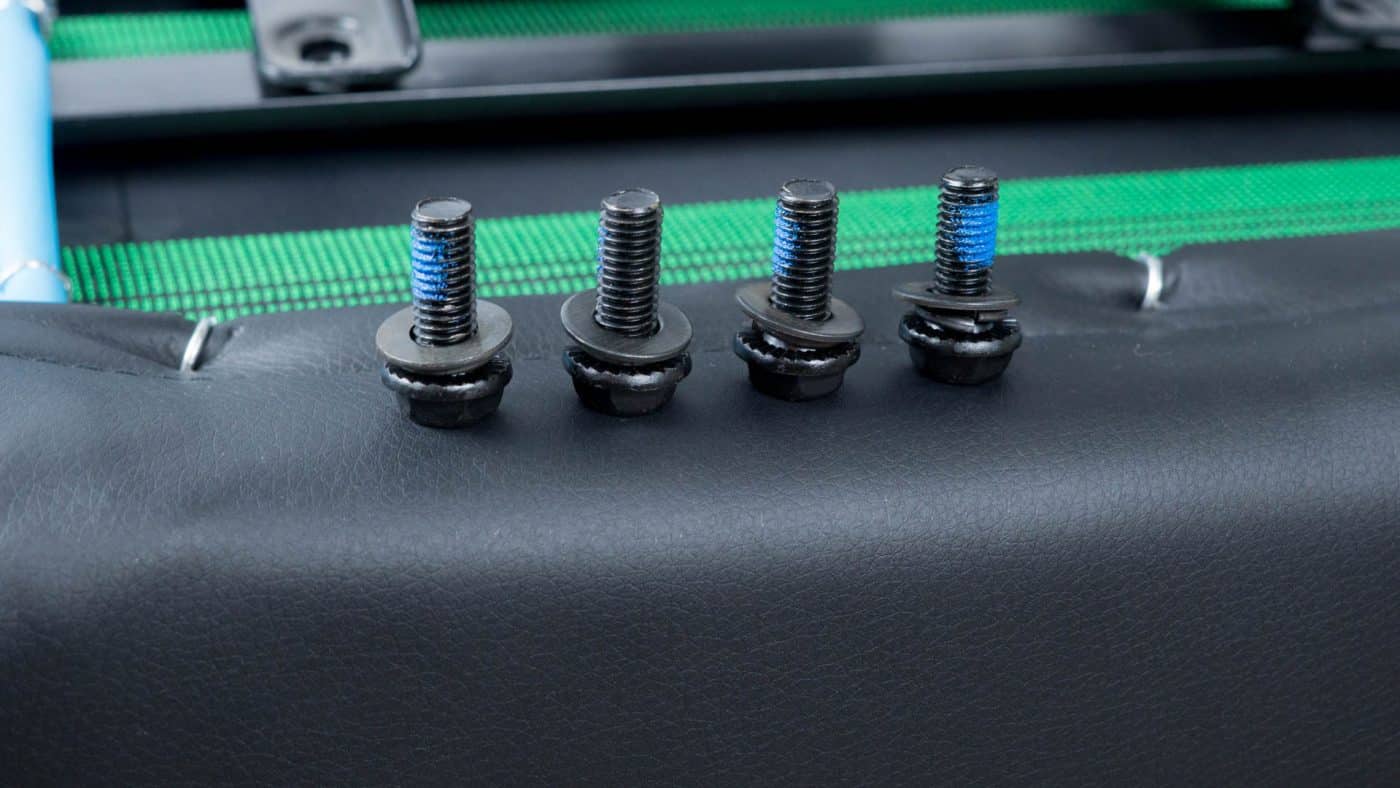
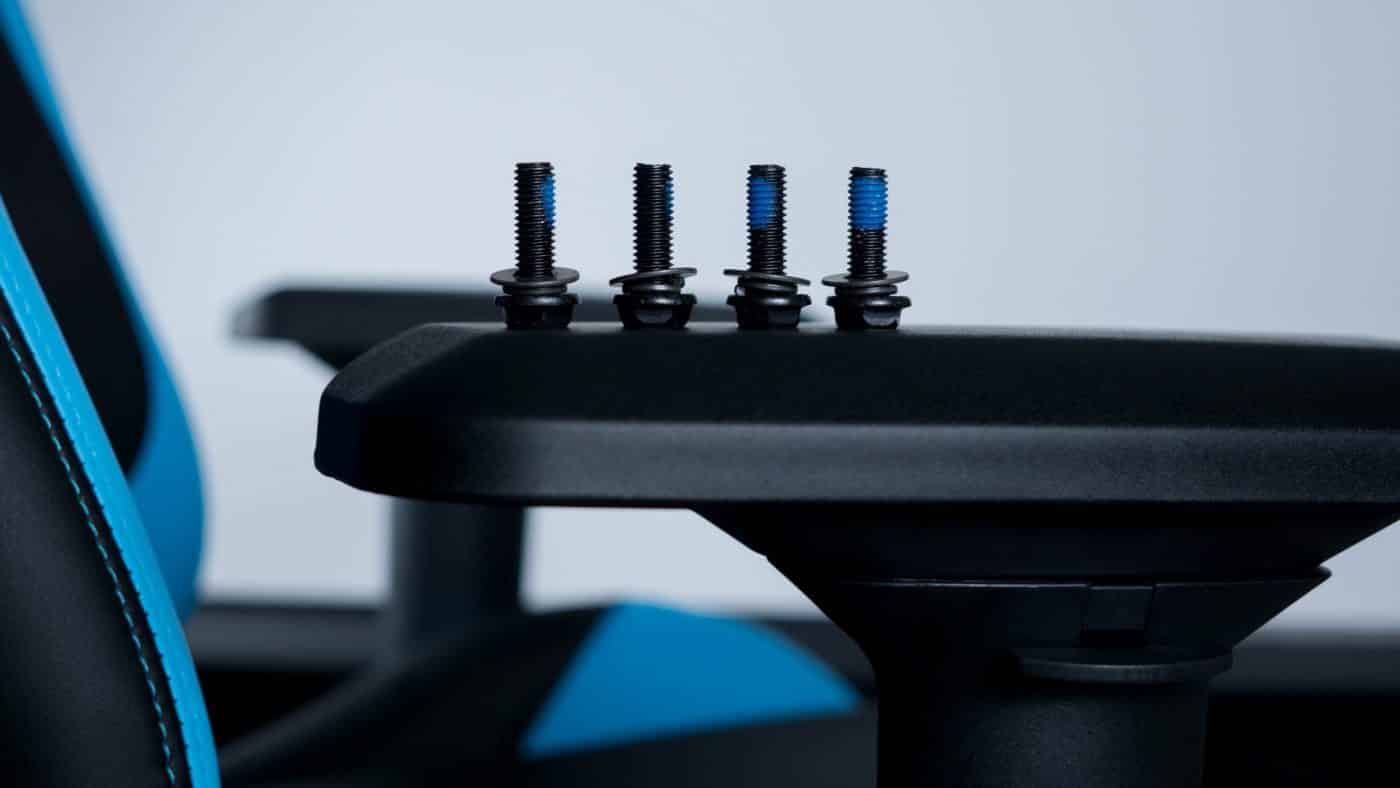
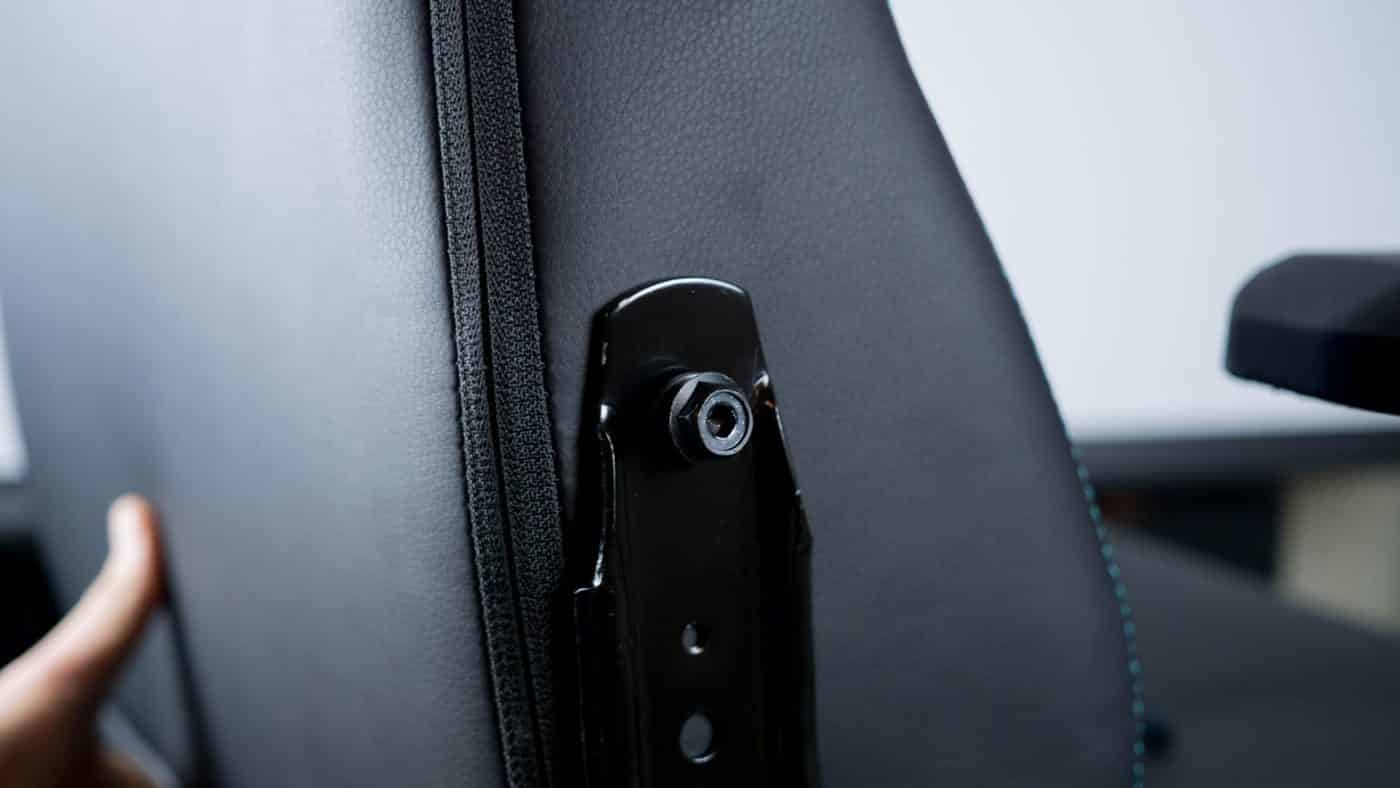
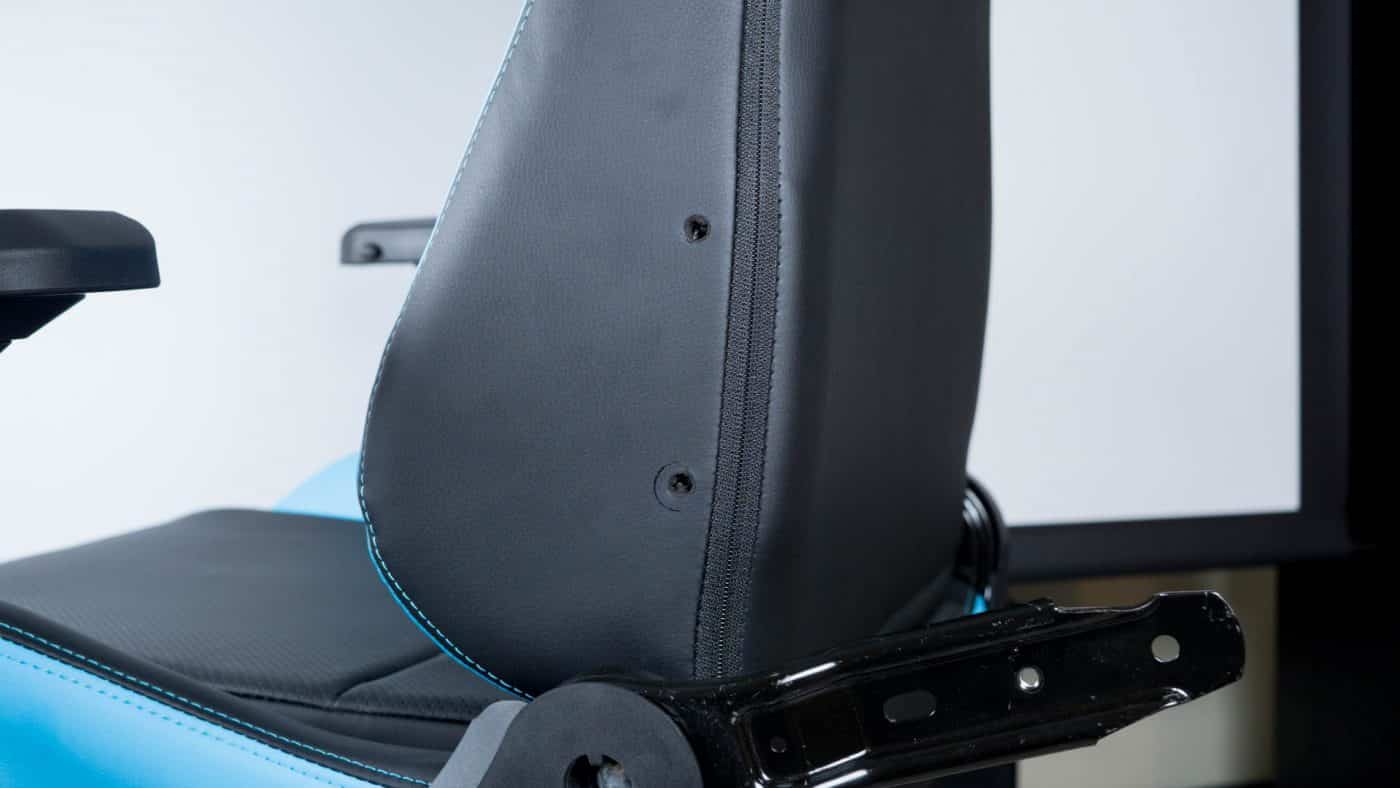
Next attach the chair back to the metal supports on the sides. The holes can be a little difficult to get, do one bolt part way and switch to the other side to keep things aligned.
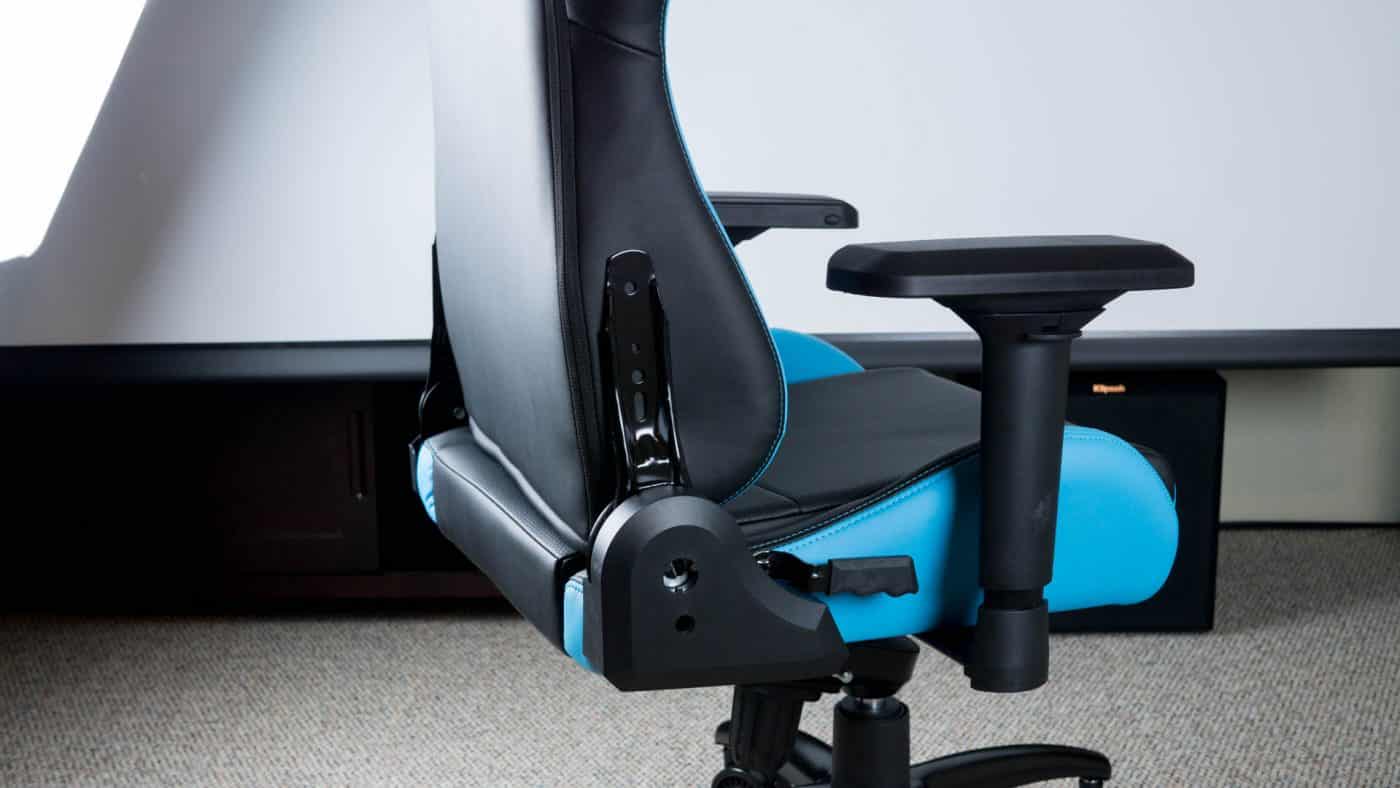
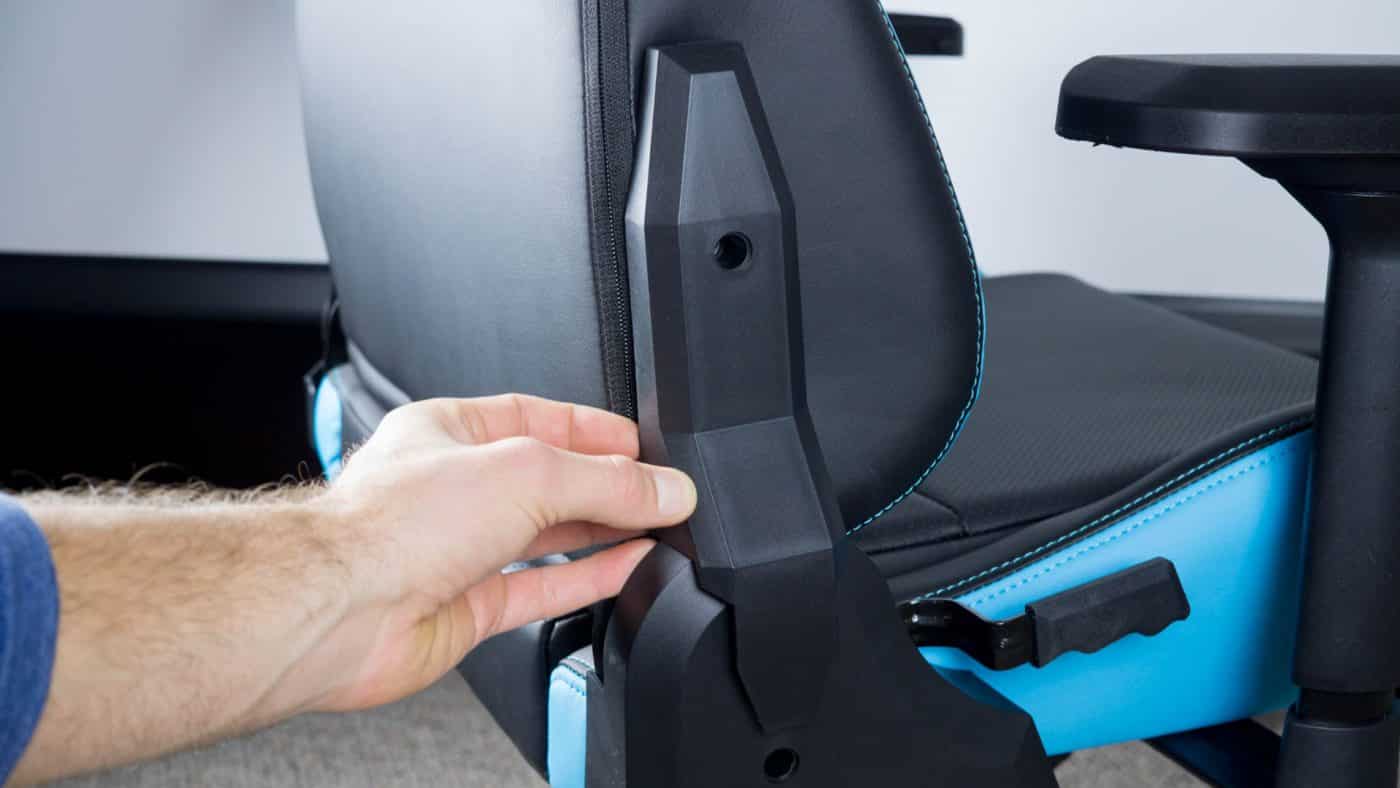
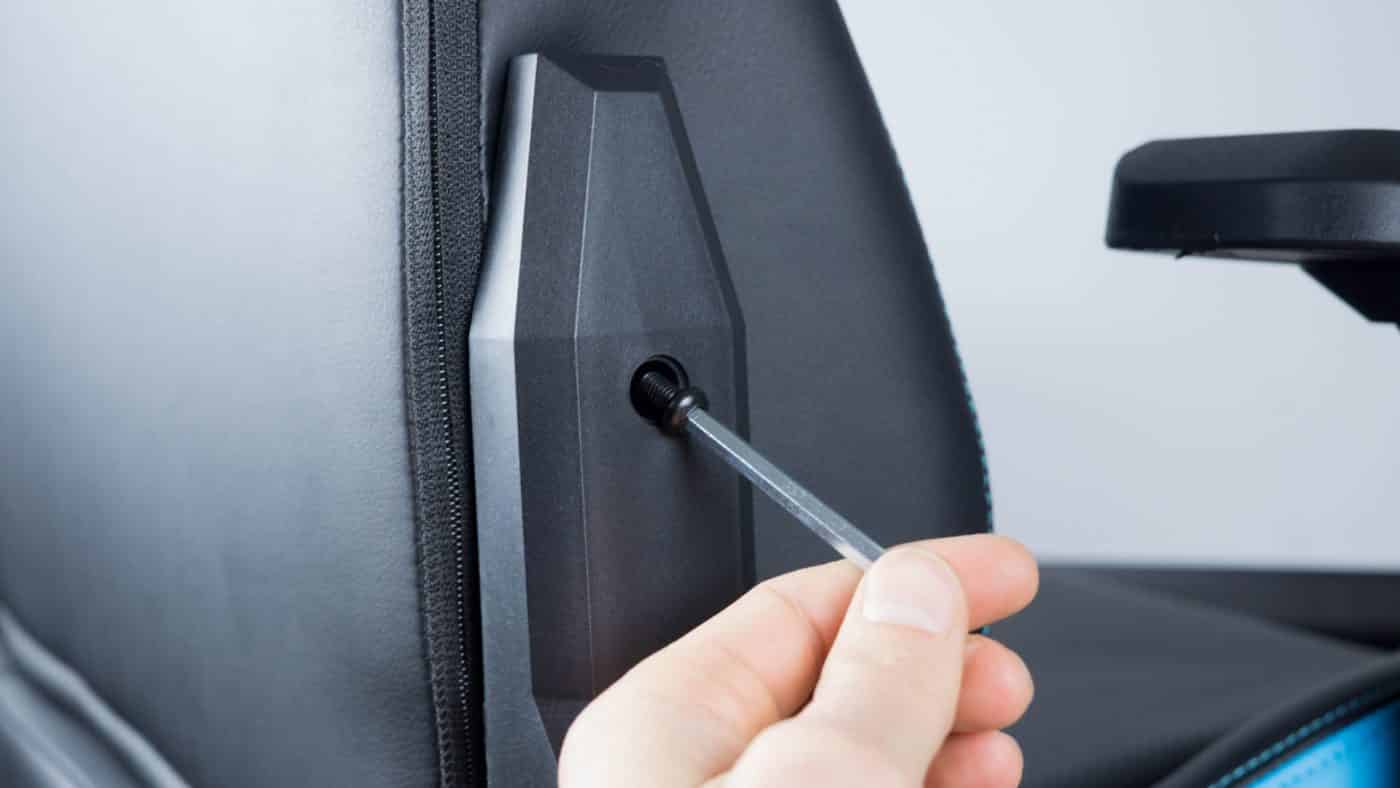
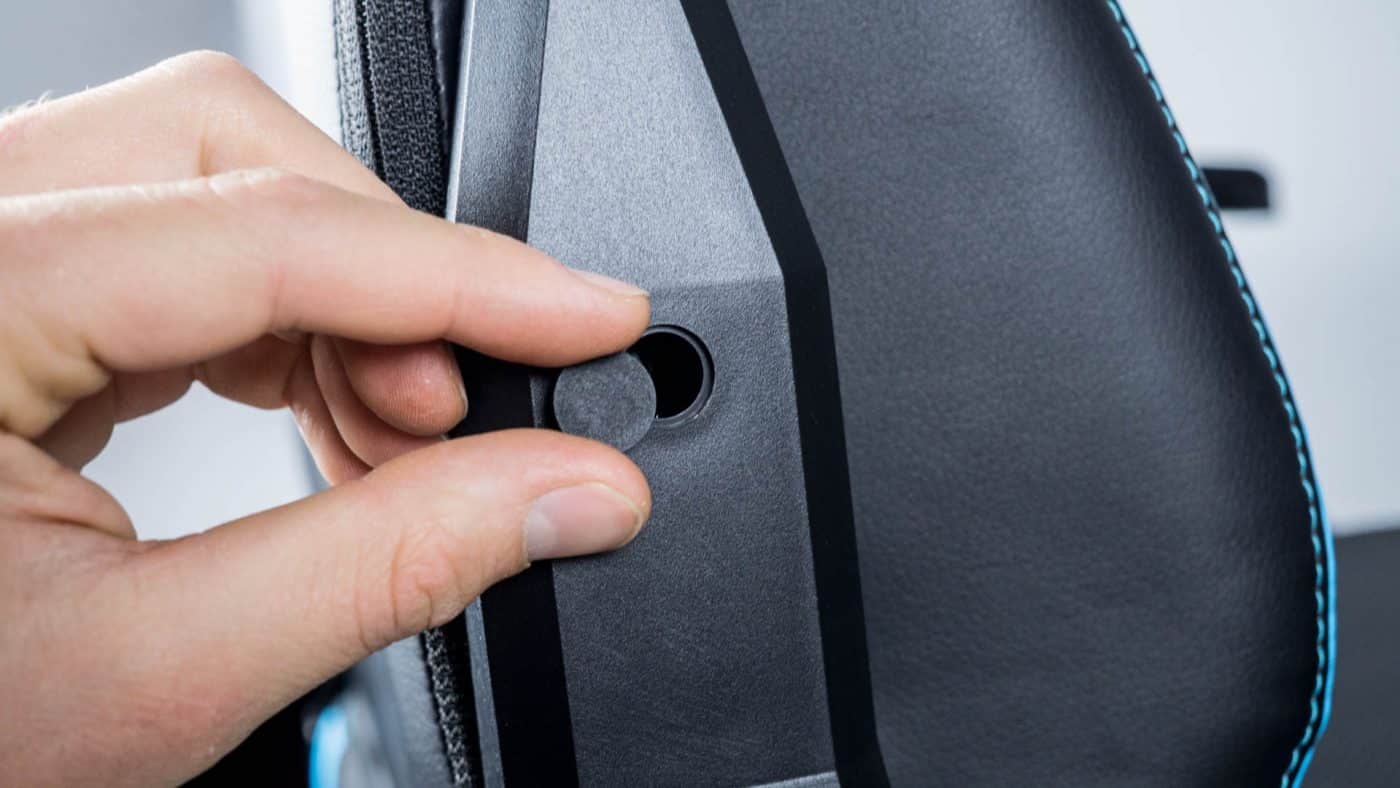
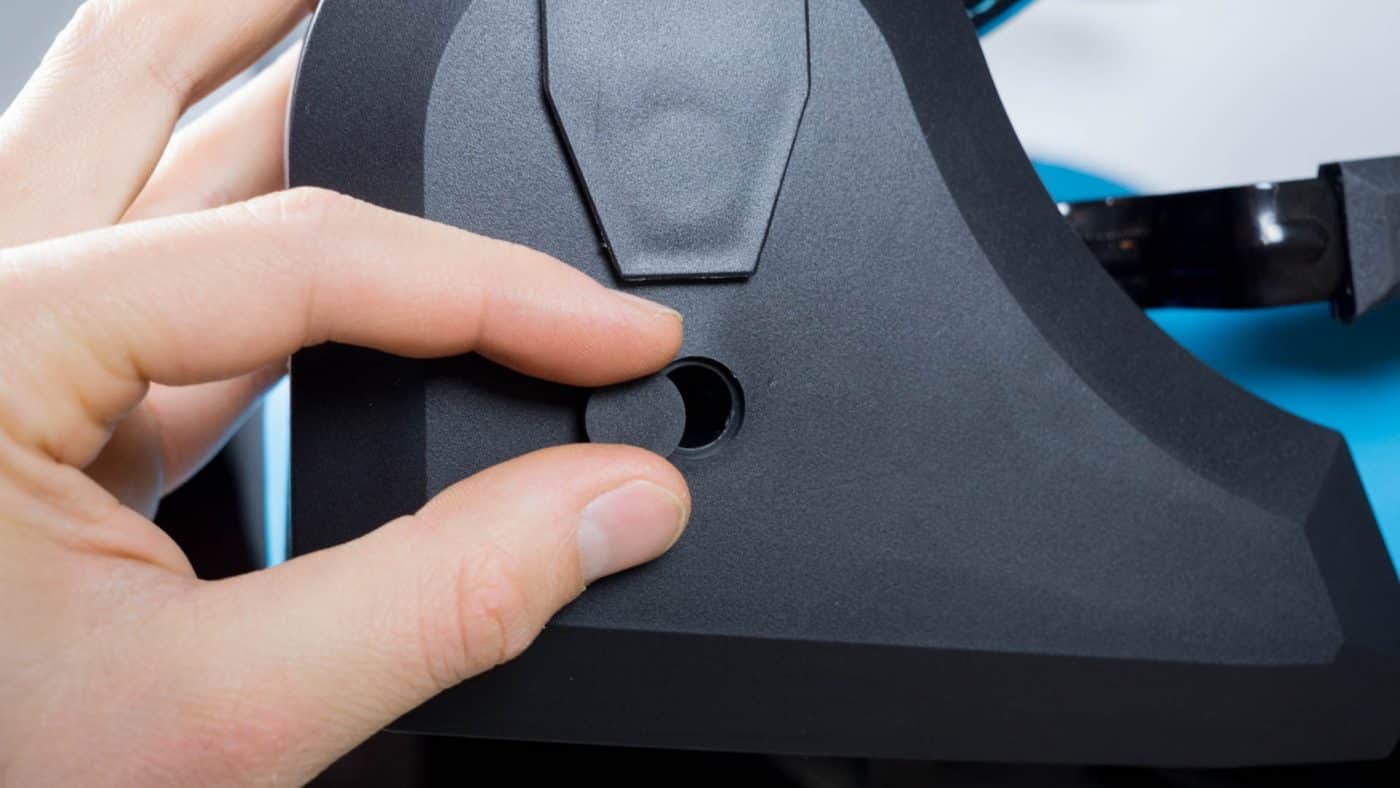
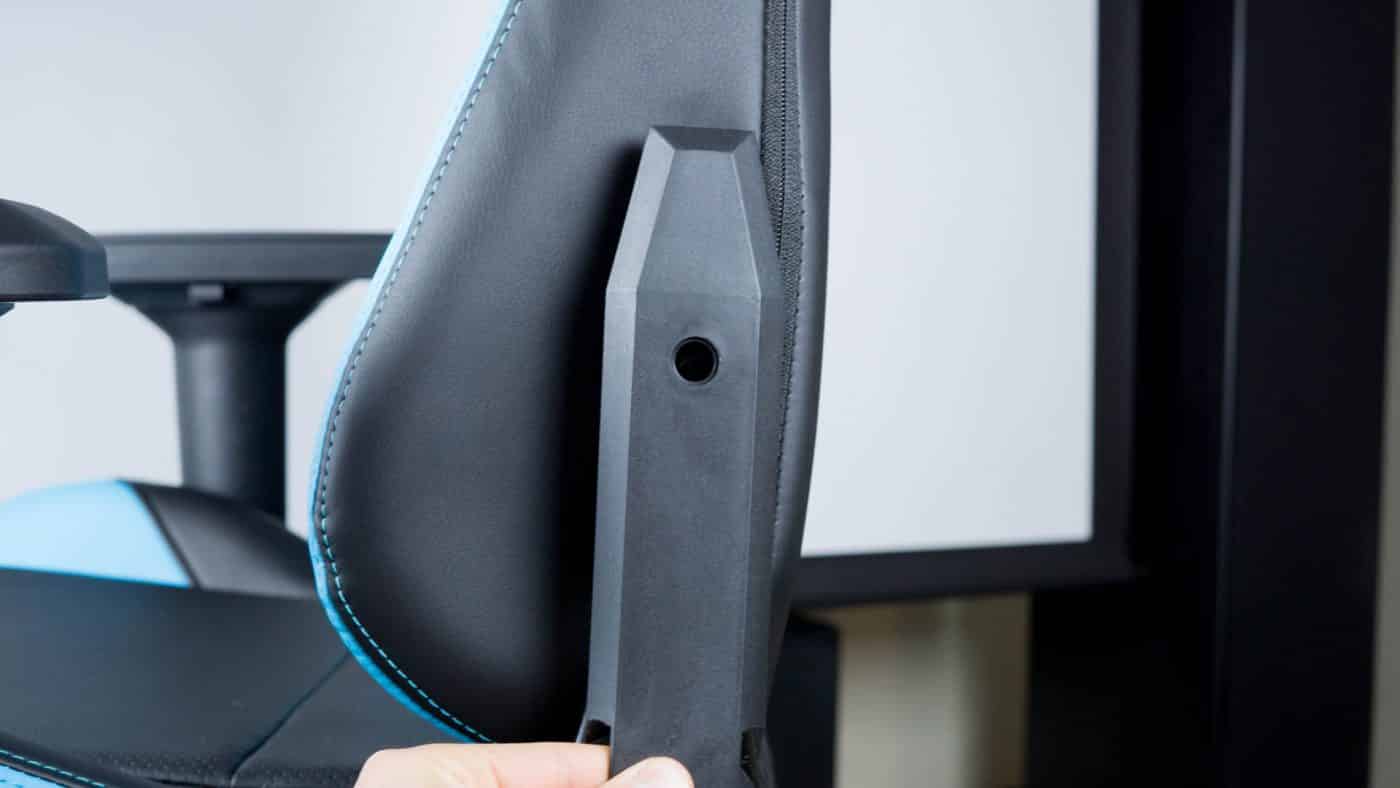
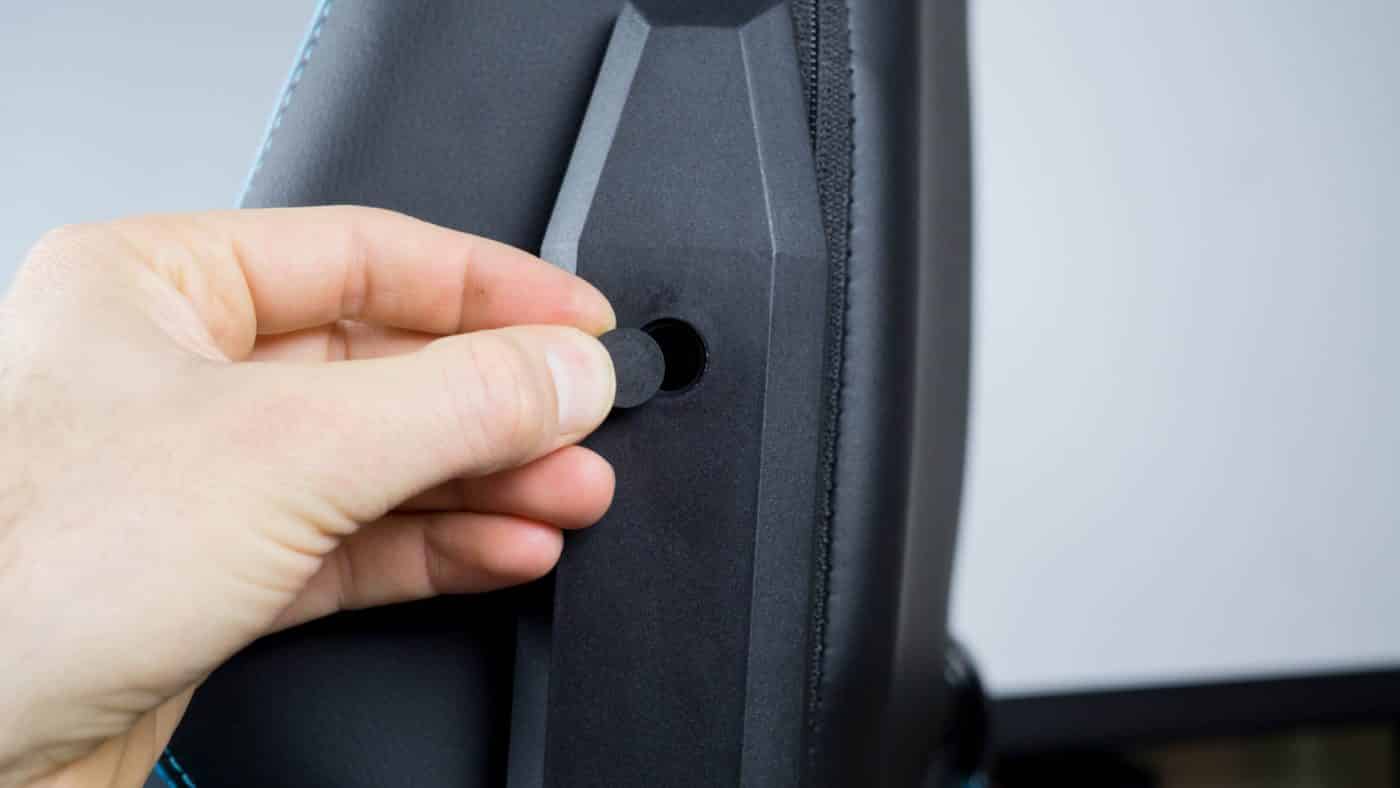
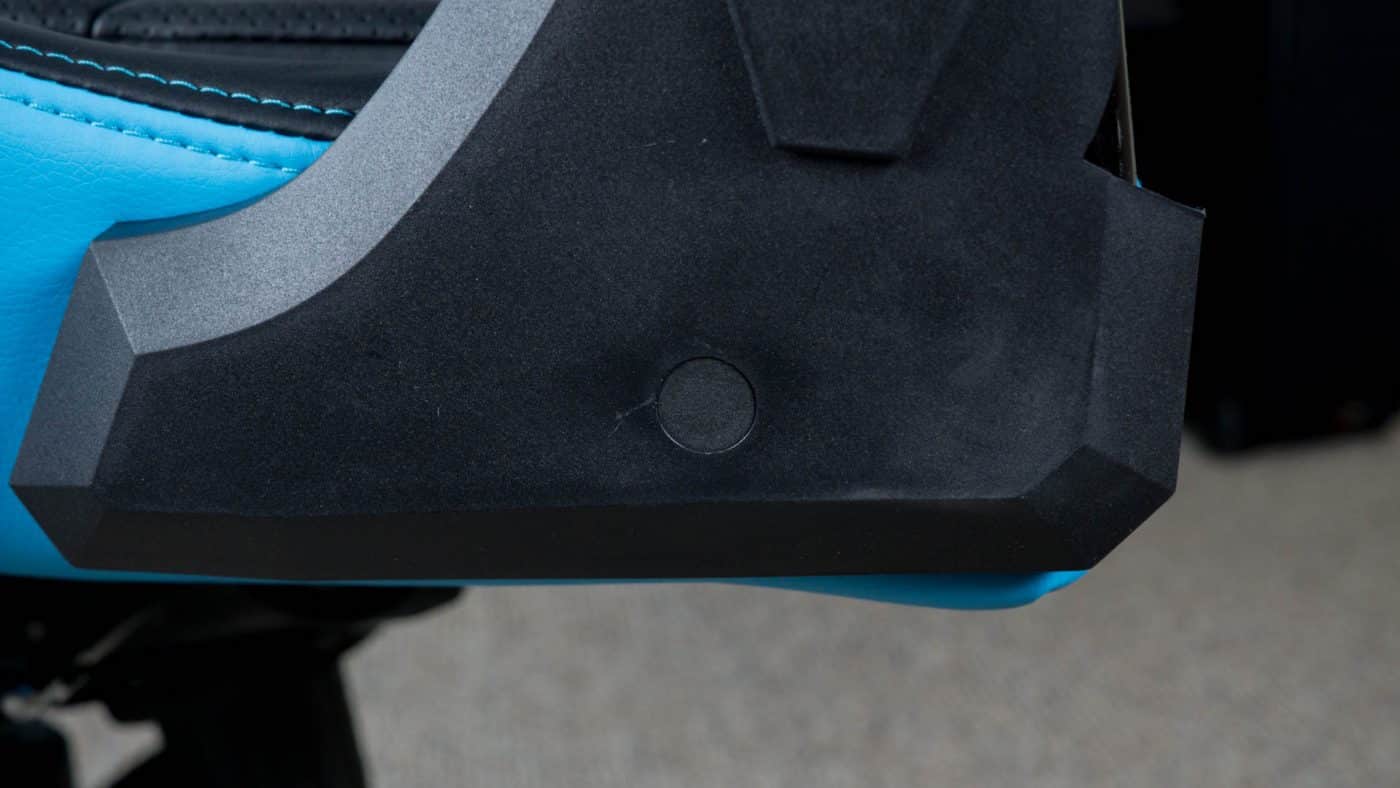
With the back attached cover the support with the plastic cover and secure at the top with a bolt. All three of the bolt holes are covered with a small plastic cap.
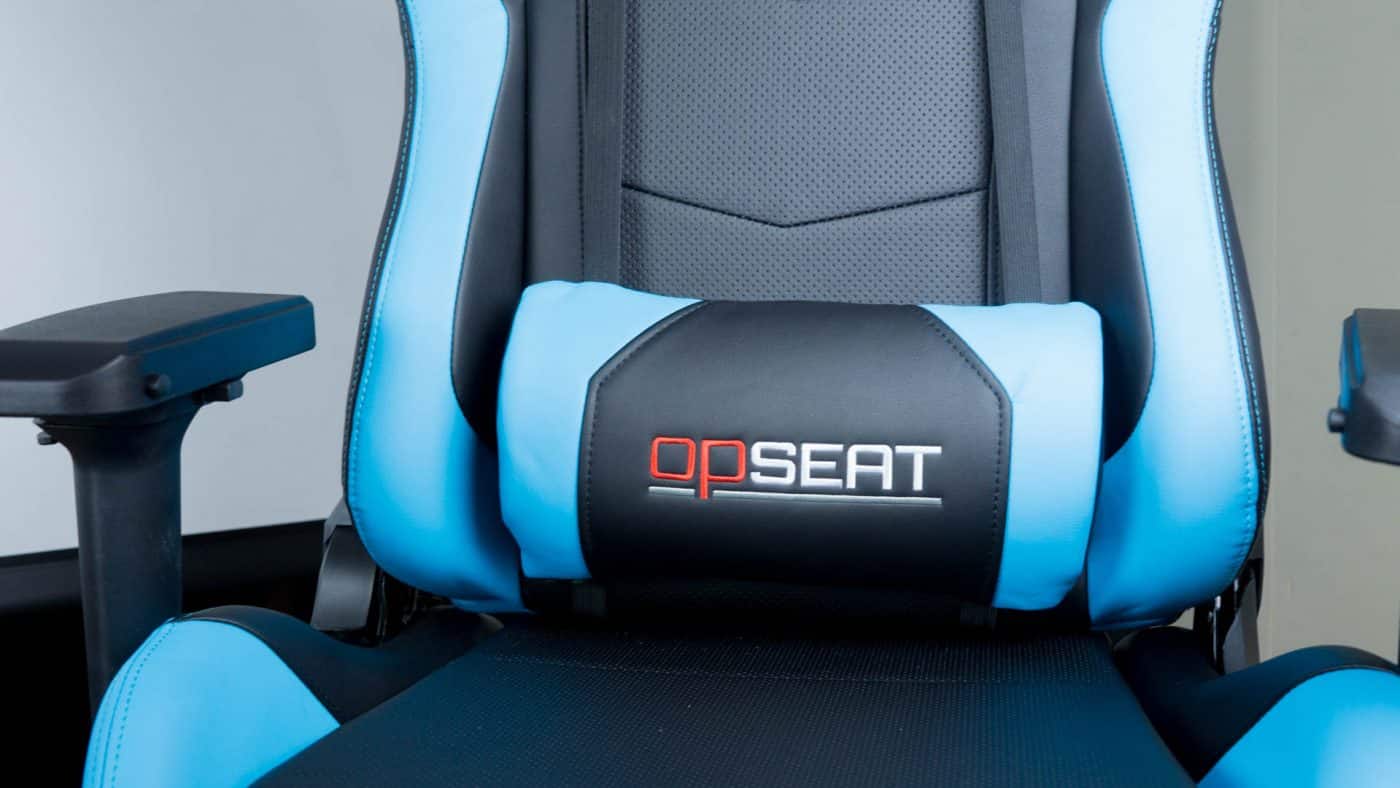
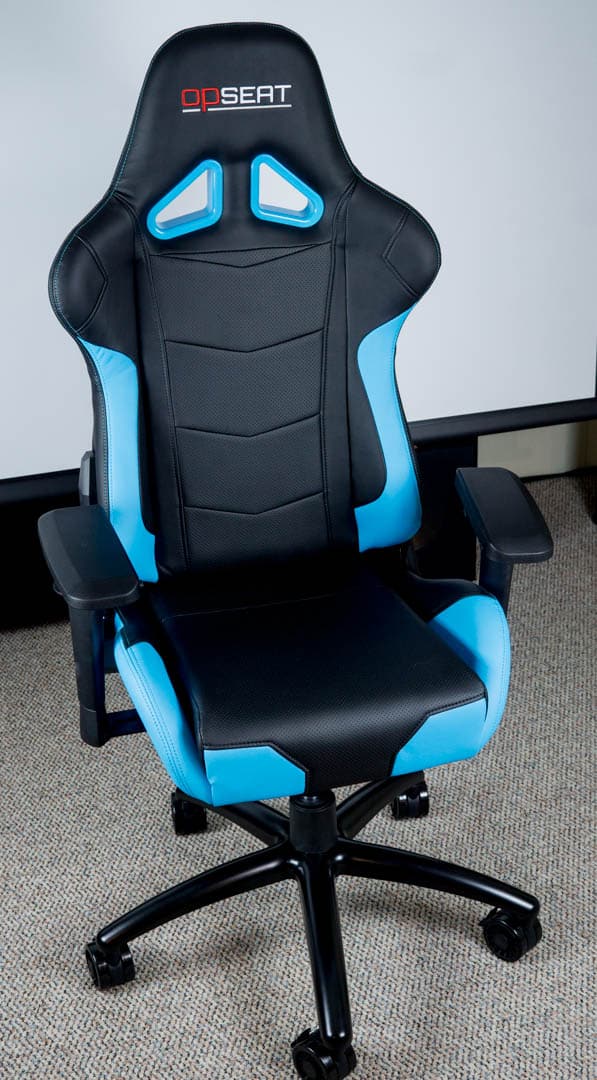
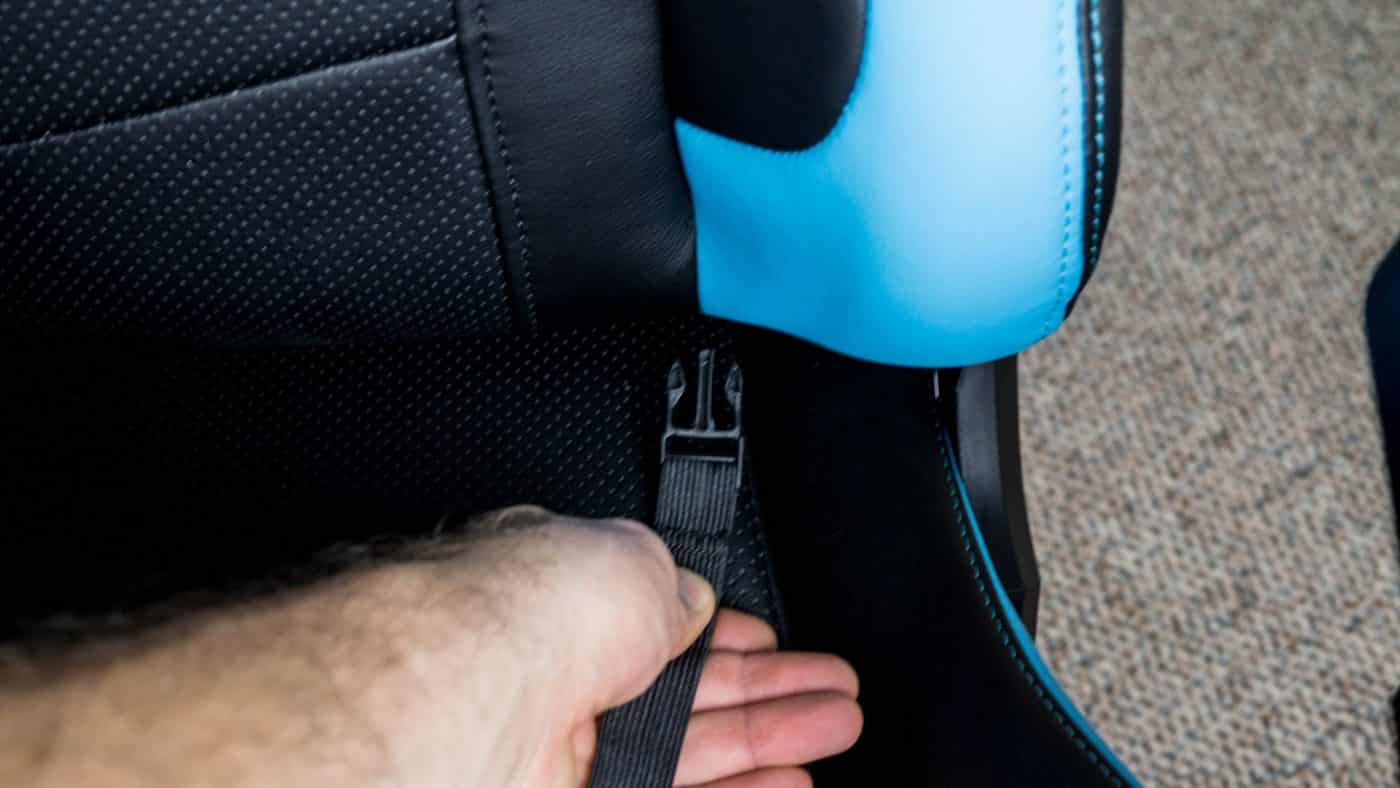
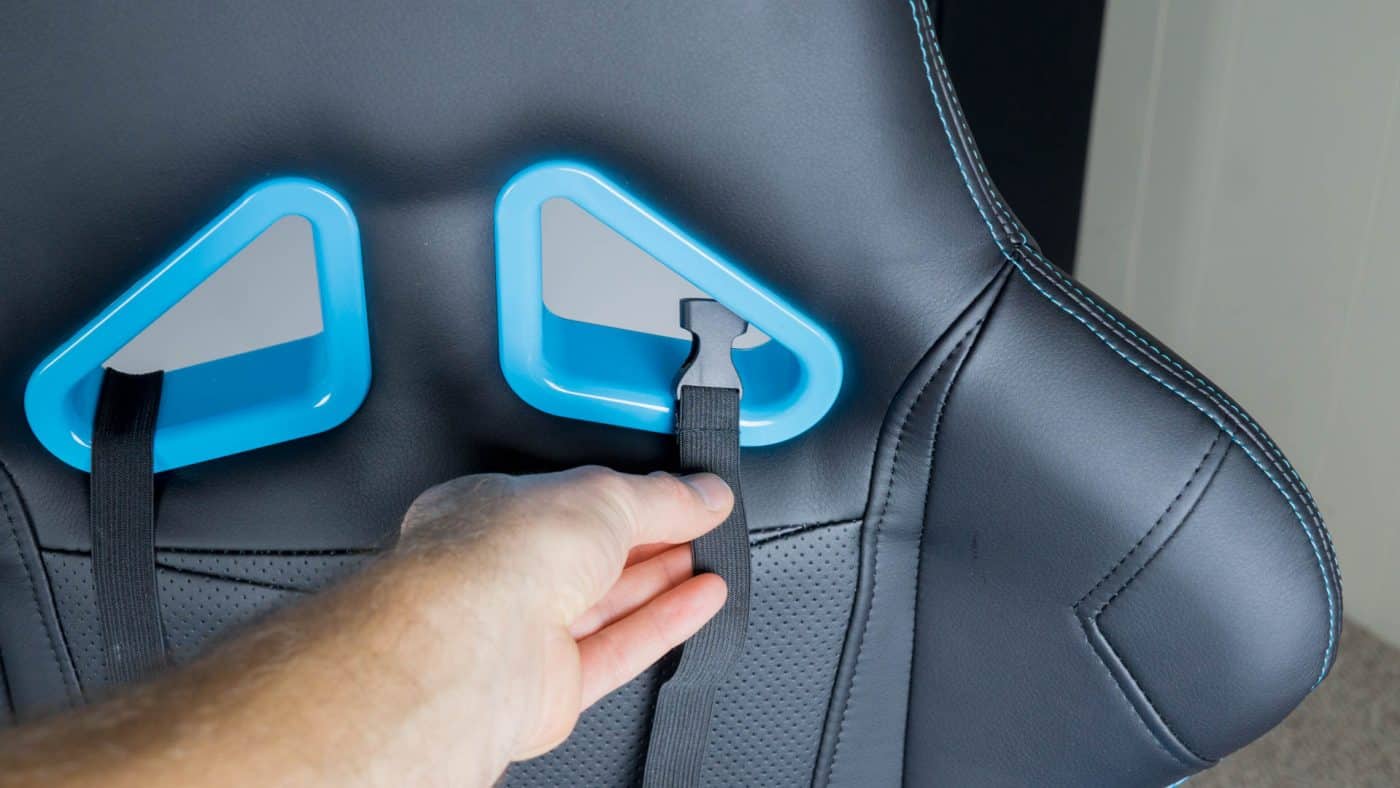
The chair is mostly assembled now, just the finishing touches are required. Slide the Handles onto the tilt and pneumatic controls and install the lumbar and neck pillows.