Testing
The following components are used for our AIO cooling testing.
CPU: AMD Ryzen 7 1800X
Cooling: EKWB EK-Nucleus AIO CR360 Lux D-RGB
Motherboard: ASUS Crosshair VI Hero
Graphics Card: PowerColor Red Devil Radeon RX 580
Memory: HyperX Savage DDR4-2666 16GB
Storage: Corsair Force MP500 M.2 PCIe NVMe SSD
Case: Fractal Design Define R6 Tempered Glass
Power: SilverStone SST-ST55F-G
List of coolers being compared:
– Cryorig H5 Universal
– SilverStone PF240-ARGB
– ARCTIC Liquid Freezer II 240
– Corsair iCUE H115i RGB PRO XT
– Alphacool Eisbaer Aurora 360 CPU
– NZXT Kraken X63
– NZXT Kraken Z73
– Corsair iCUE H150i ELITE CAPELLIX
– Cooler Master MasterLiquid ML280 Mirror
– Cooler Master MasterLiquid PL360 Flux
– DeepCool LS720 WH
– EK-Nucleus AIO CR360 LUX D-RGB
– Cooler Master MasterLiquid 360L Core ARGB White
– Lian Li Galahad II Trinity SL-INF 360
For performance testing we will first test idle temperatures. These are taken on the Windows 10 desktop an hour after the system has been turned on.

For load testing we will be running the AIDA64 system stability test with the CPU only checked. This puts a full load on our CPU. We run this test for 1 hour and record the highest temperature throughout the test.

Software
Lian Li designed the GA II Trinity SL-INF 360 to be compatible with their L-Connect 3 software, via the aforementioned cabling and hub connections. With all of the hardware connected to the hub and to the system itself via USB 2.0, it is time to take a look at the software options for controlling and monitoring the test PC. Below I will be covering the various menus within L-Connect 3.
System Info
The System Info menu gives the ability to monitor system resources like CPU, RAM, and GPU utilization, speeds, and temperatures, in addition to system storage and network statistics. The simple design language is easy to read and understand, and looks pretty nice. You can also view a bit of information regarding system specifications with regards to components.

Fan/Pump Profile
This menu is where you can monitor and control the fans and pump from a single pane. Statistics for each port on the hub lets you monitor the fans attached to that port, as does a section for the pump, and a live status bar and graph show you just how the system is reacting based on the current temperature of the device you have chosen to monitor and adjust to. Multiple fan profiles are available, and depending on which one you have selected, the cooler will adjust its fan curve accordingly. You can also select a flat RPM for consistent noise output.

Quick/Sync Lighting
The Quick/Sync Lighting menu offers the ability to sync all of your lighting with your motherboard’s headers if you want, or to set all of your devices connected to the hub to the same lighting effect quickly and easily.

GA II Trinity (R)
This menu allows you to monitor and control the pump’s performance and lighting from one menu. It is here that you can also adjust the physical layout of the pump, depending on what inner and outer ring you happen to be utilizing.

SL Infinity Lighting
The SL Infinity Lighting menu offers speed and lighting customization for each port of the controller. With the SL-Infinity fans chained together, this means I only had to adjust Port01 on the controller in order to make adjustments to all three of the fans all at once. A really nice thing about these fans and the L-Connect 3 software is that you can adjust the fan blade and frame lighting together or independently, so you can really create some pretty cool combinations.

Settings
The Settings menu lets you make your standard software configuration changes, like enabling or disabling the application at startup, minimizing or hiding the icon, language, and more. Updates for the software itself and device firmware are also available in this menu.

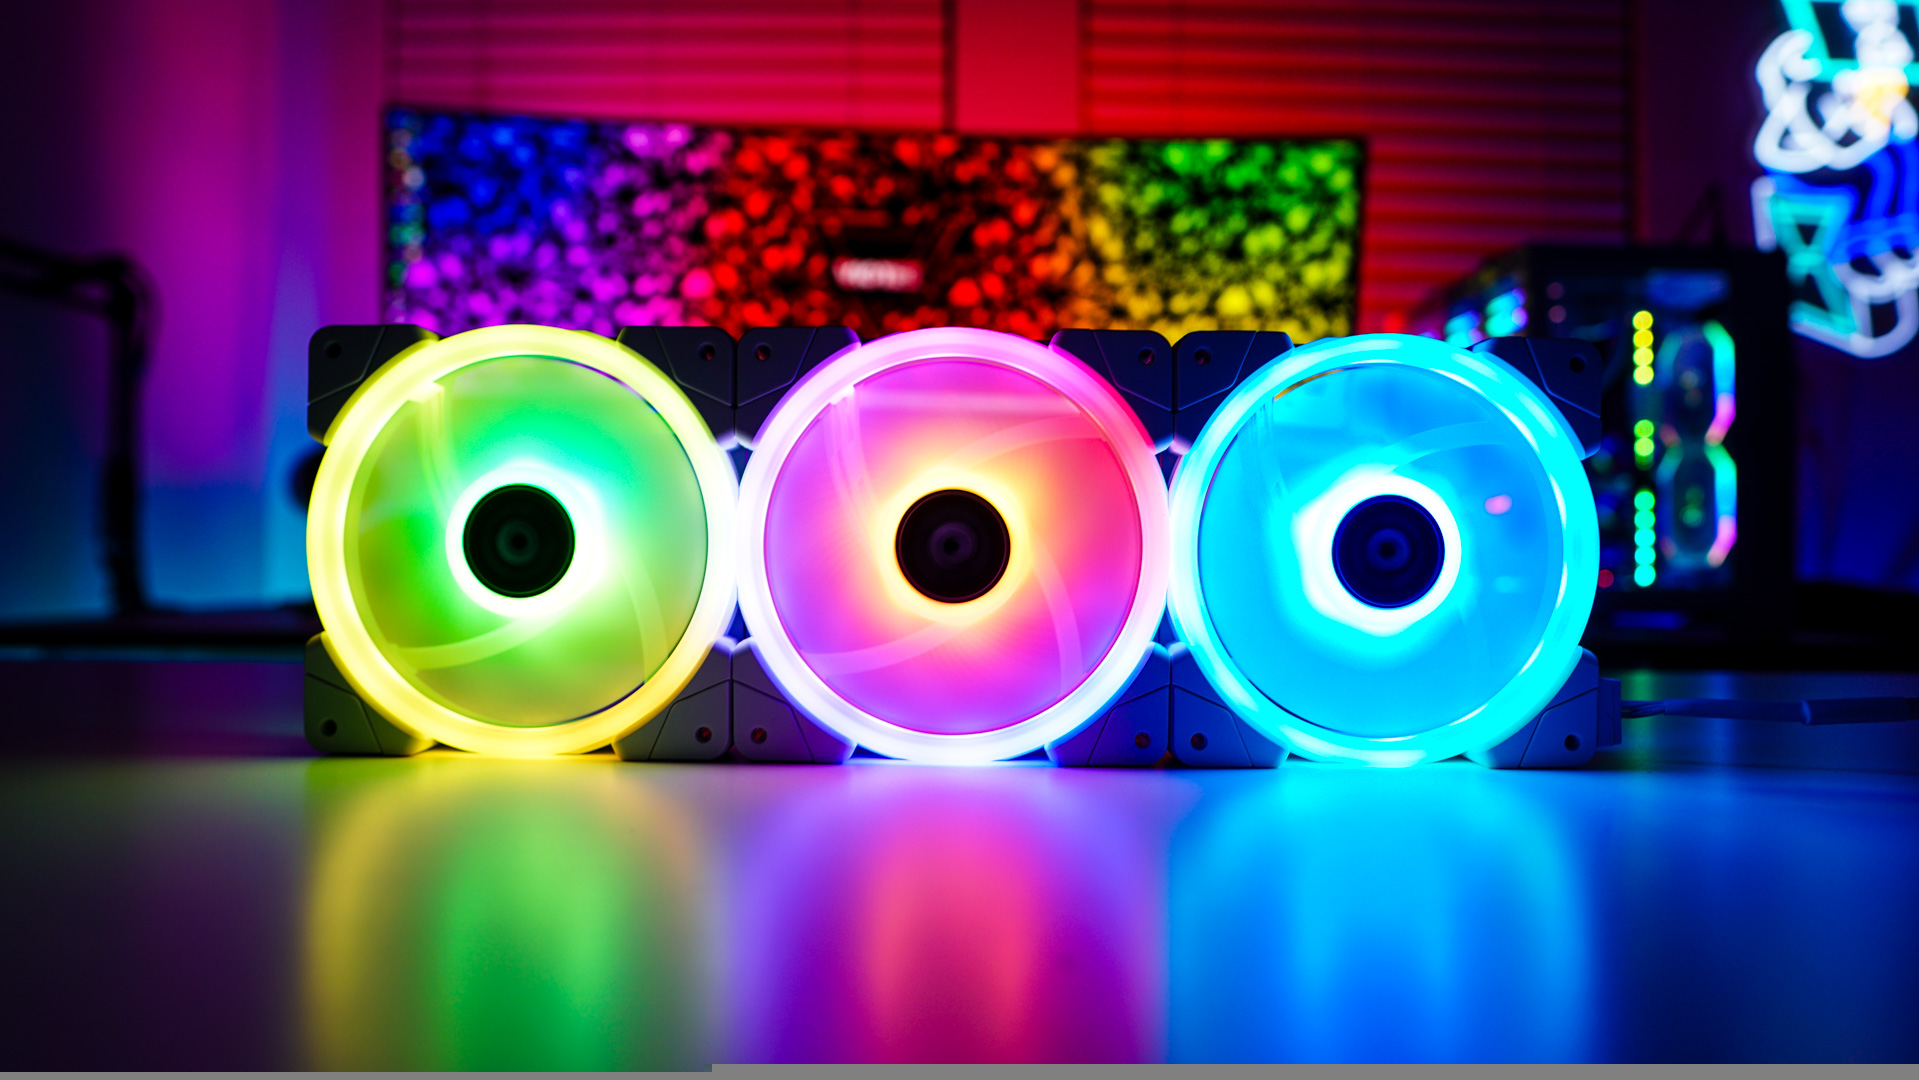
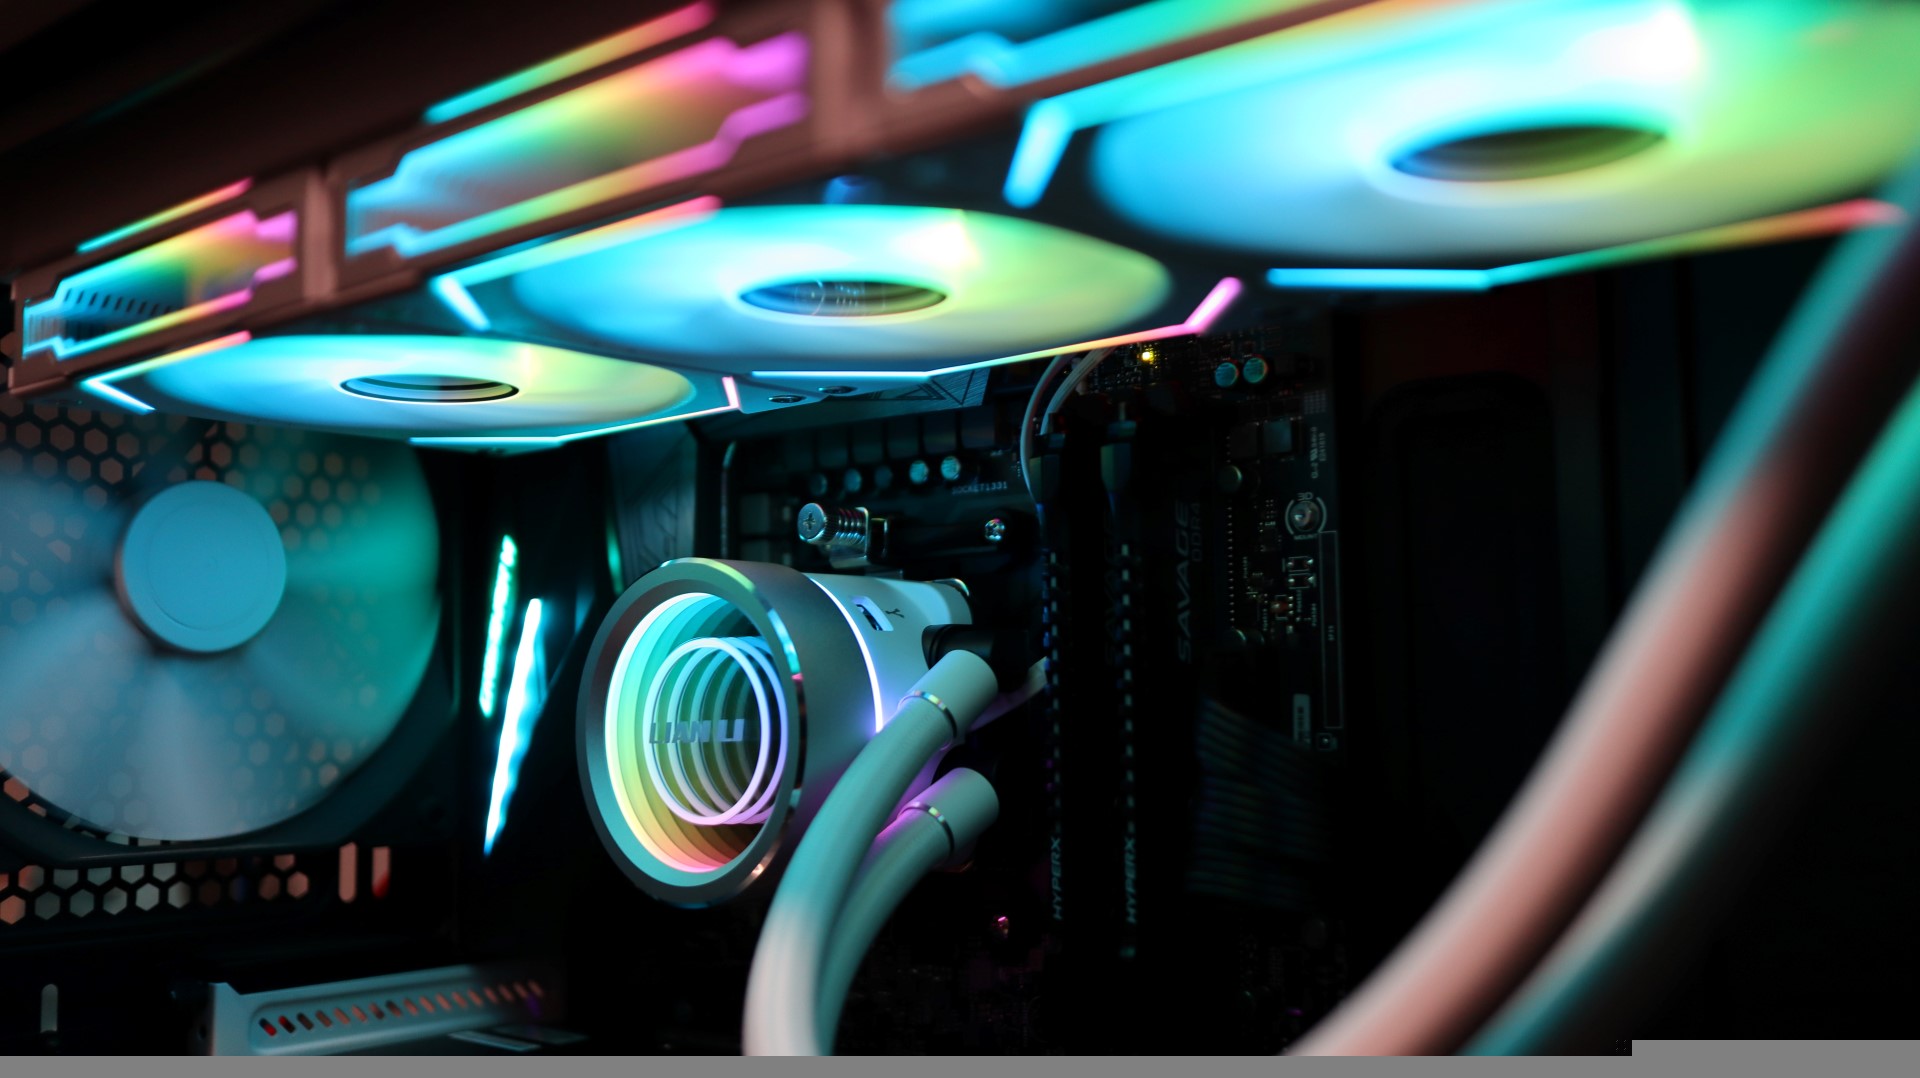
Lighting
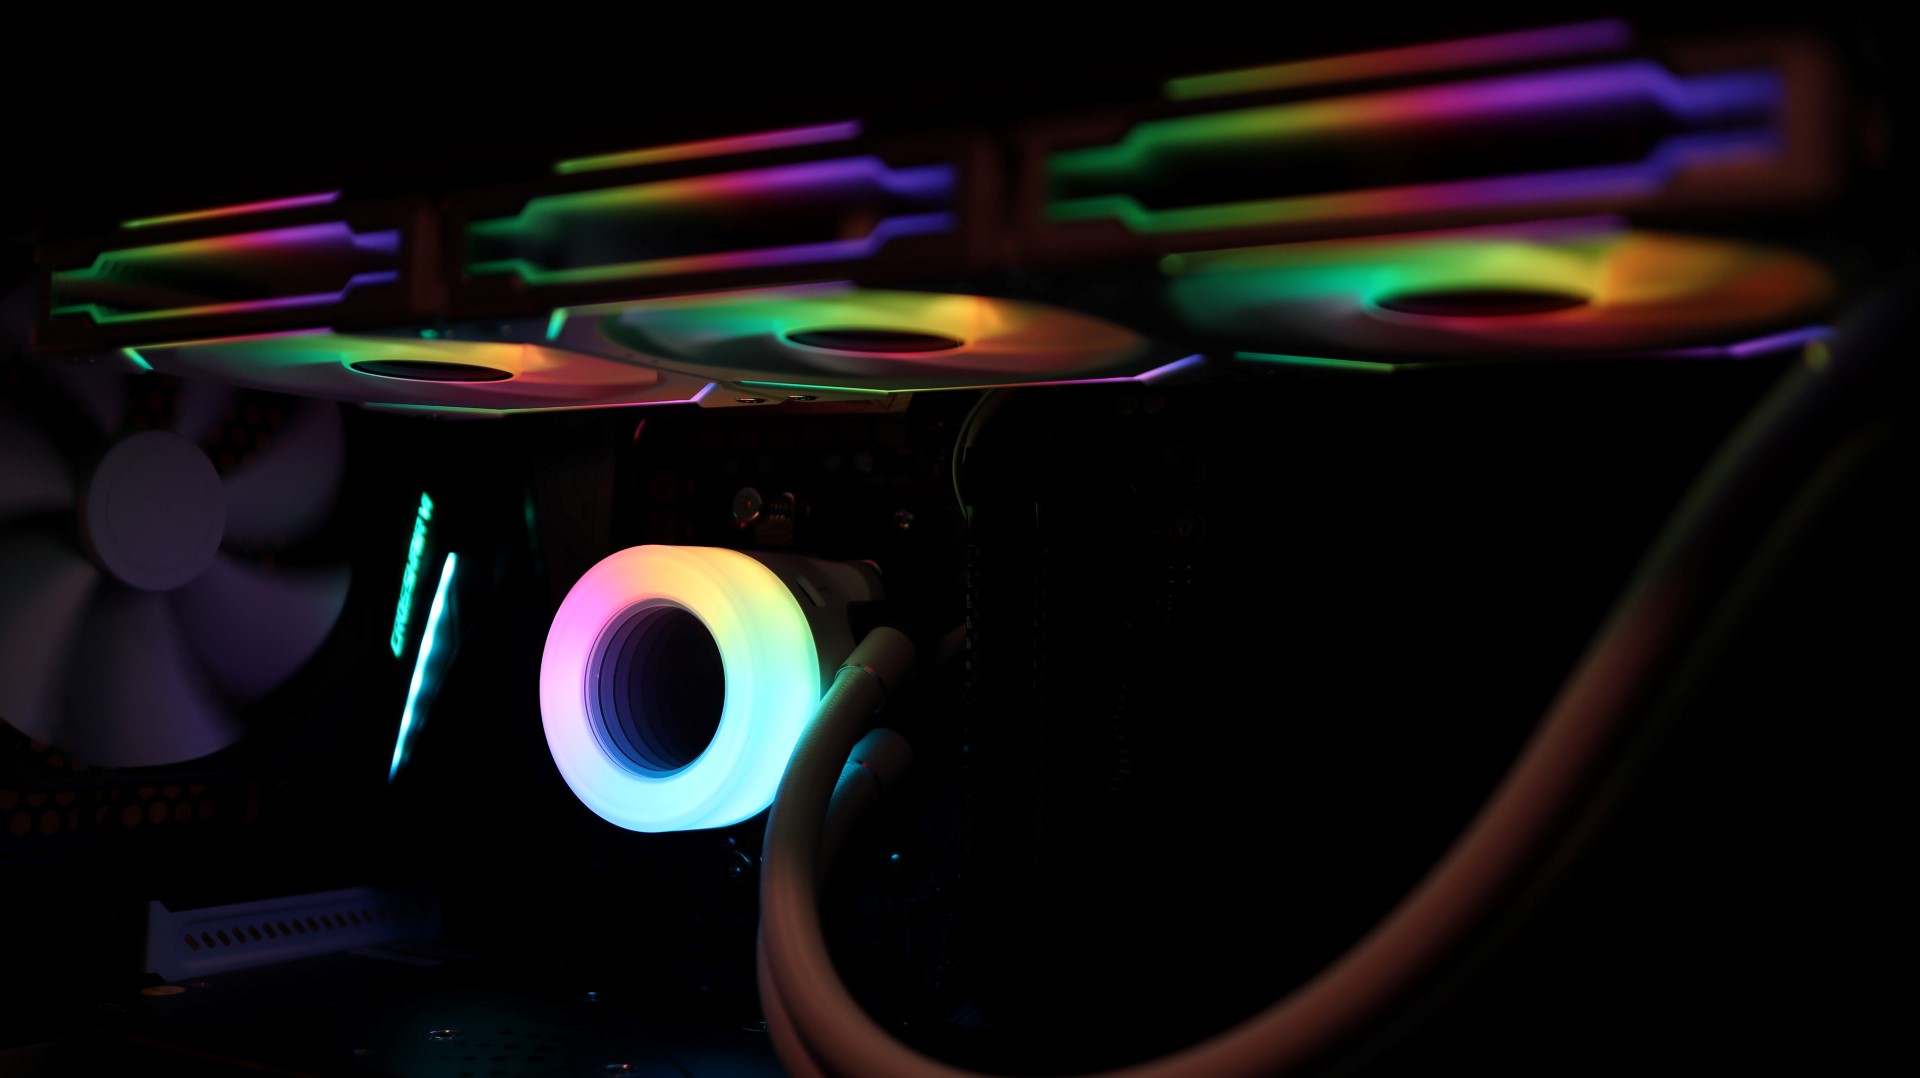
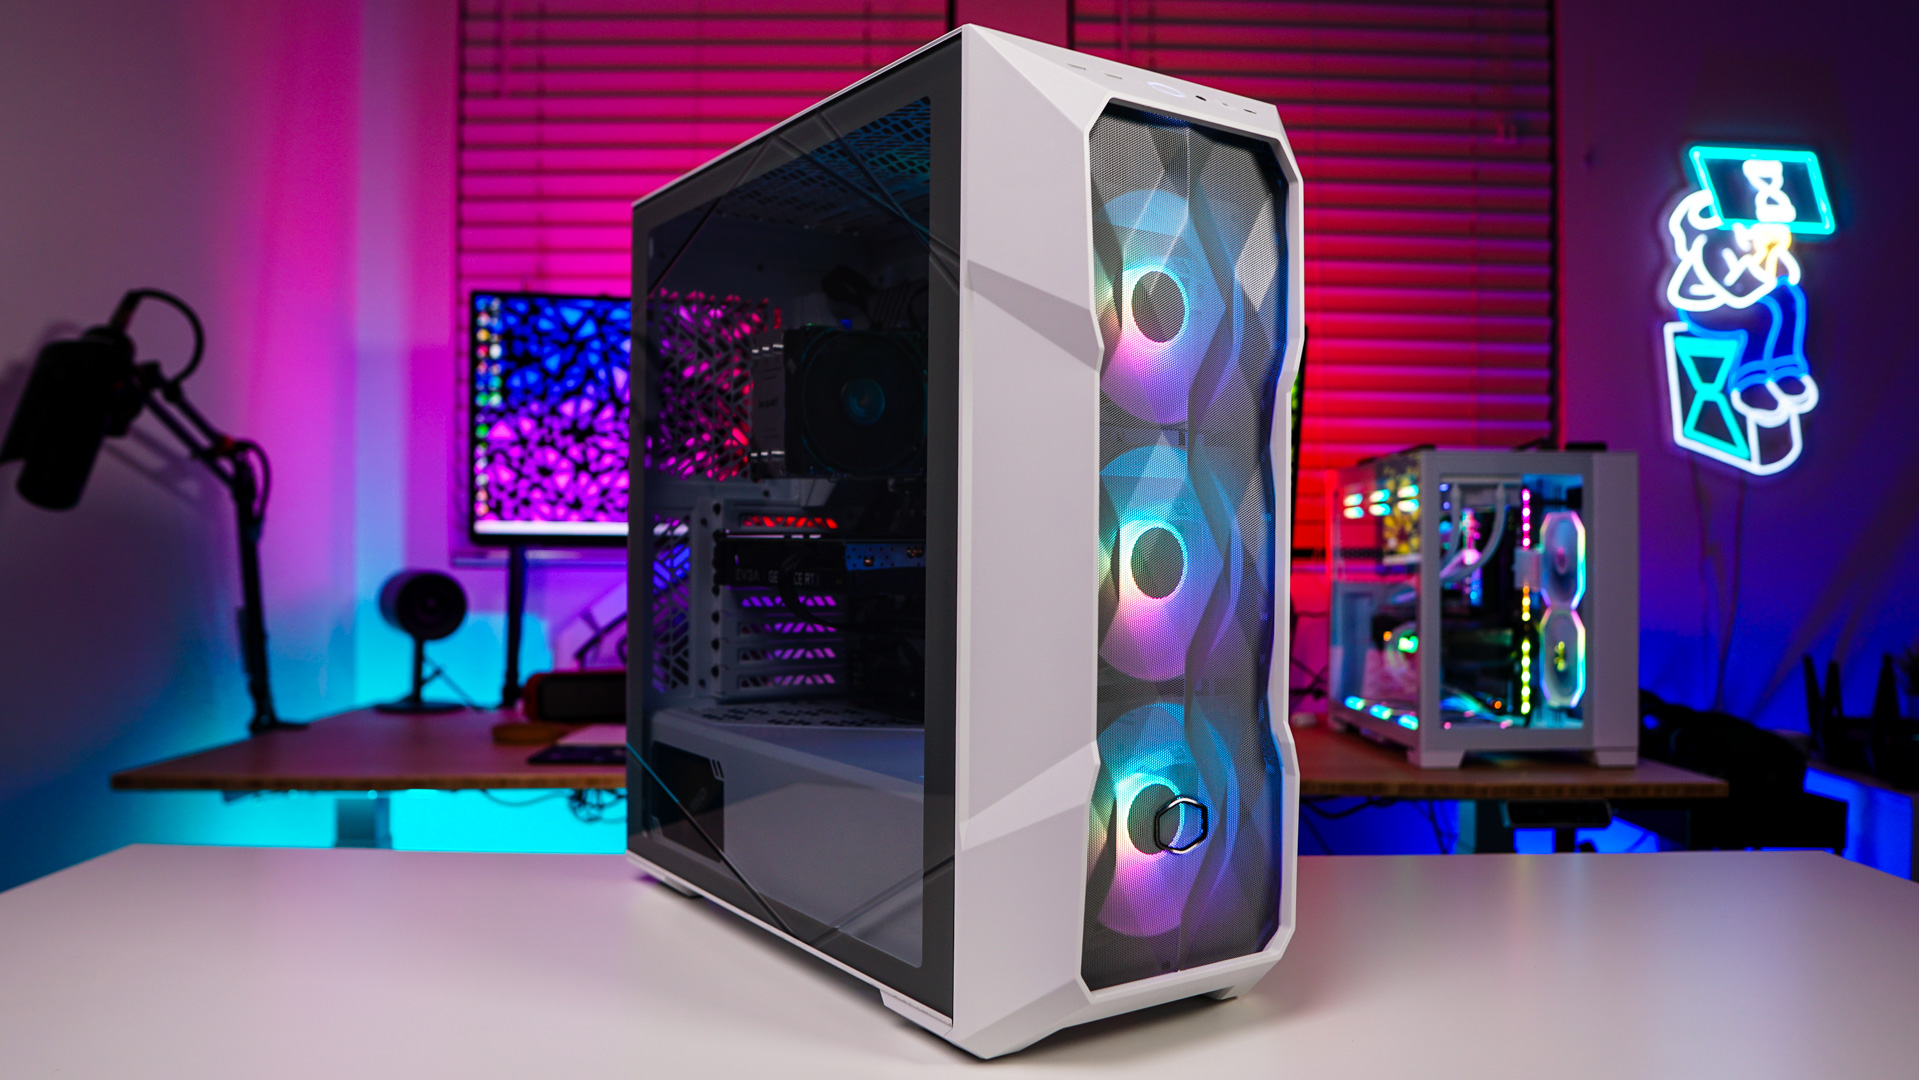
Below are some shots of the Galahad II Trinity SL-INF installed and with various lighting effects enabled.